Simple Site Map from CadMapper in Rhino
Objective:
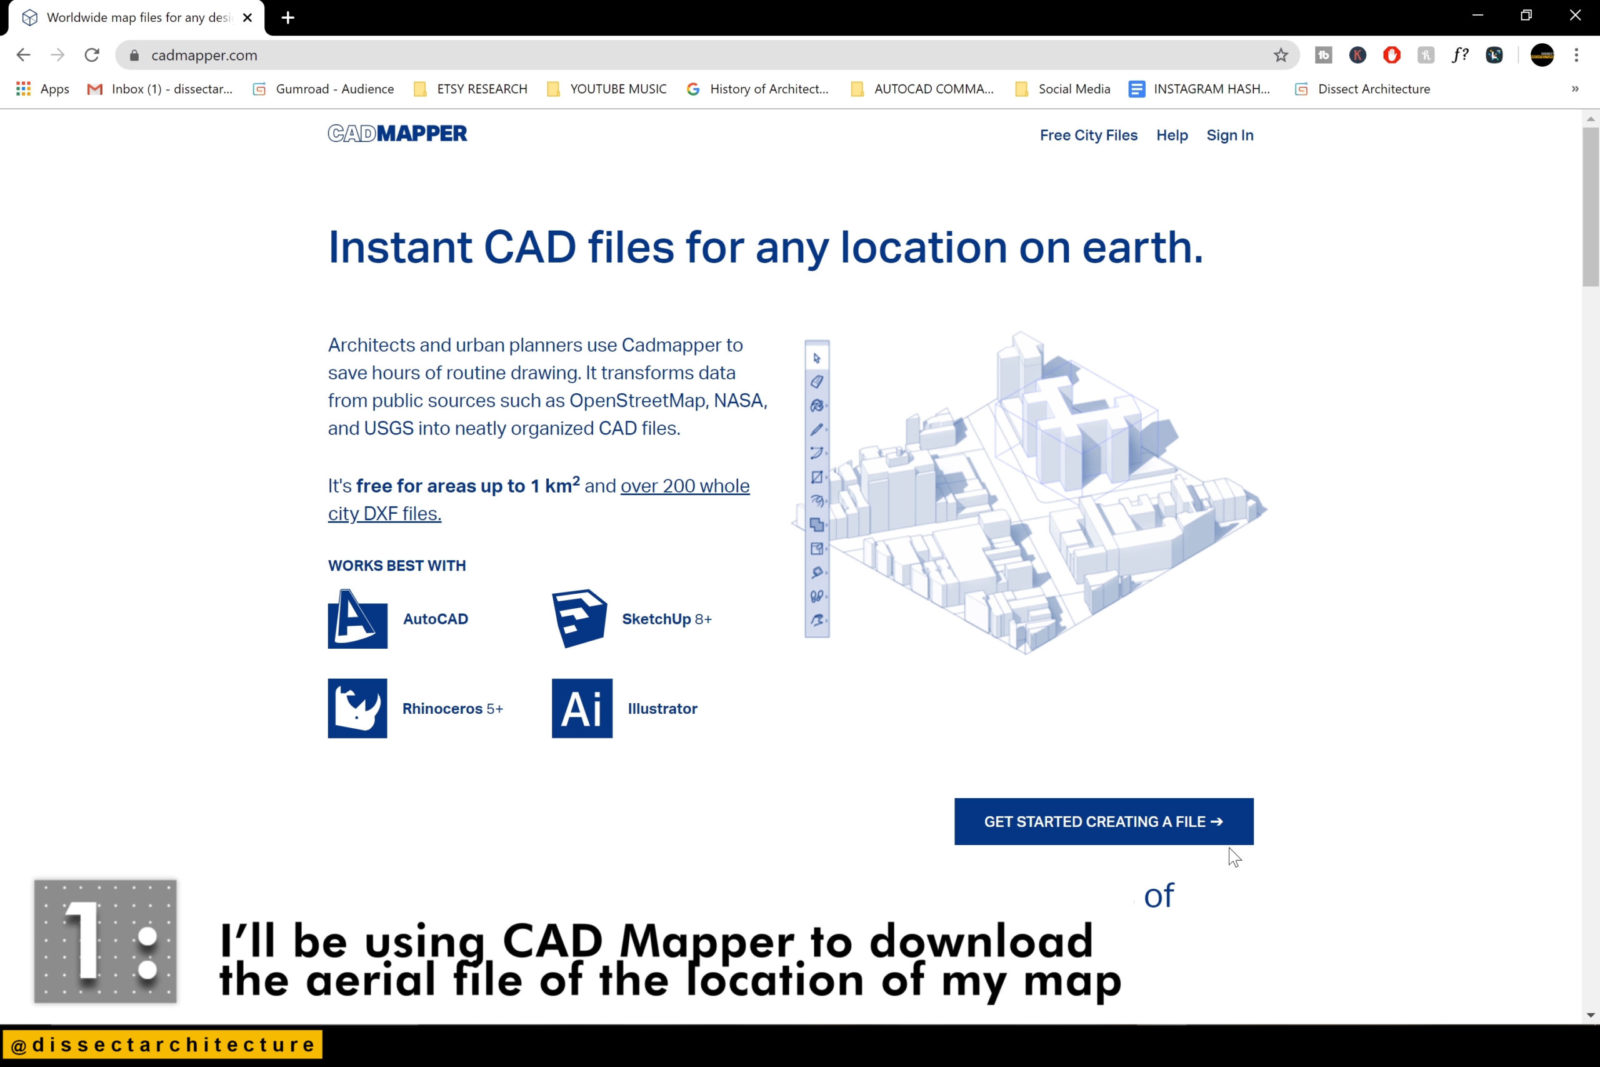
This tutorial shows how to create a simple site map through download site information from the website CADMapper to be manipulated with Rhinoceros 3D and Photoshop for post-production details.
Step 01
Go to CADMapper to download the location of your site map.

Step 02
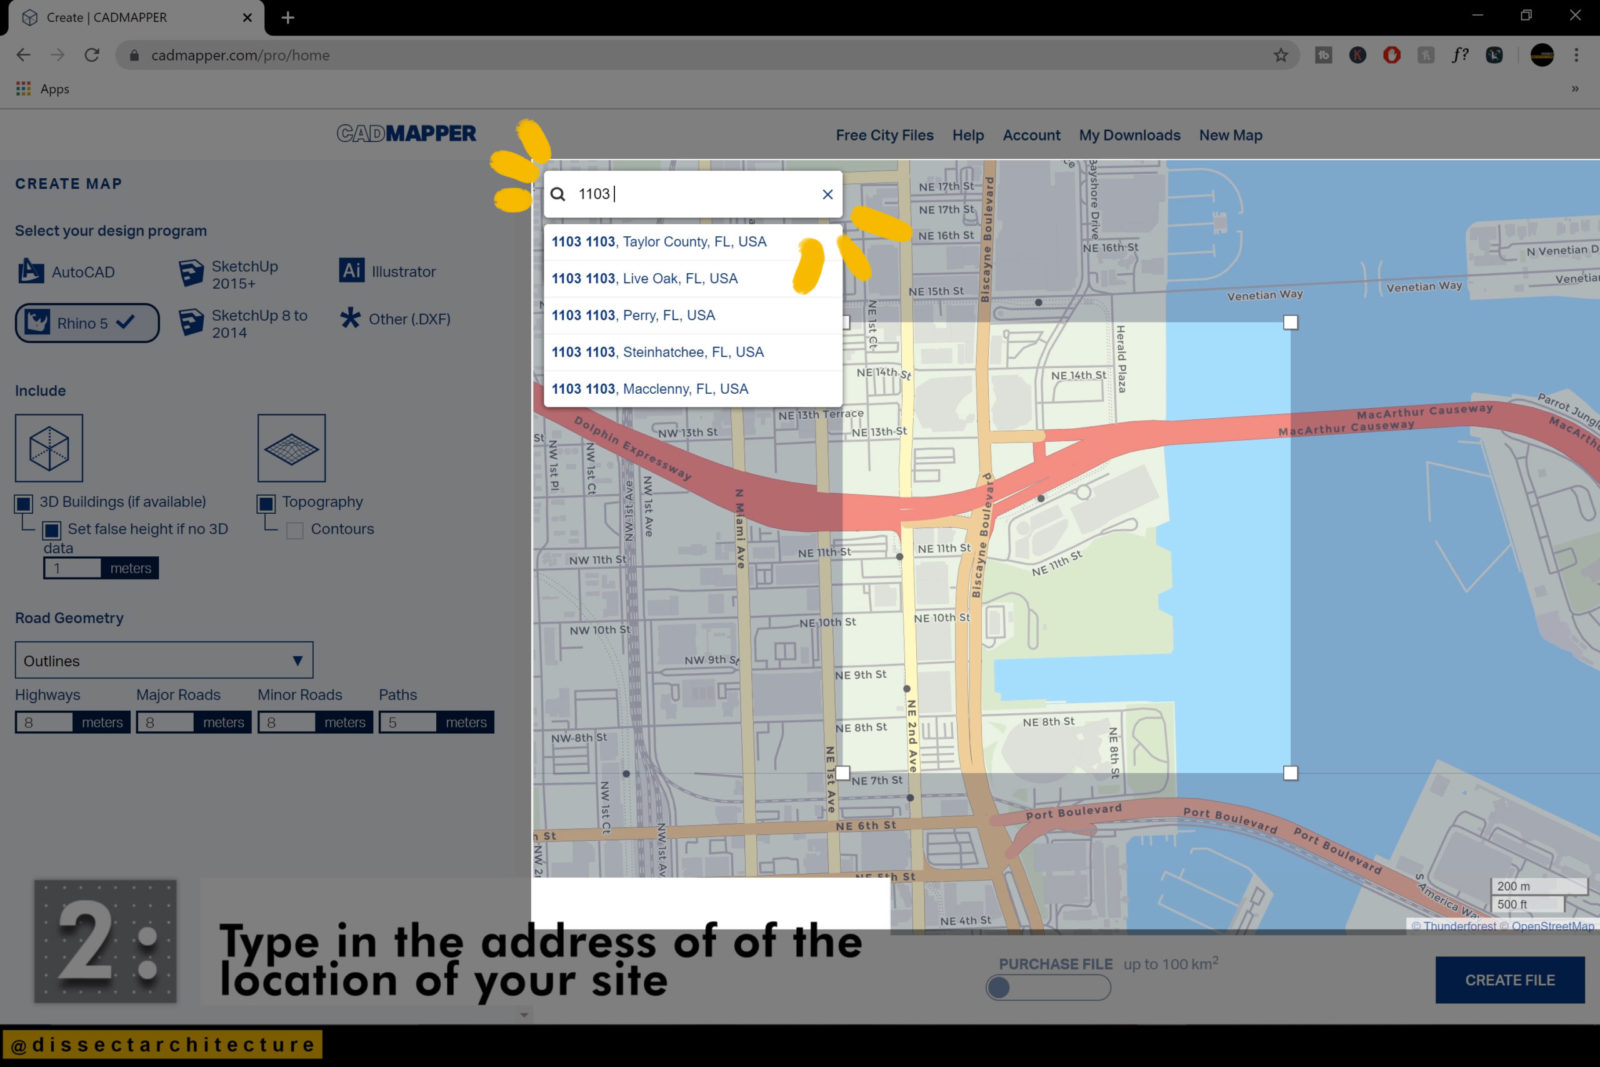
Click the “Get Started Creating a File Button” and create a free account.
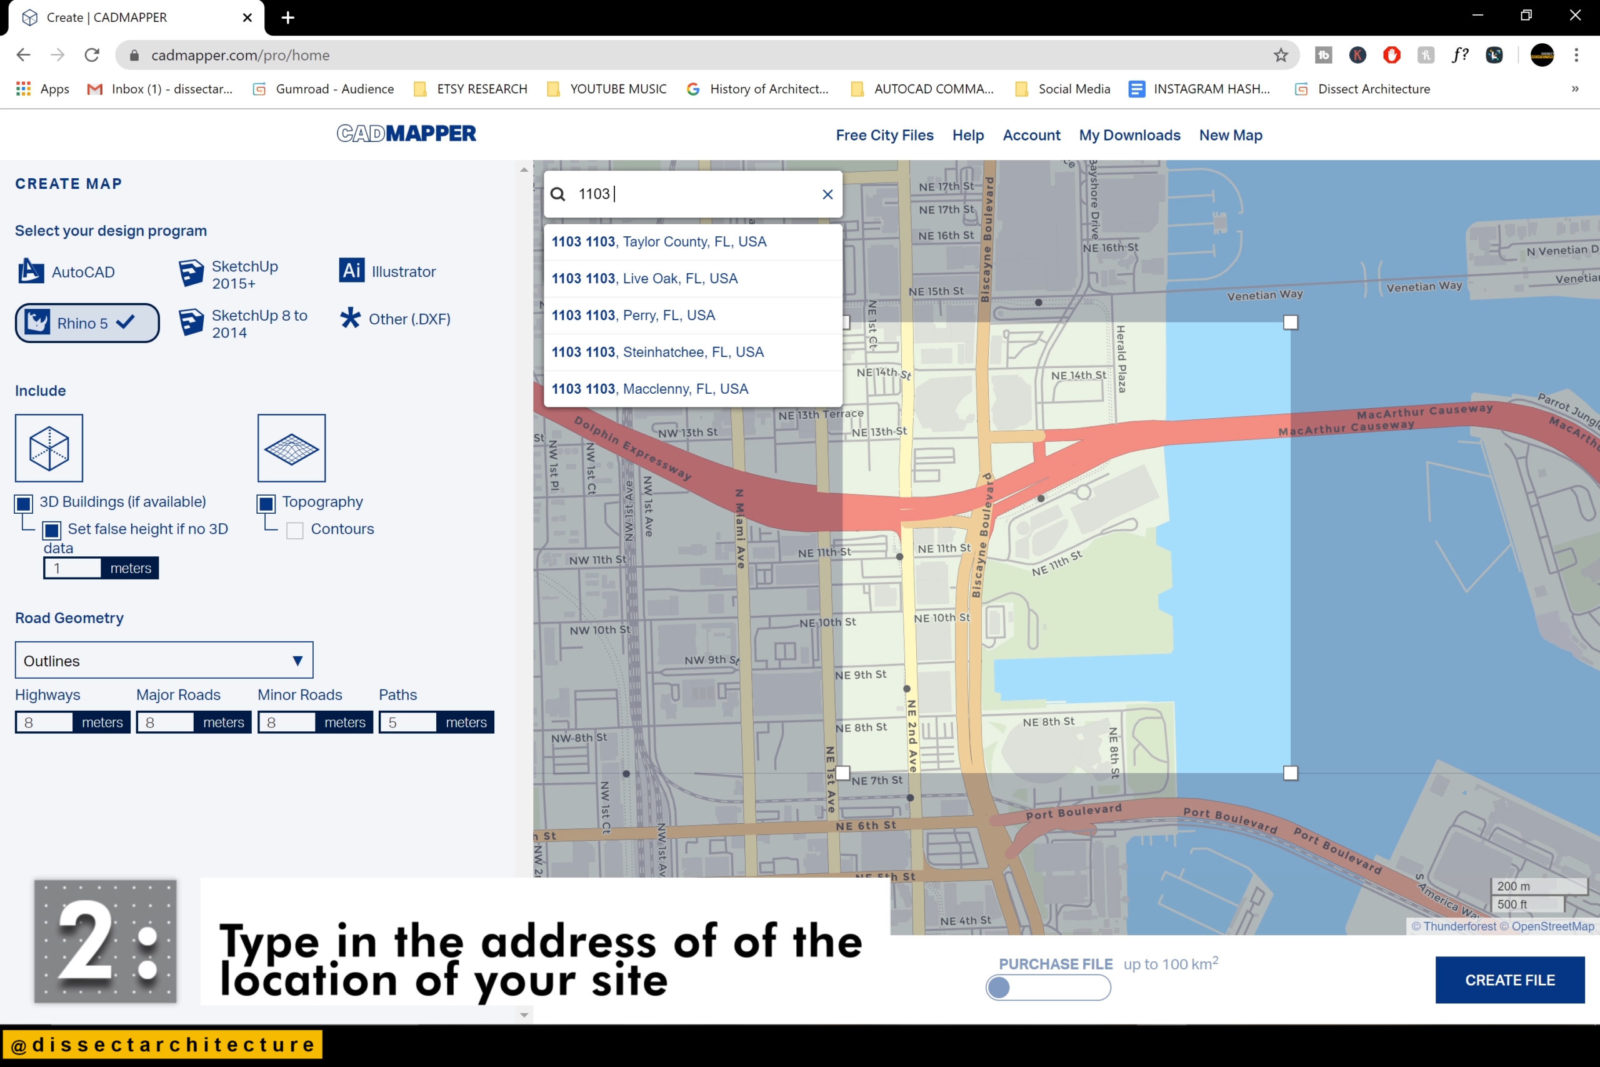
Afterwards in the search box, type in the address of the location of your site.
Step 03
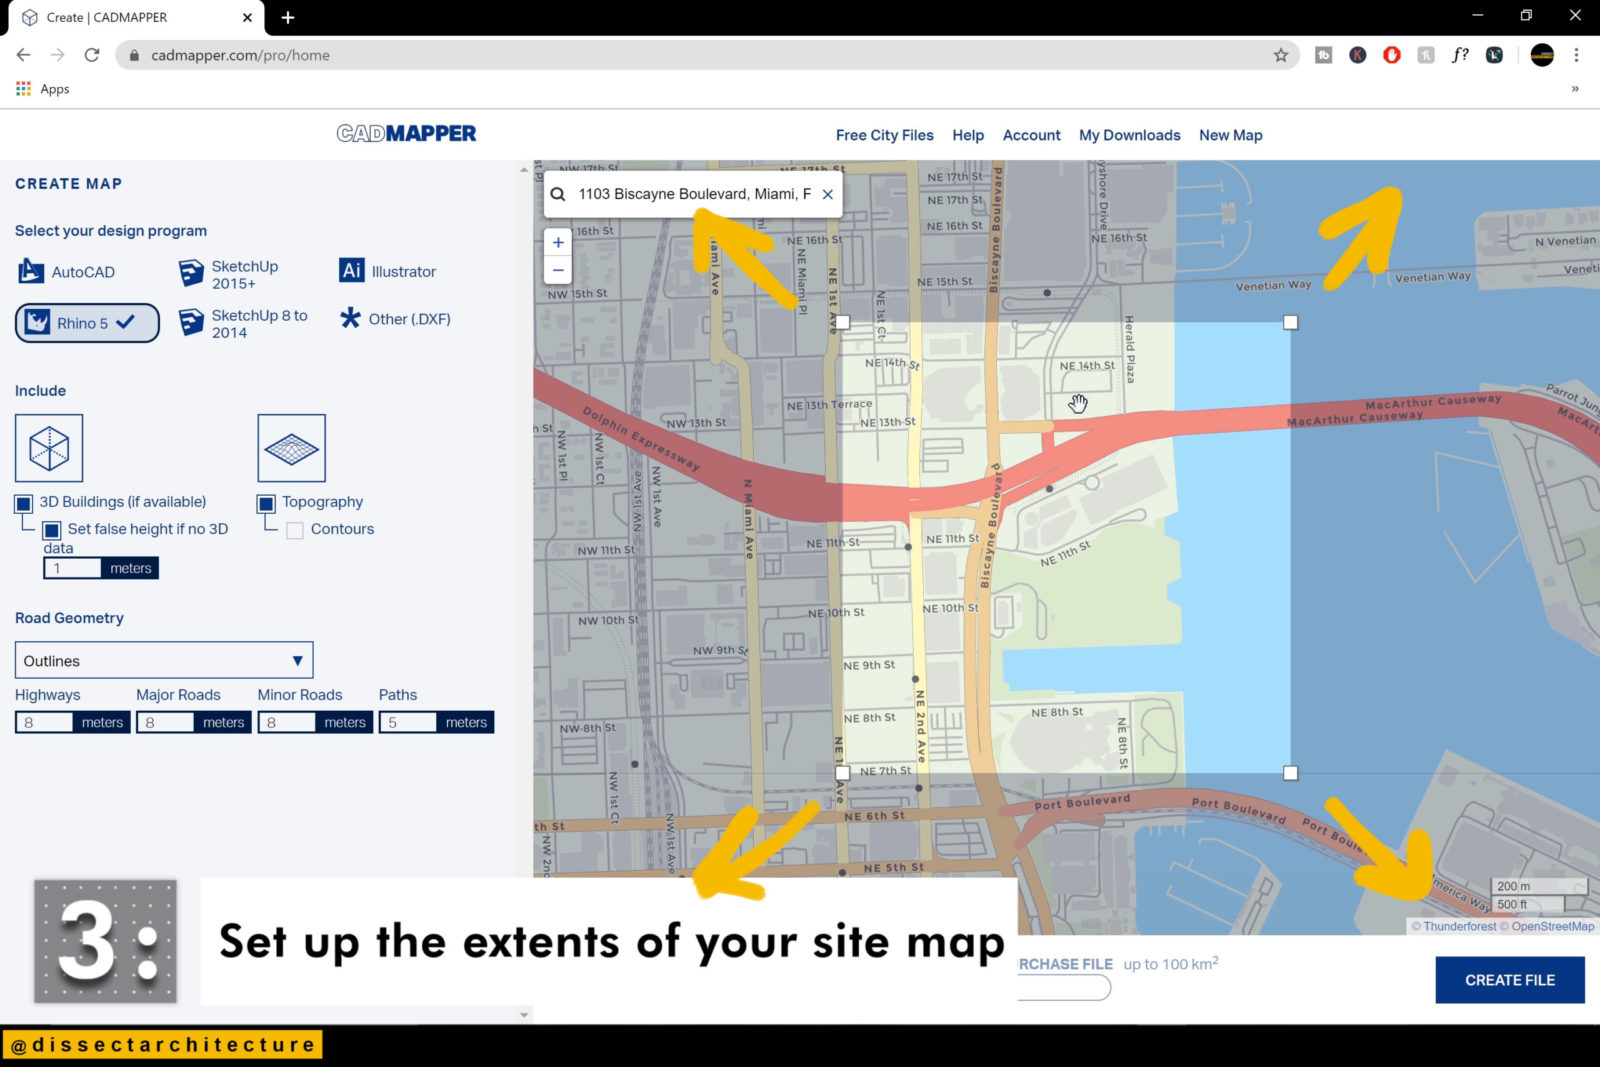
Set up the extents of your site map.
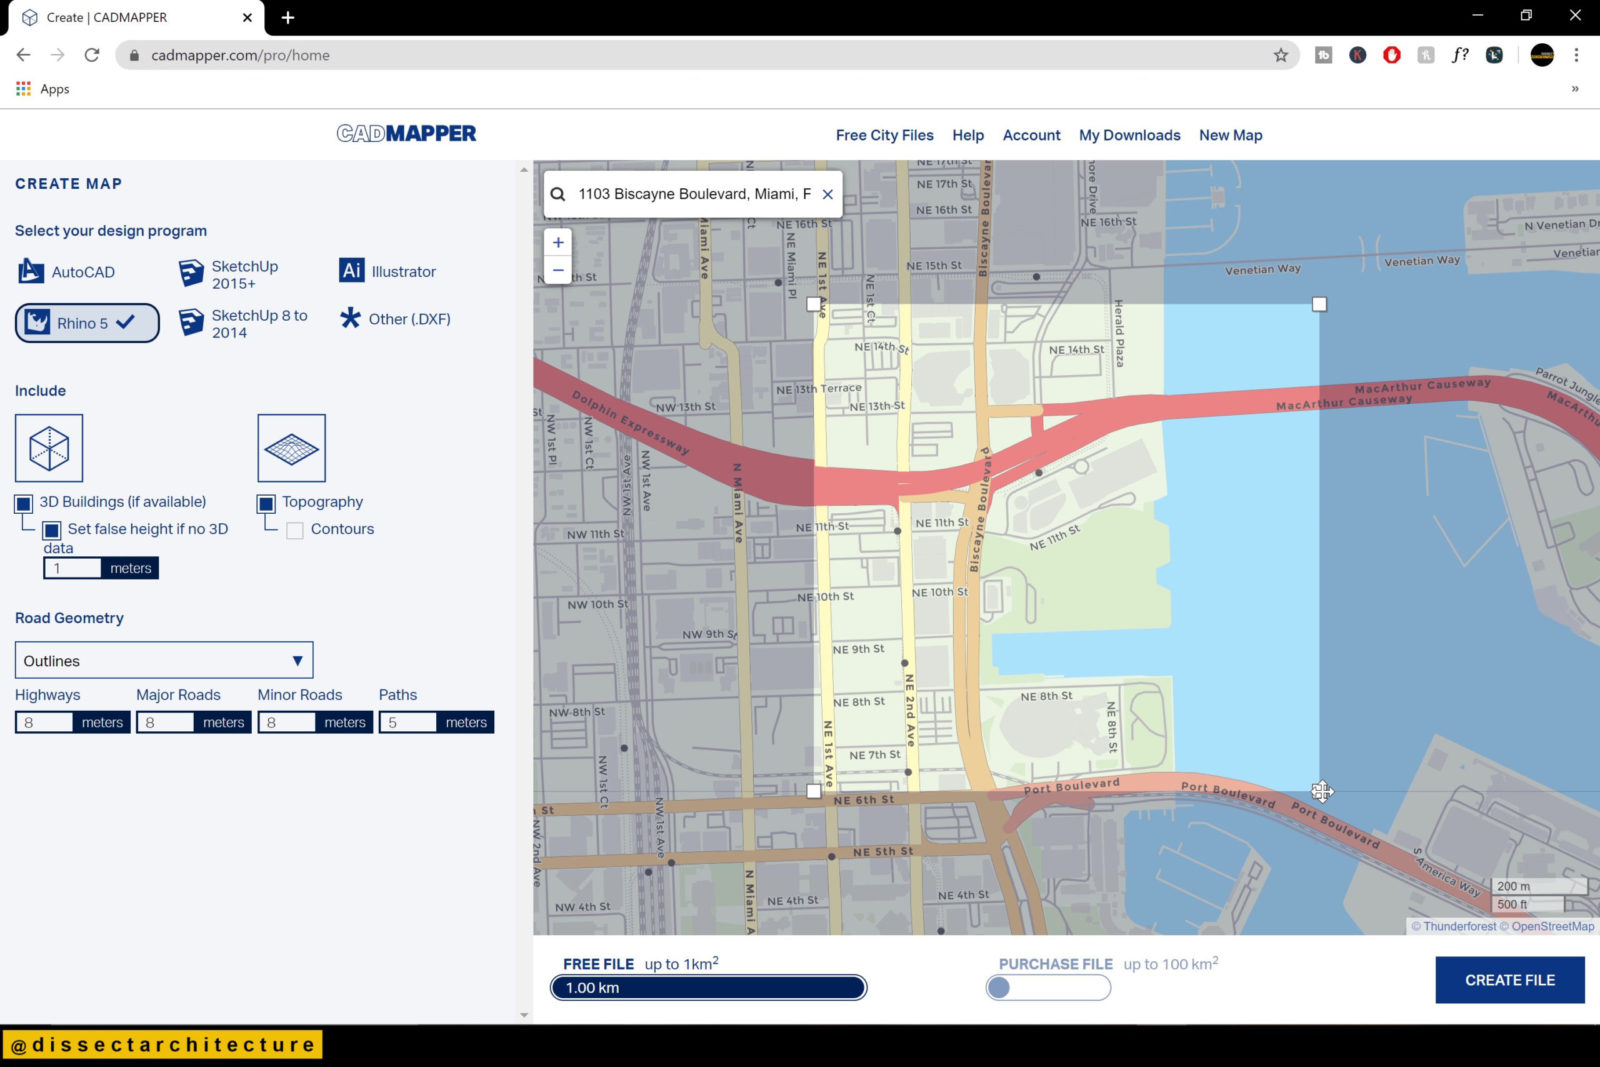
Here I chose the map to be delivered as a Rhino file, with 3D Buildings and Topography. The road geometry I have selected is outlines, but you can choose meshes if you’d like instead.
Adjust the area of your mad, but keep in mind if you make the area bigger than 1 km you will have to purchase the file.

Step 04
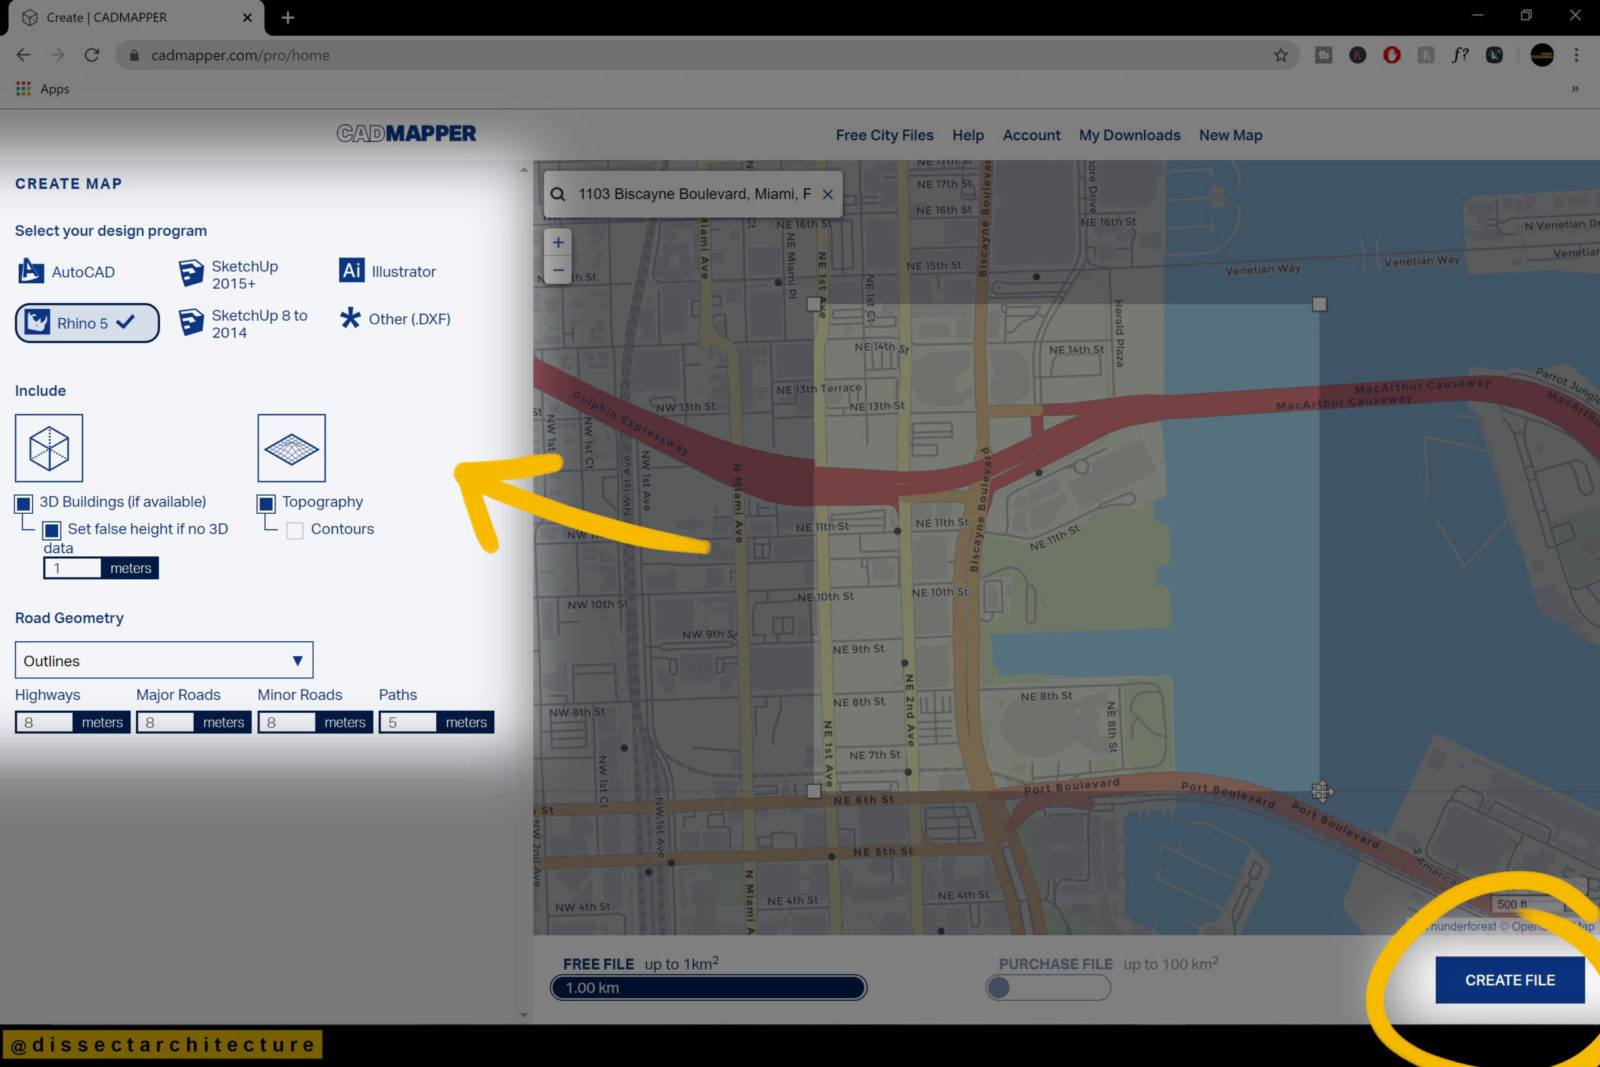
Click on the “Create File” button after you are done making your selections.
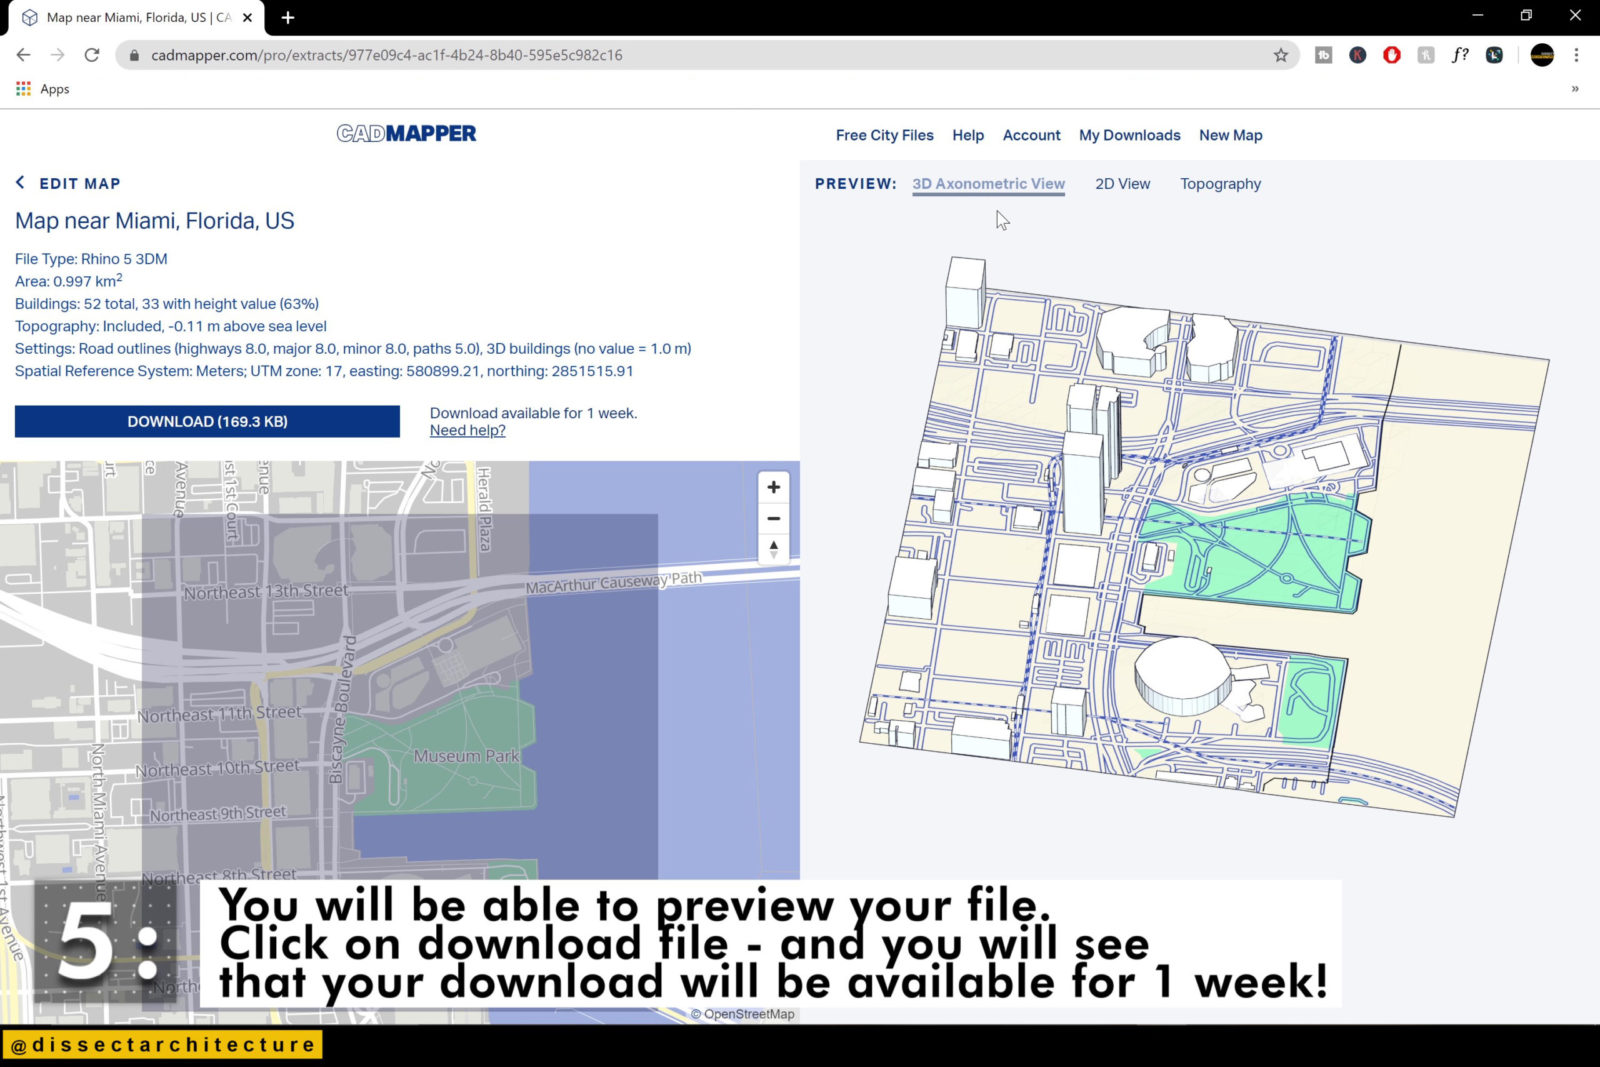
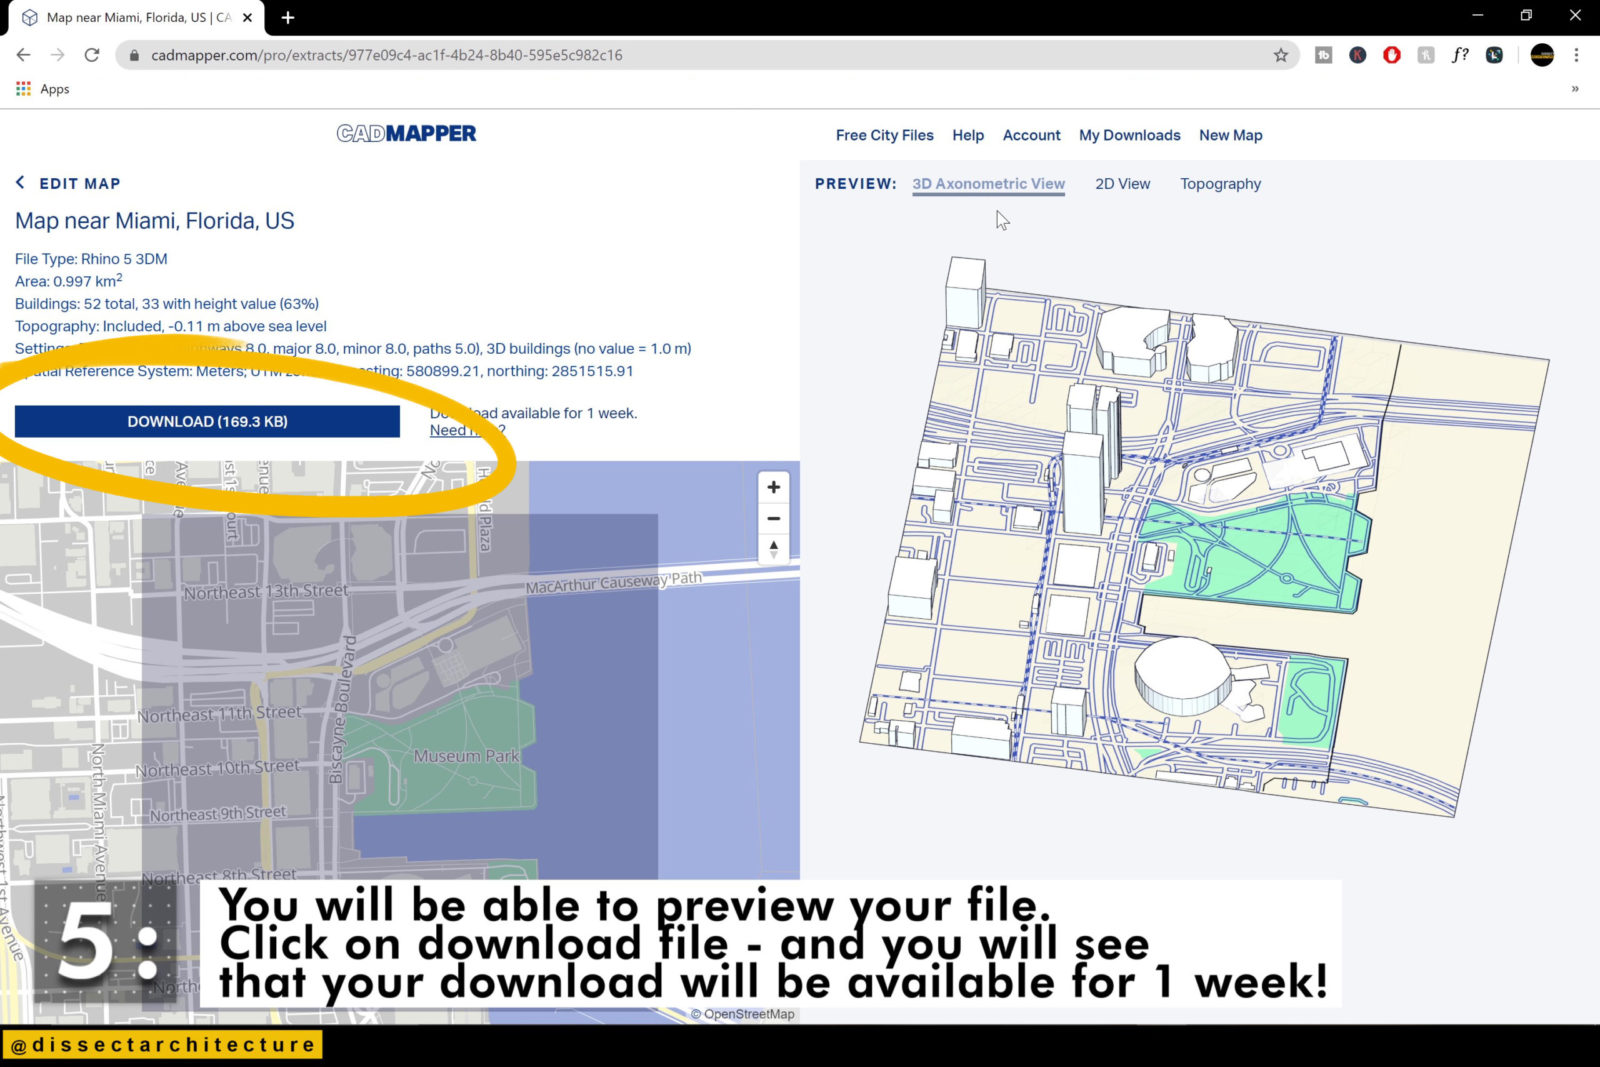
Step 05
You will then be able to preview your file. Click on the “Download File” button – and you will see that your download will be available for 1 week!
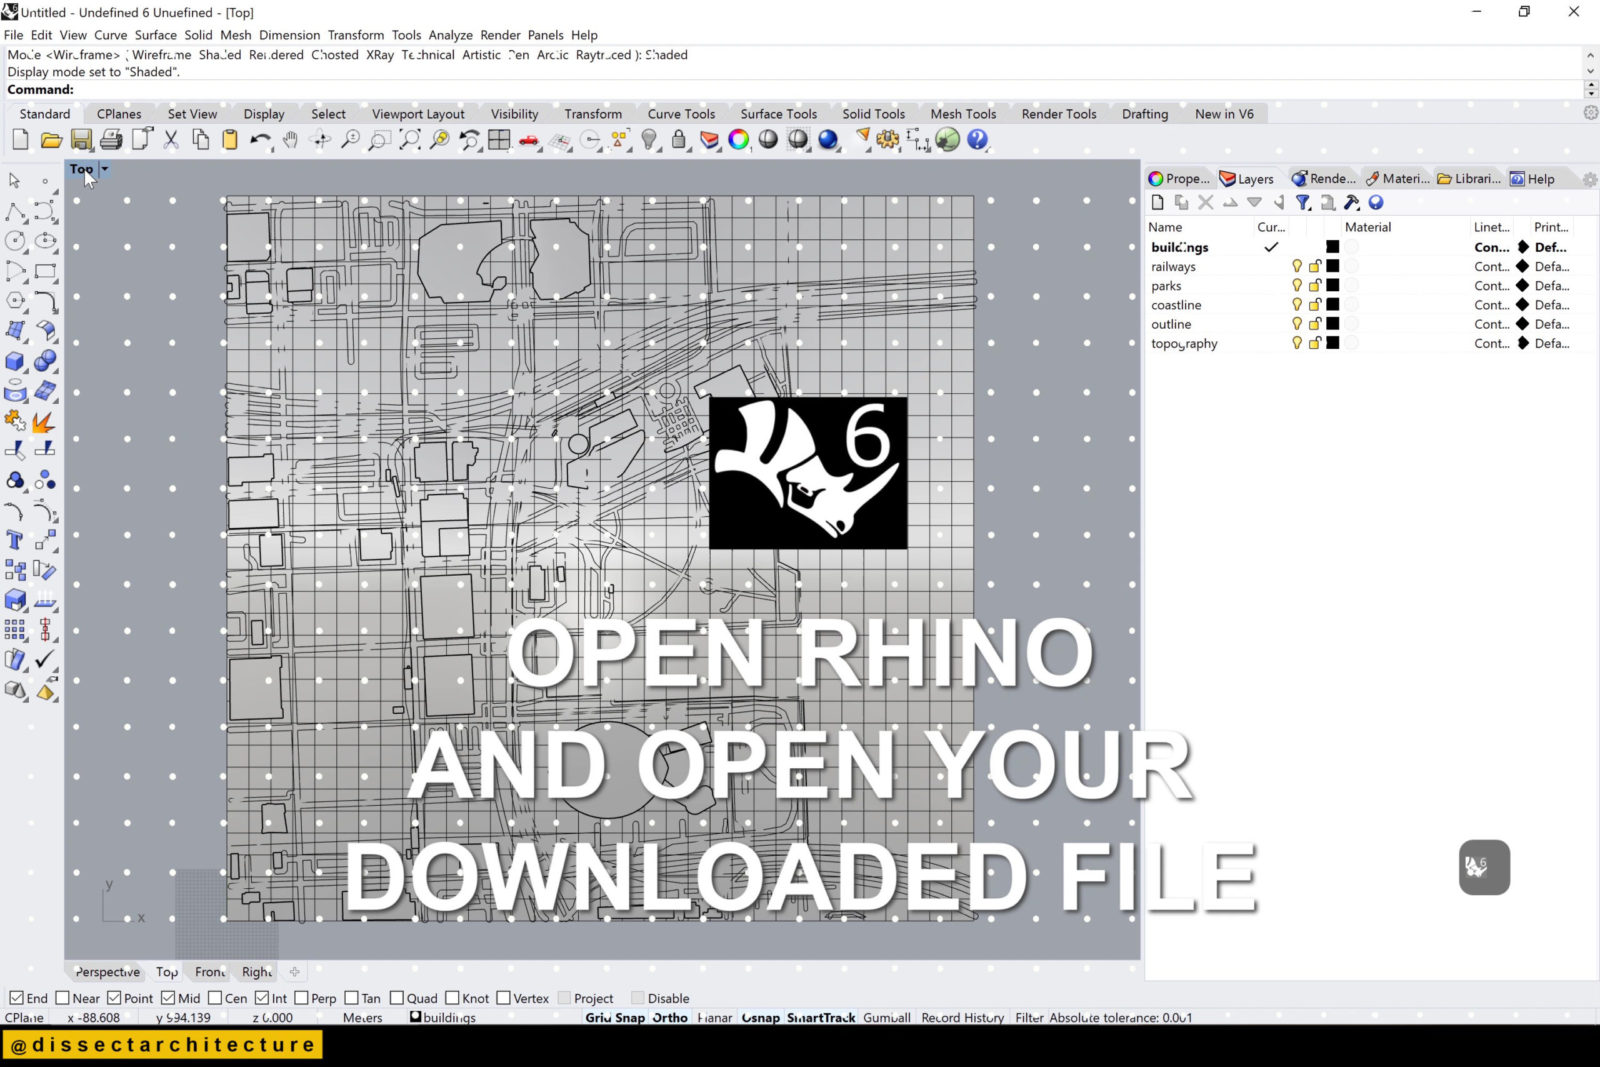
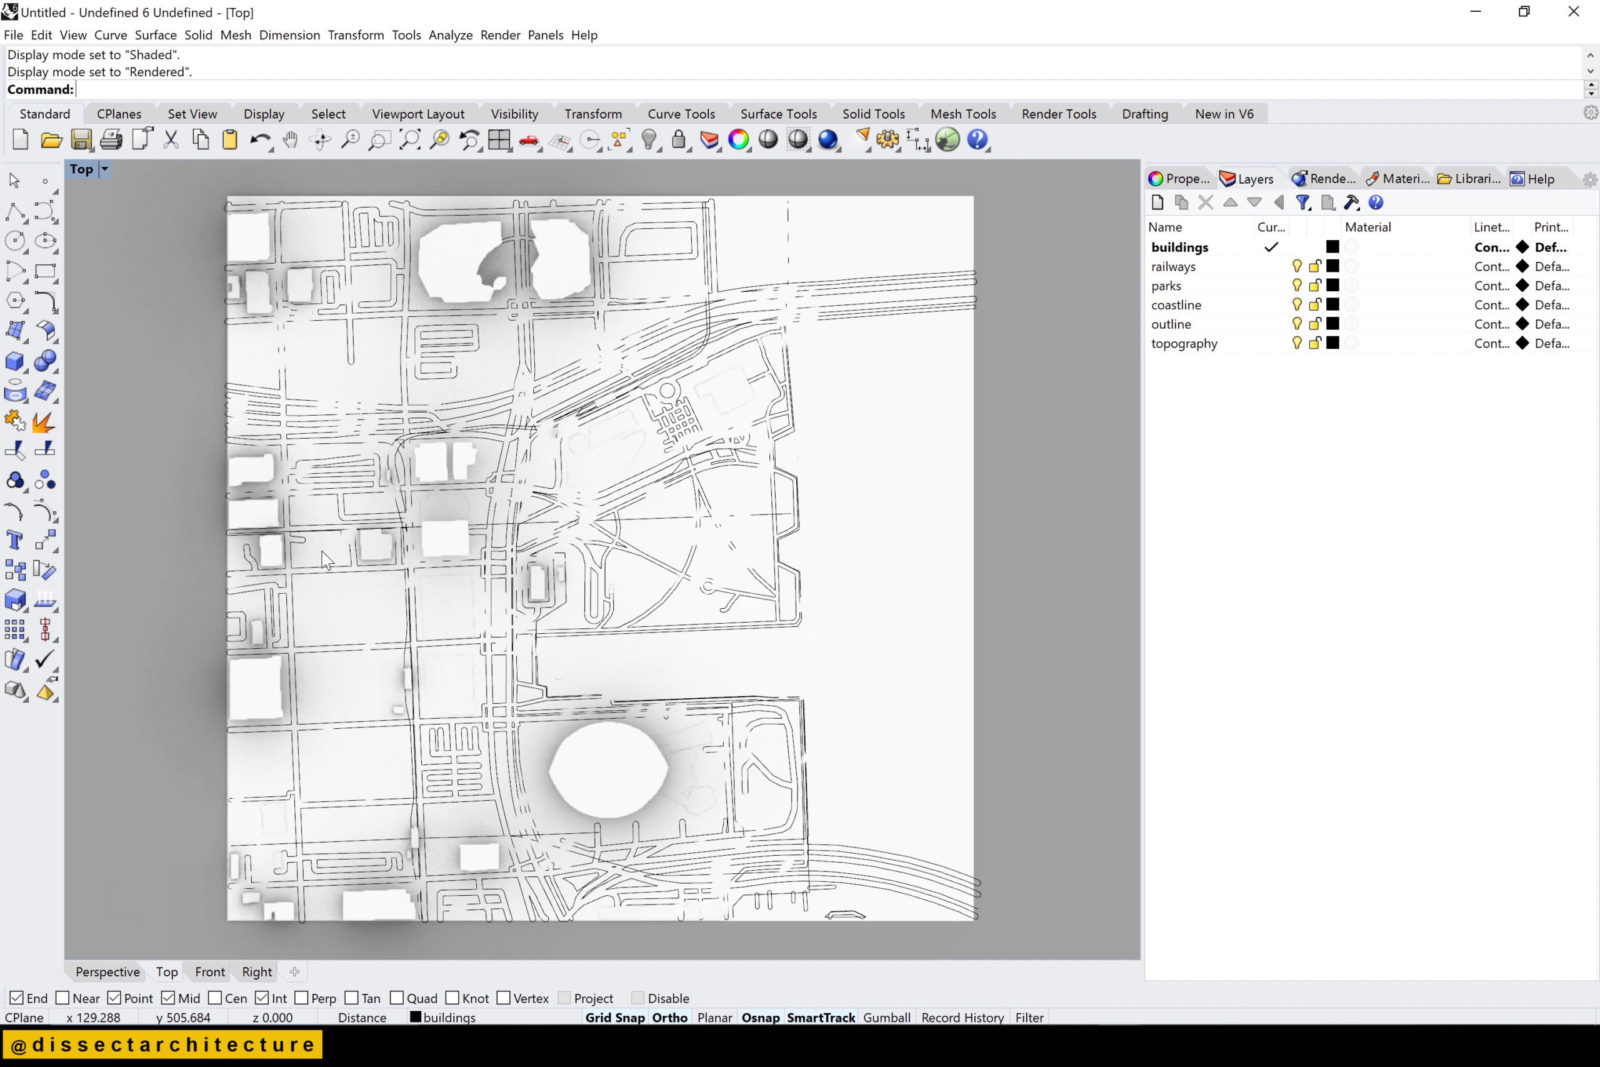
Step 06
Now open Rhinoceros 3D and open your downloaded file.
Review your file for any imperfections. I do not need railways, so I am turning that layer off. Everything else has been organized into neat layers.
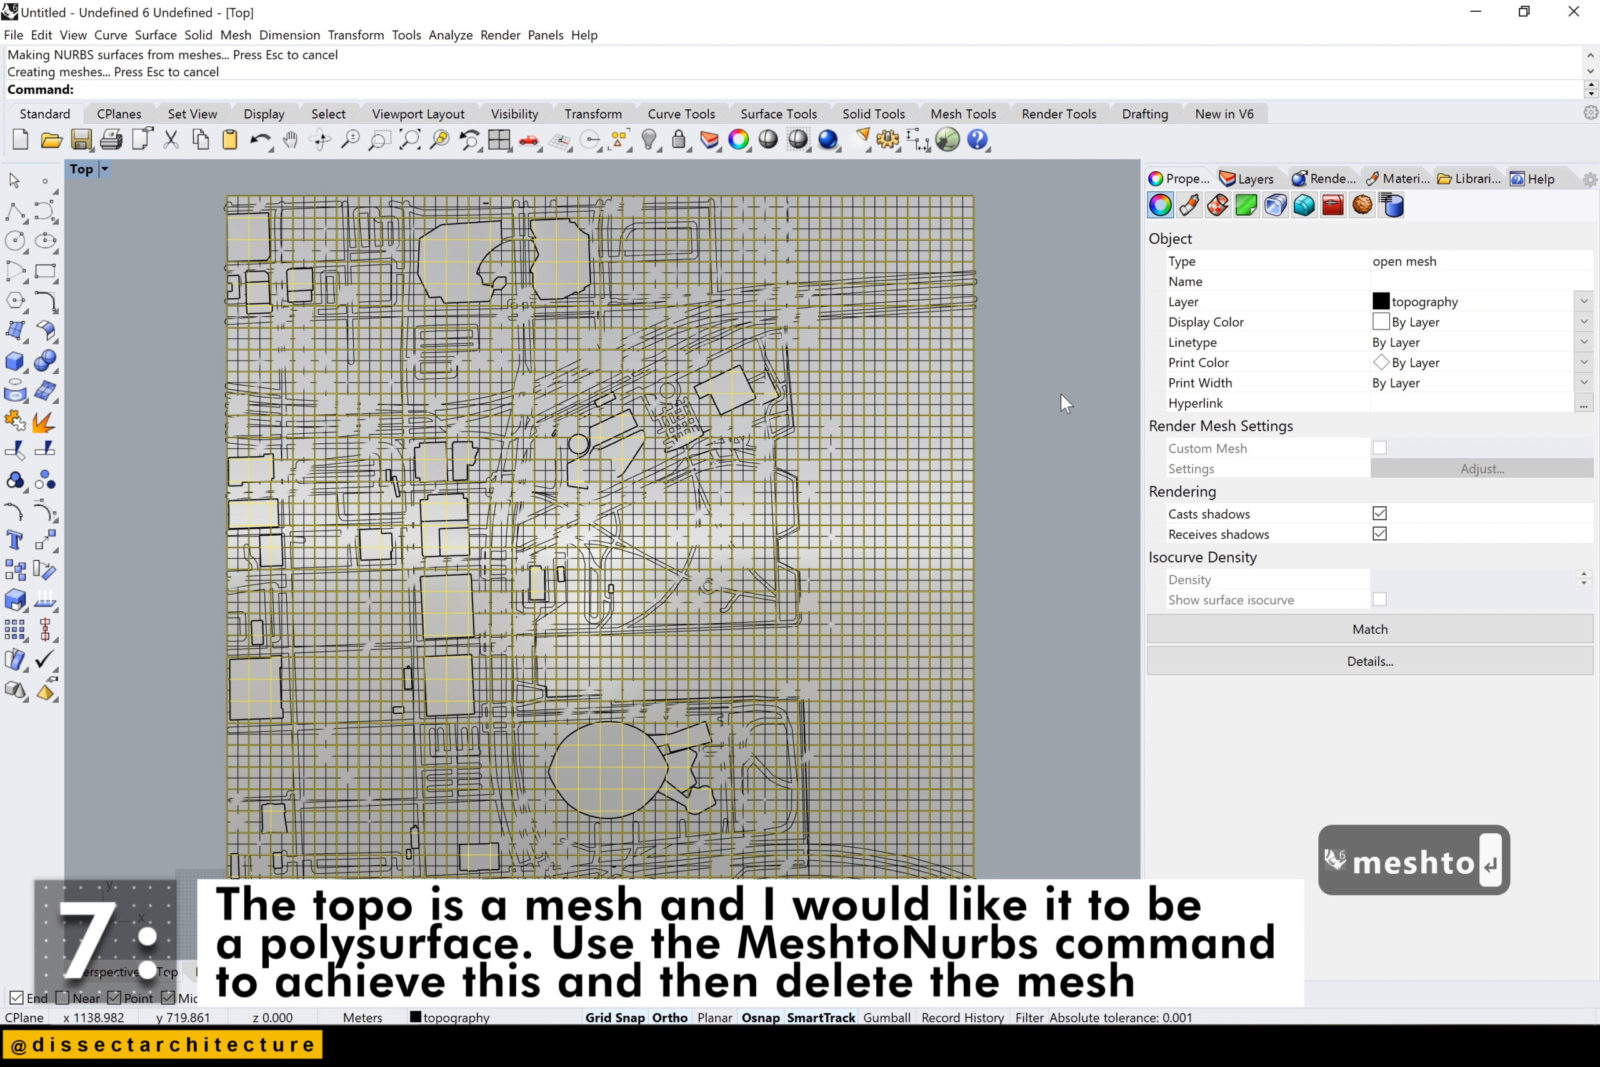
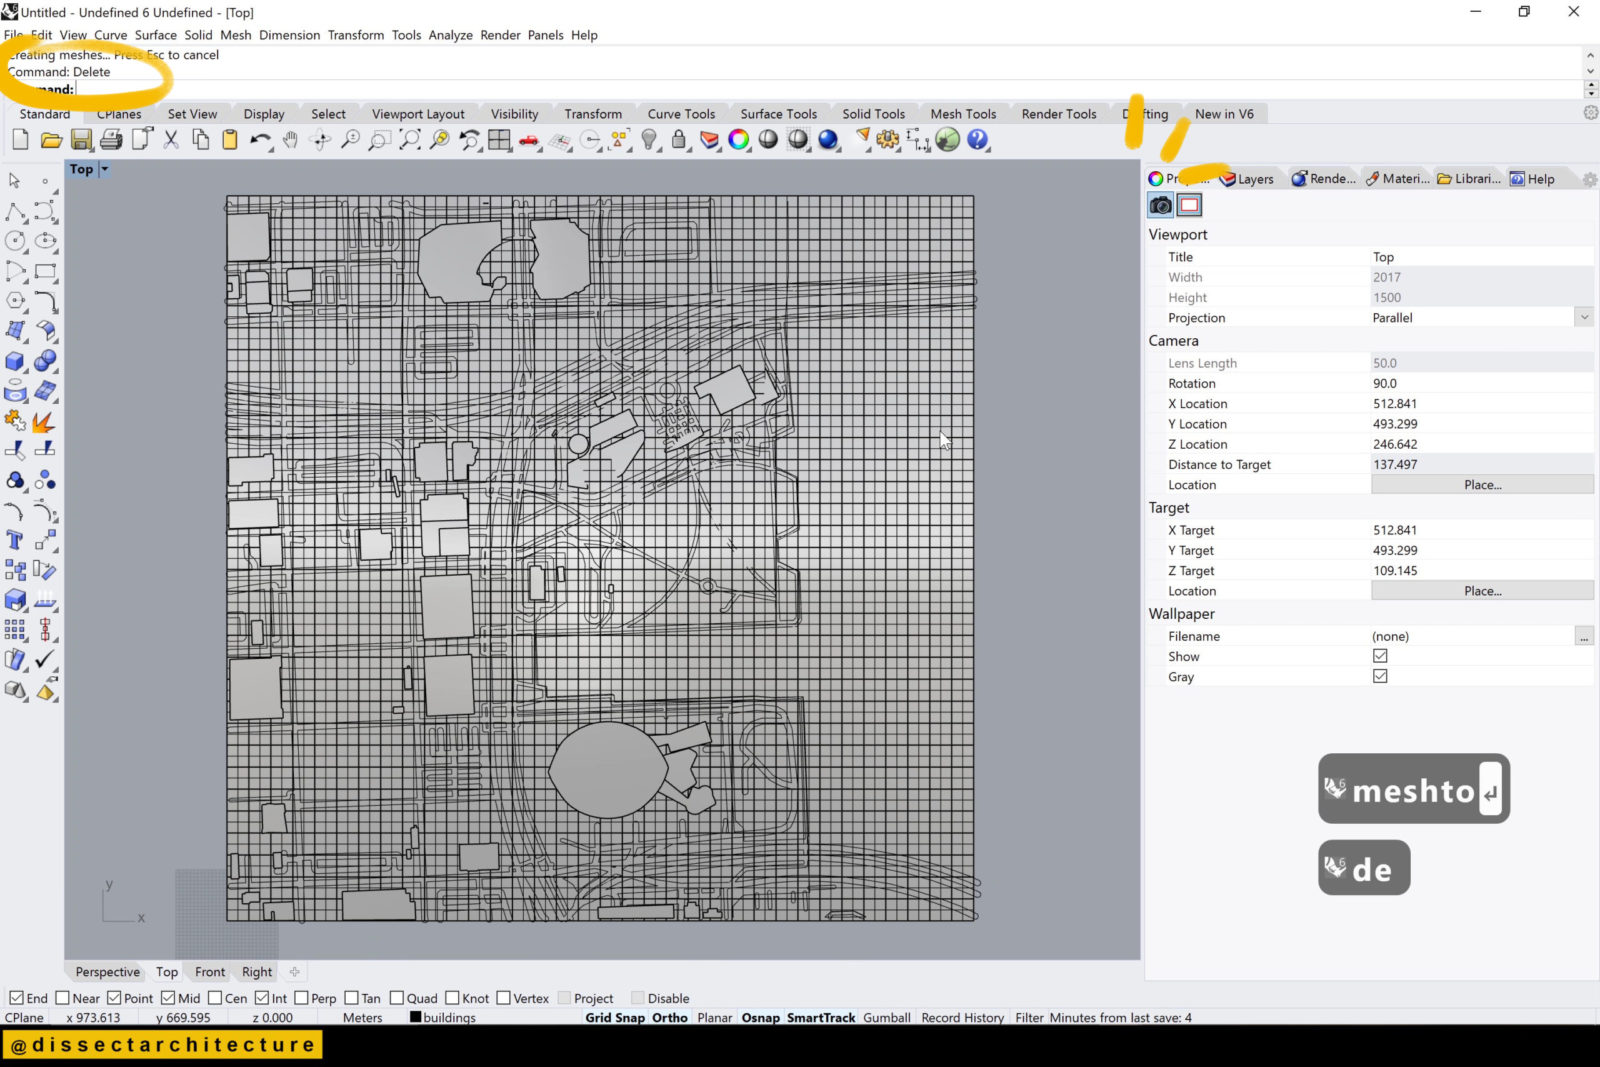
Step 07
The topo is a mesh and I am transforming it to be polysurface. Use the MeshtoNurbs command to achieve this and then delete the mesh.
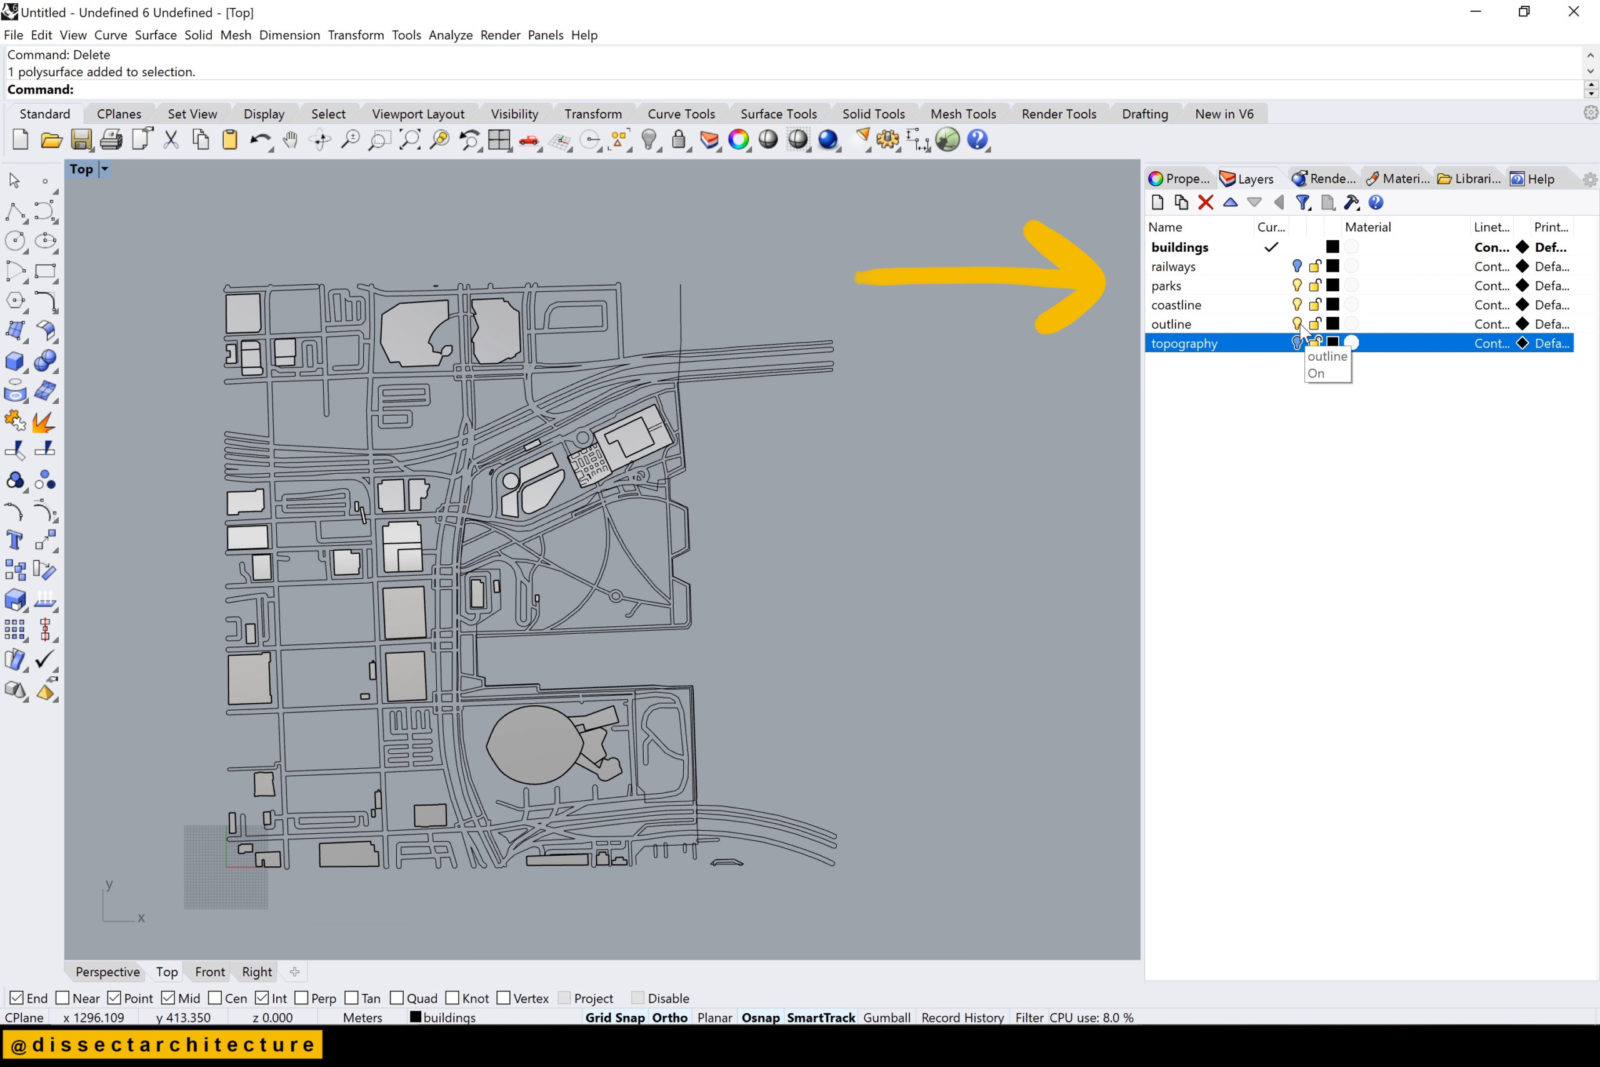
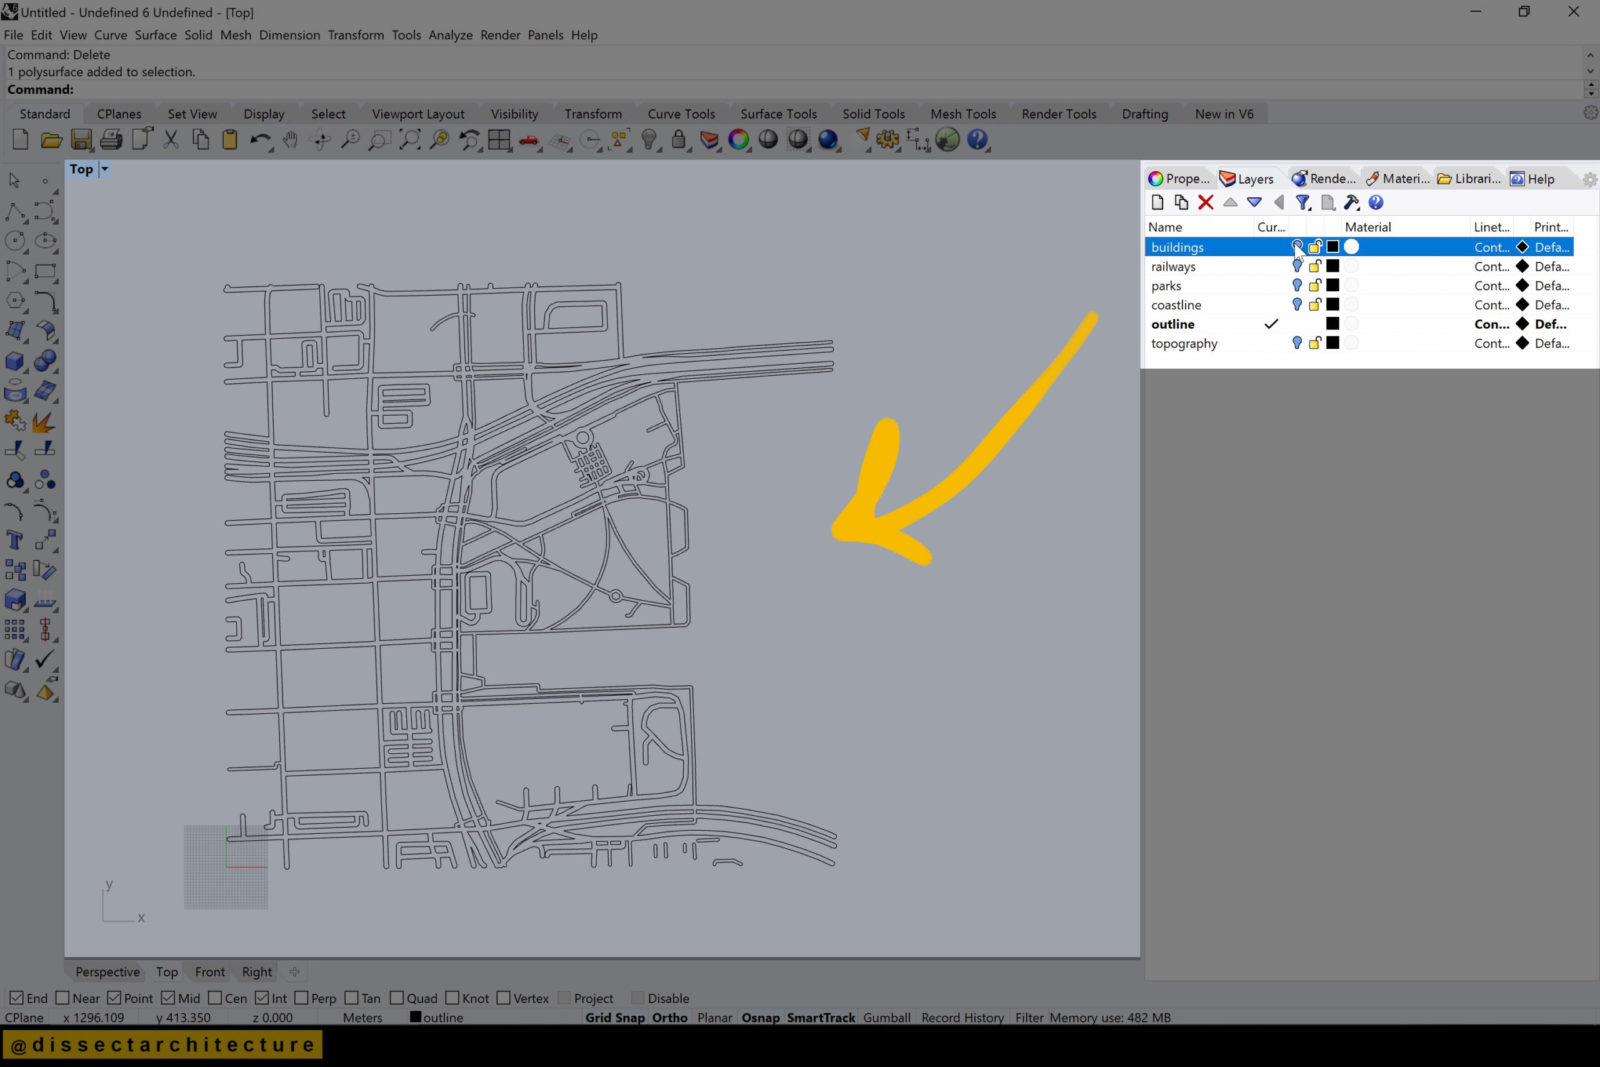
Step 08
I am turning off all the layers except for the road outlines.
Step 09
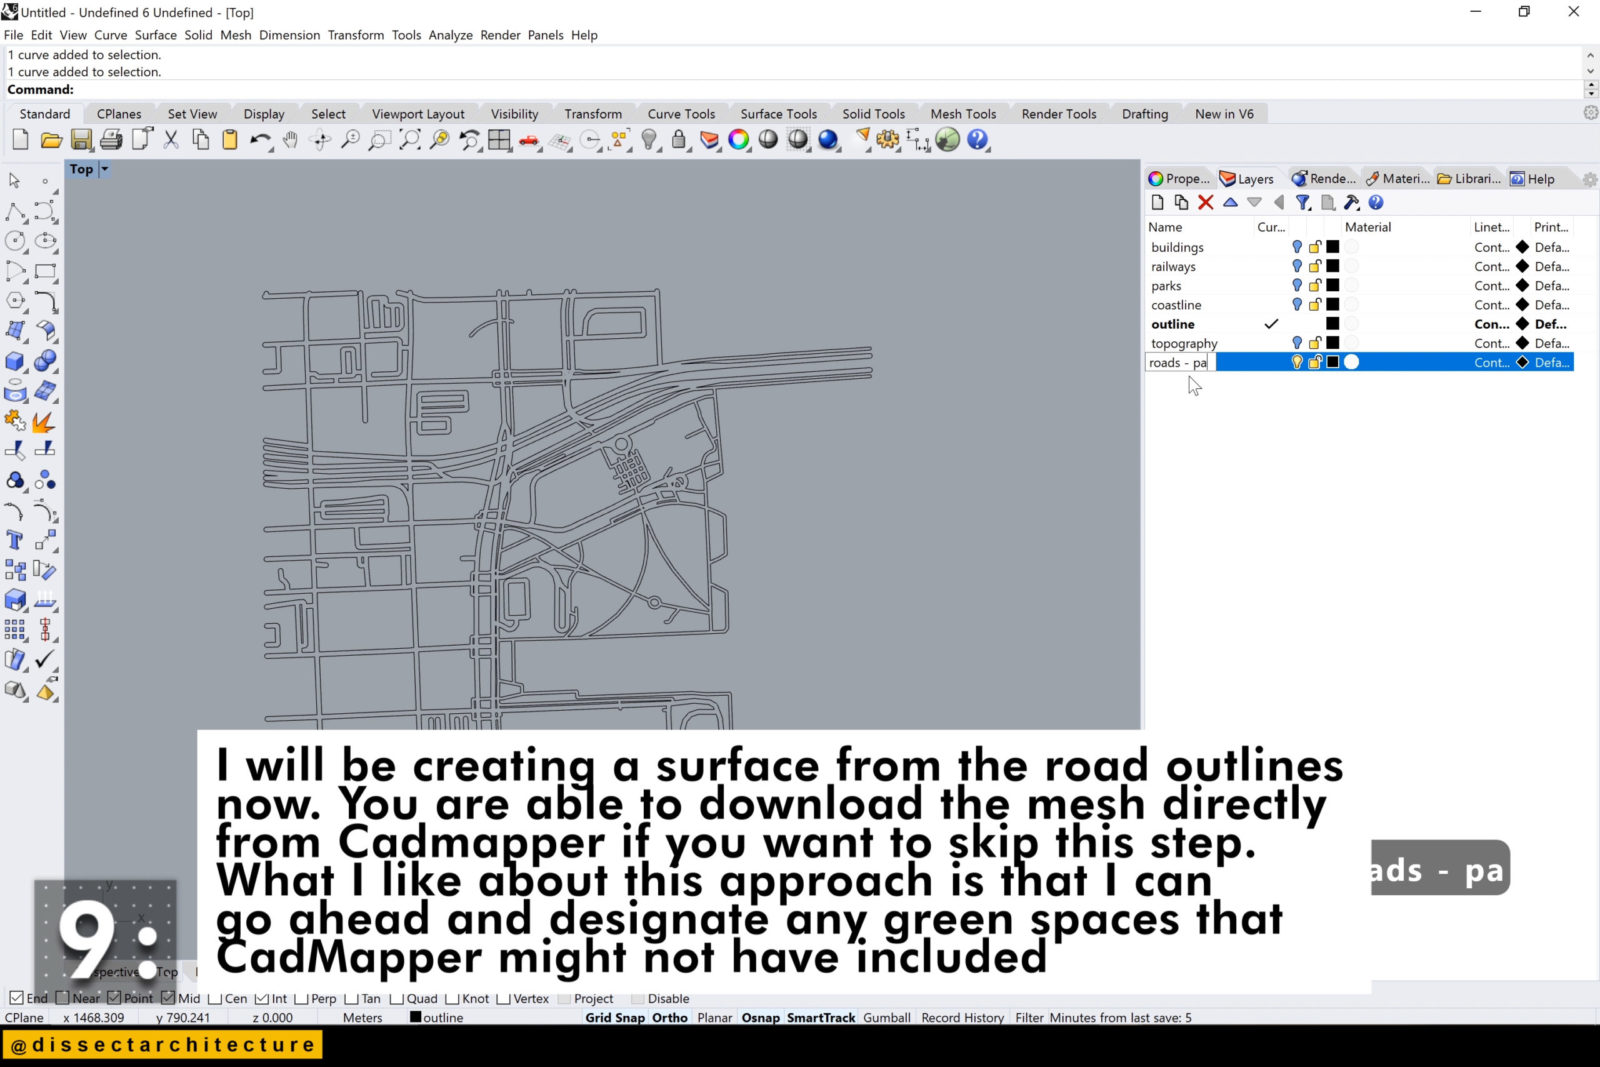
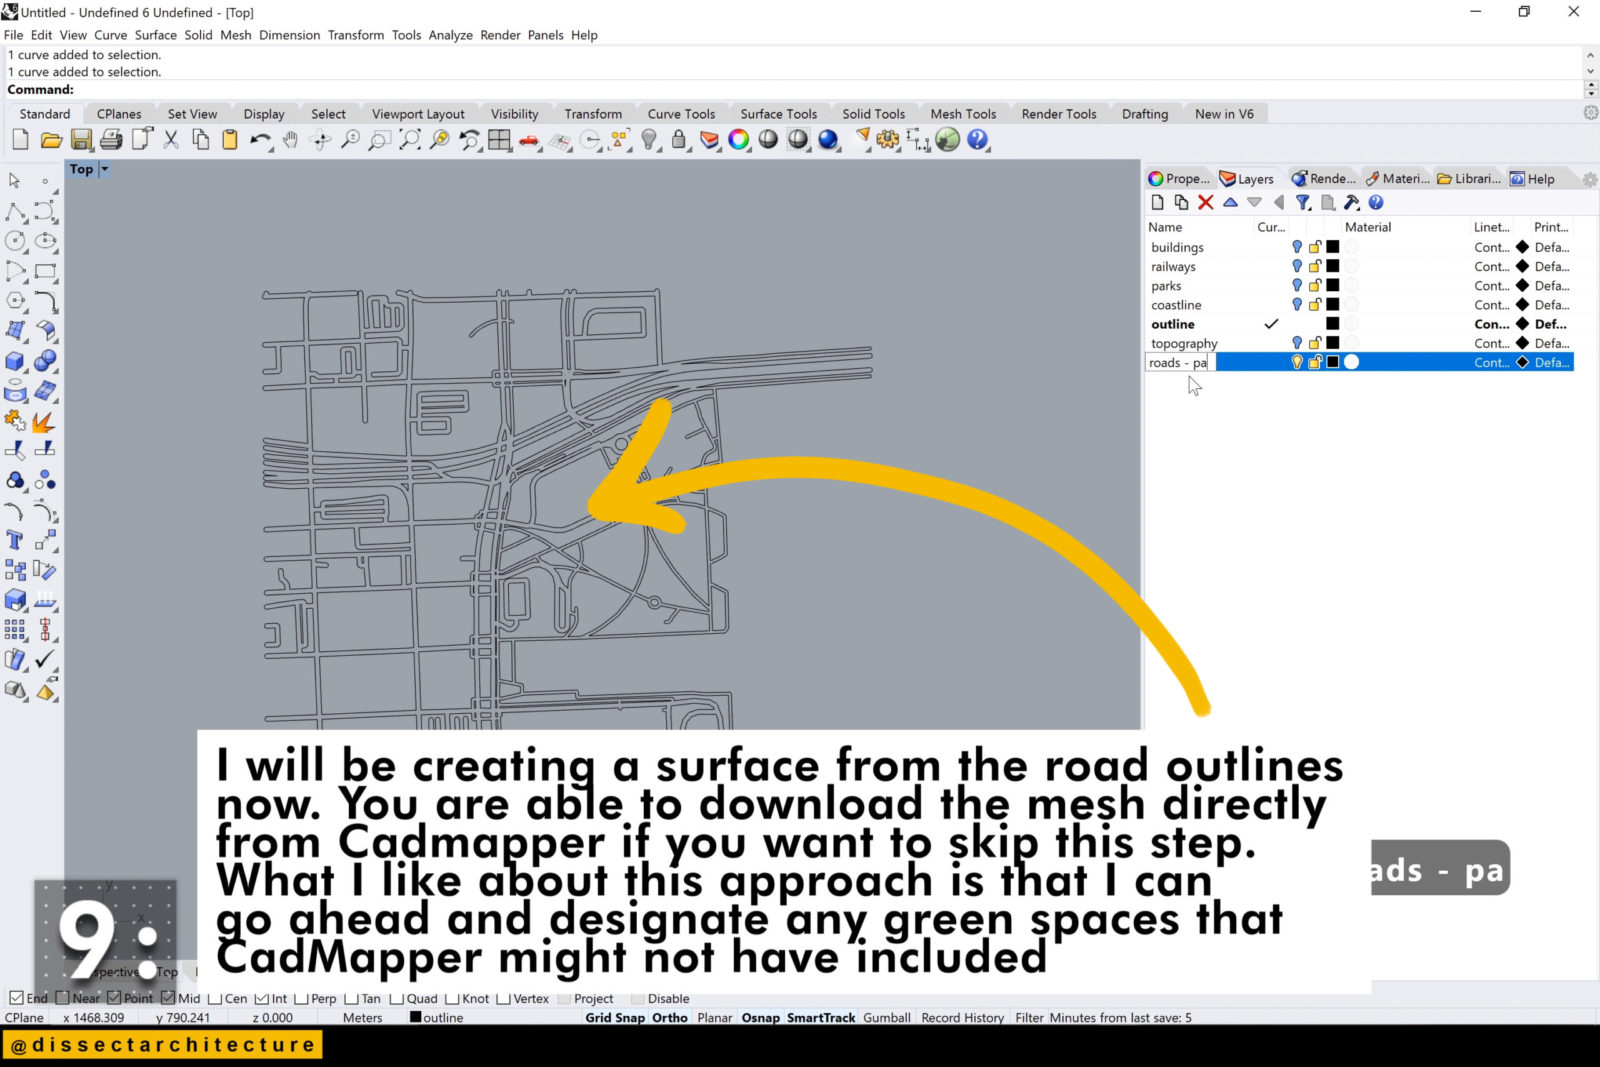
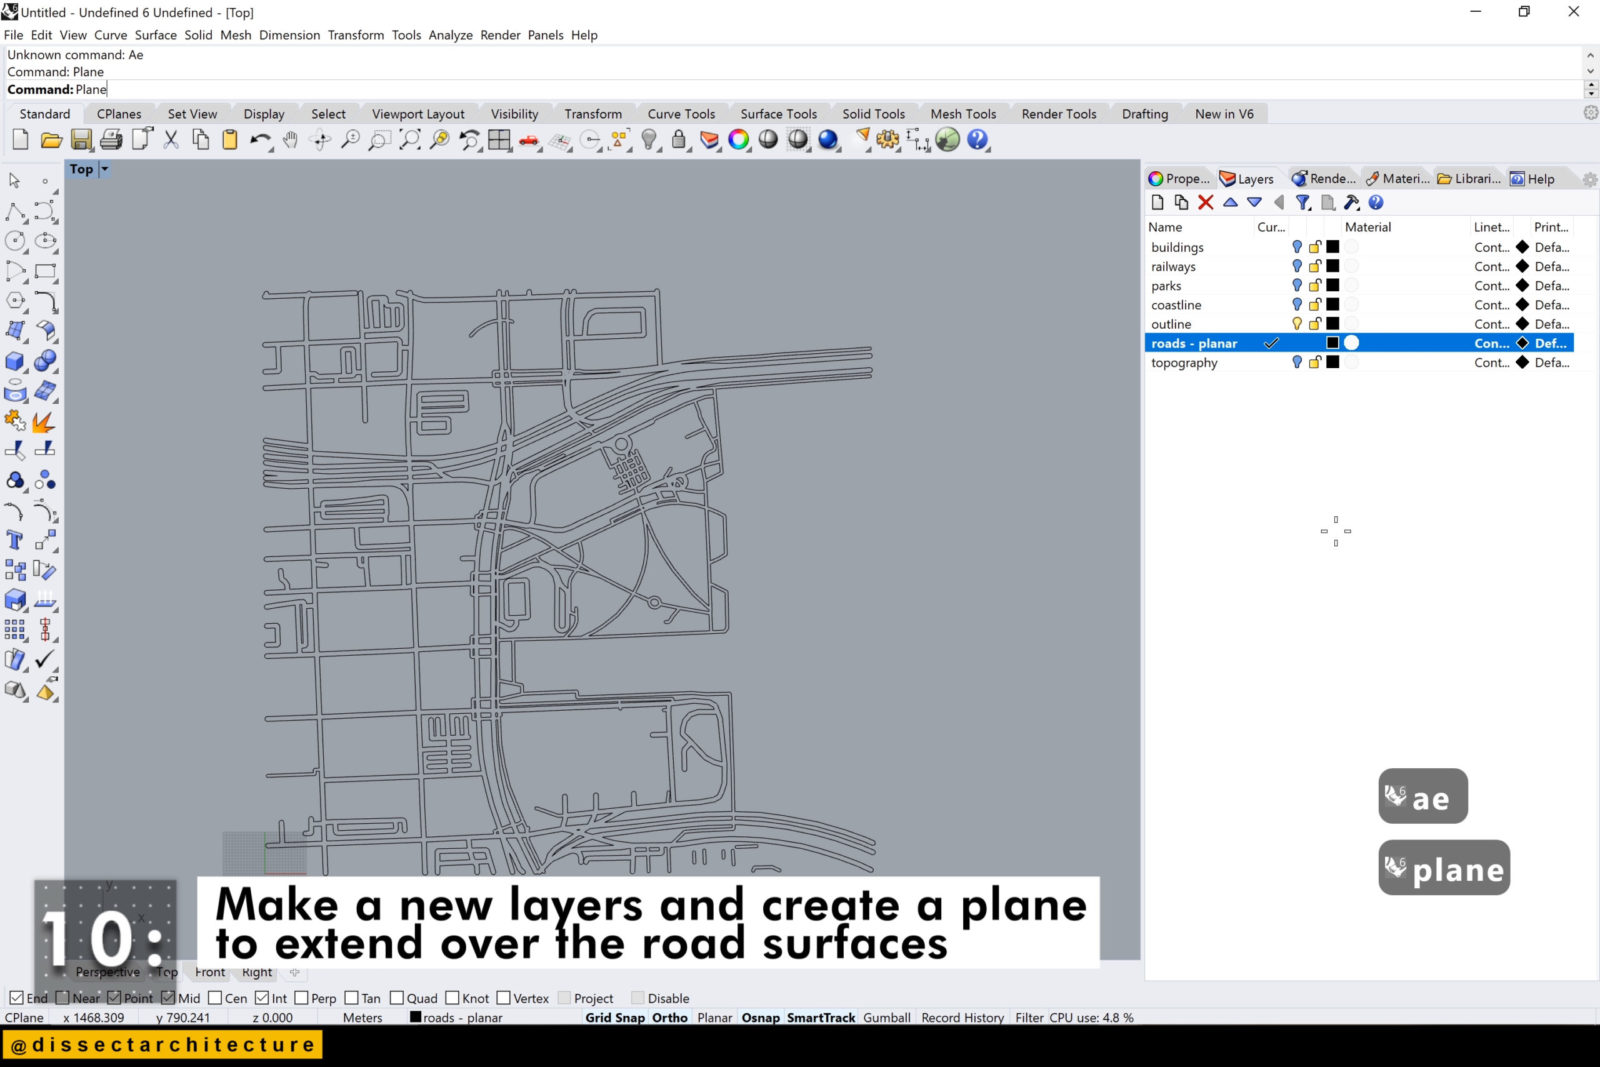
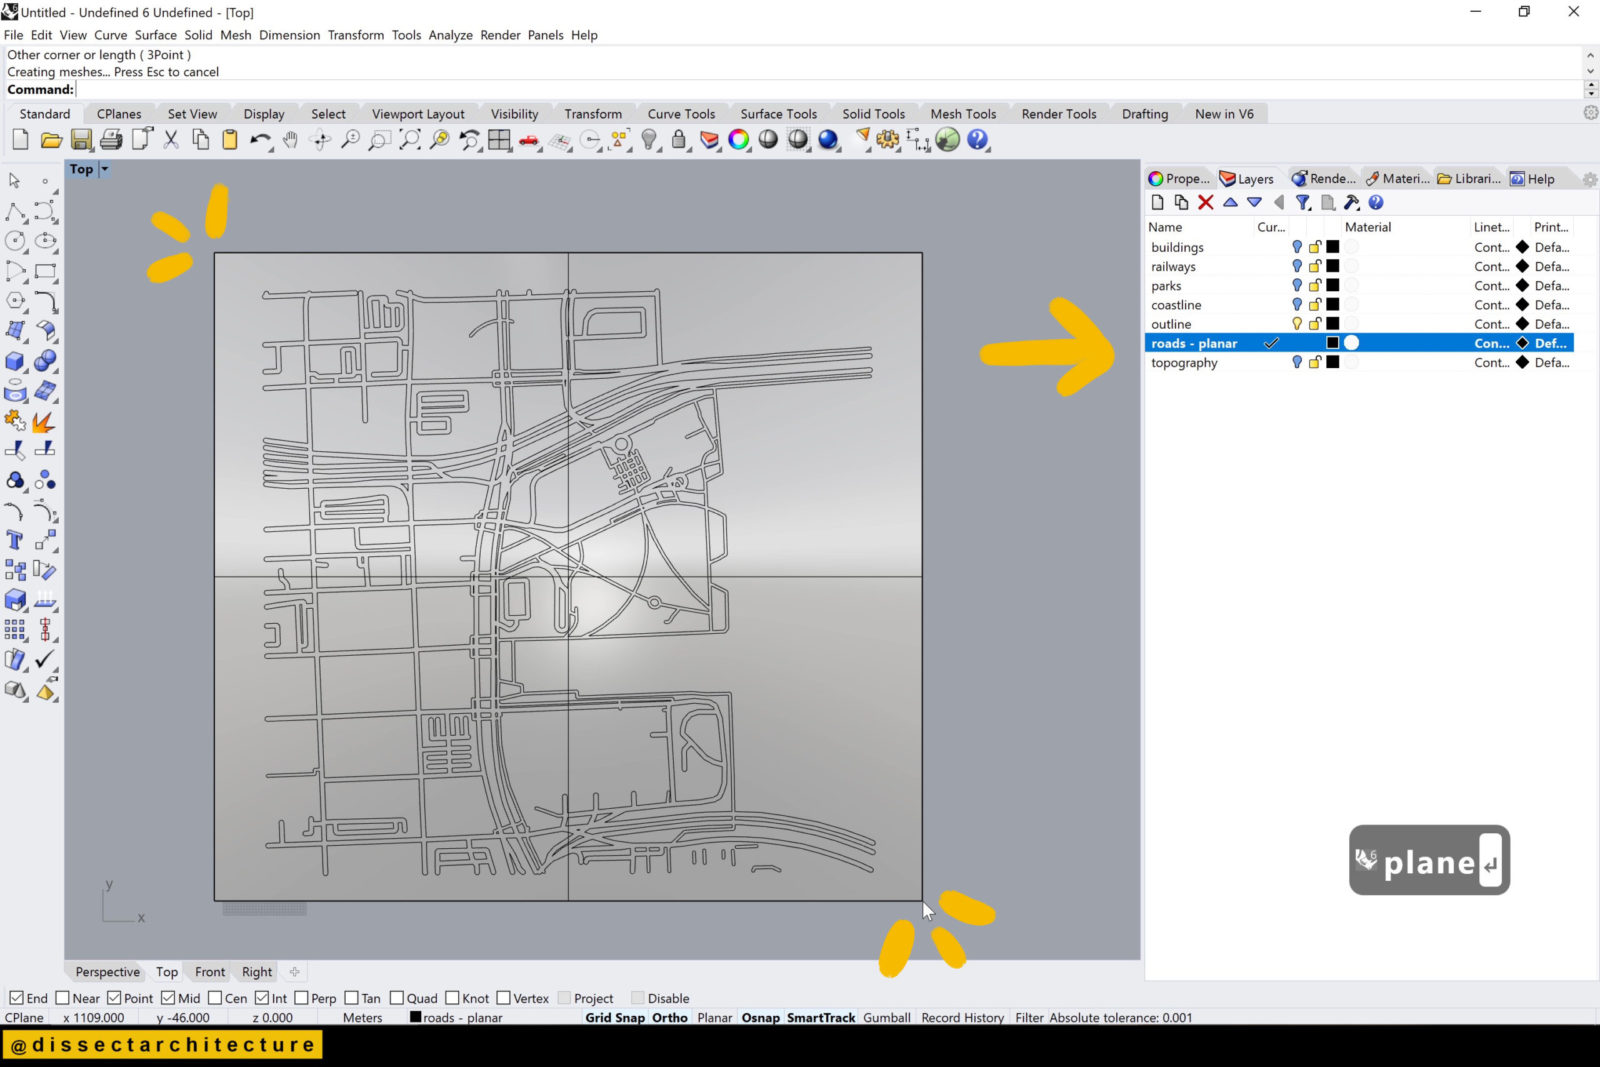
Step 10
Make a new layer and create a plane to extend over the road surfaces.
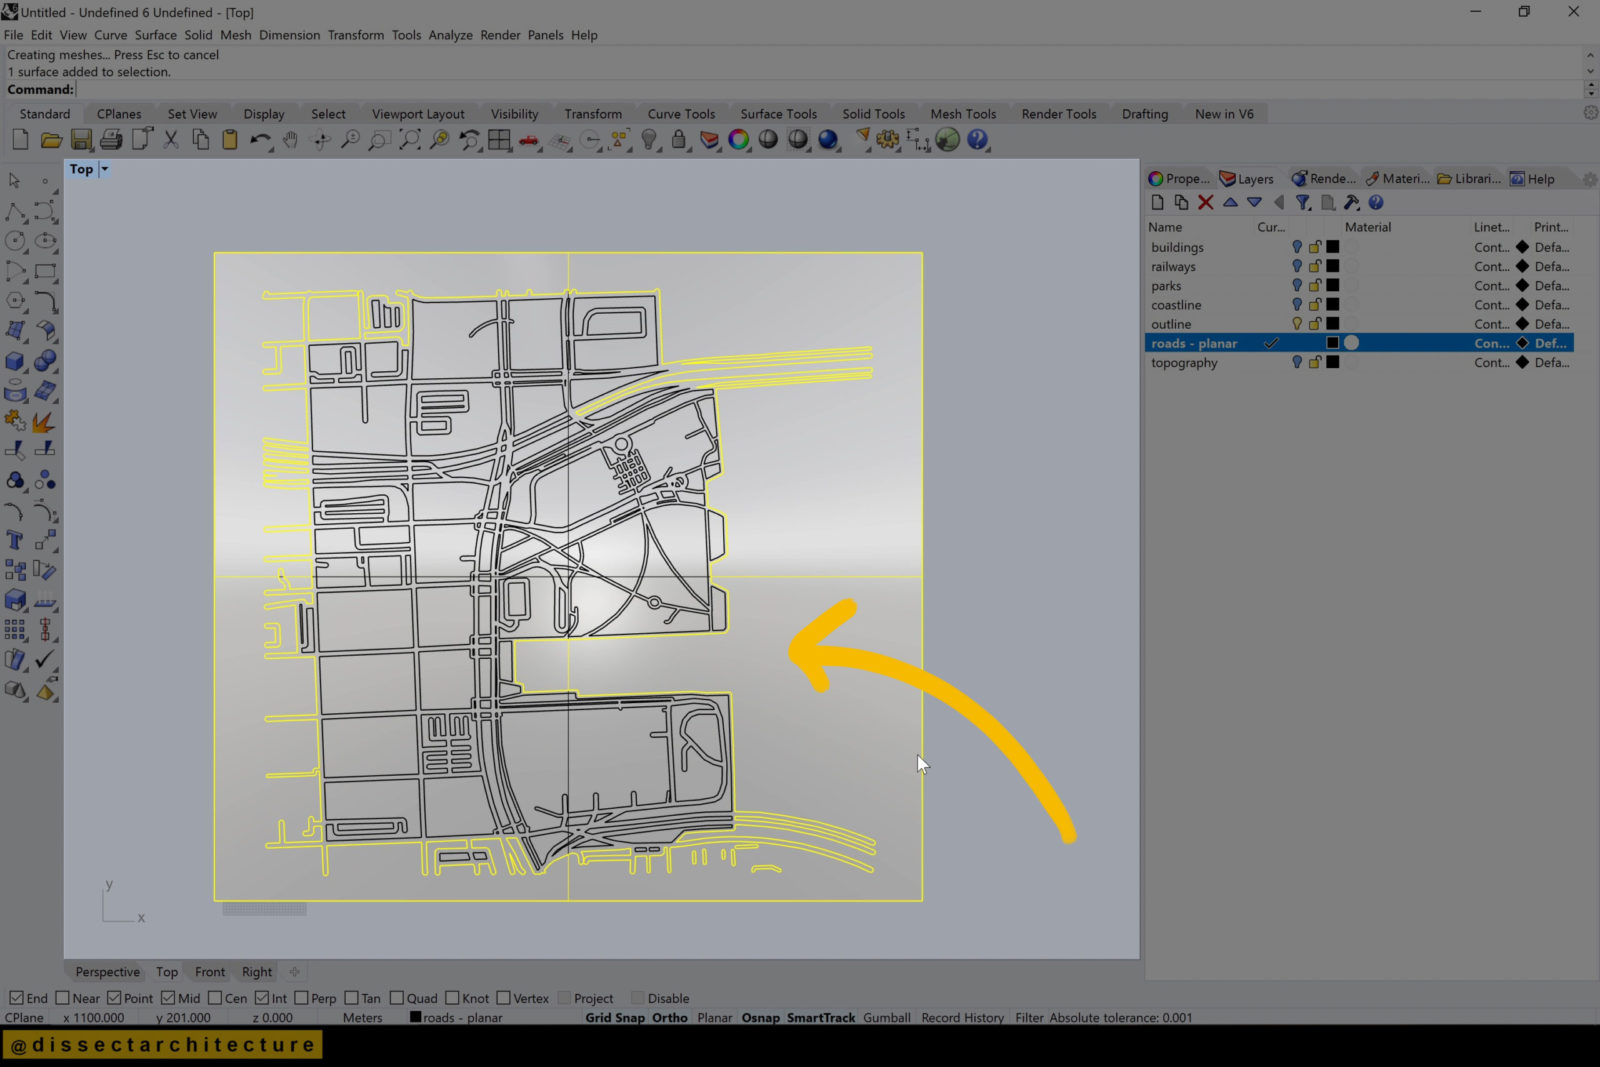
Step 11
Use the Split command, select everything and press enter. Make sure you are doing this from the top viewport.

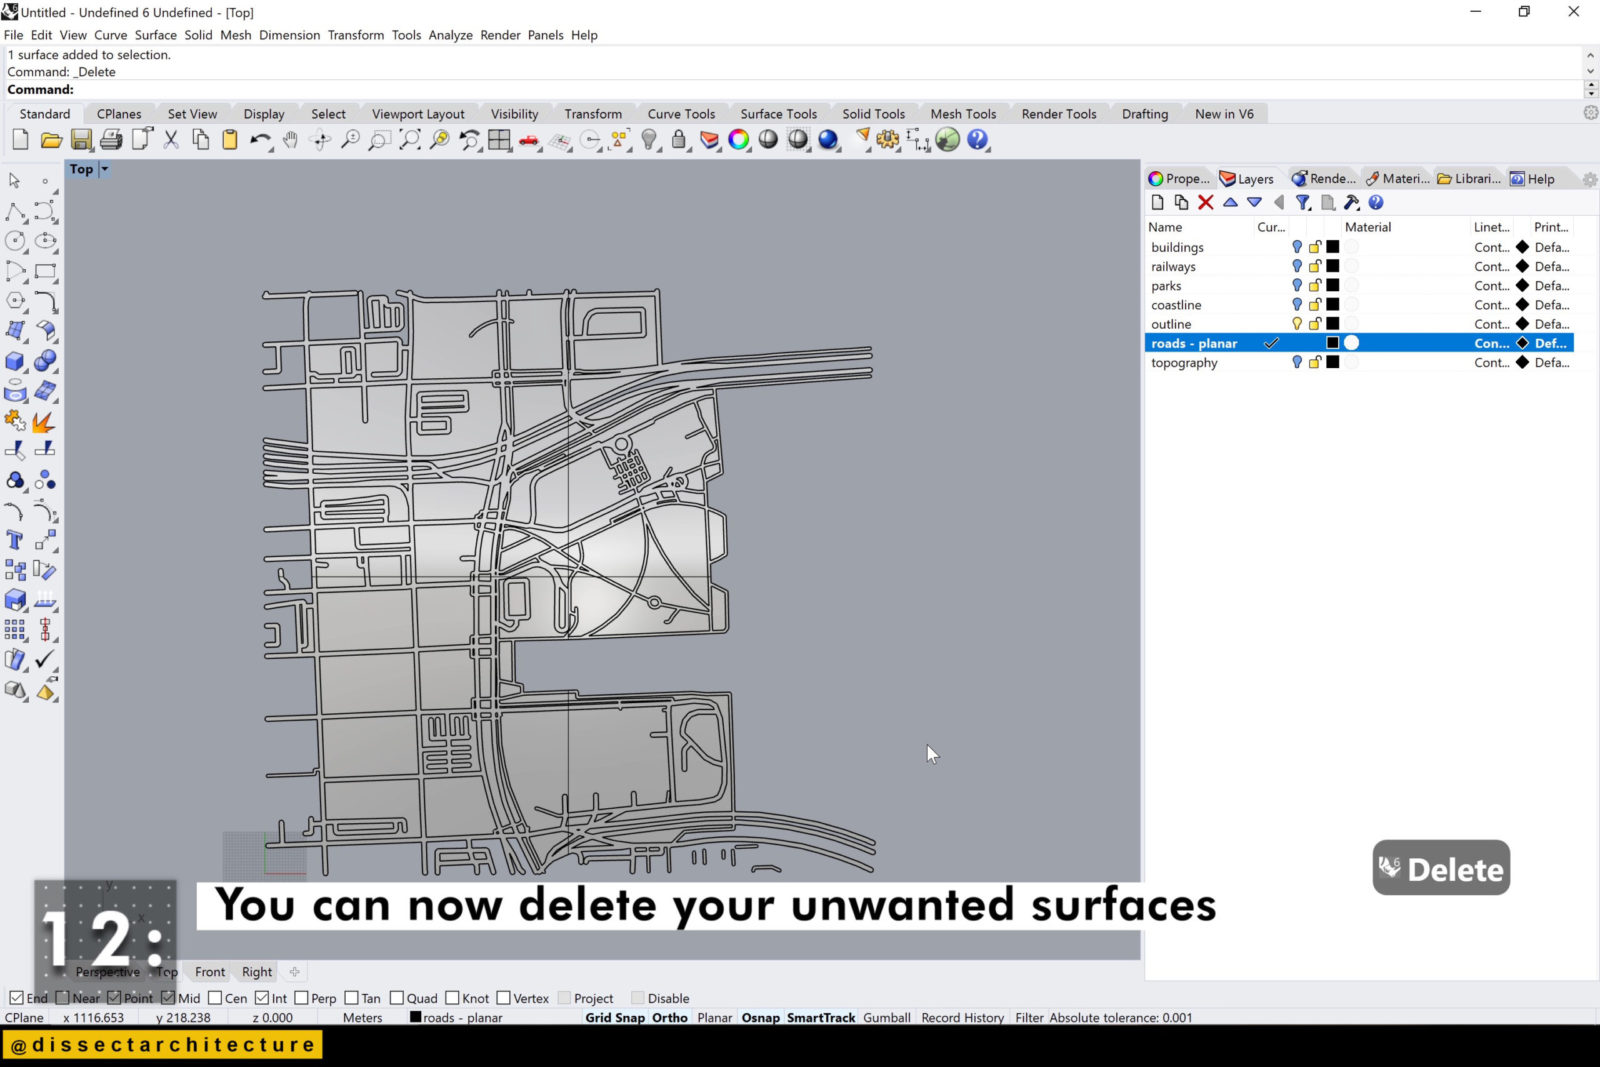
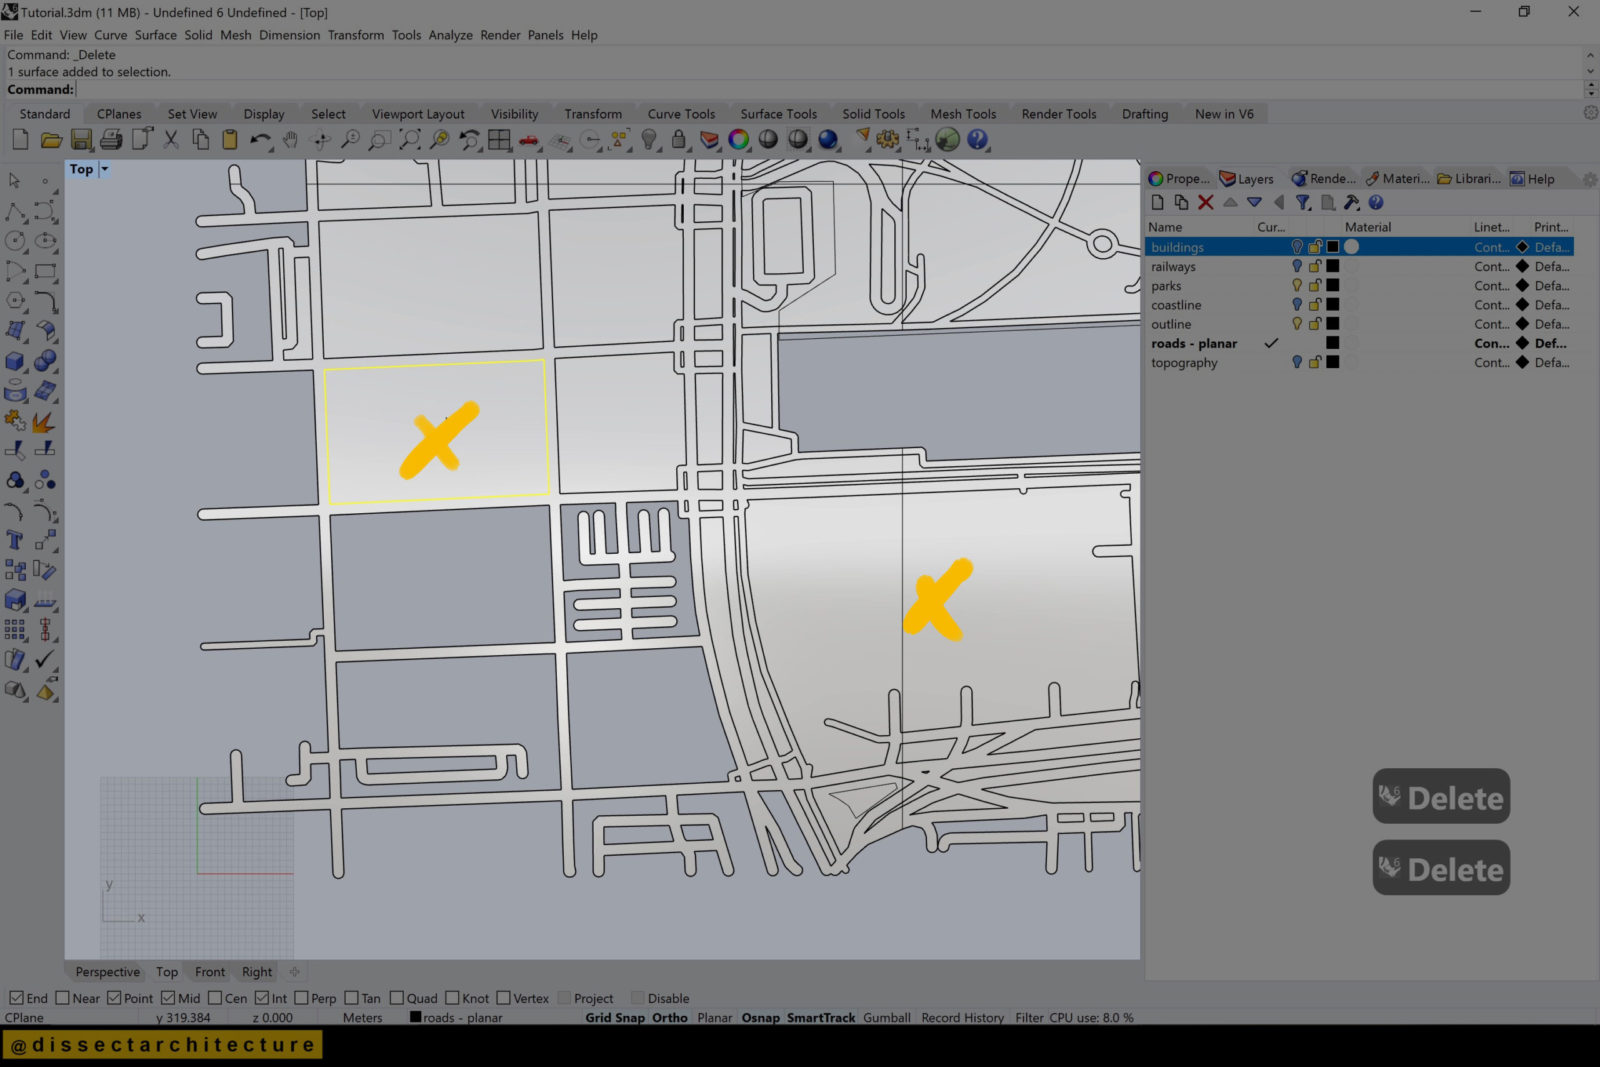
Step 12
You can now go ahead and delete any unwanted surfaces.
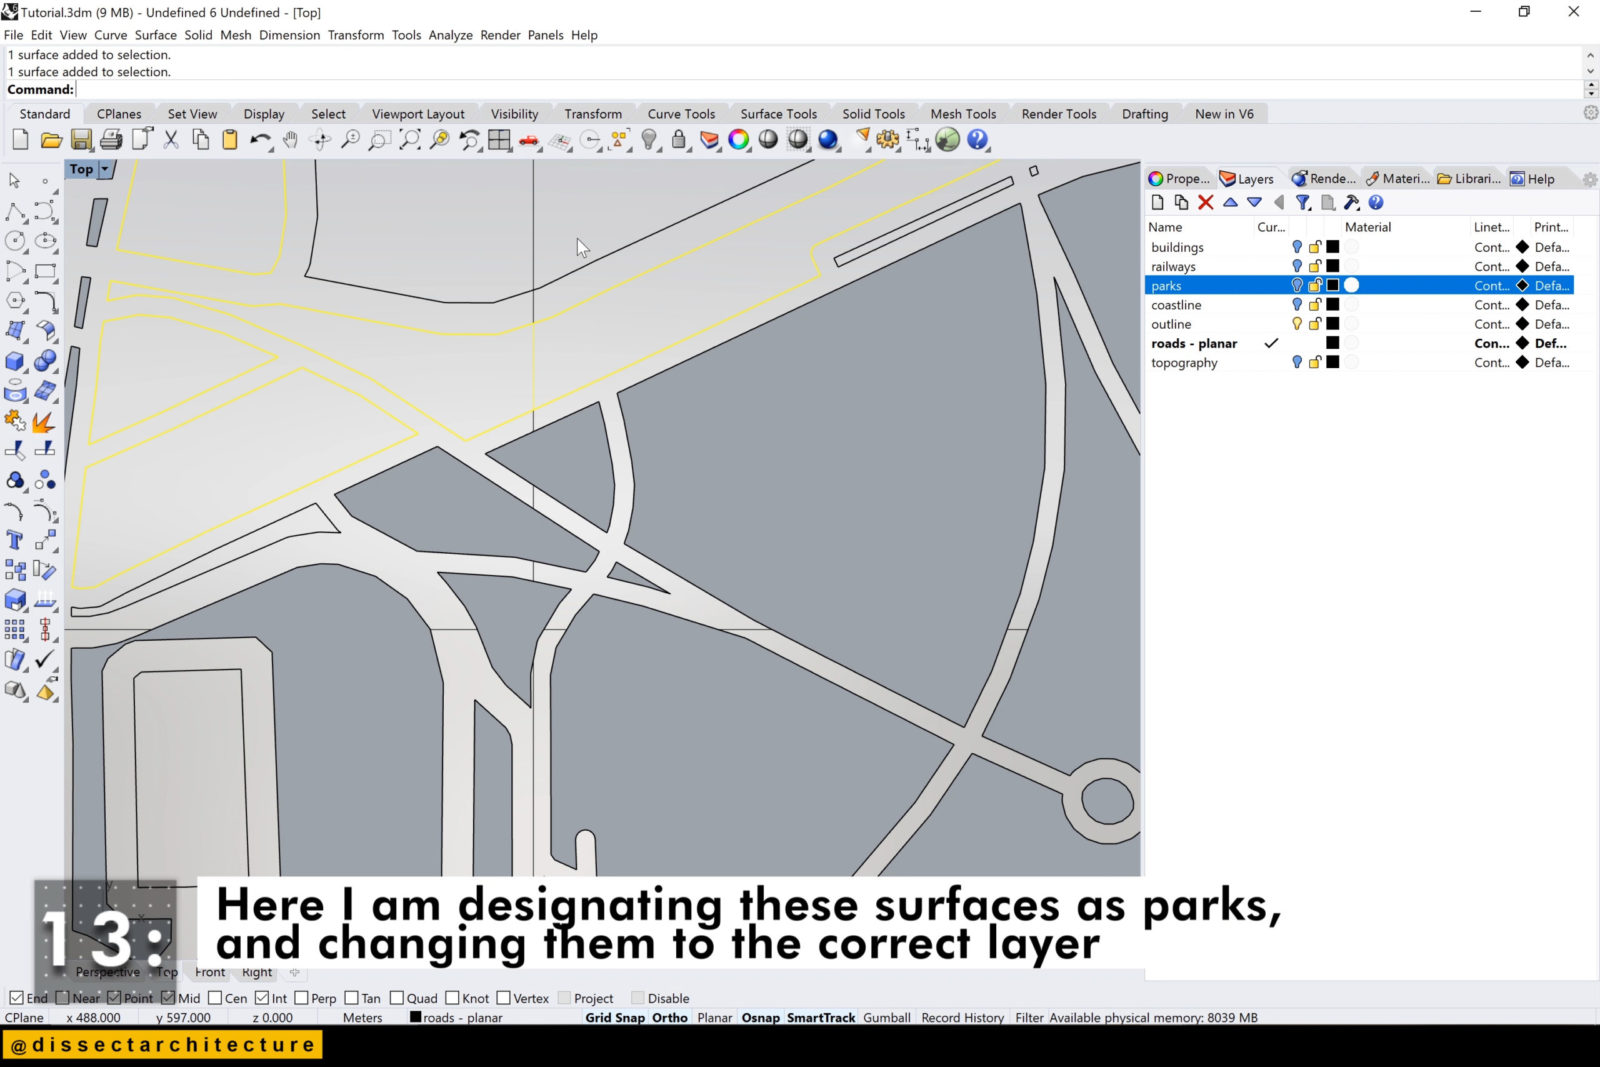
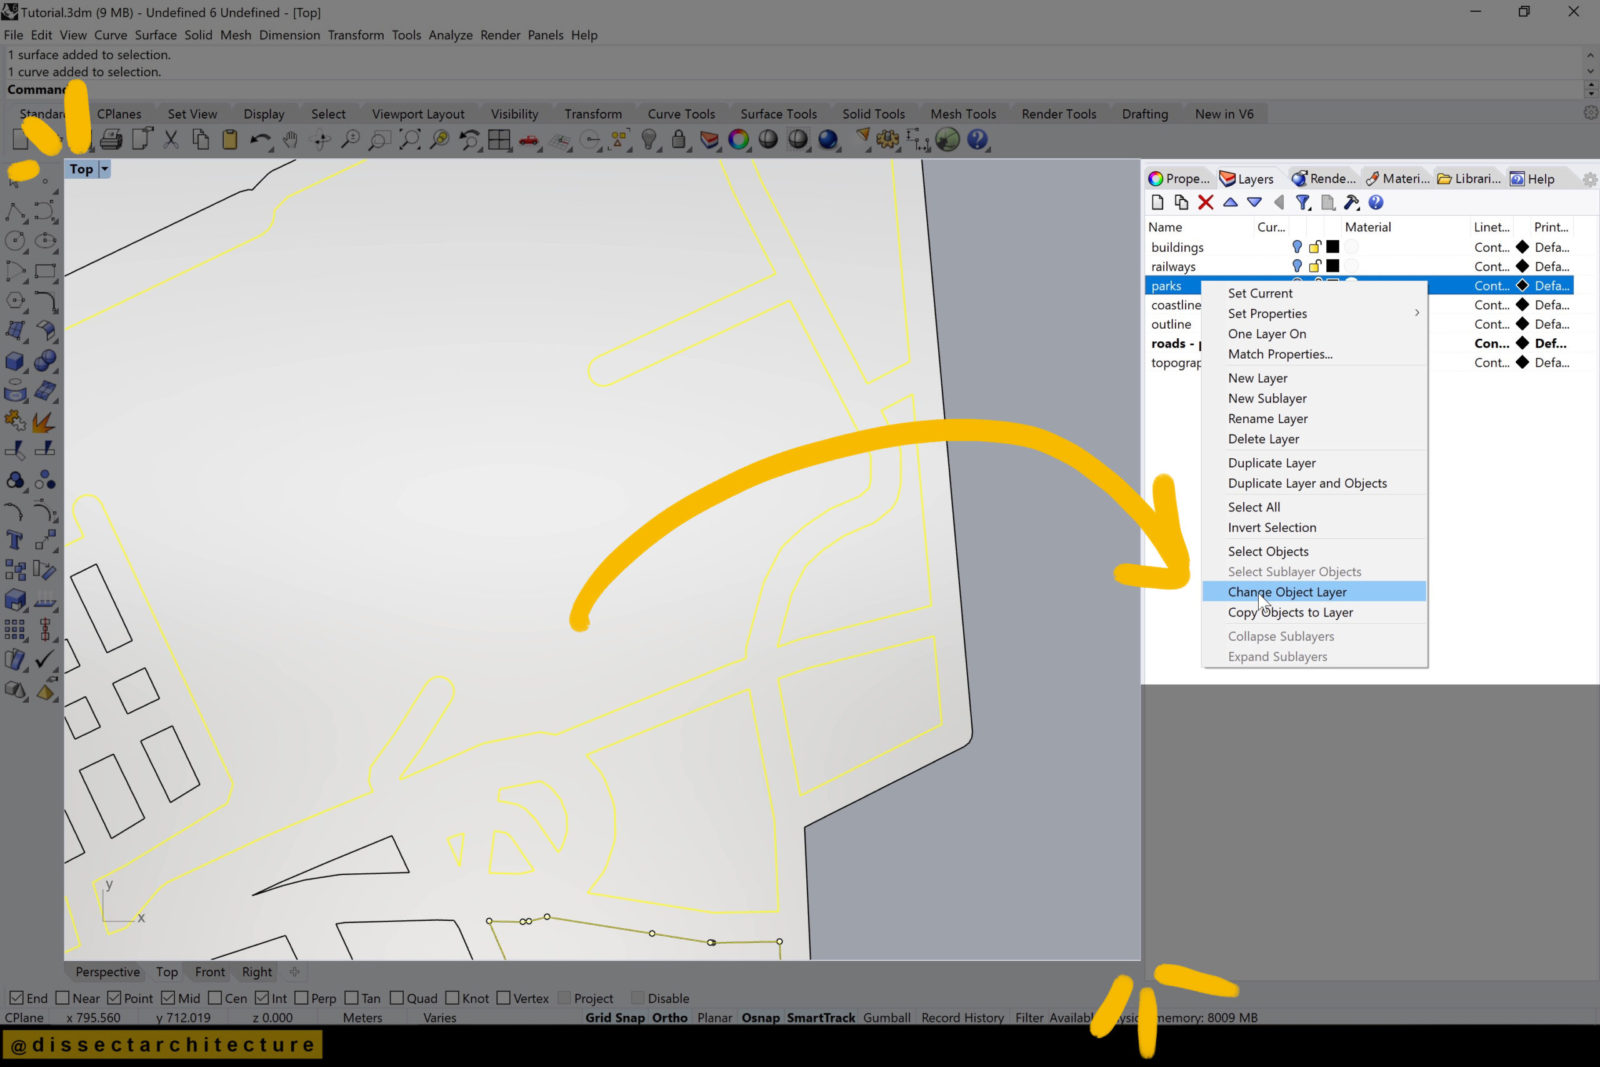
Step 13
Designate any surfaces as parks and change them to the correct layer for green spaces.
Continue the process until you are finished.
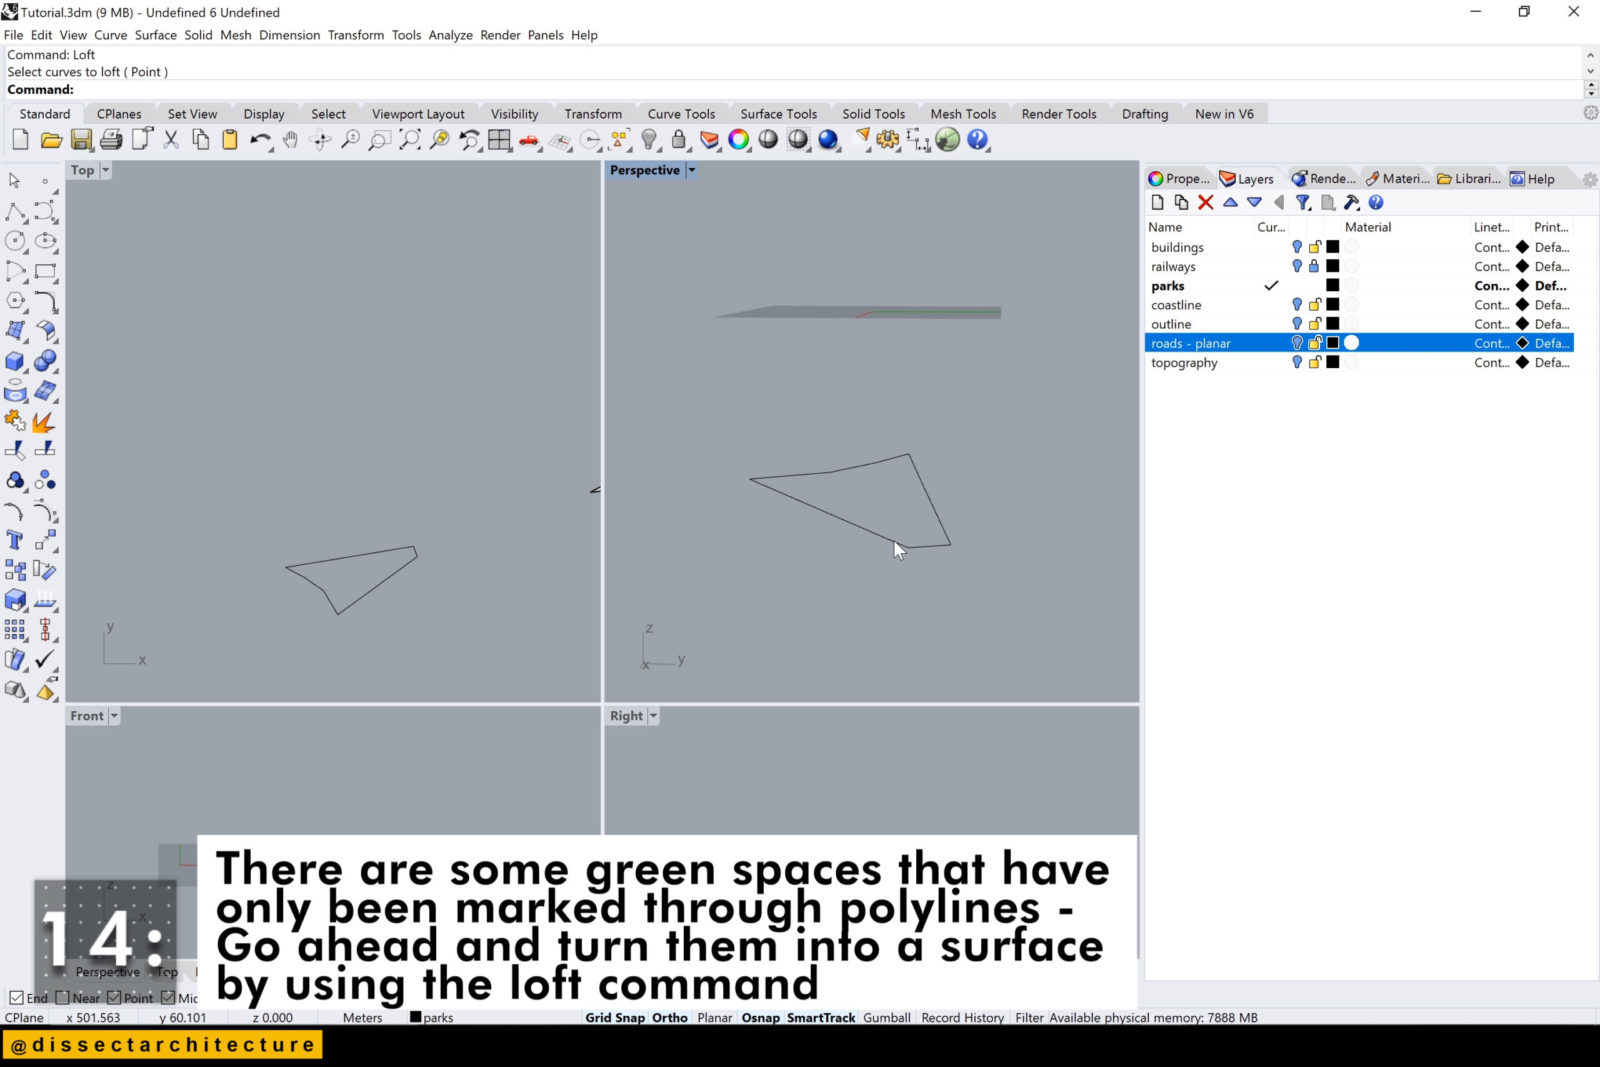
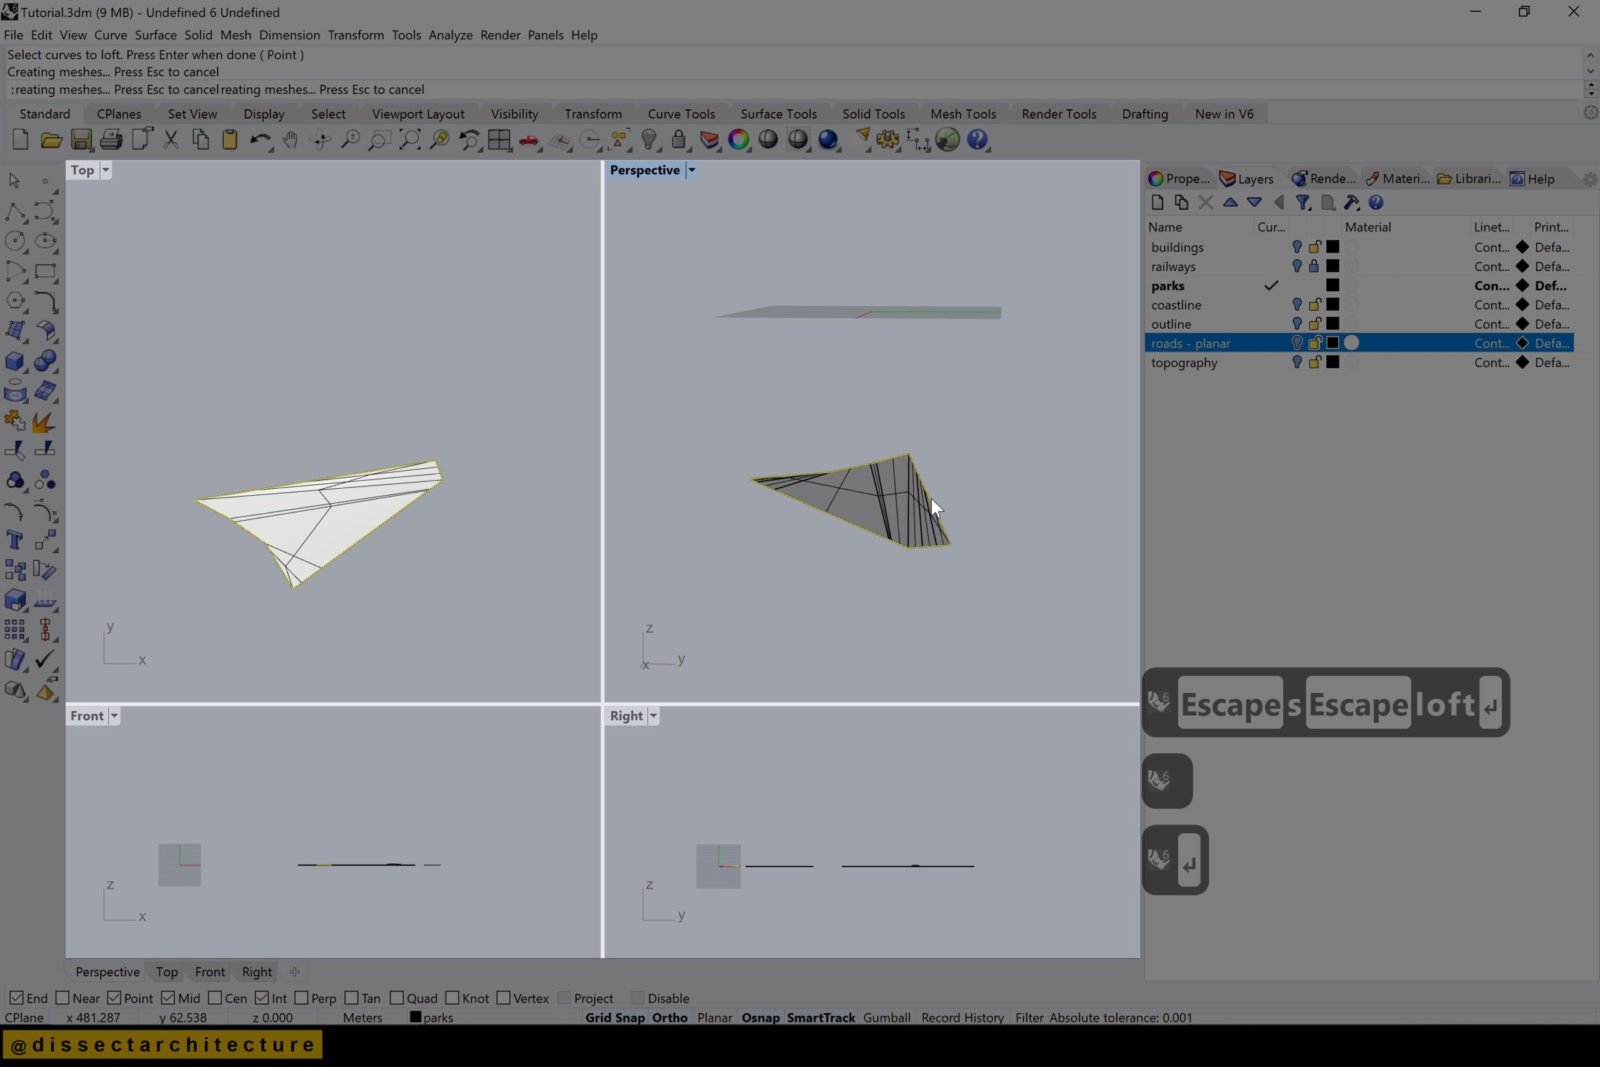
Step 14
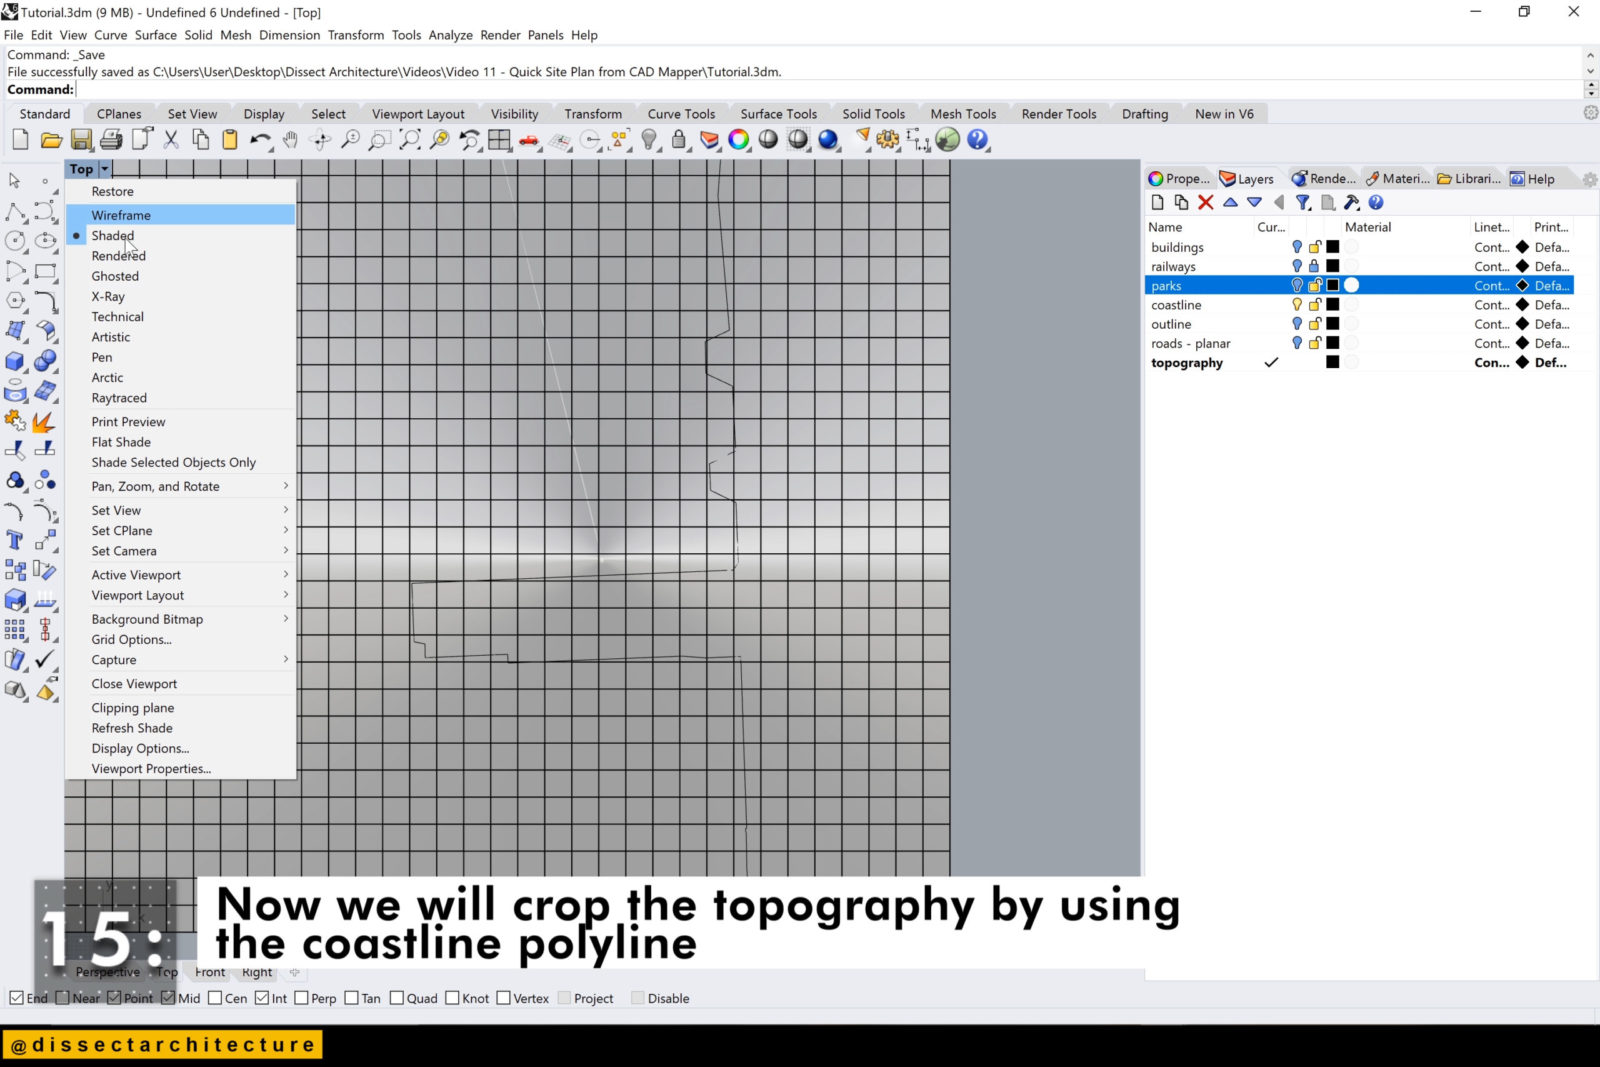
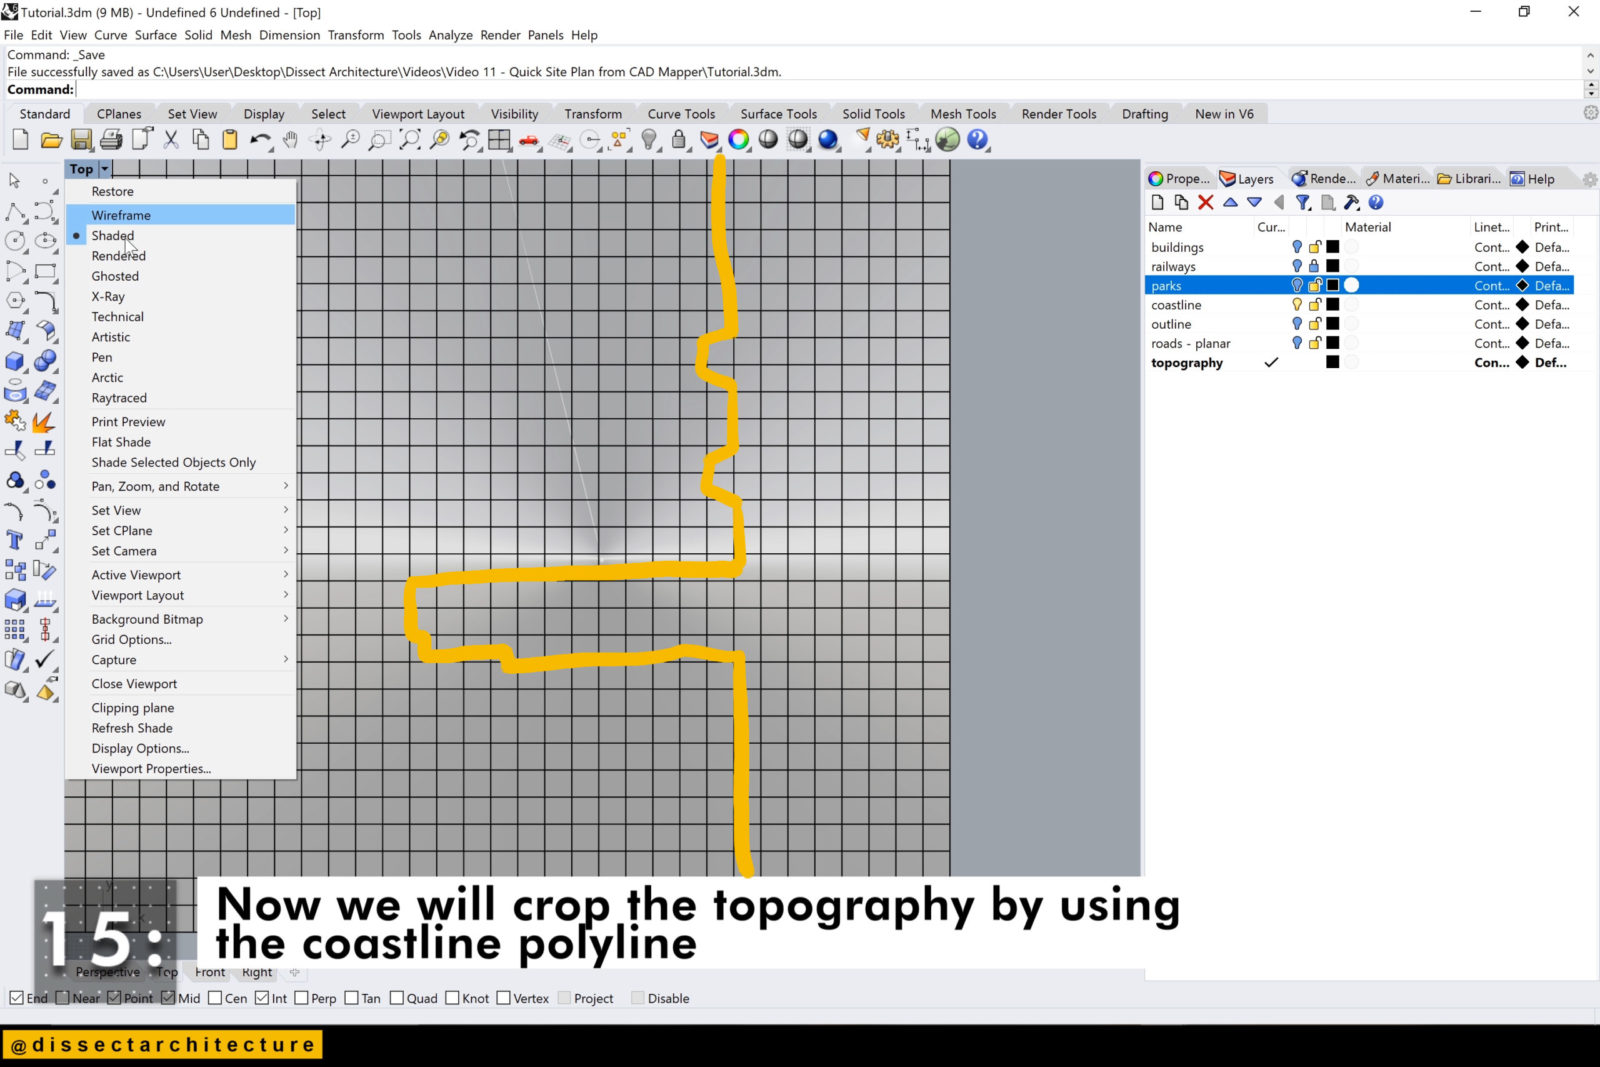
Step 15
Now we will crop the topography by using the coastline polyline.
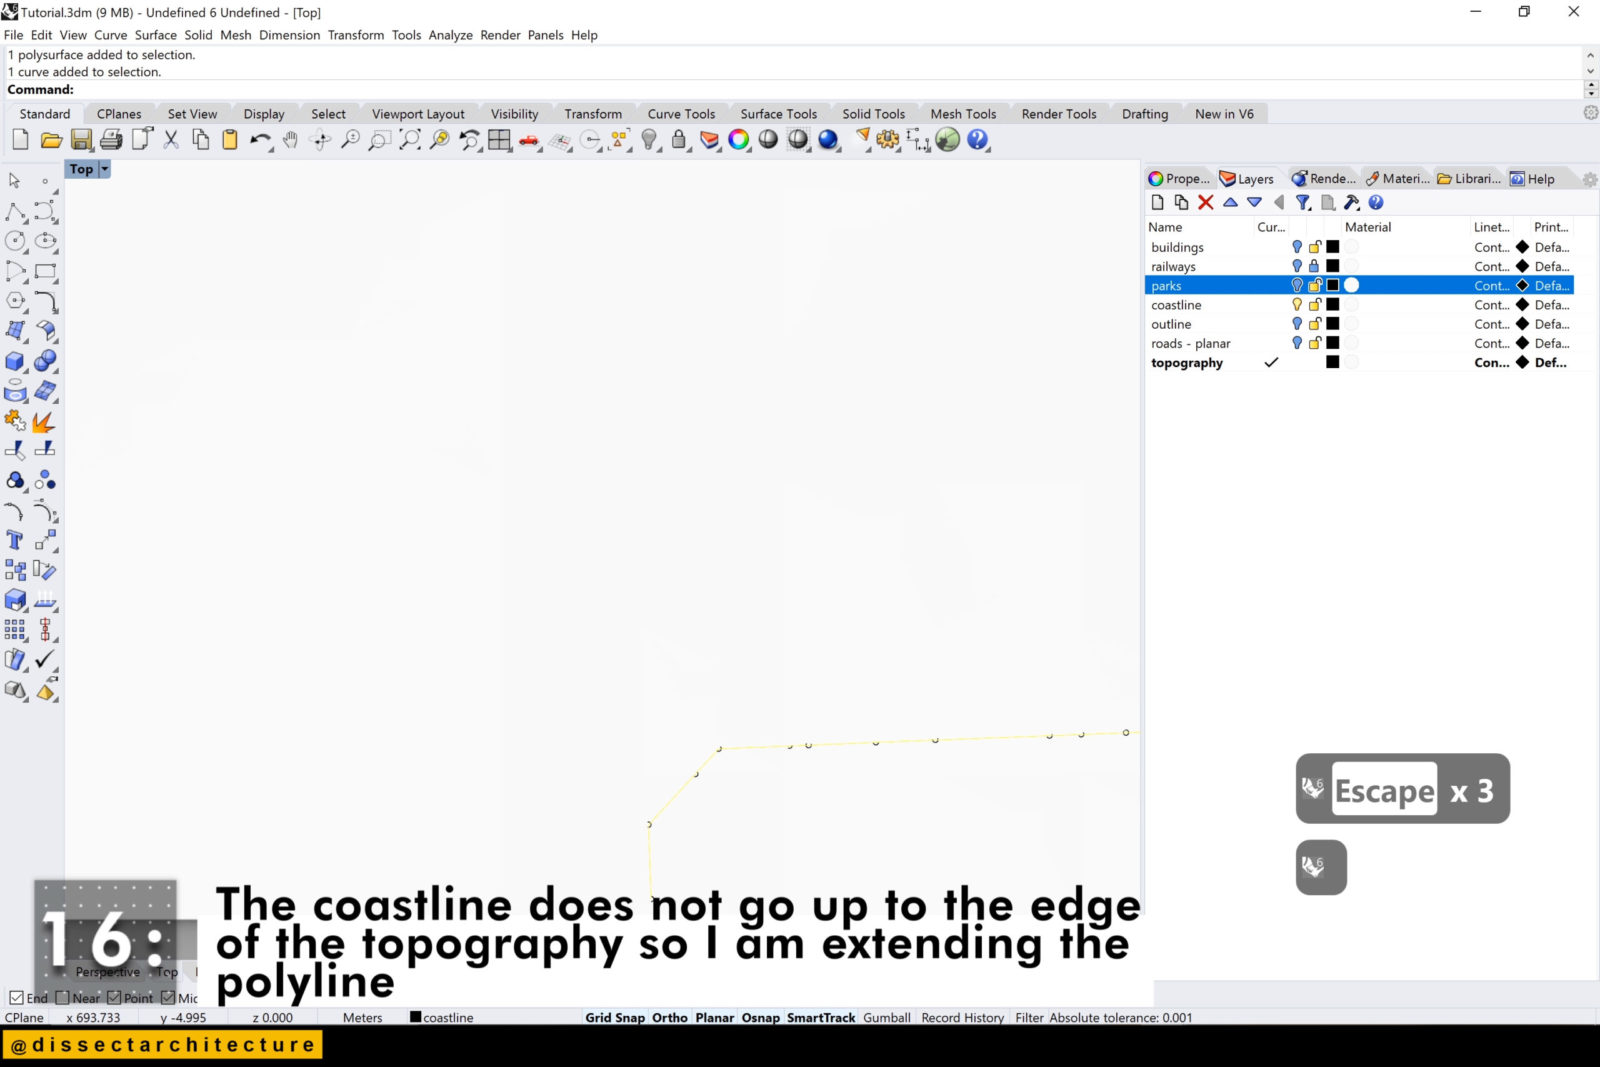
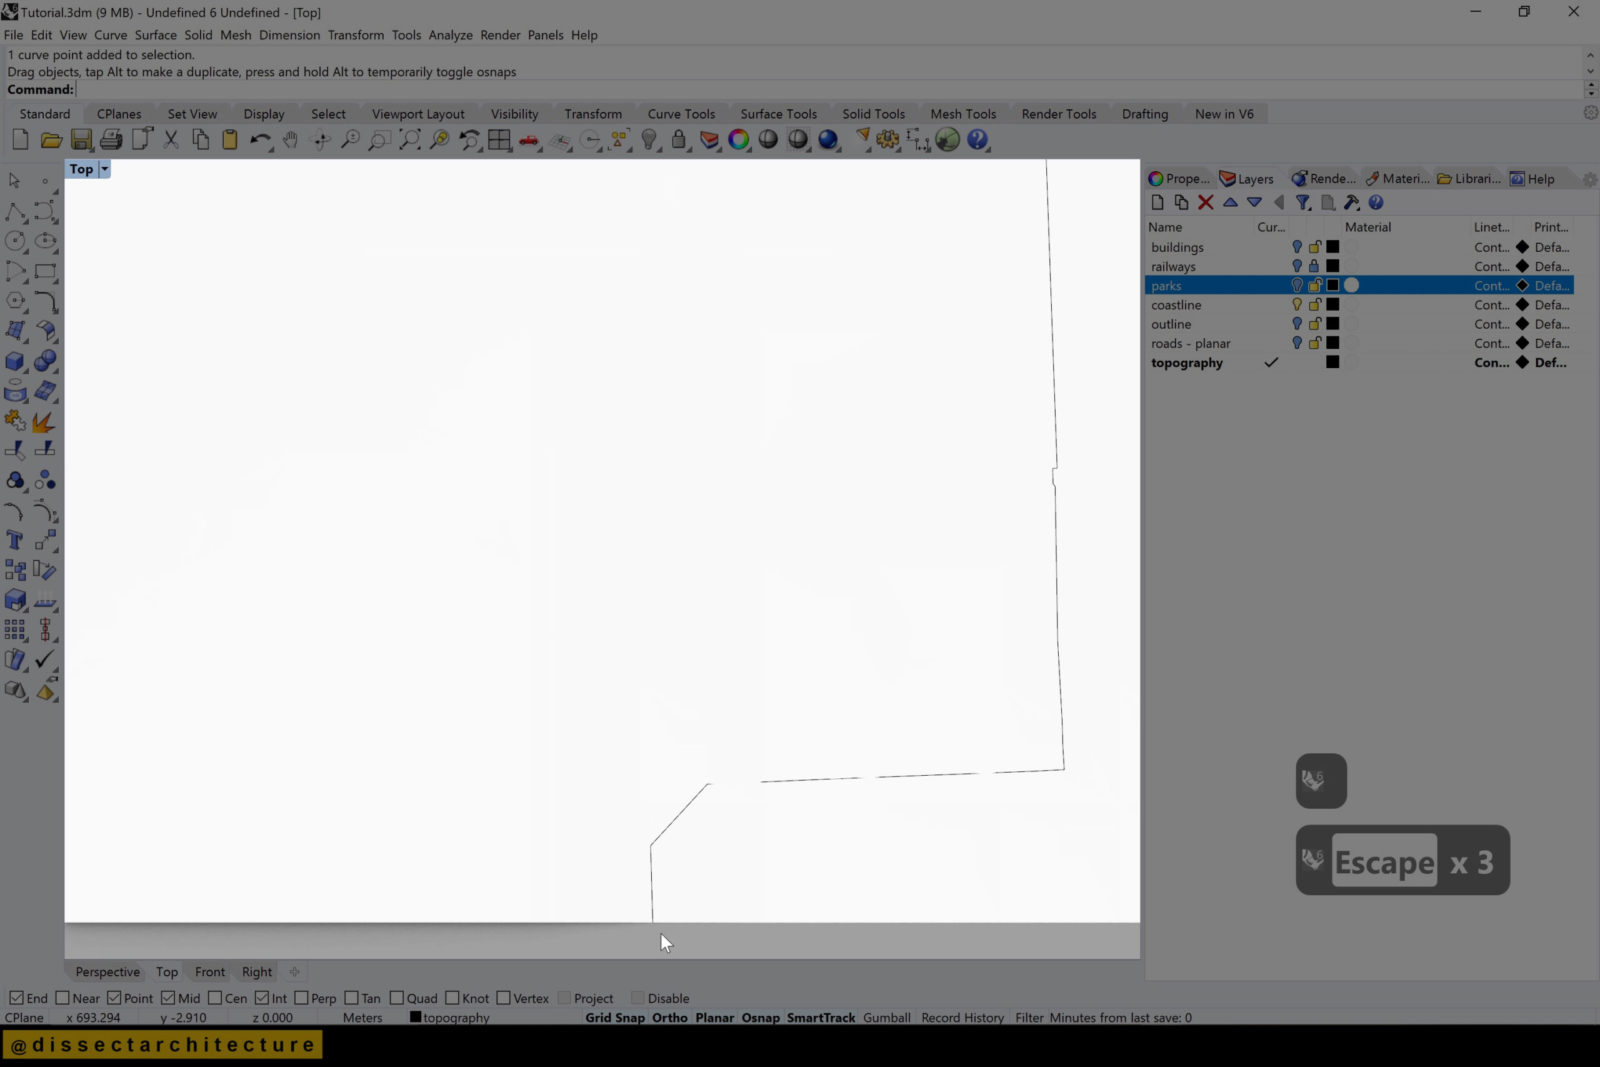
Step 16
The coastline does not go up to the edge of the topography so I am extending the polyline to meet it.
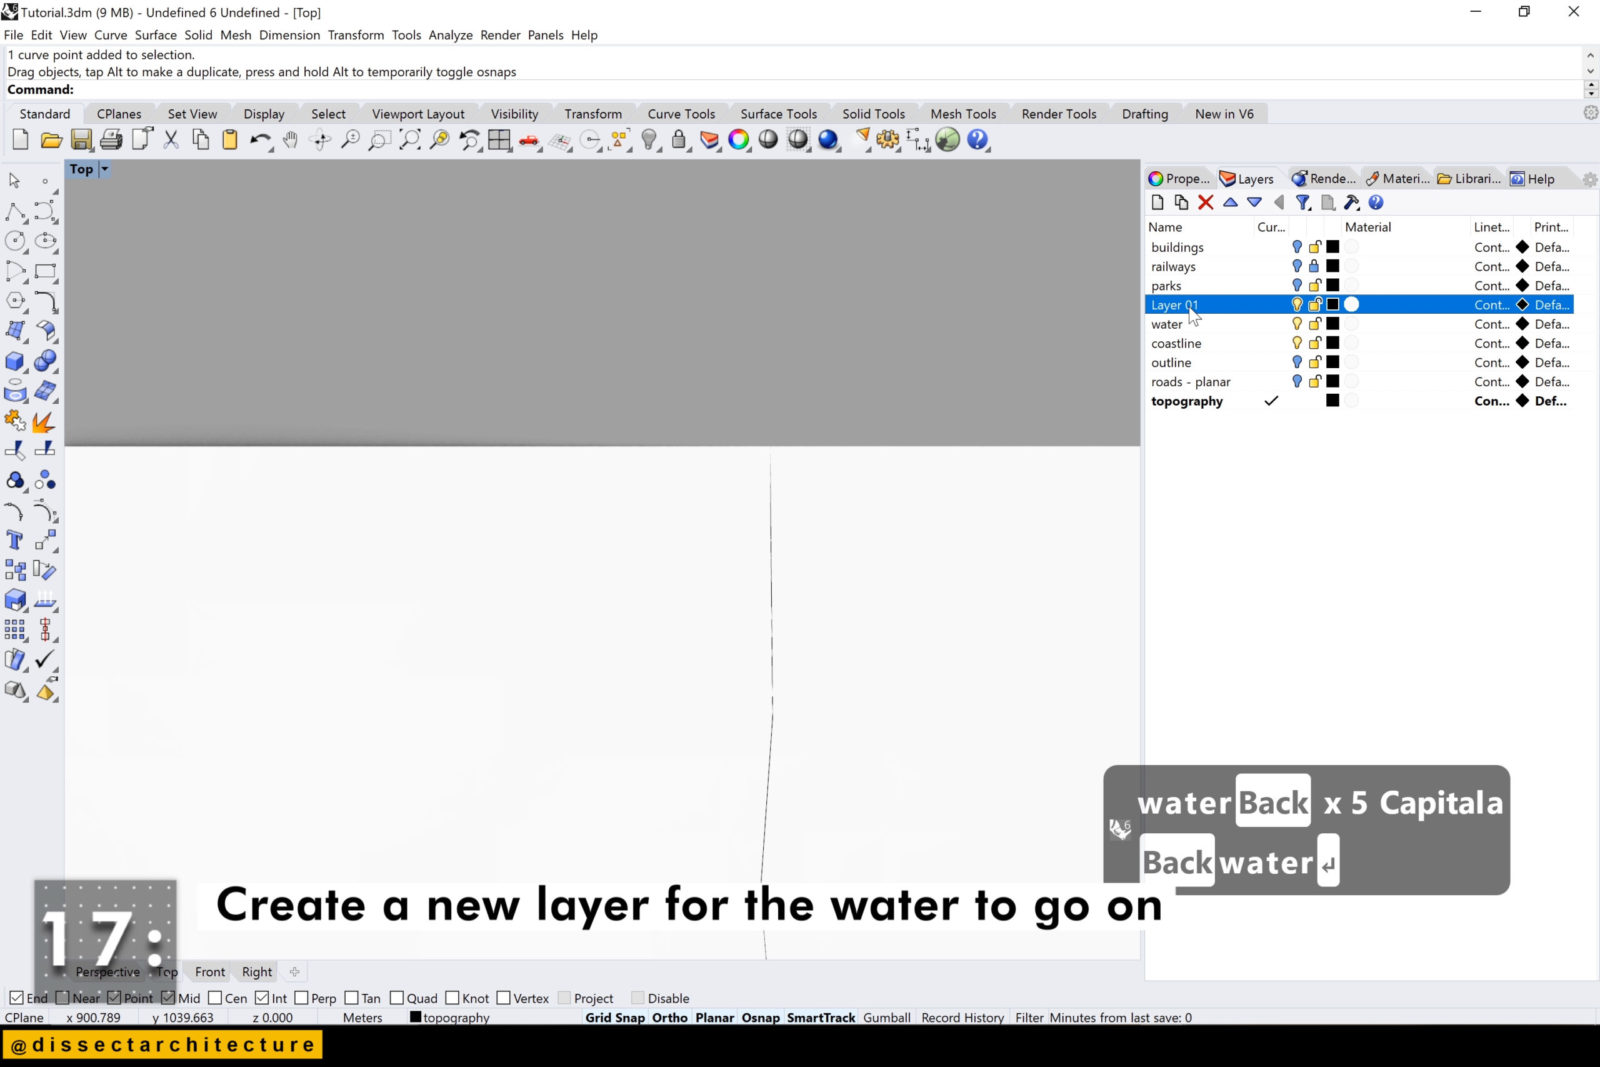
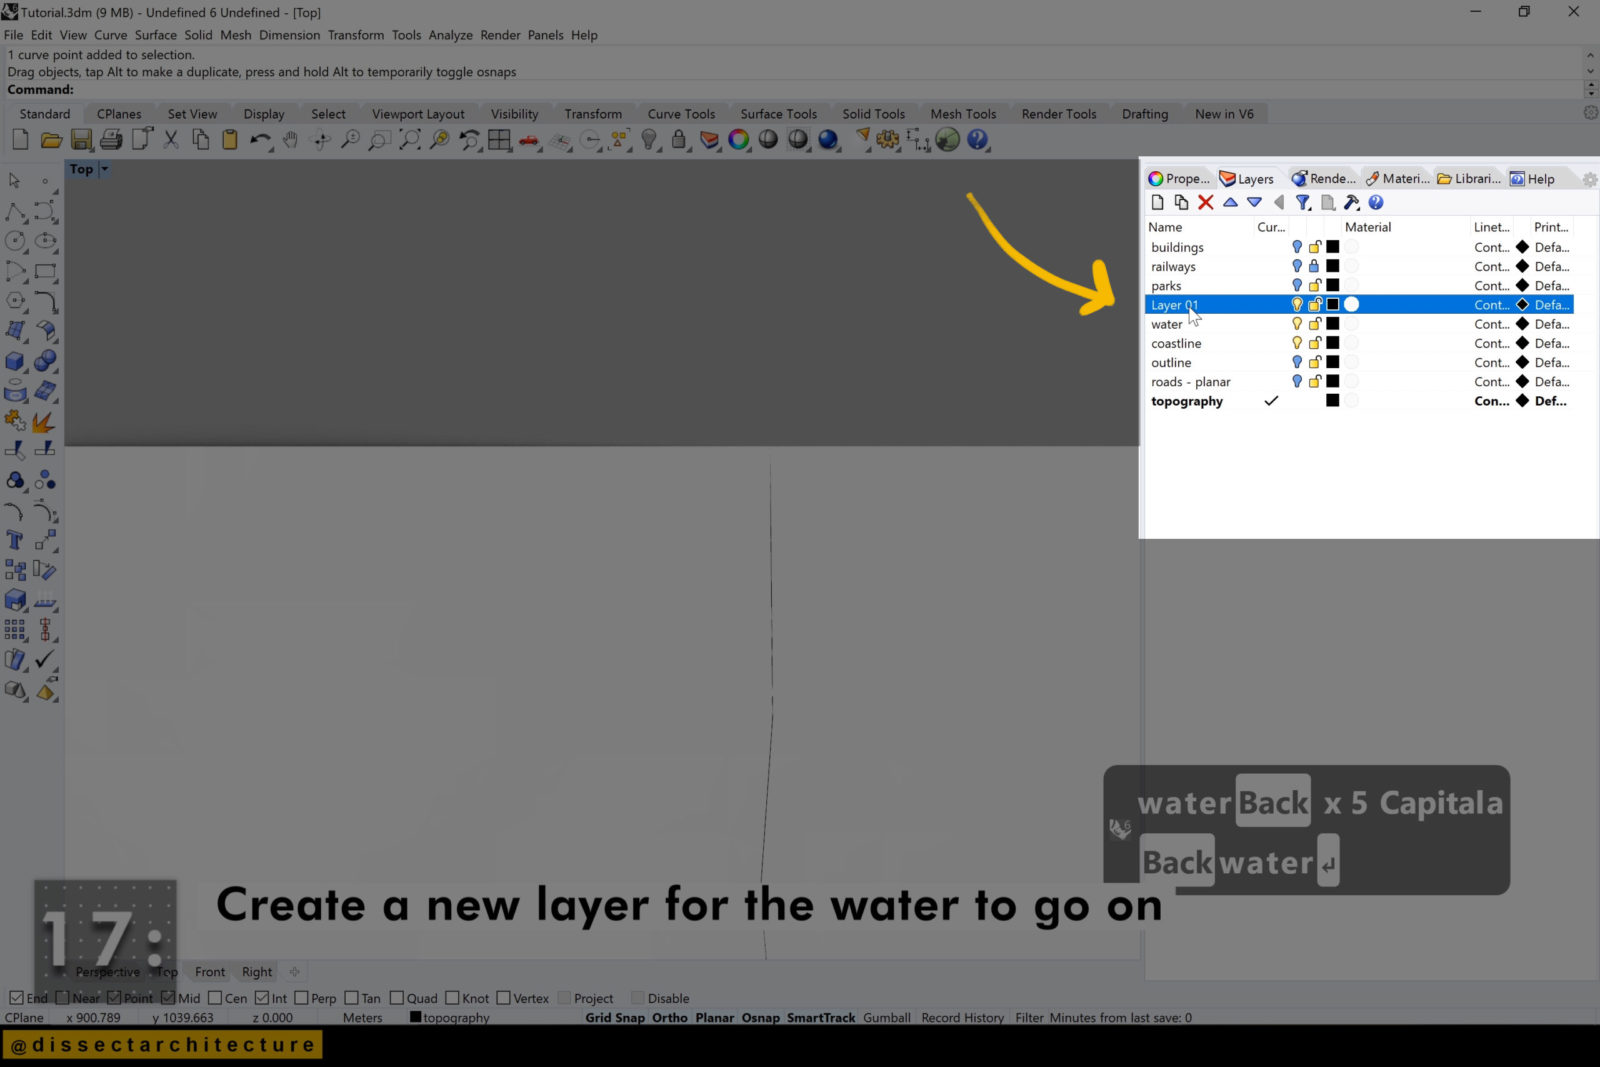
Step 17
Create a new layer for the water to go on.
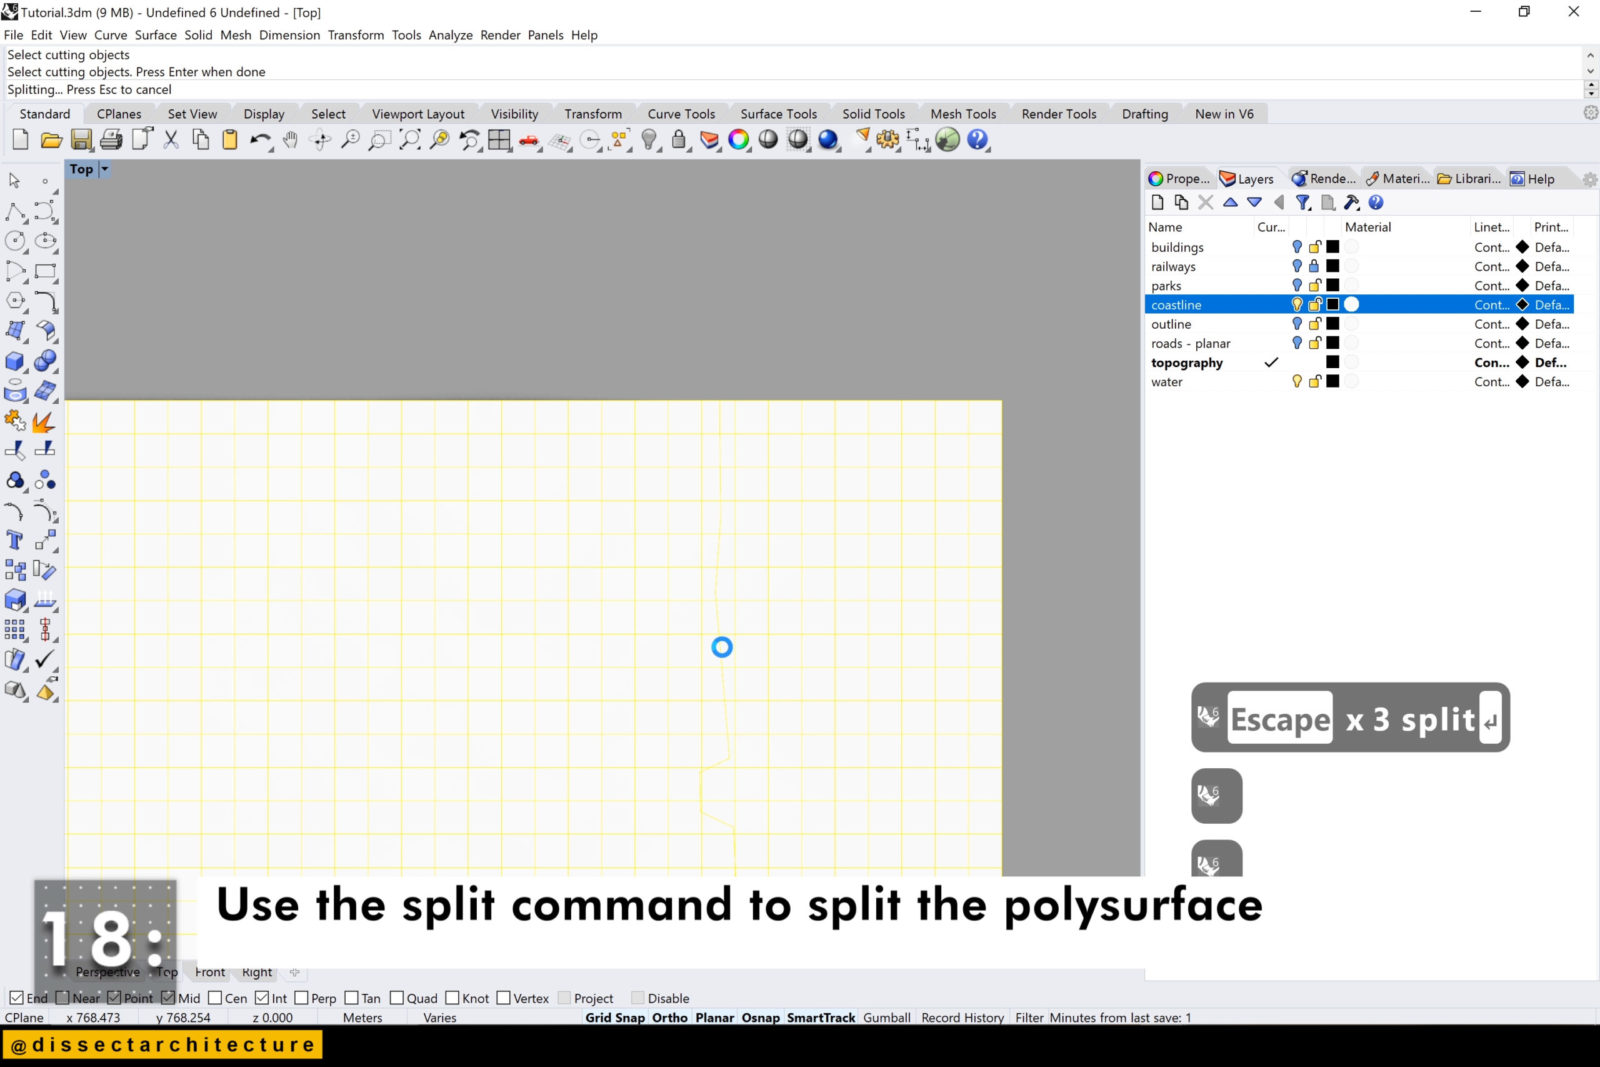
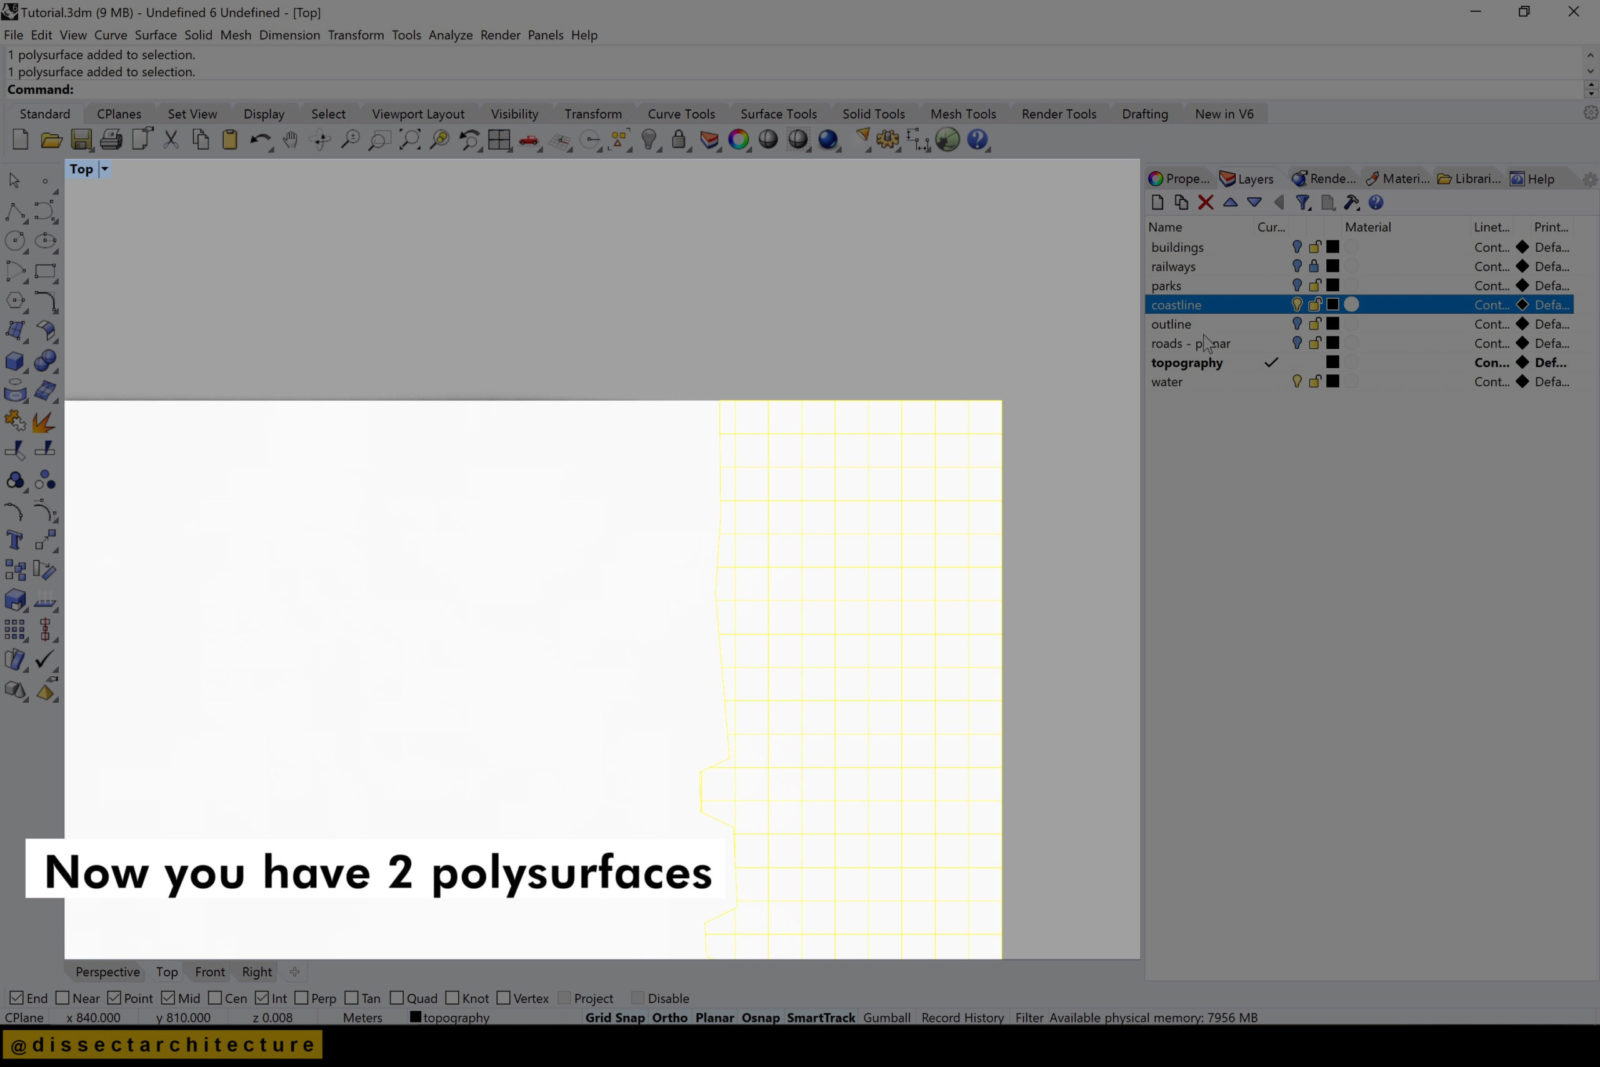
Step 18
Use the Split command to split the polysurface. Now you have 2 surfaces.
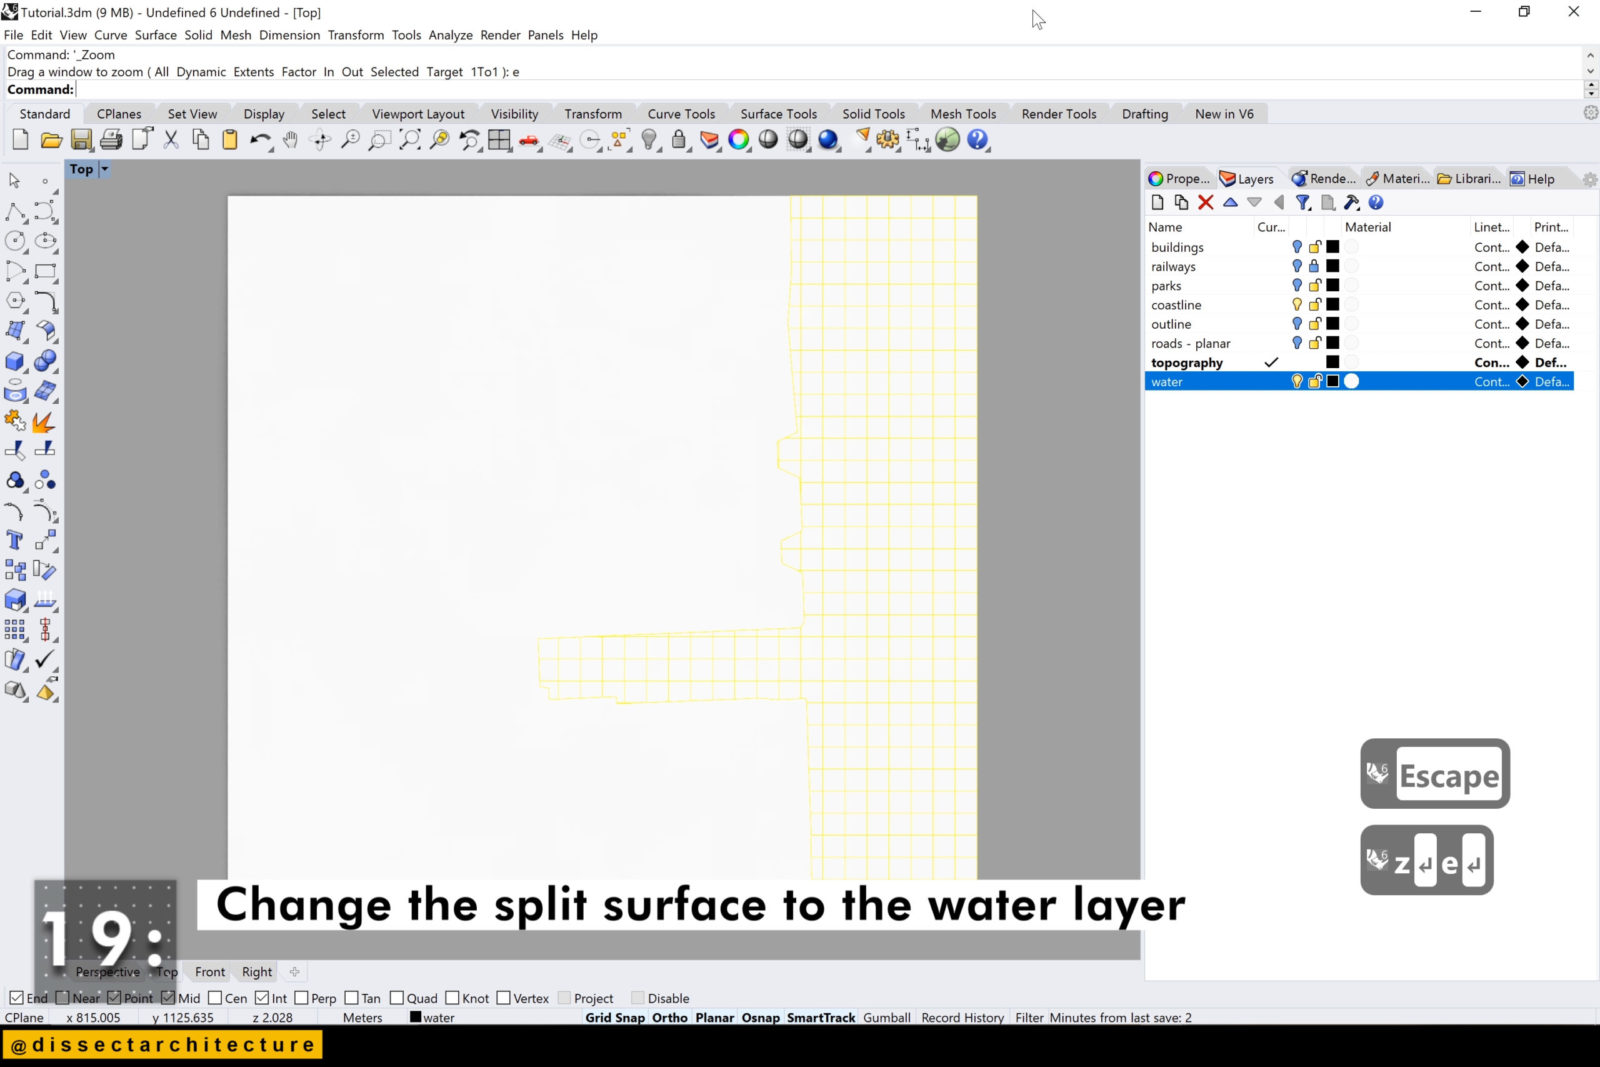
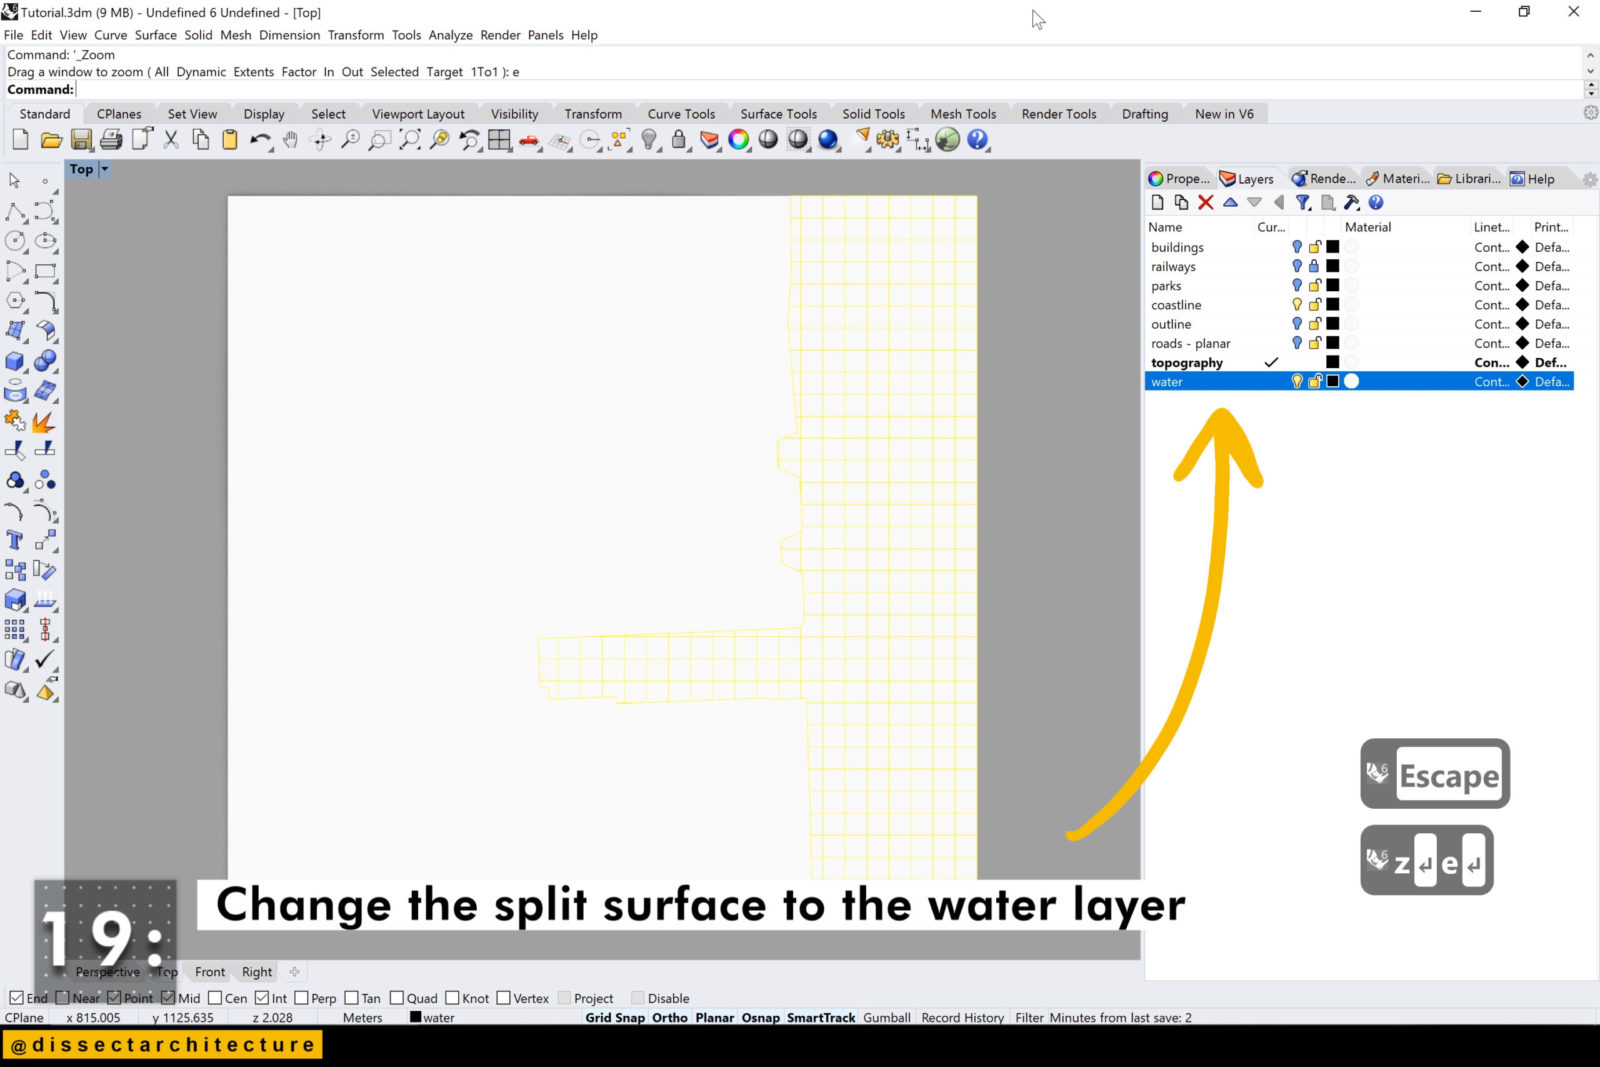
Step 19
Change the split surface to the water layer.
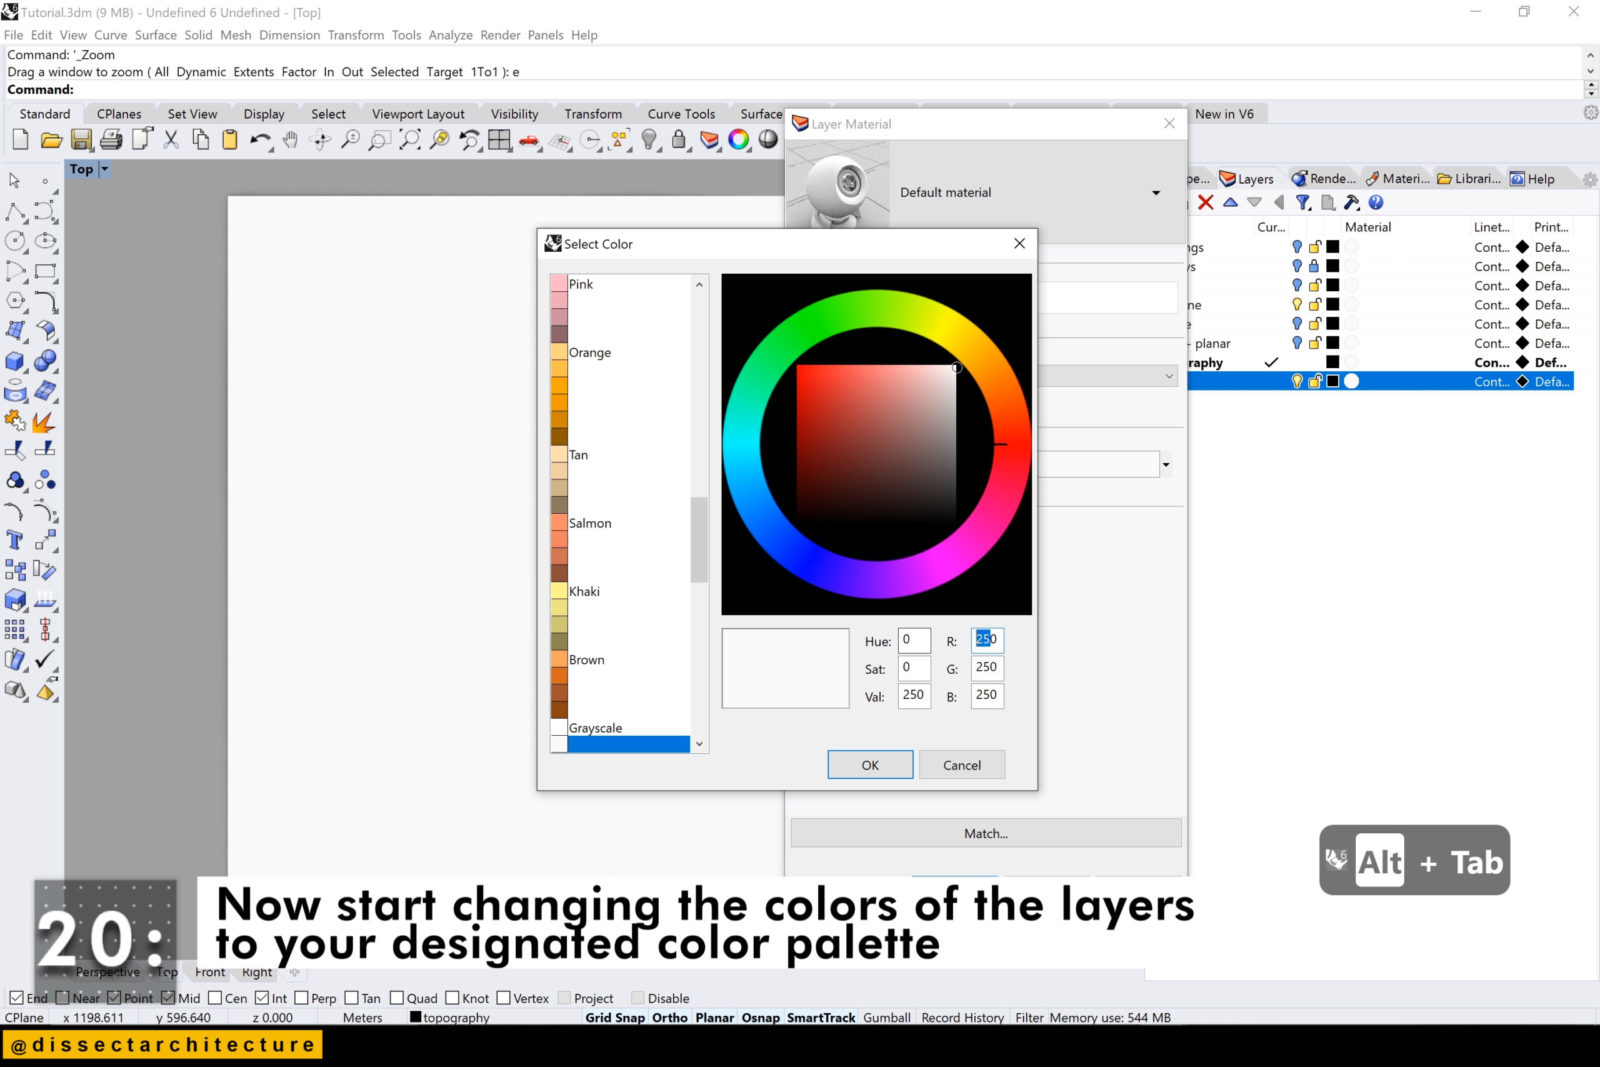
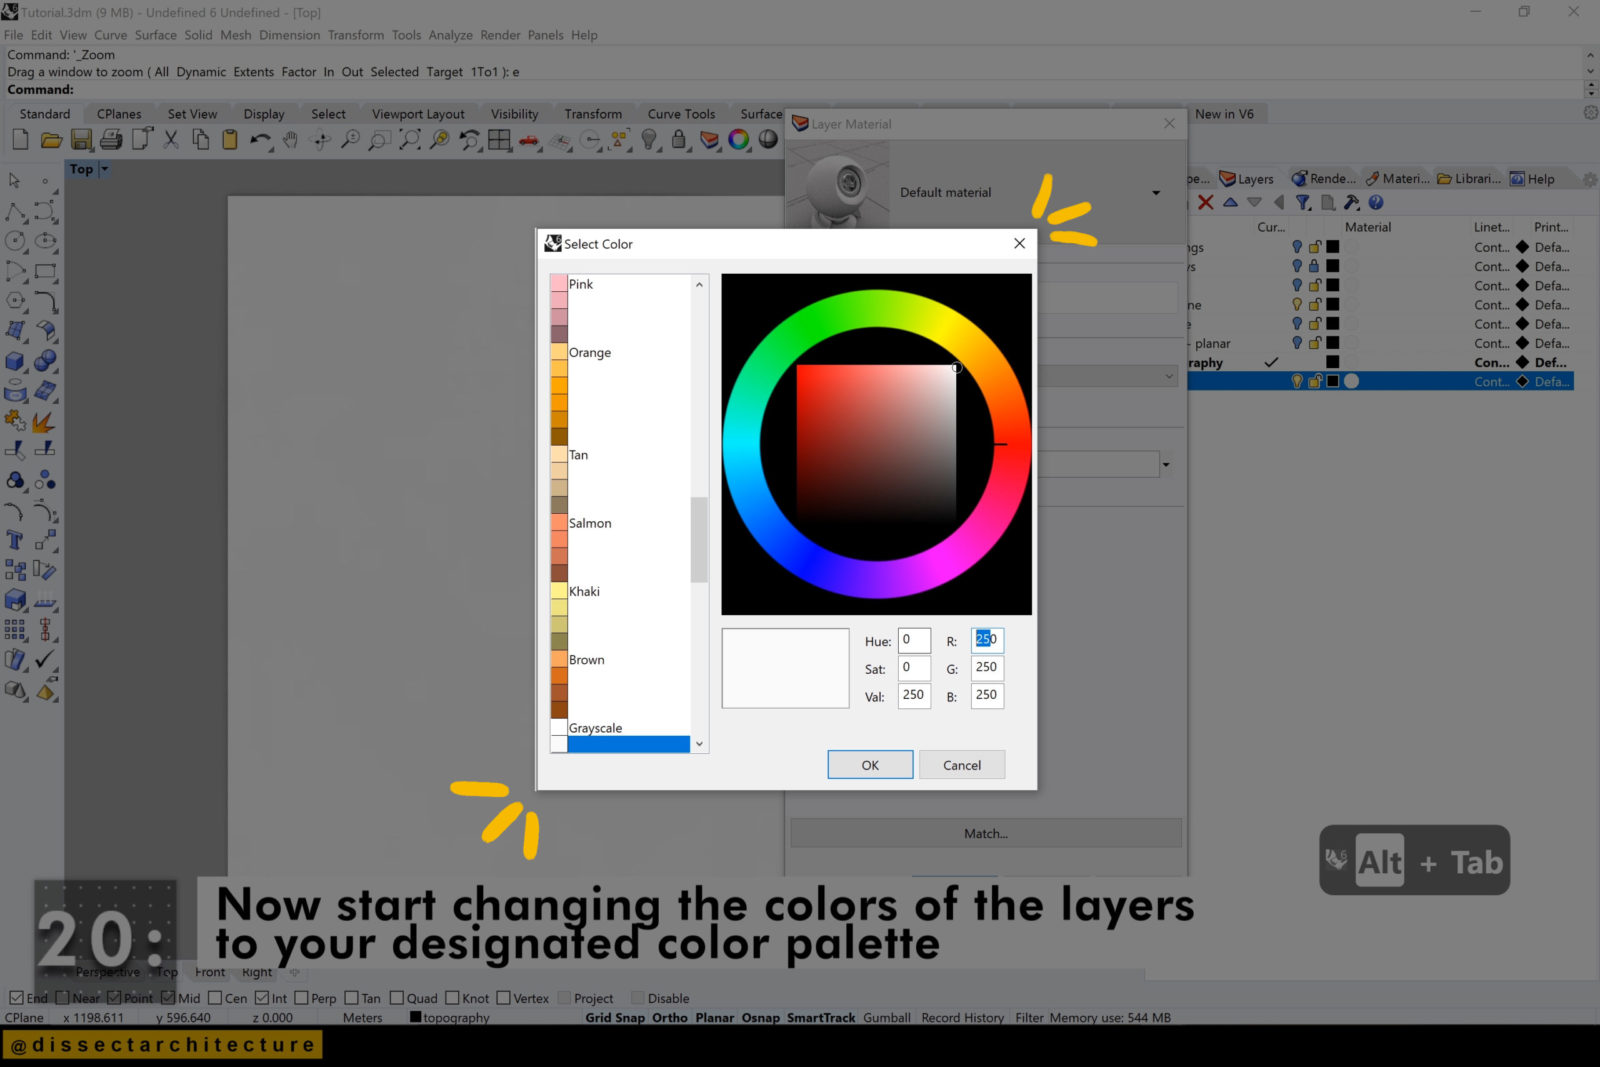
Step 20
Now start changing the colors of the layers to your designated color palette.
Change your Viewport display to Render to see the result of your choices.
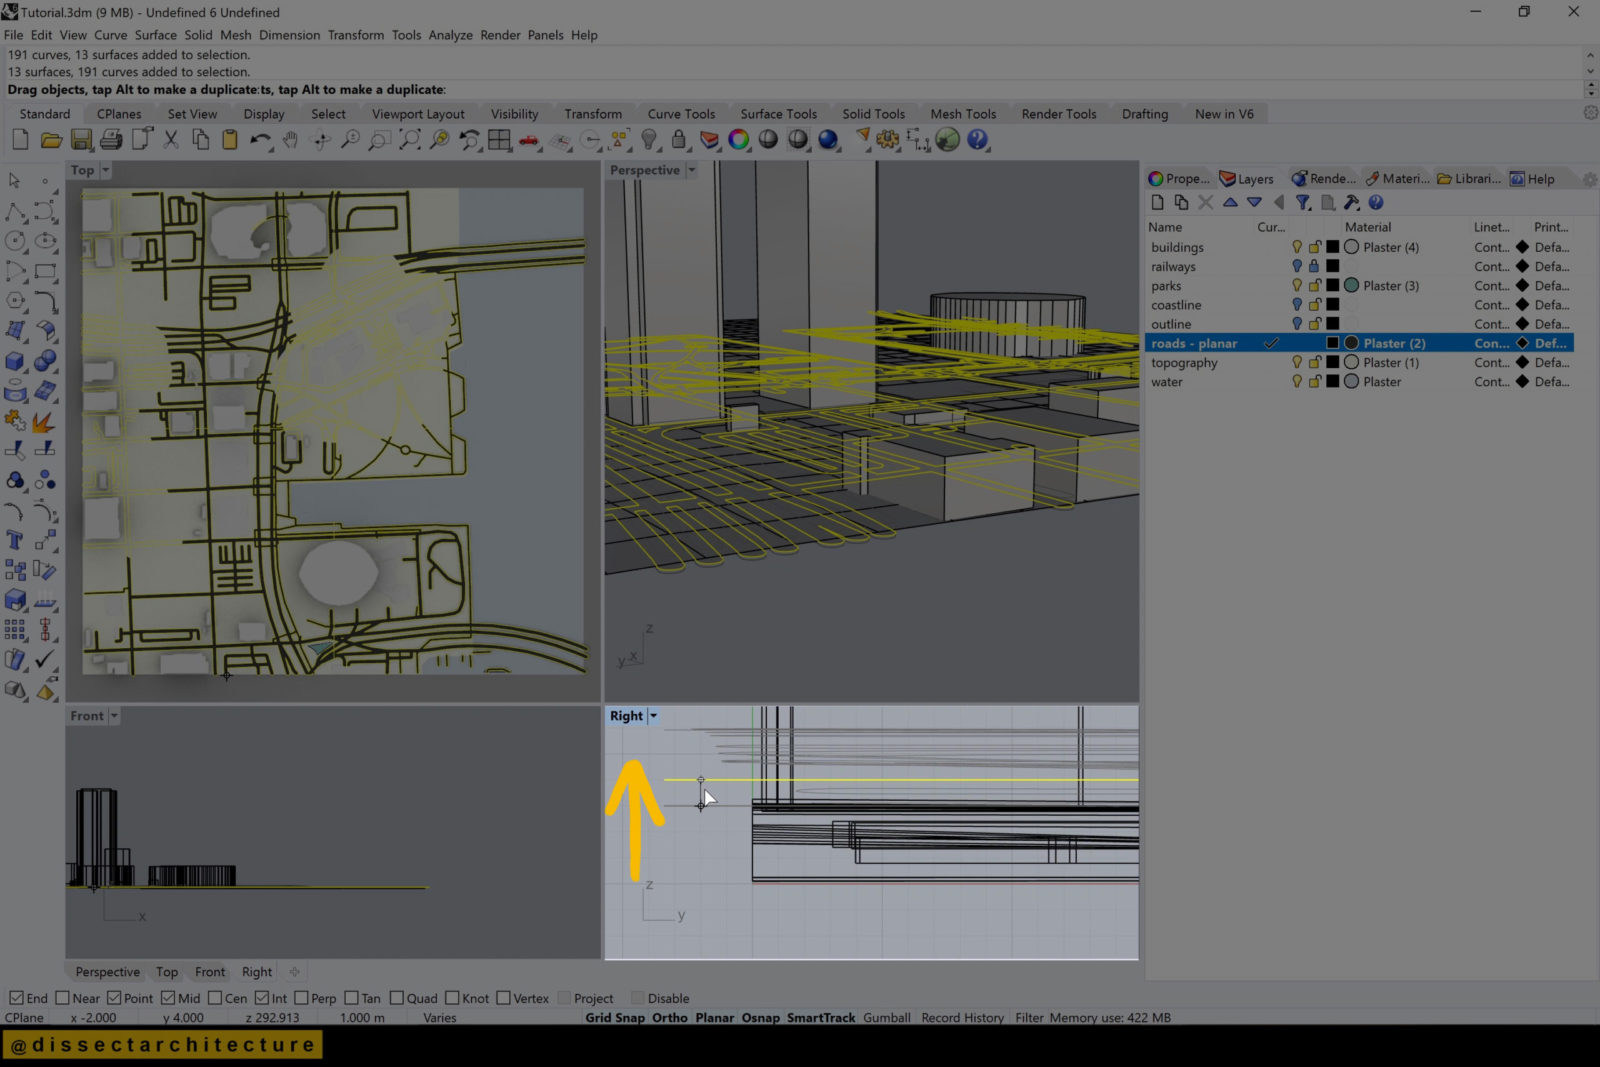
Step 21
I am placing the road surfaces on top of the topography to make them pop up in the graphic.
Do this in the right or left viewport so your road doesn’t shift from place.

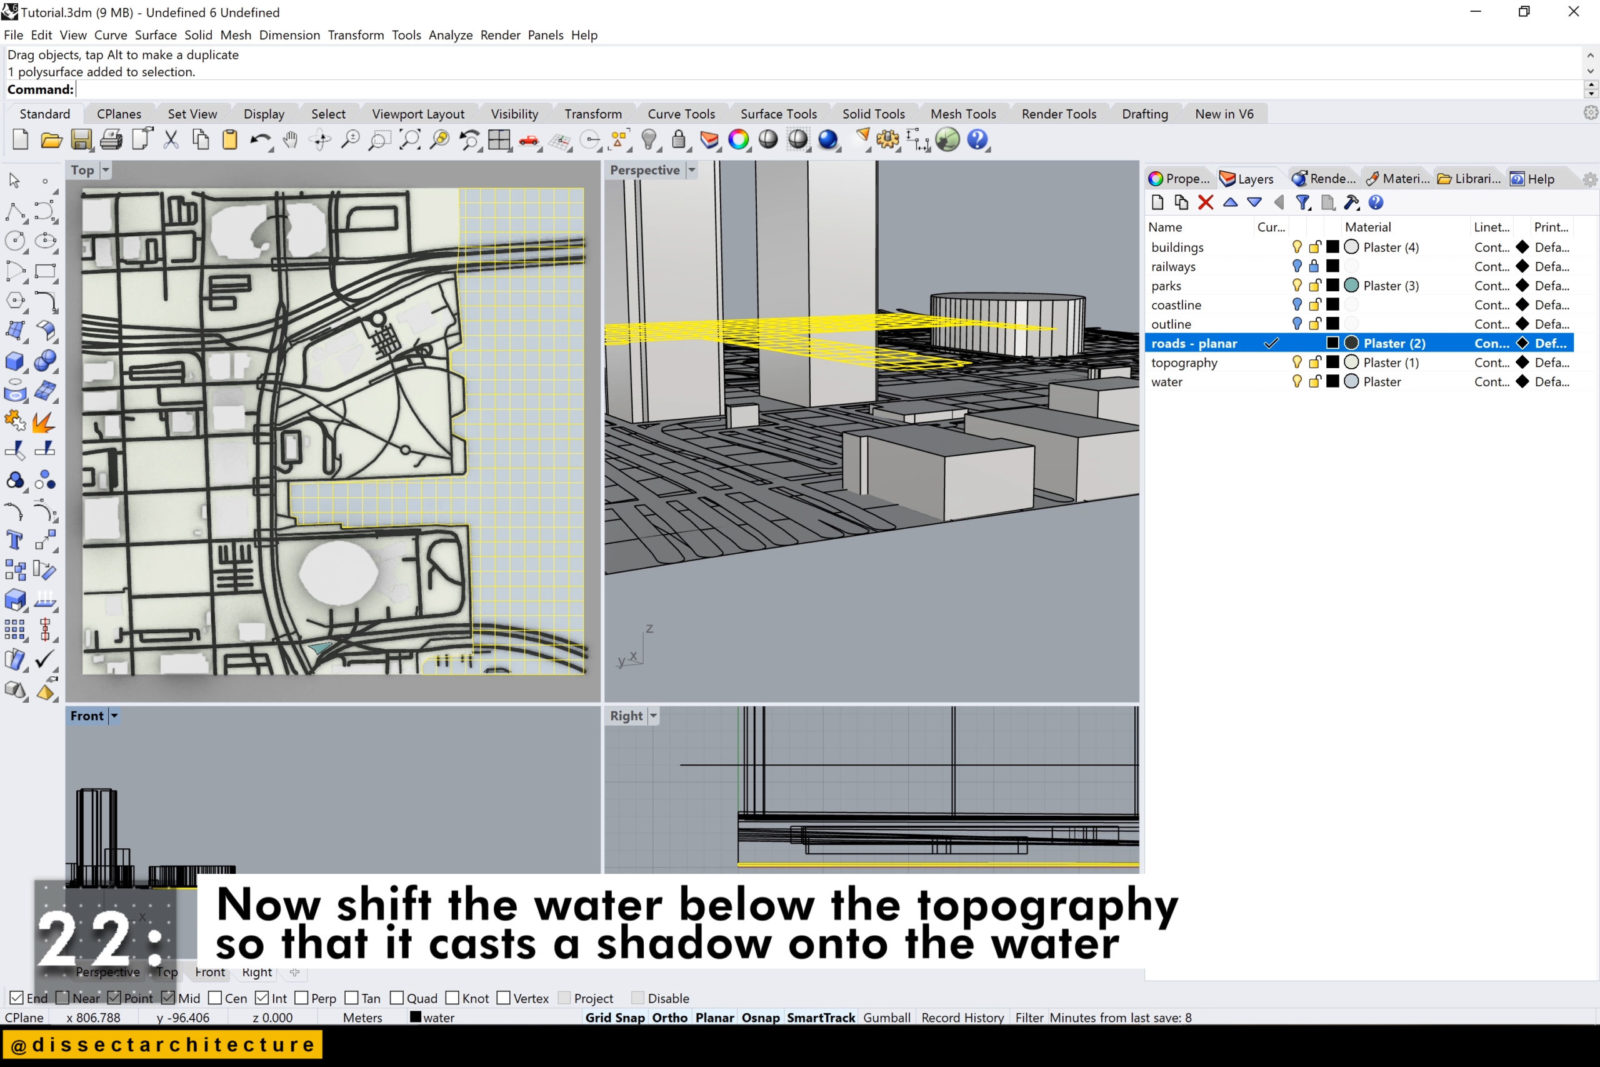
Step 22
Now shift the water below the topography so that it casts a shadow onto the water. The parks aren’t visible so I am raising them to be above the topography.
Now I am shifting the locations of the buildings that go on the green areas.

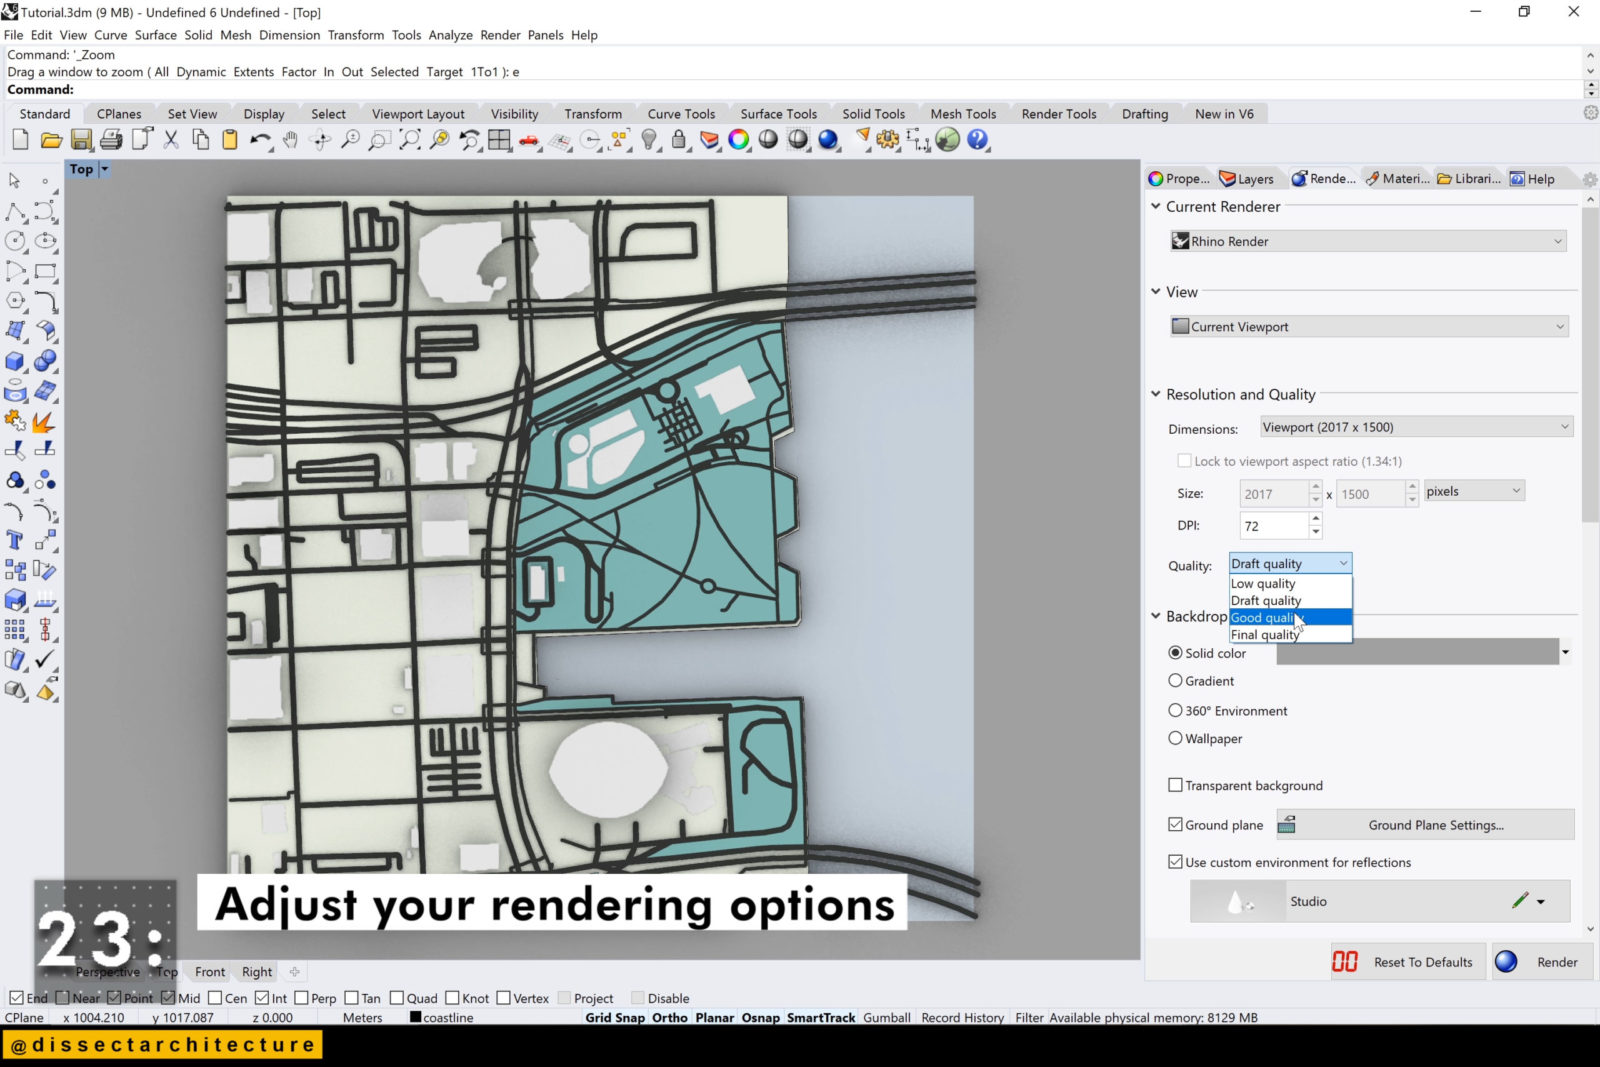
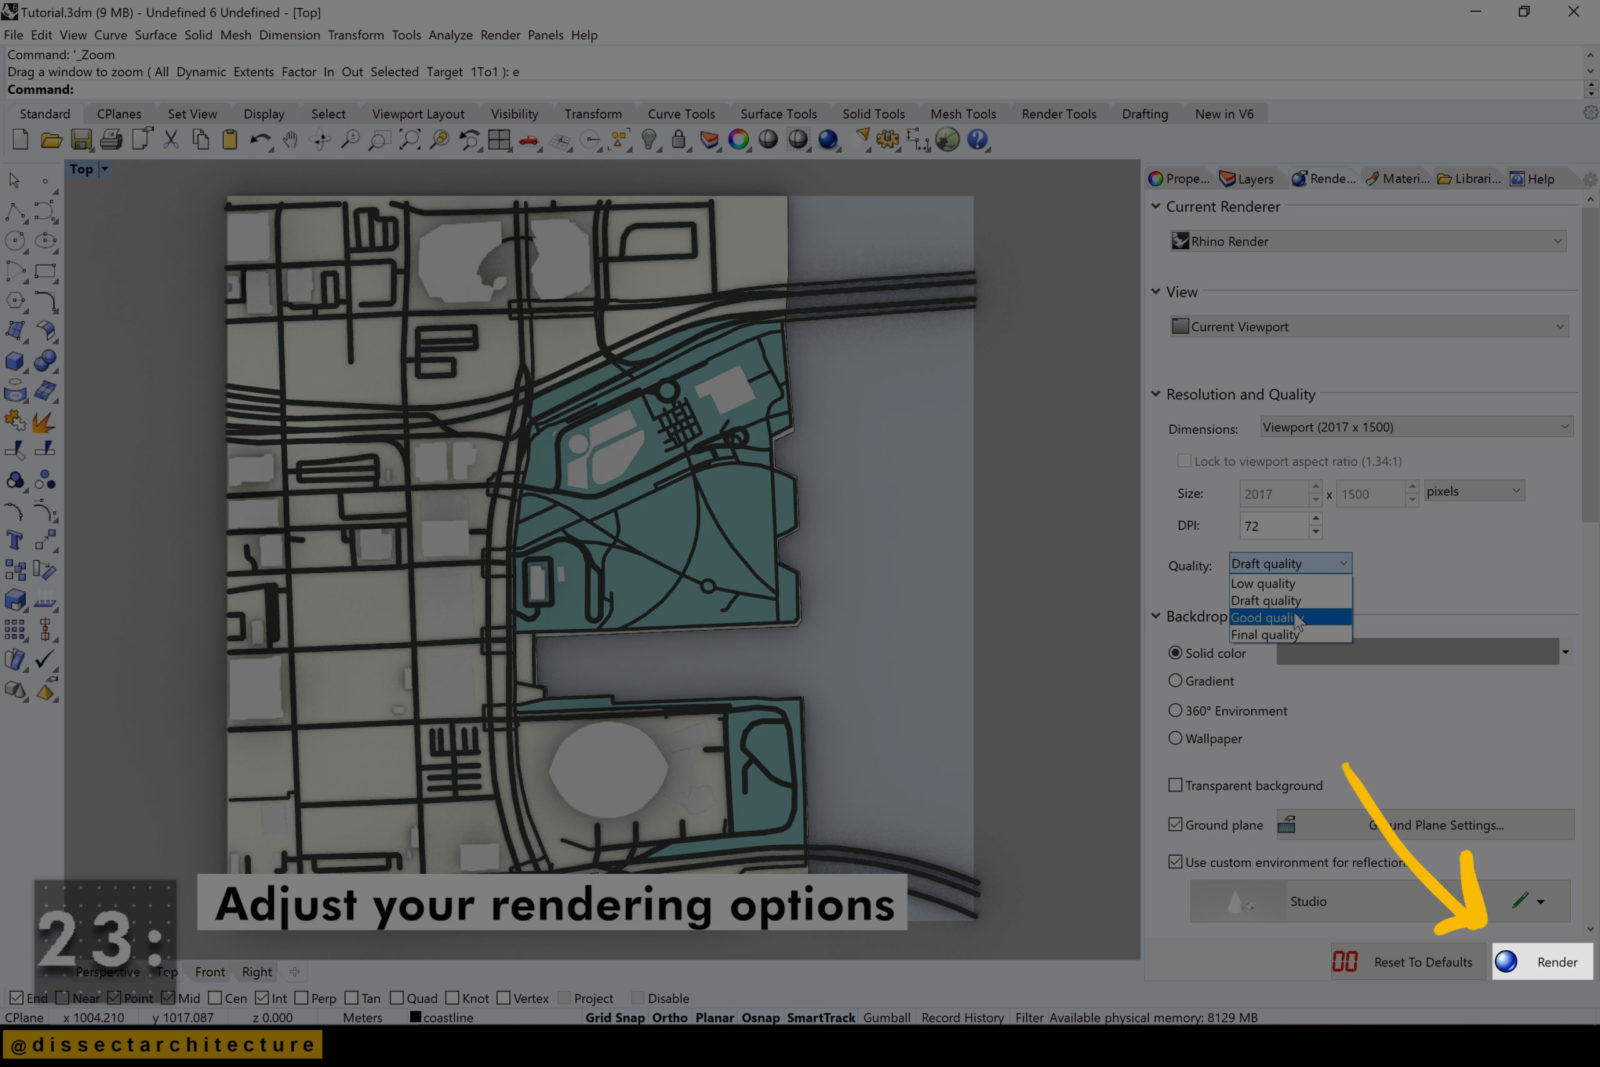
Step 23
After you are done making your color changes and layers shifts. Go to the Render Properties Panel. Change the size, DPI, select the transparent background, turn of the ground plane and then hit Render.
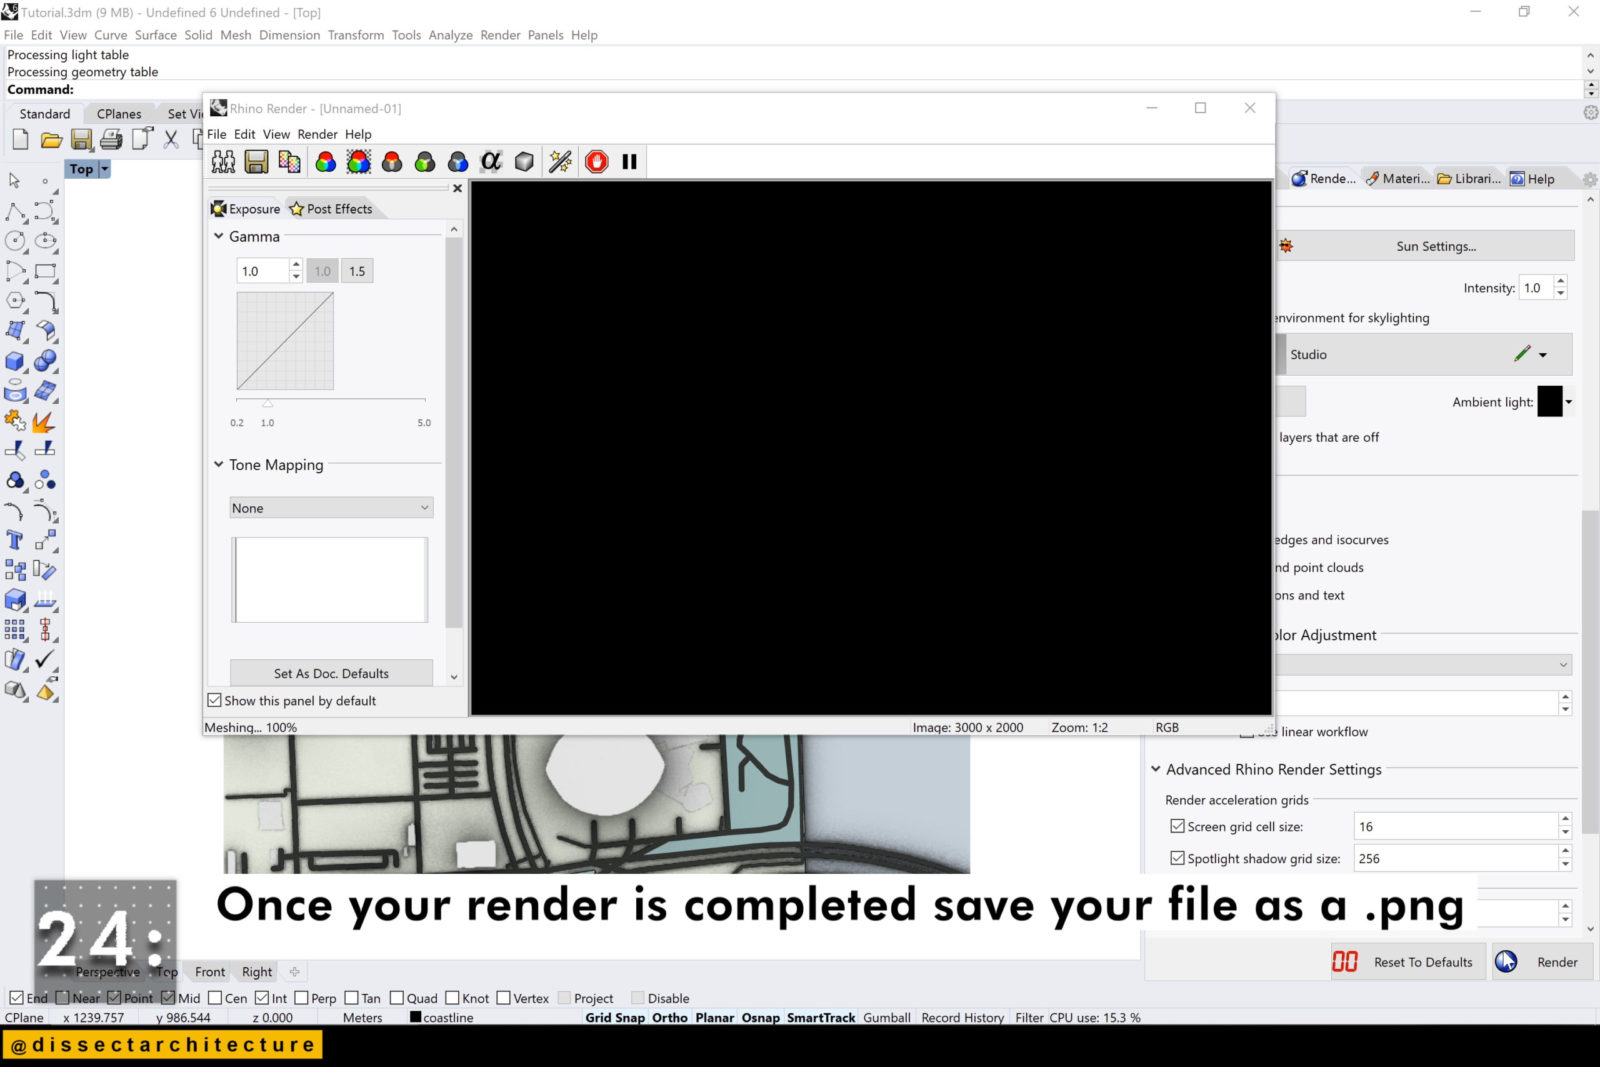
Step 24
Once your render is completed, click on the Save icon and save your file as a .png.

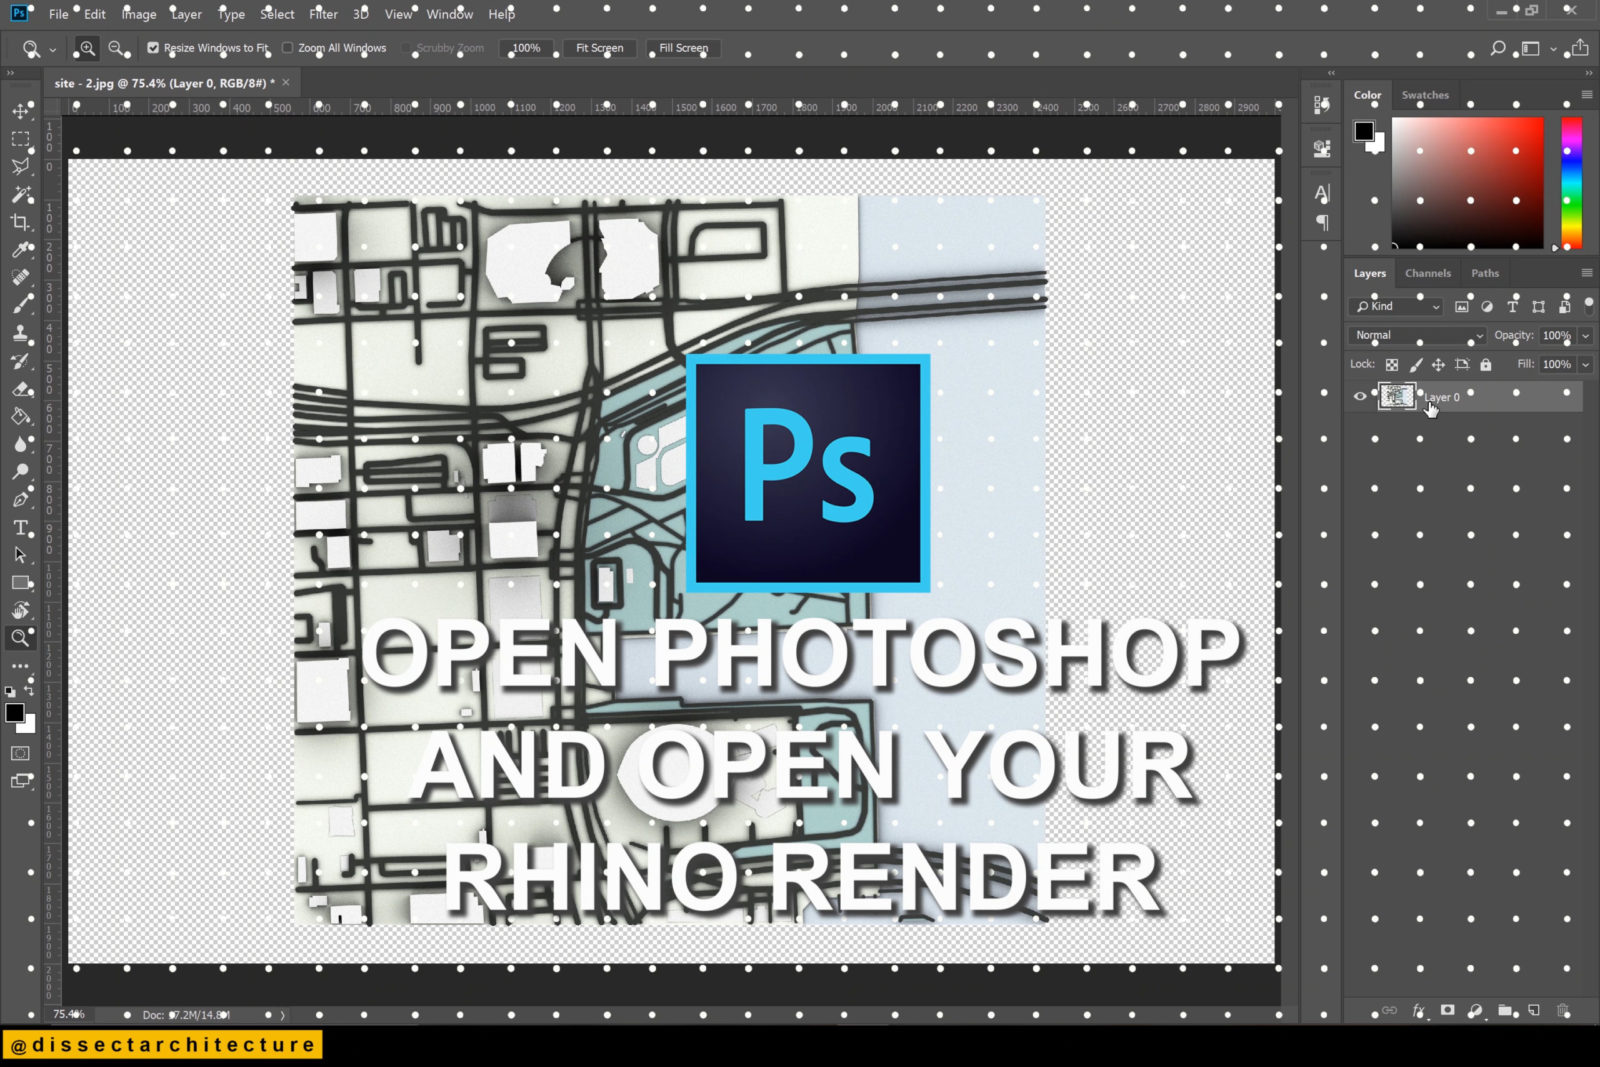
Step 25
Now open Photoshop and the rendered image.
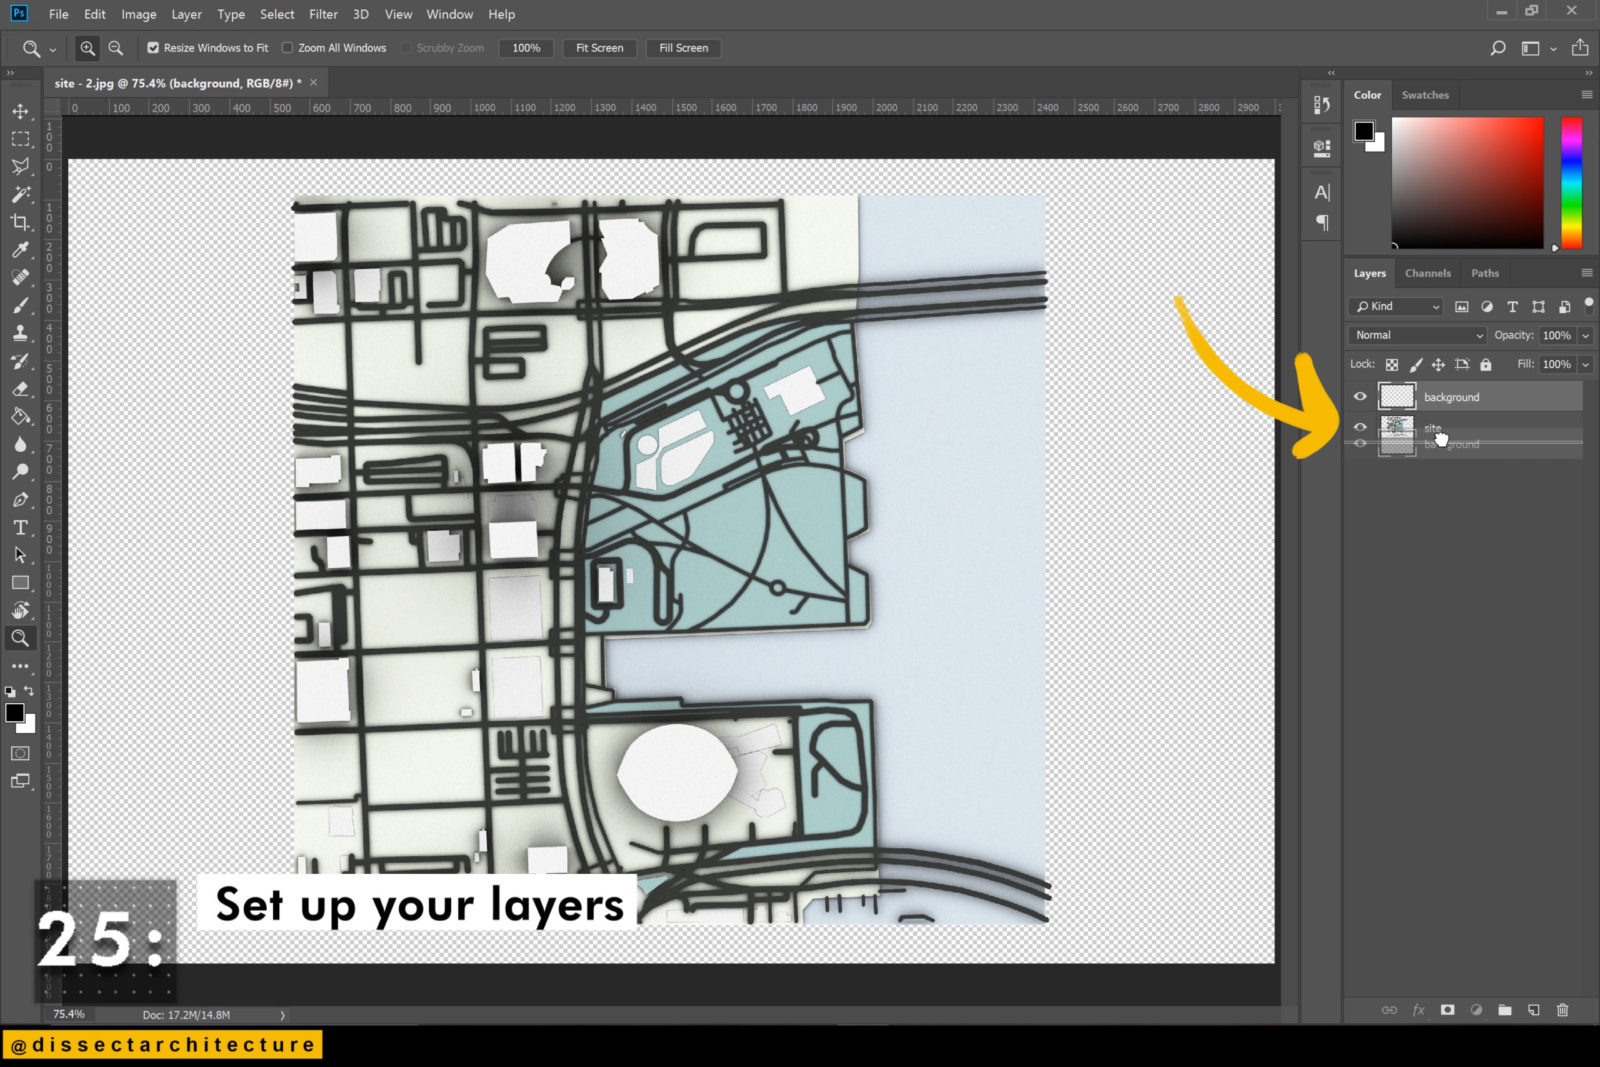
Set up your layers. I have also added a concrete texture behind my image.
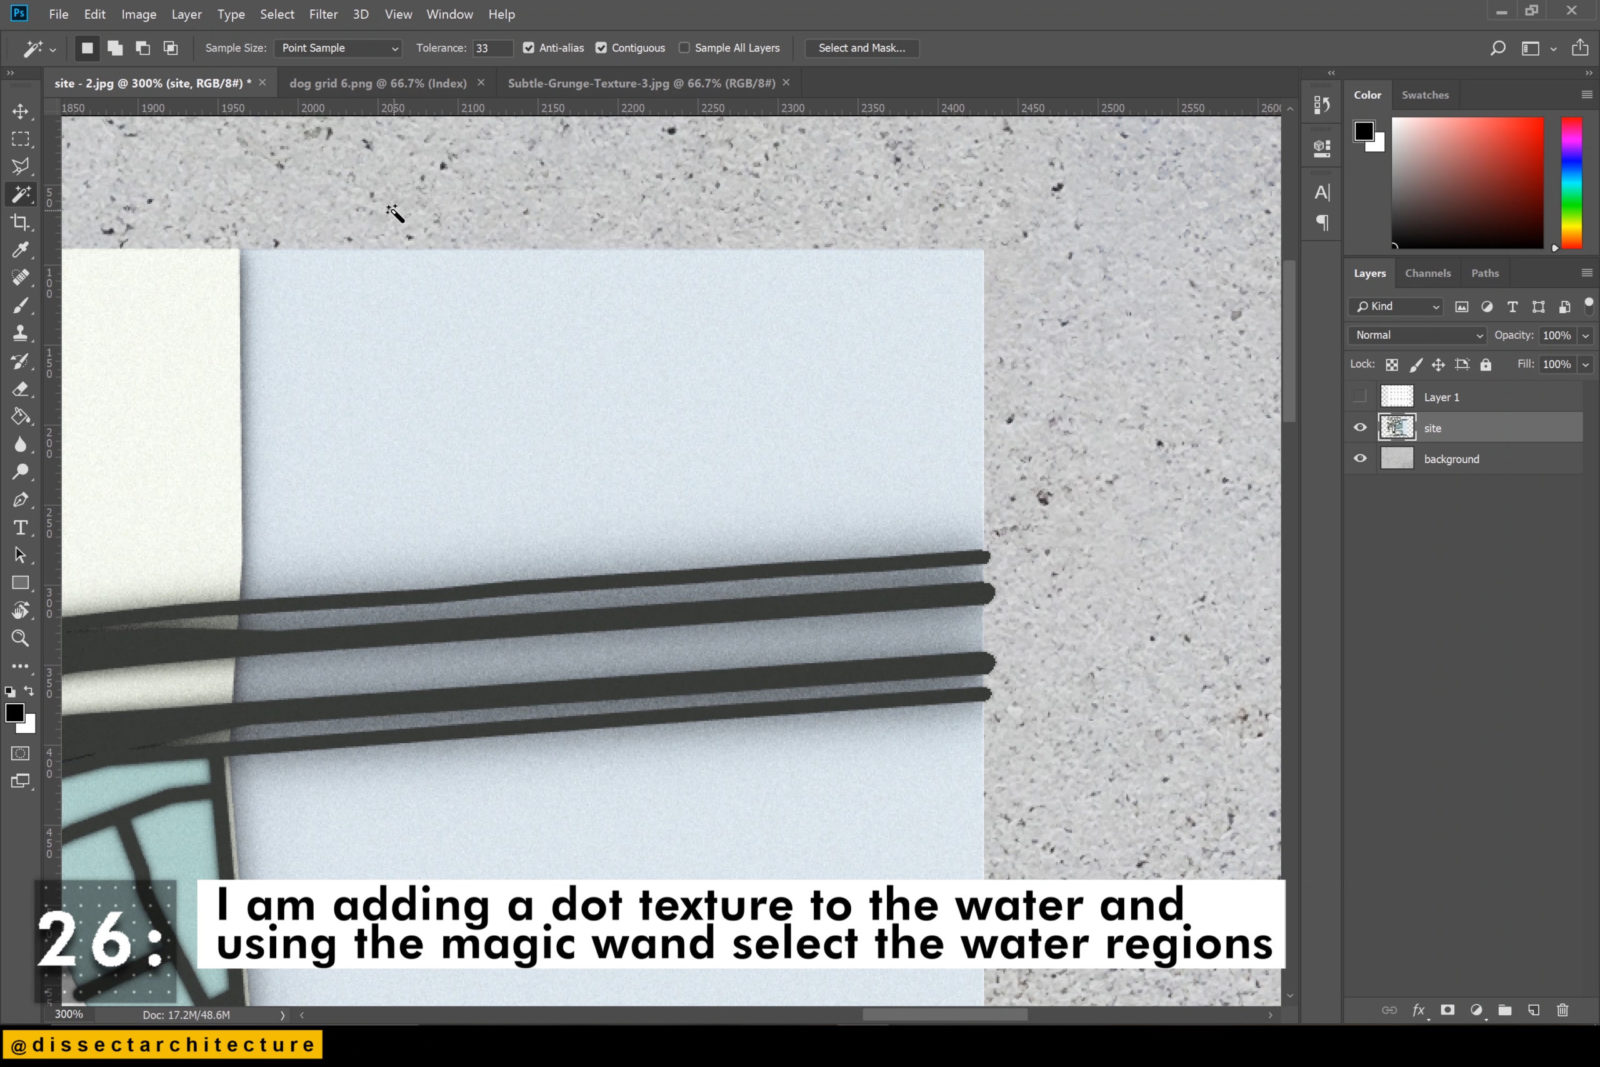
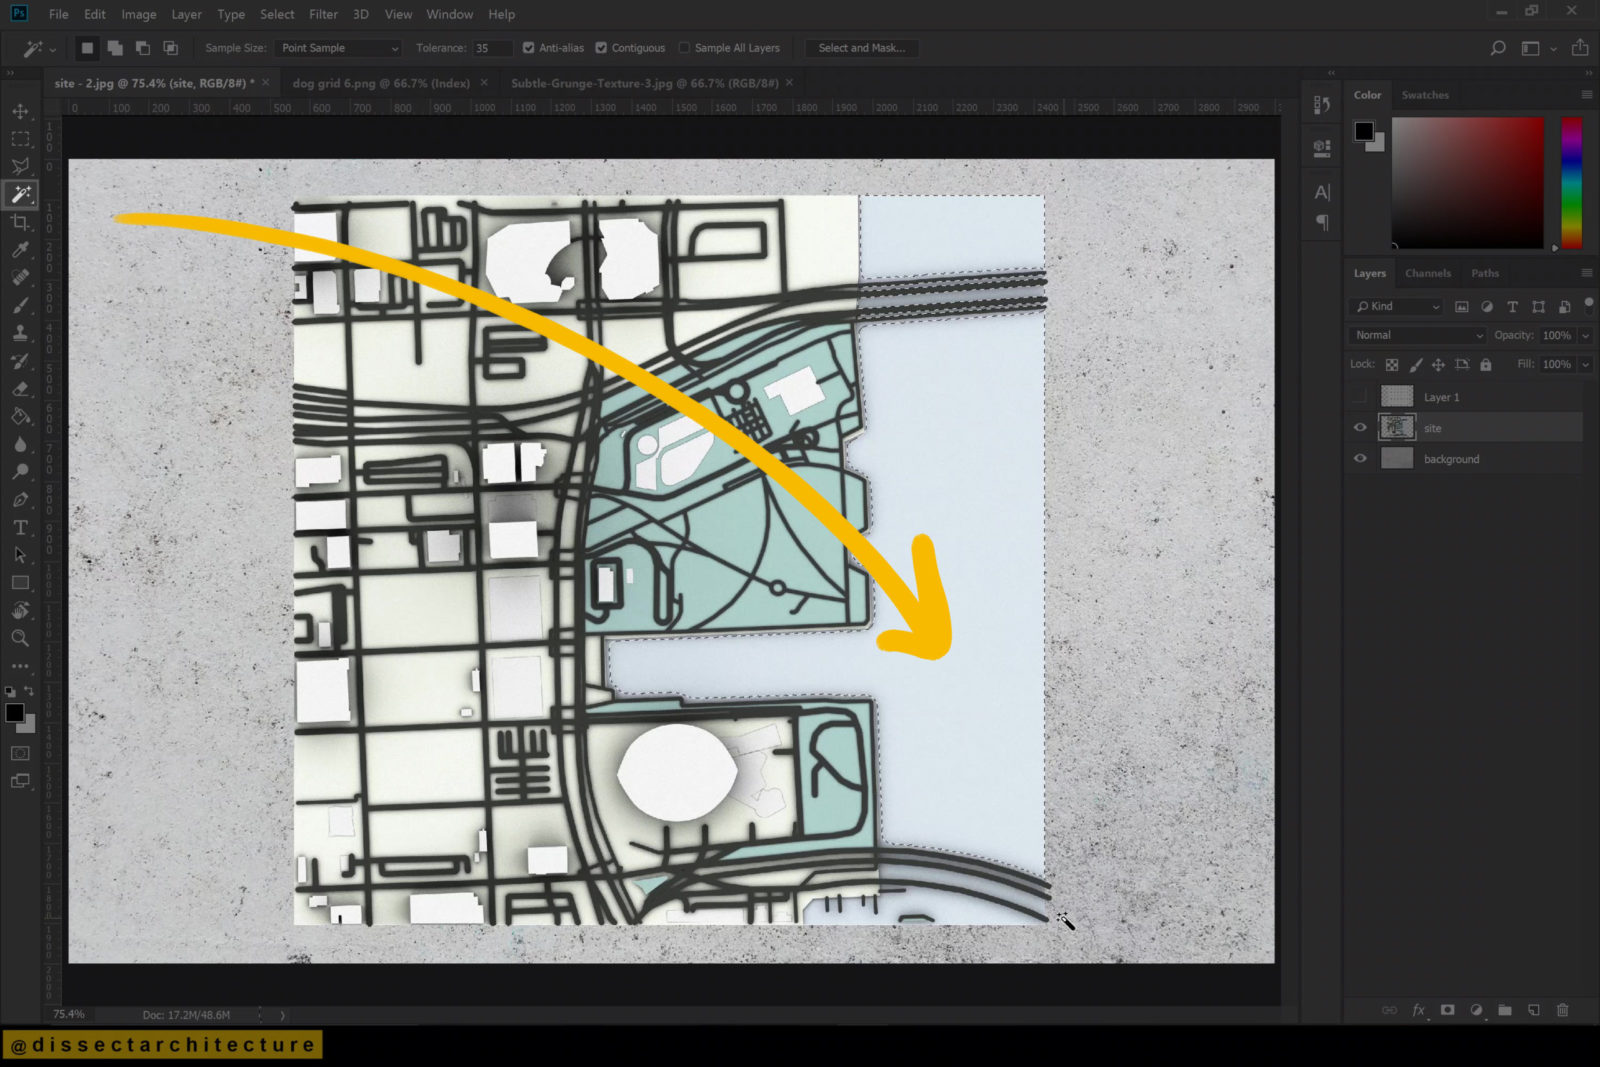
Step 26
I am adding a dot texture to the water and using the Magic Wand Tool to select the areas with water.
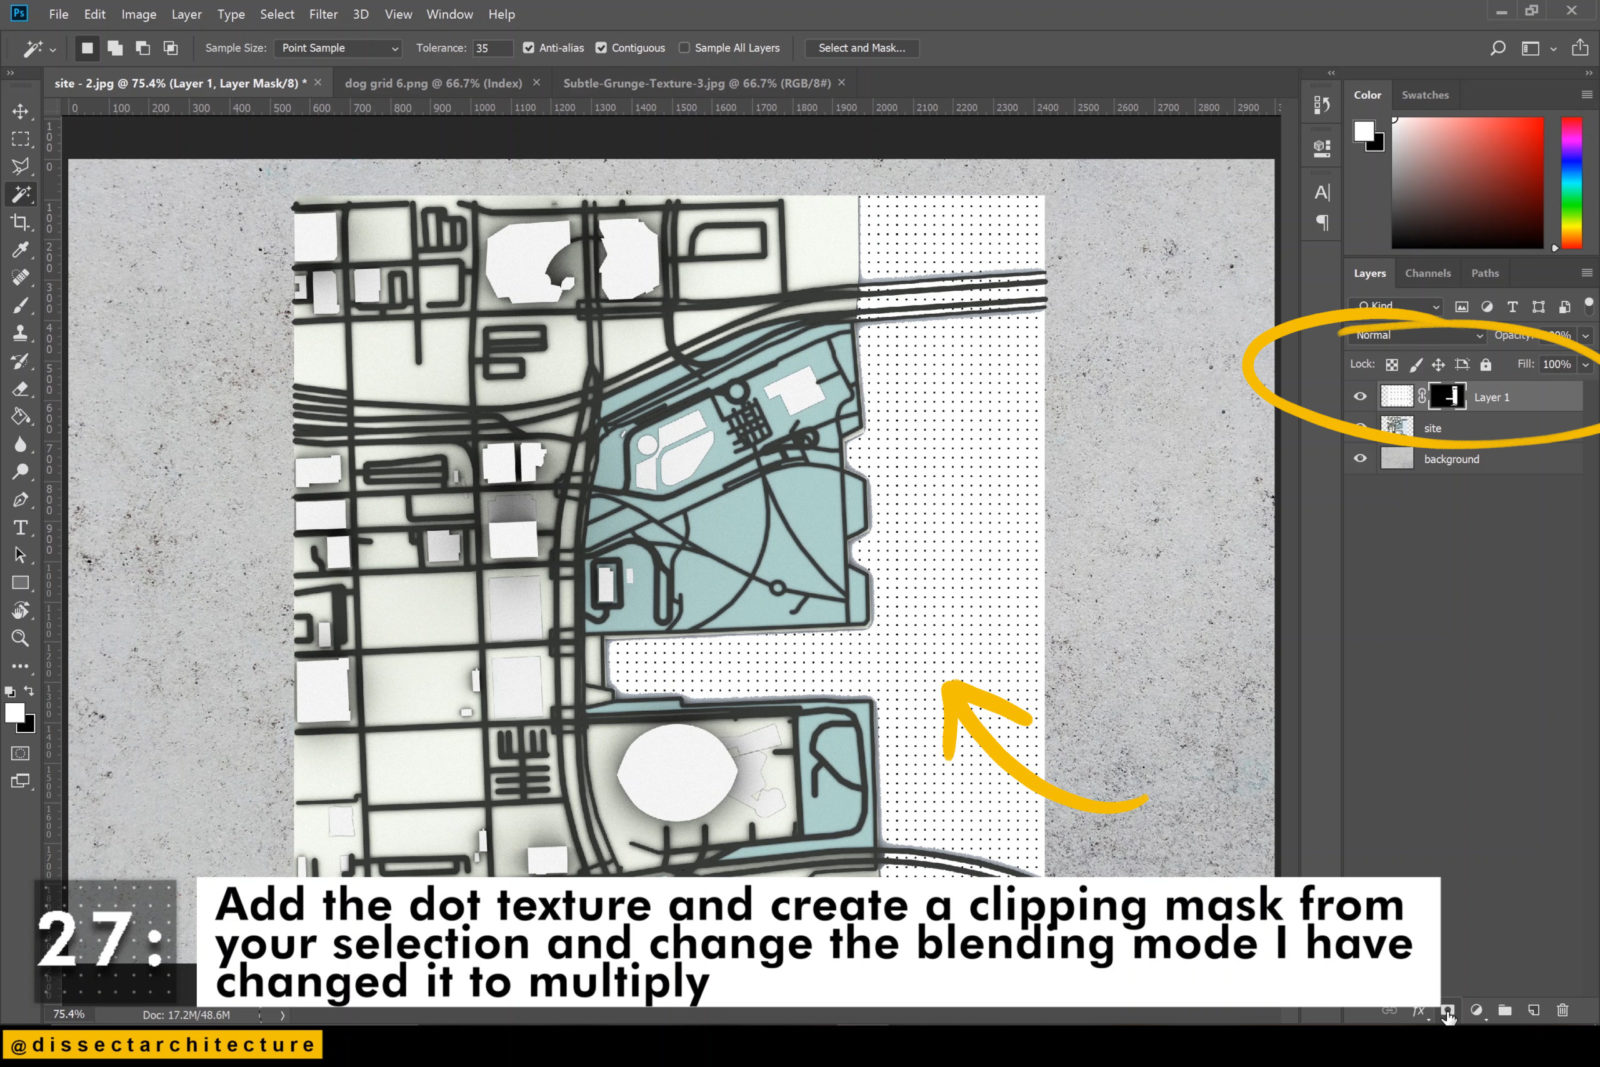
Step 27
Add the dot texture and create a clipping mask from your selection and change the blending mode. I have changed it to Multiply.

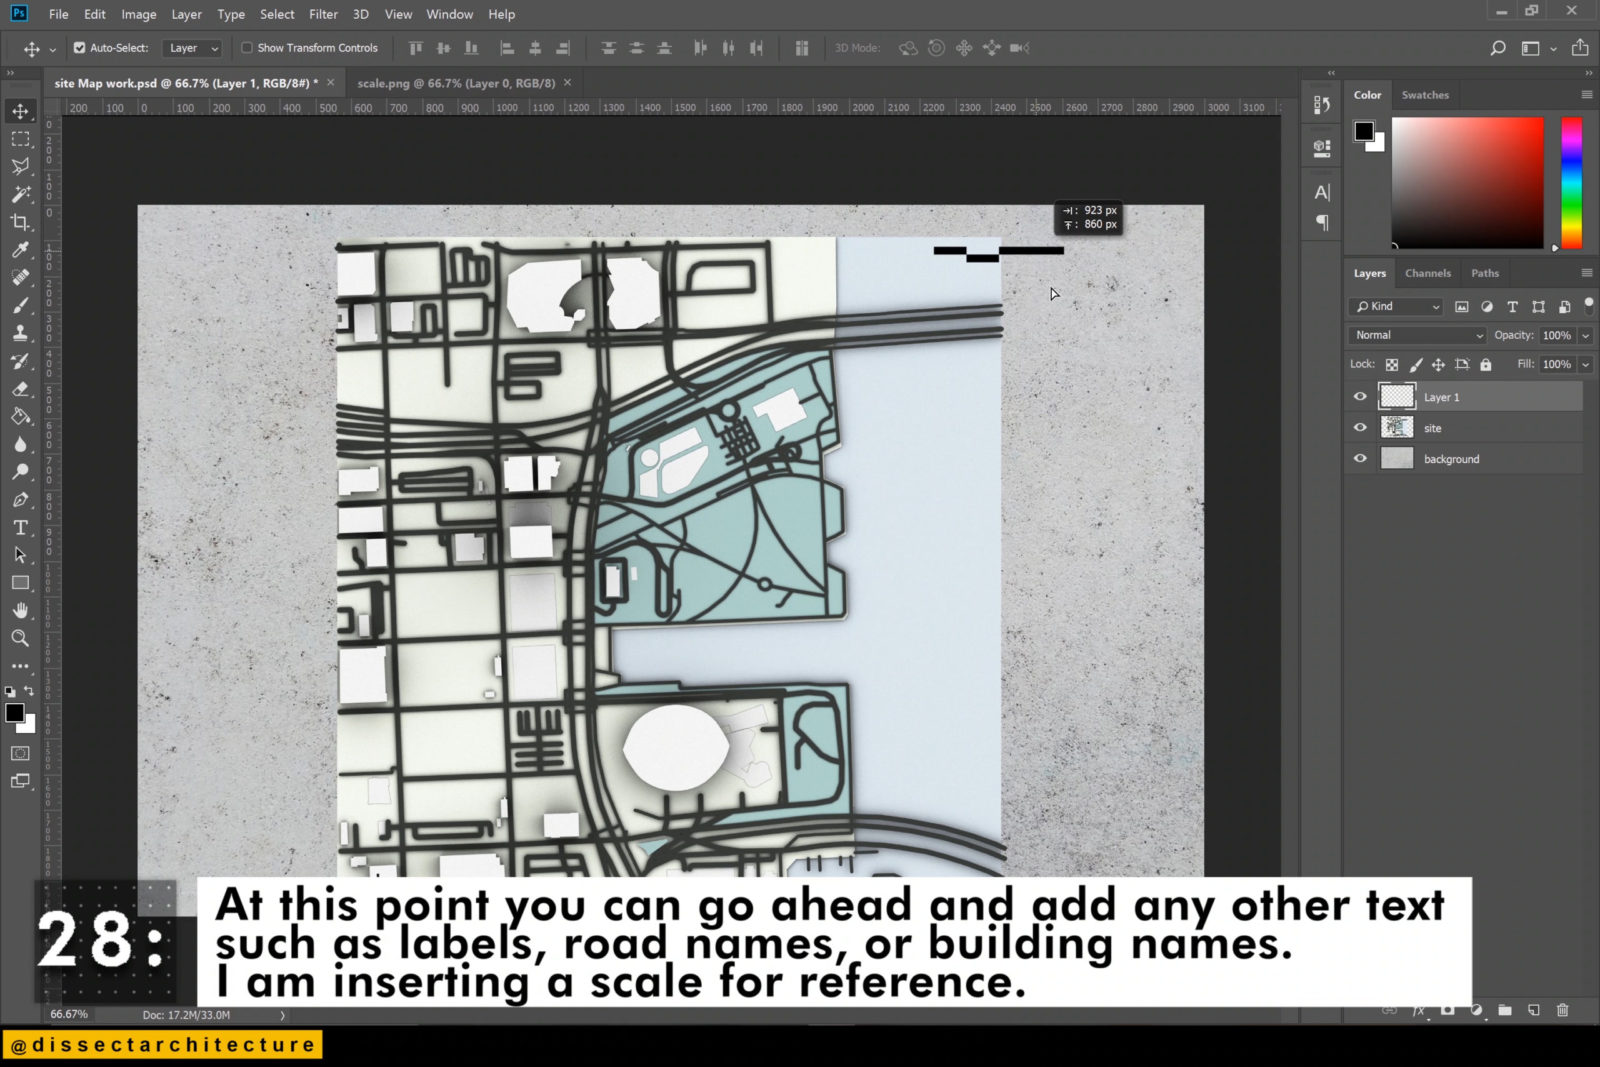
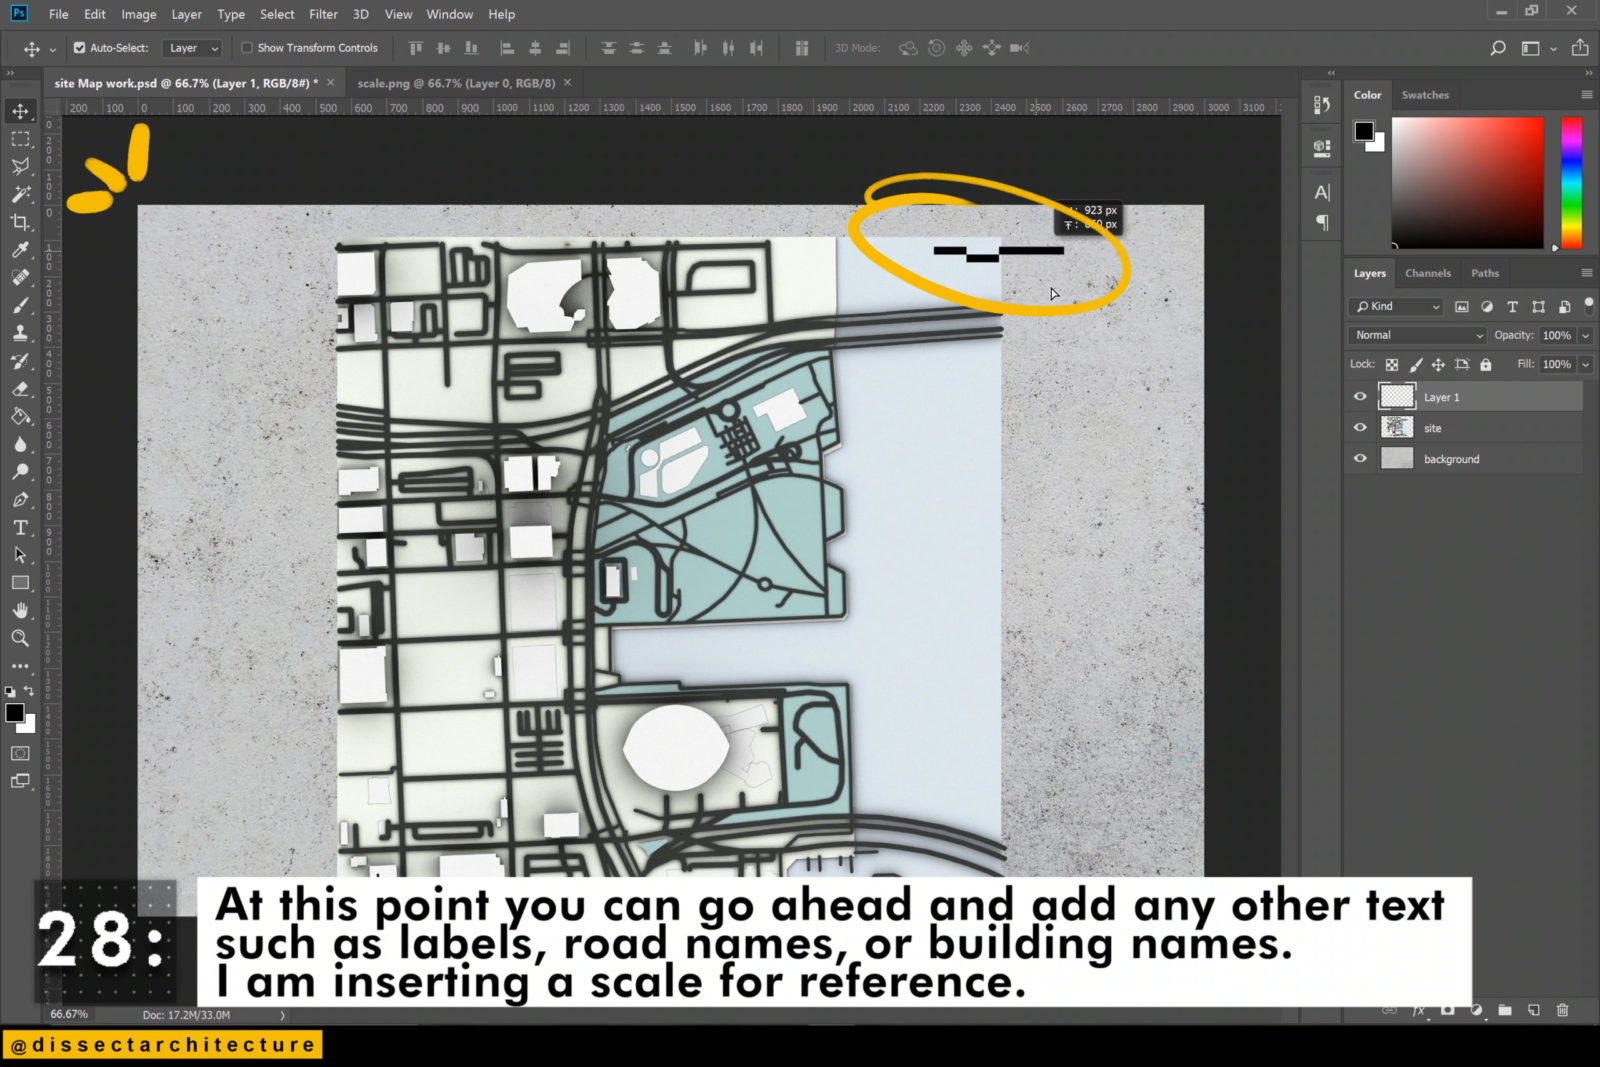
Step 28
At this point you can go ahead and add any other text such as labels, road names, or building names. I am inserting a scale for reference. Adjust the size of your image as needed.