Objective:
This tutorial explores how to create a Master Site Plan in a quick and effective way using Google Earth and Photoshop. The Master Site Plan can be customized as needed.
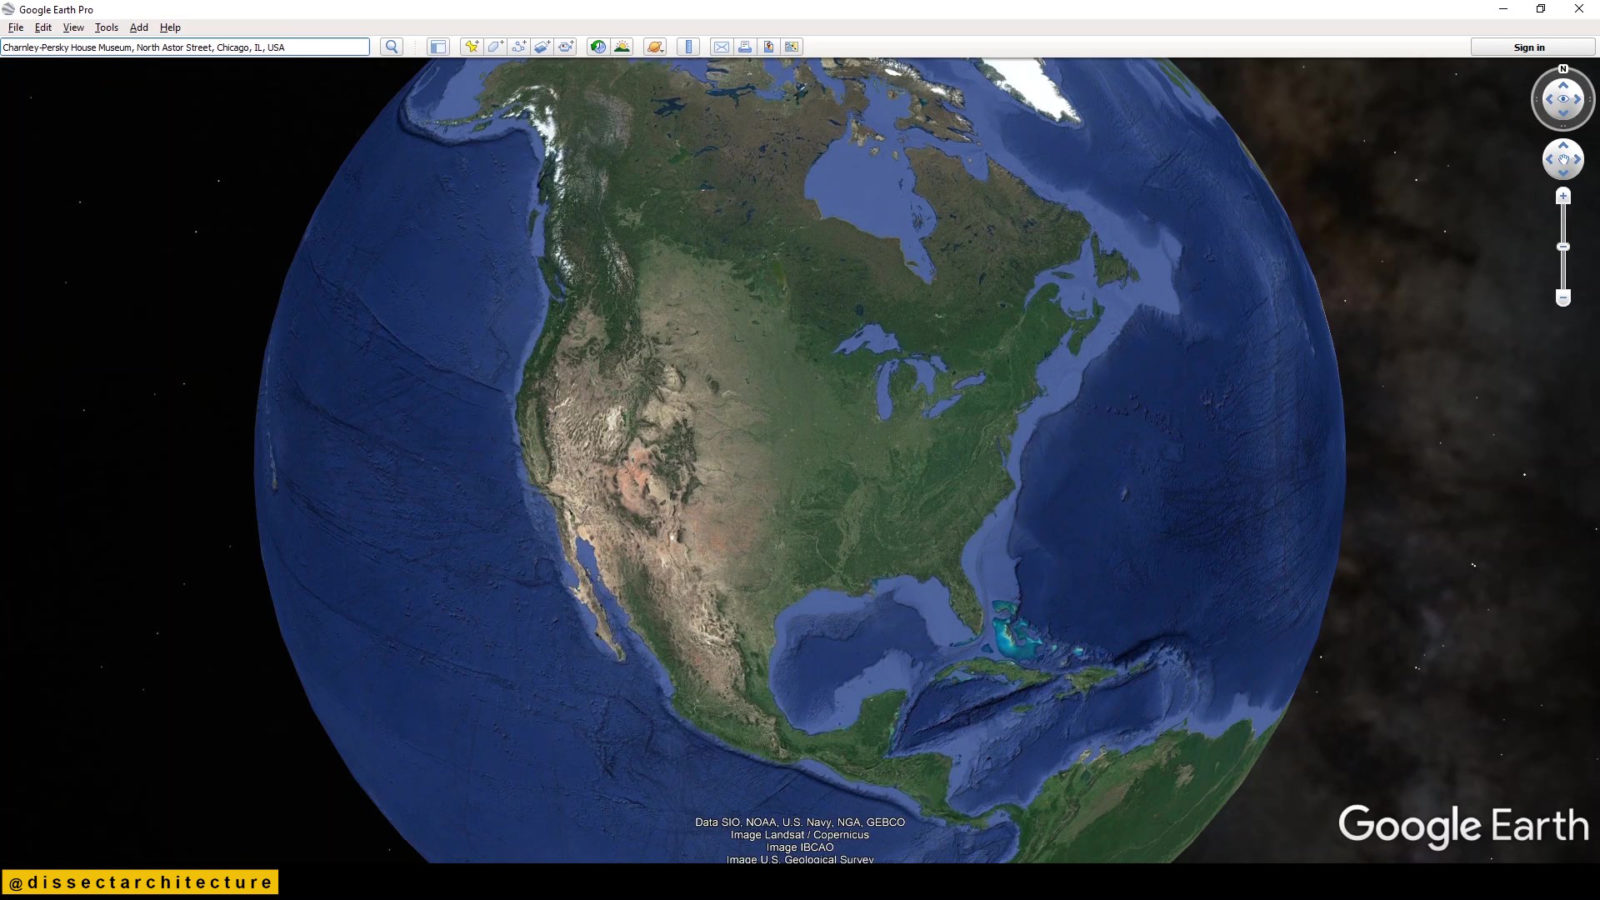
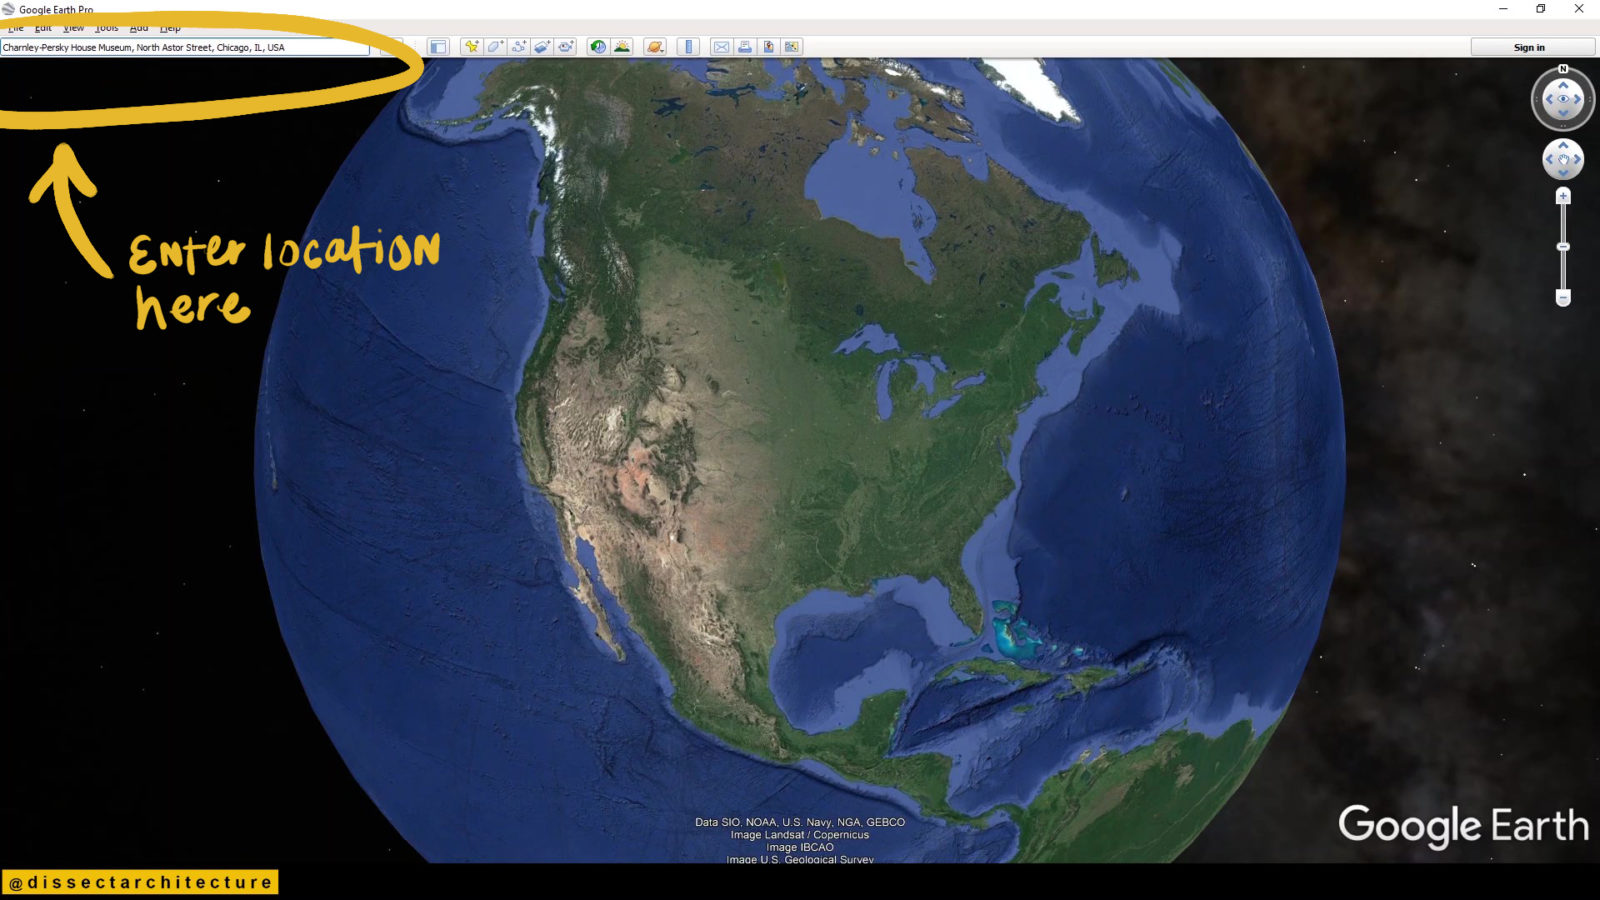
Step 01
Start by opening Google Earth and use the search box to go to the location of the site.
Step 02
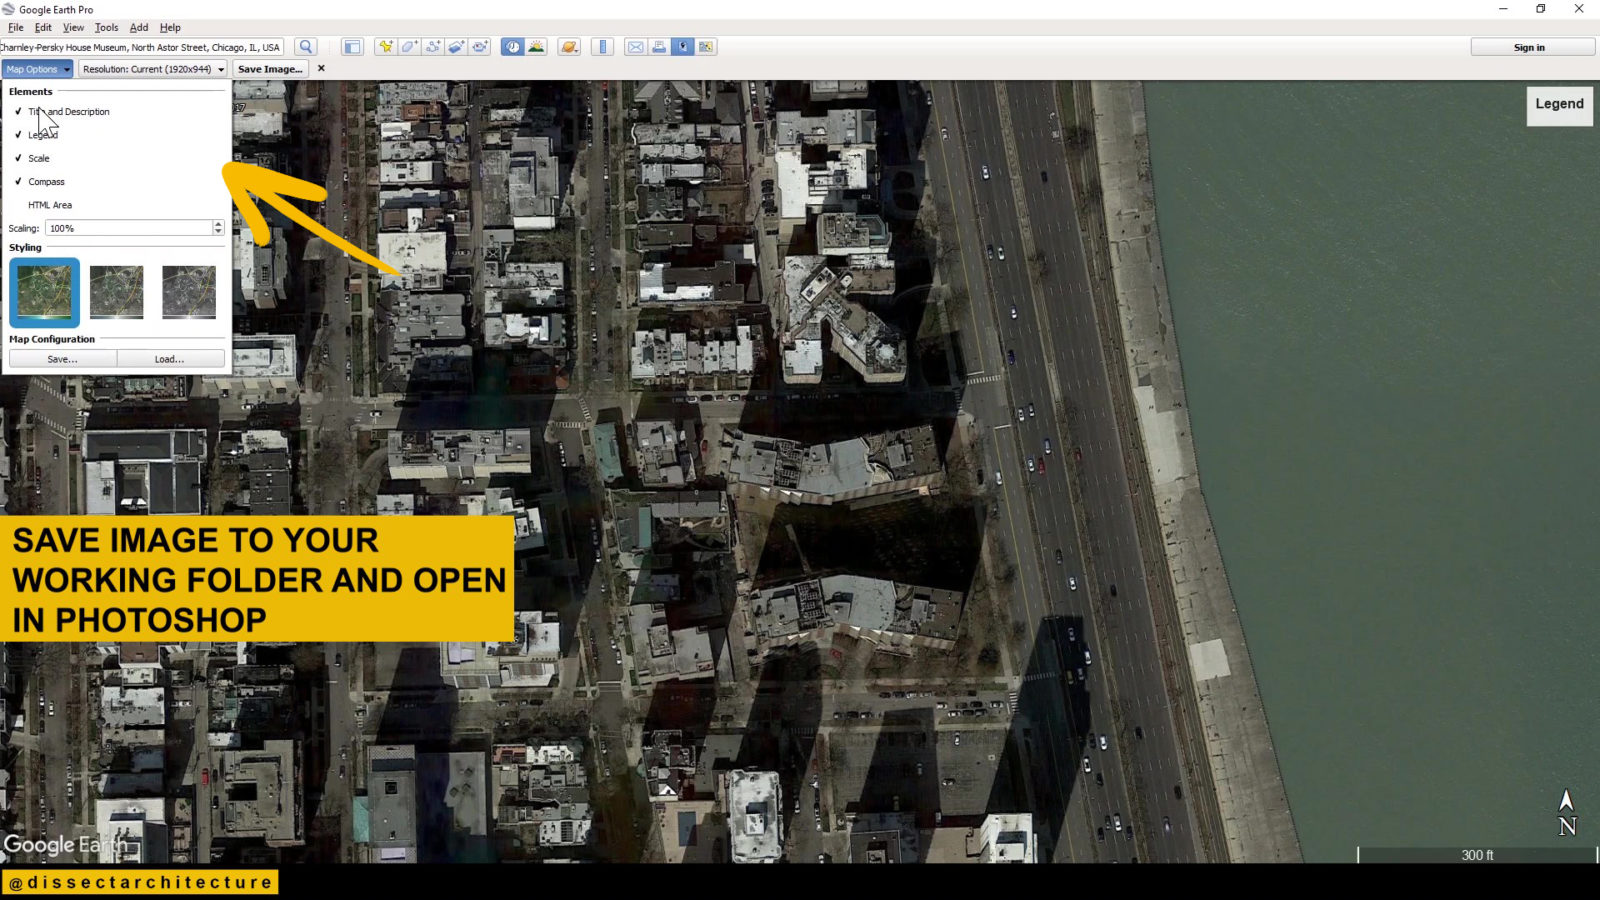
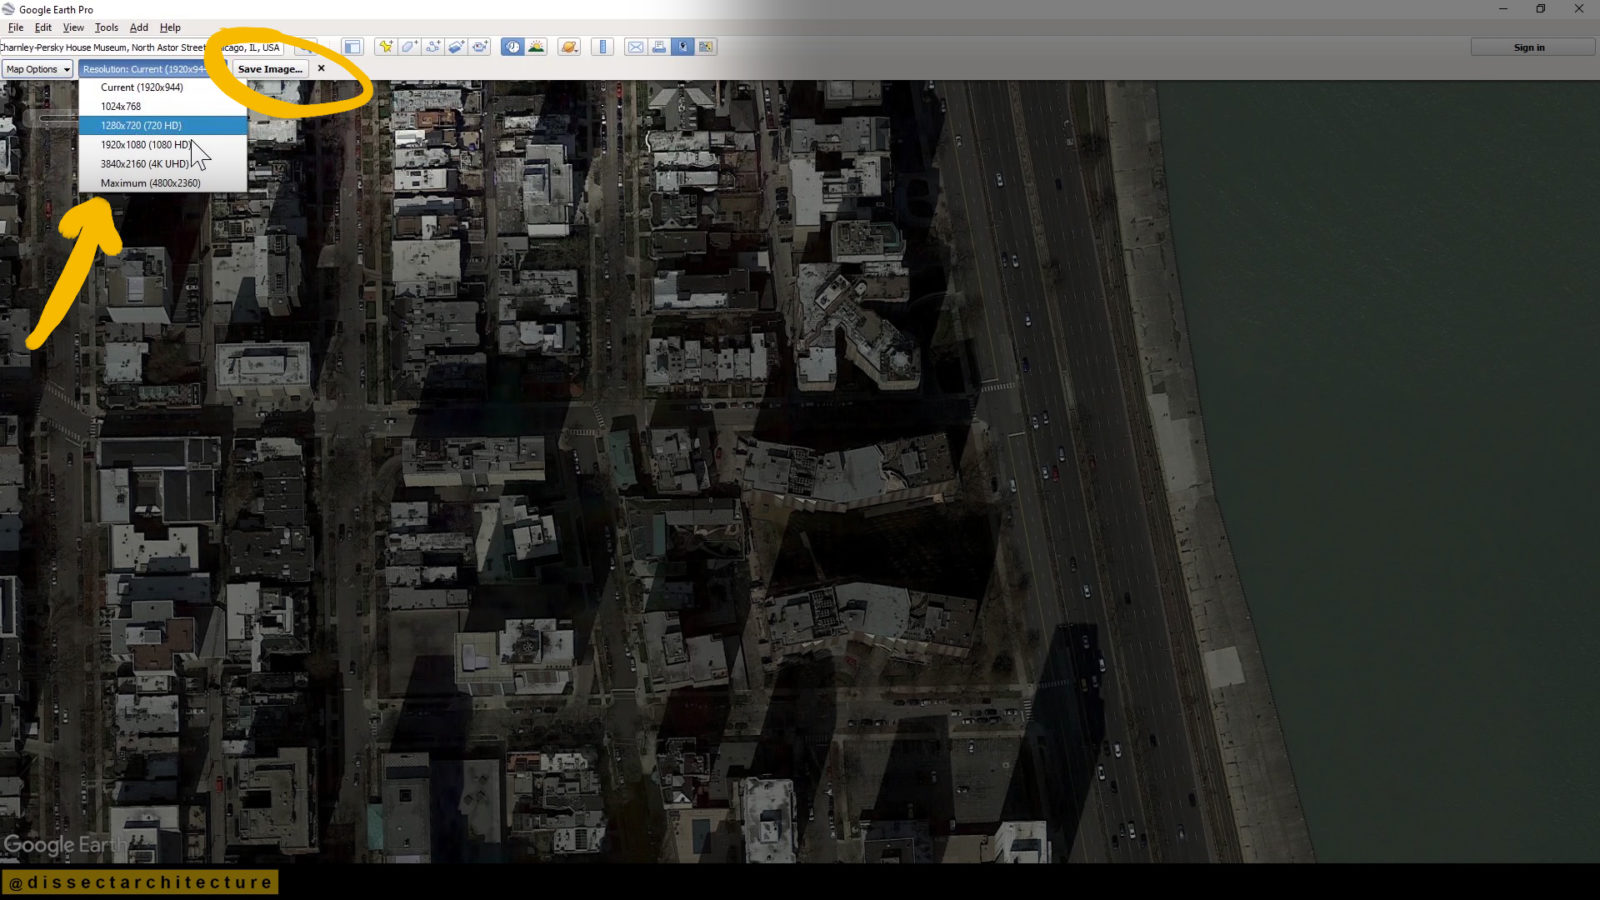
In the Map Options Panel select the Elements the image should display, if any. Then, choose the Resolution that is closest to your desired final site map.
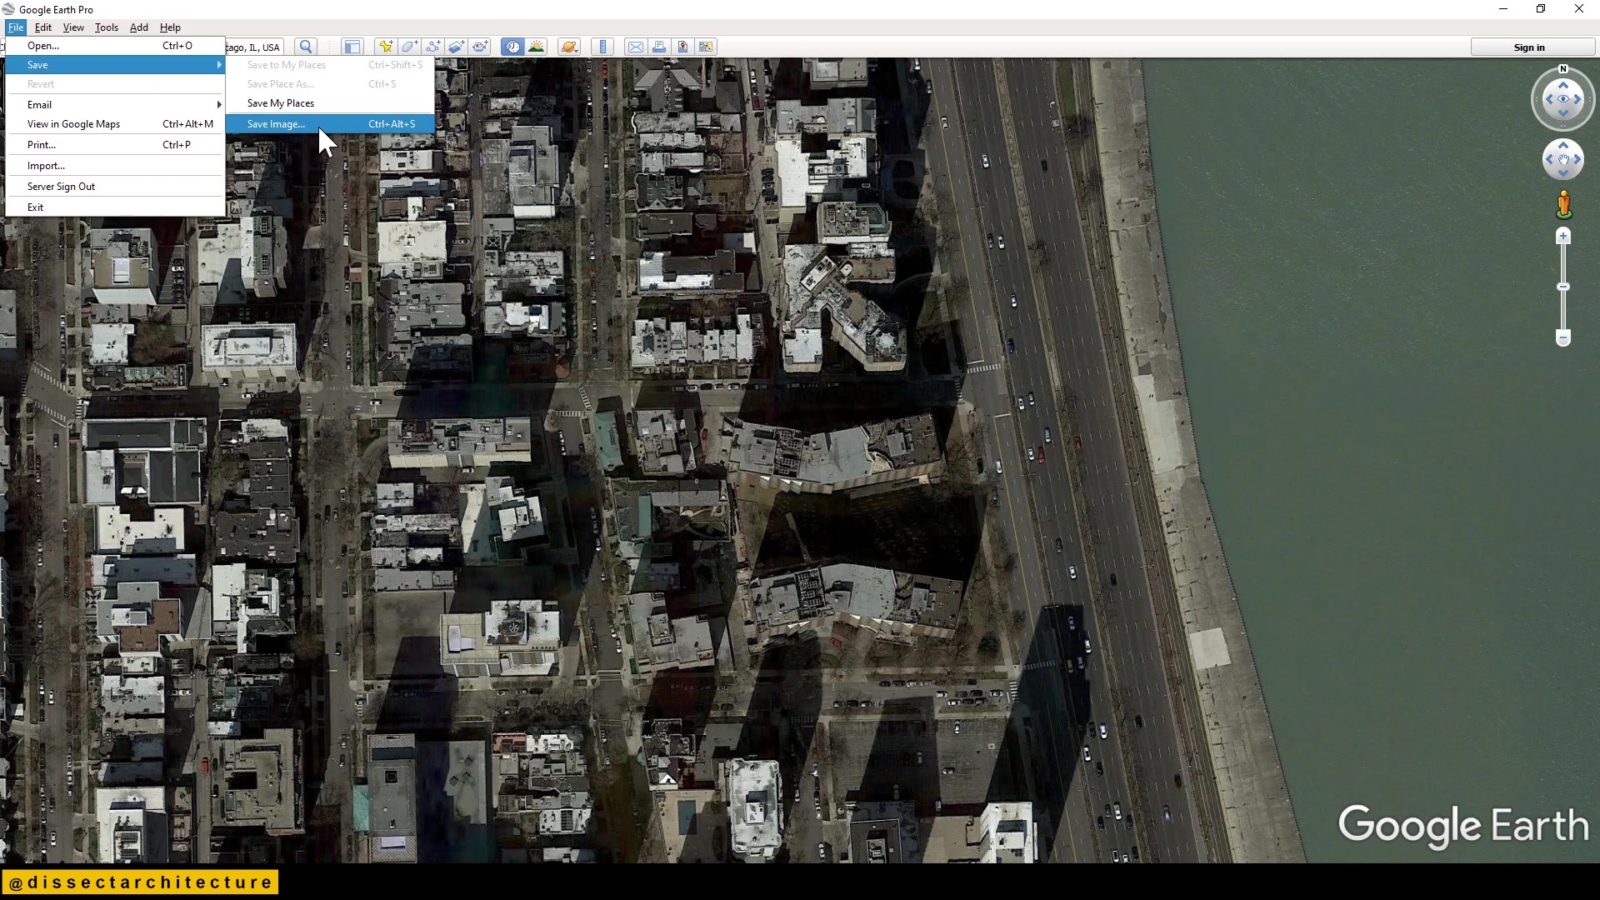
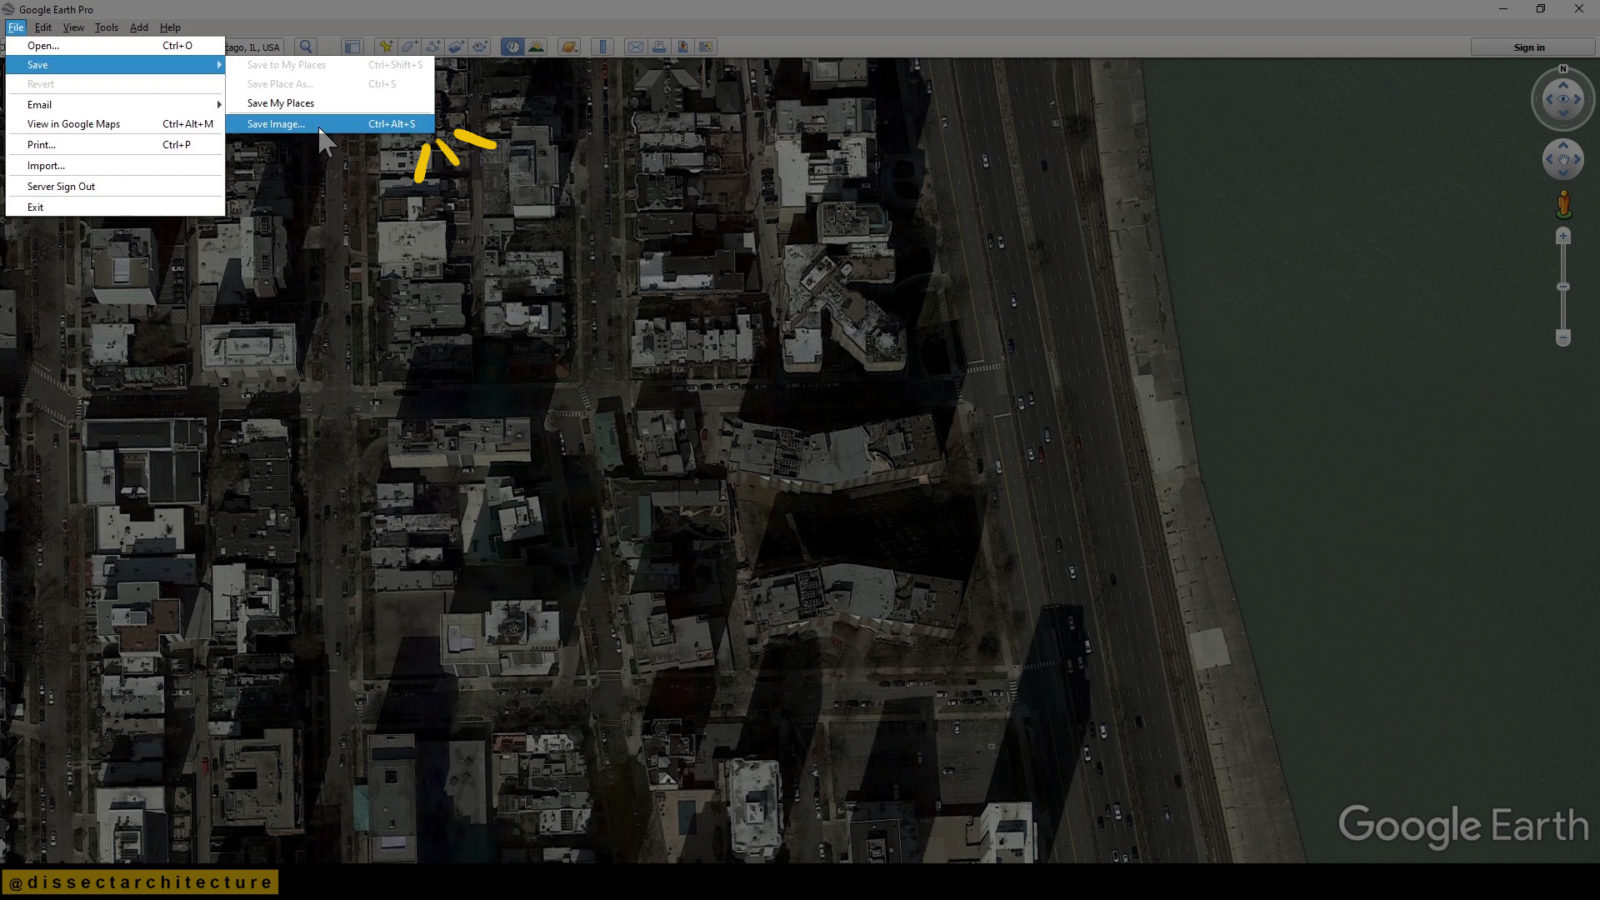
After you have adjusted your screen to the extent of the site, go to File > Save > Save Image to save the image.
Step 03
Then, open Adobe Photoshop and open the image that you just saved from Google Earth.
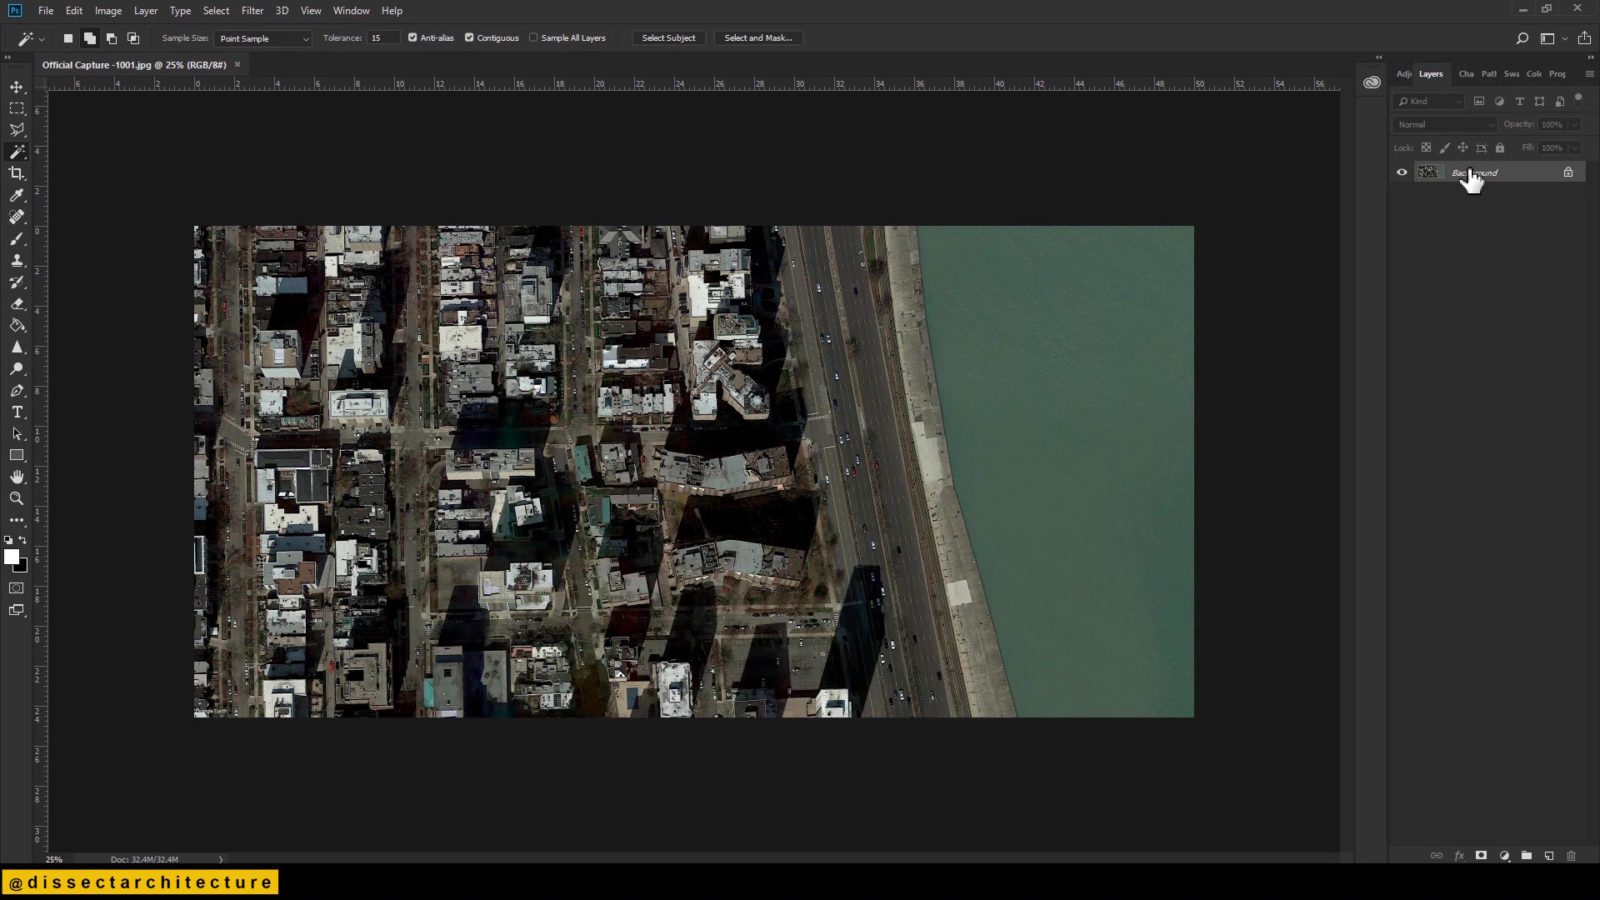
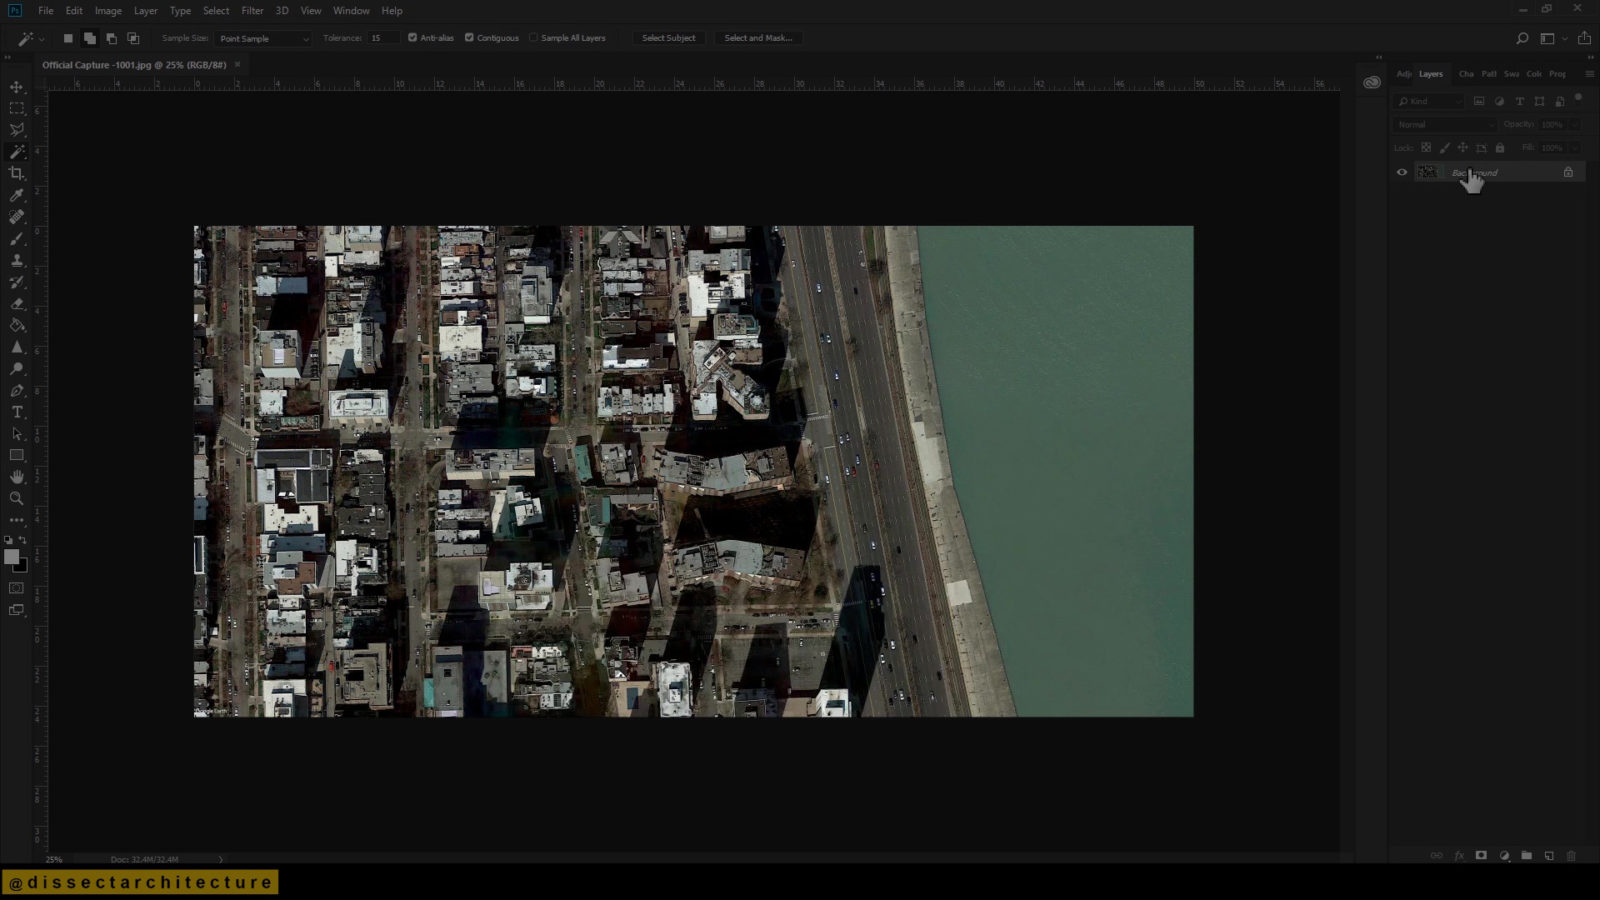
Step 04
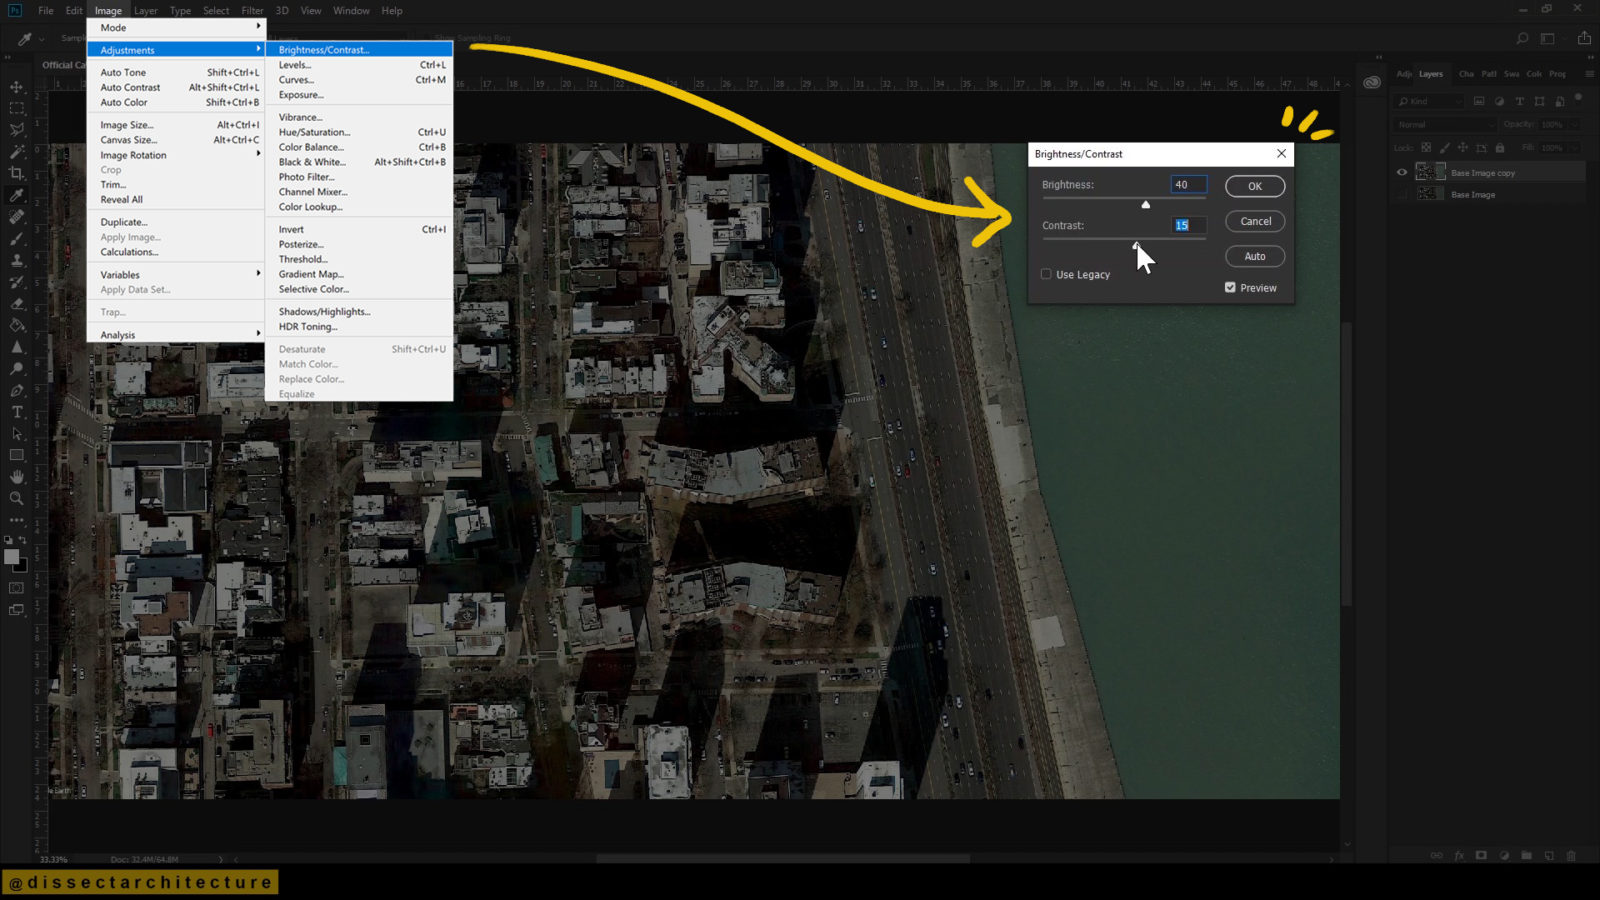
First adjust the brightness and contrast. This can be done by going to the Image Menu > Adjustments > Brightness and Contrast.
This will open the Brightness/Contrast Menu. Adjust your image to make it brighter and more readable. You can have a preview of your adjustments by selecting the Preview option. At this time you can also color correct the image if necessary.

Step 05
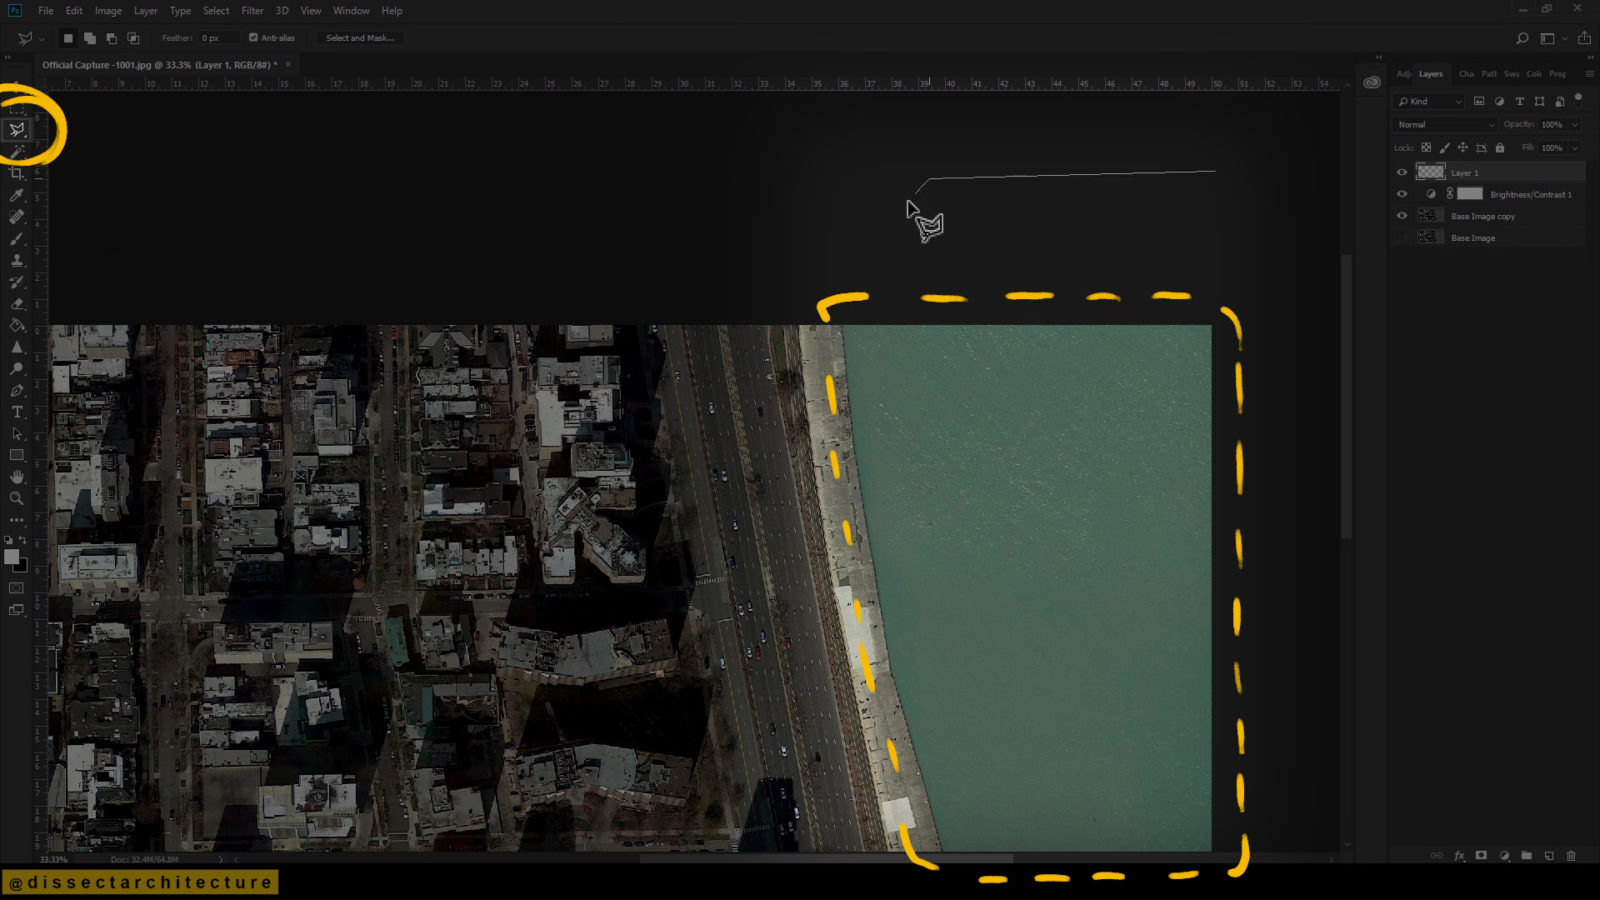
Sometimes bodies of water in Google Earth appear dull – this can be adjusted in Photoshop!
I am adjusting this by using the Magic Wand Tool to select the area of the lake, then creating a new layer.
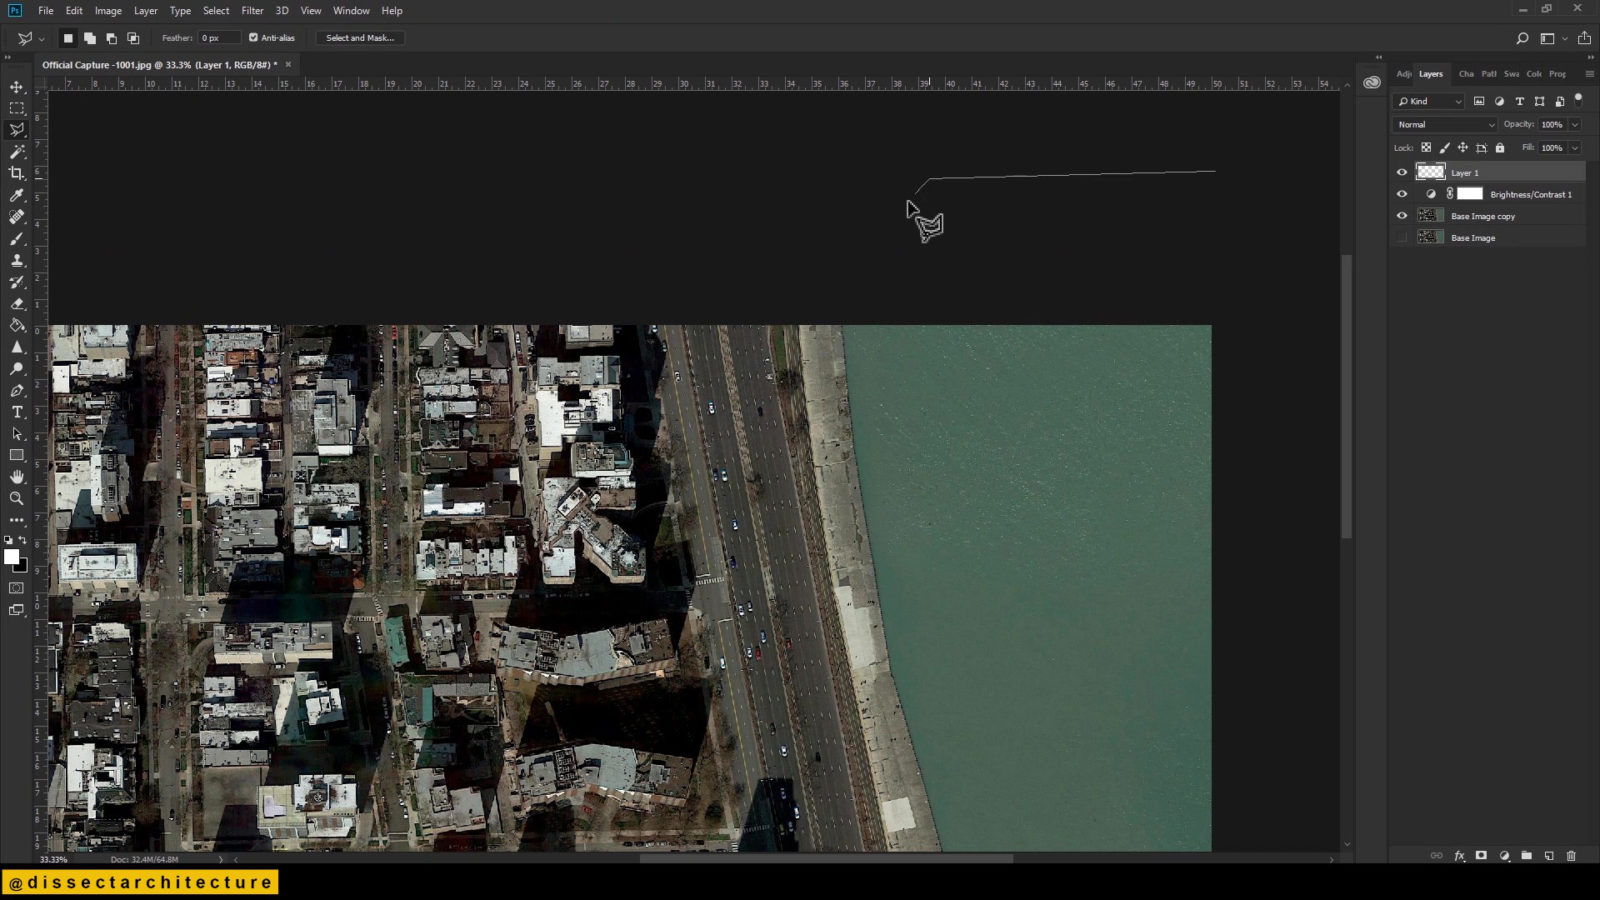
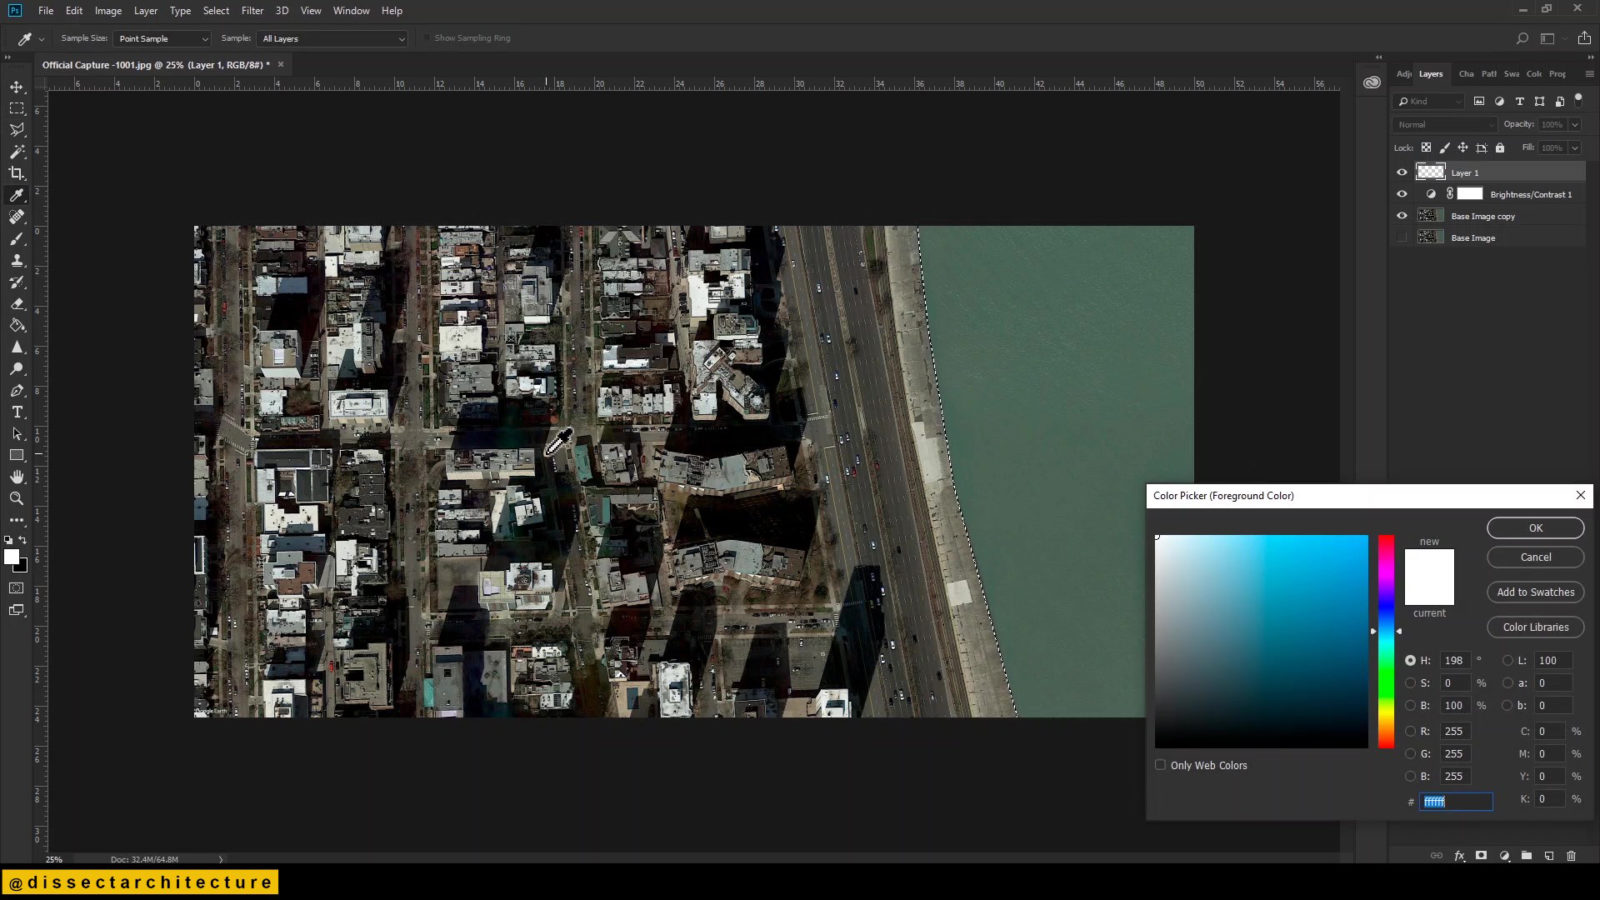
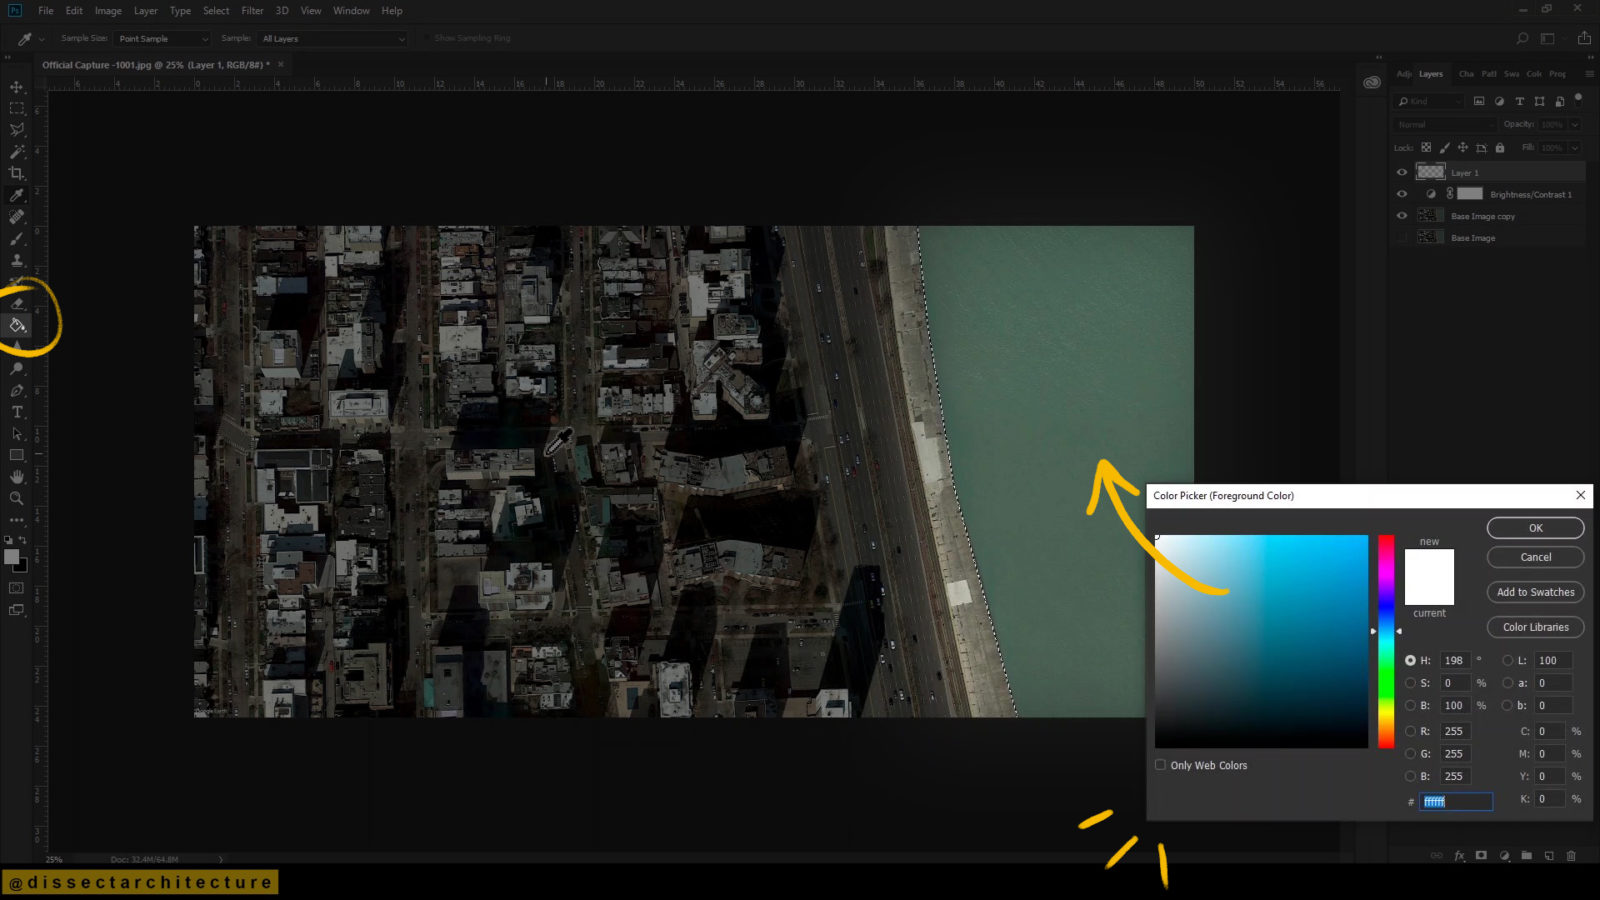
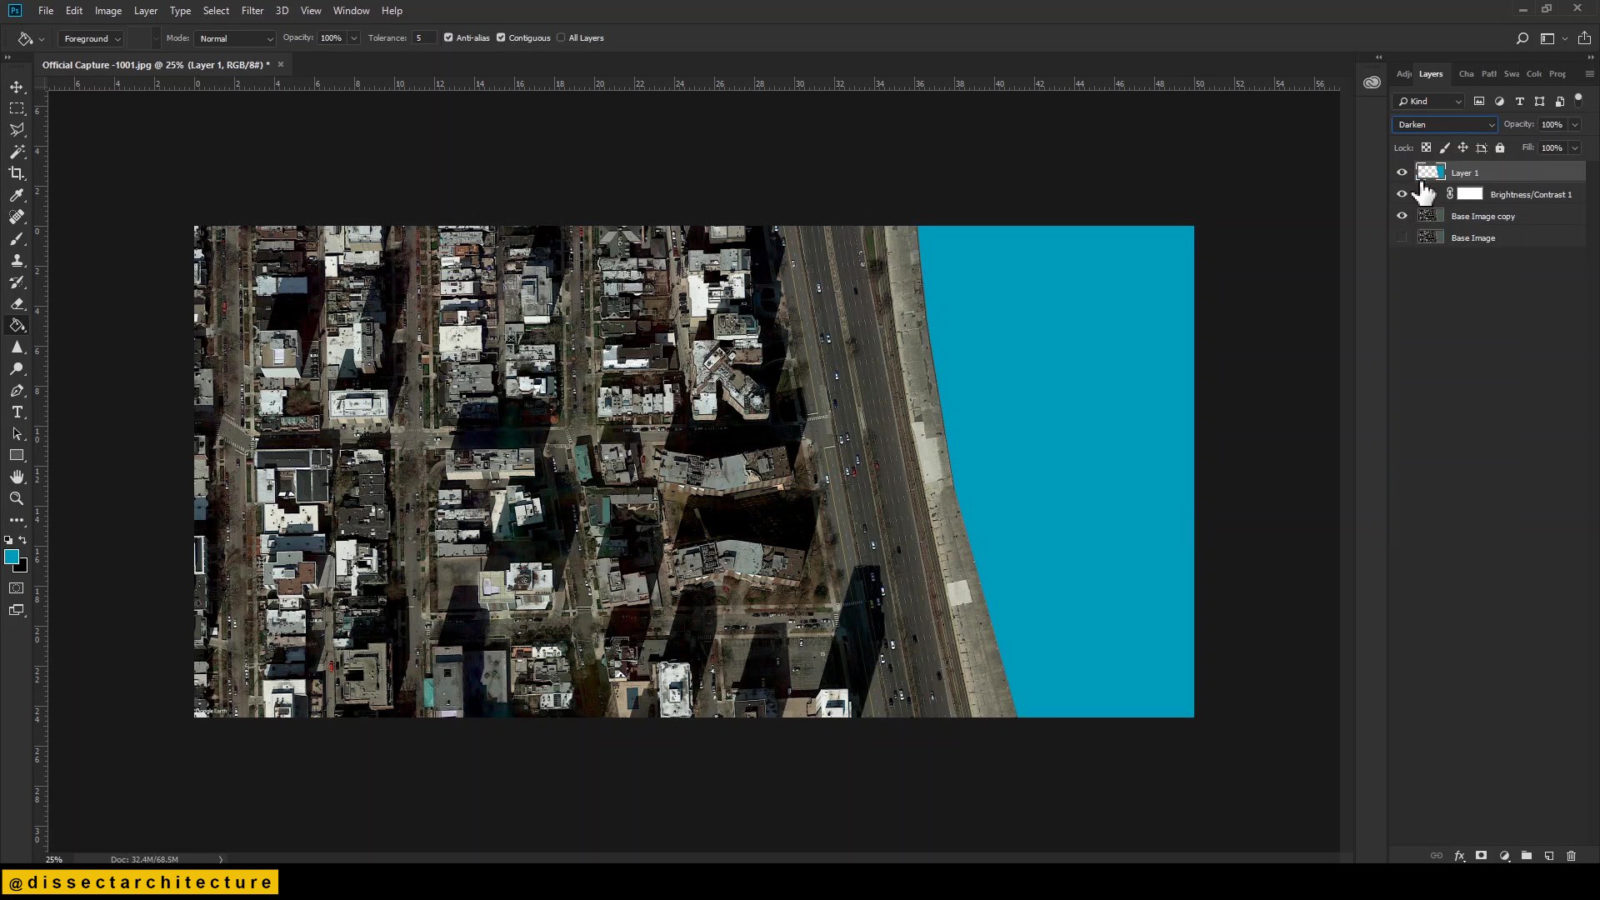
Next, I am using the Paint Bucket Tool to fill the selection with a deep blue in the new layer.
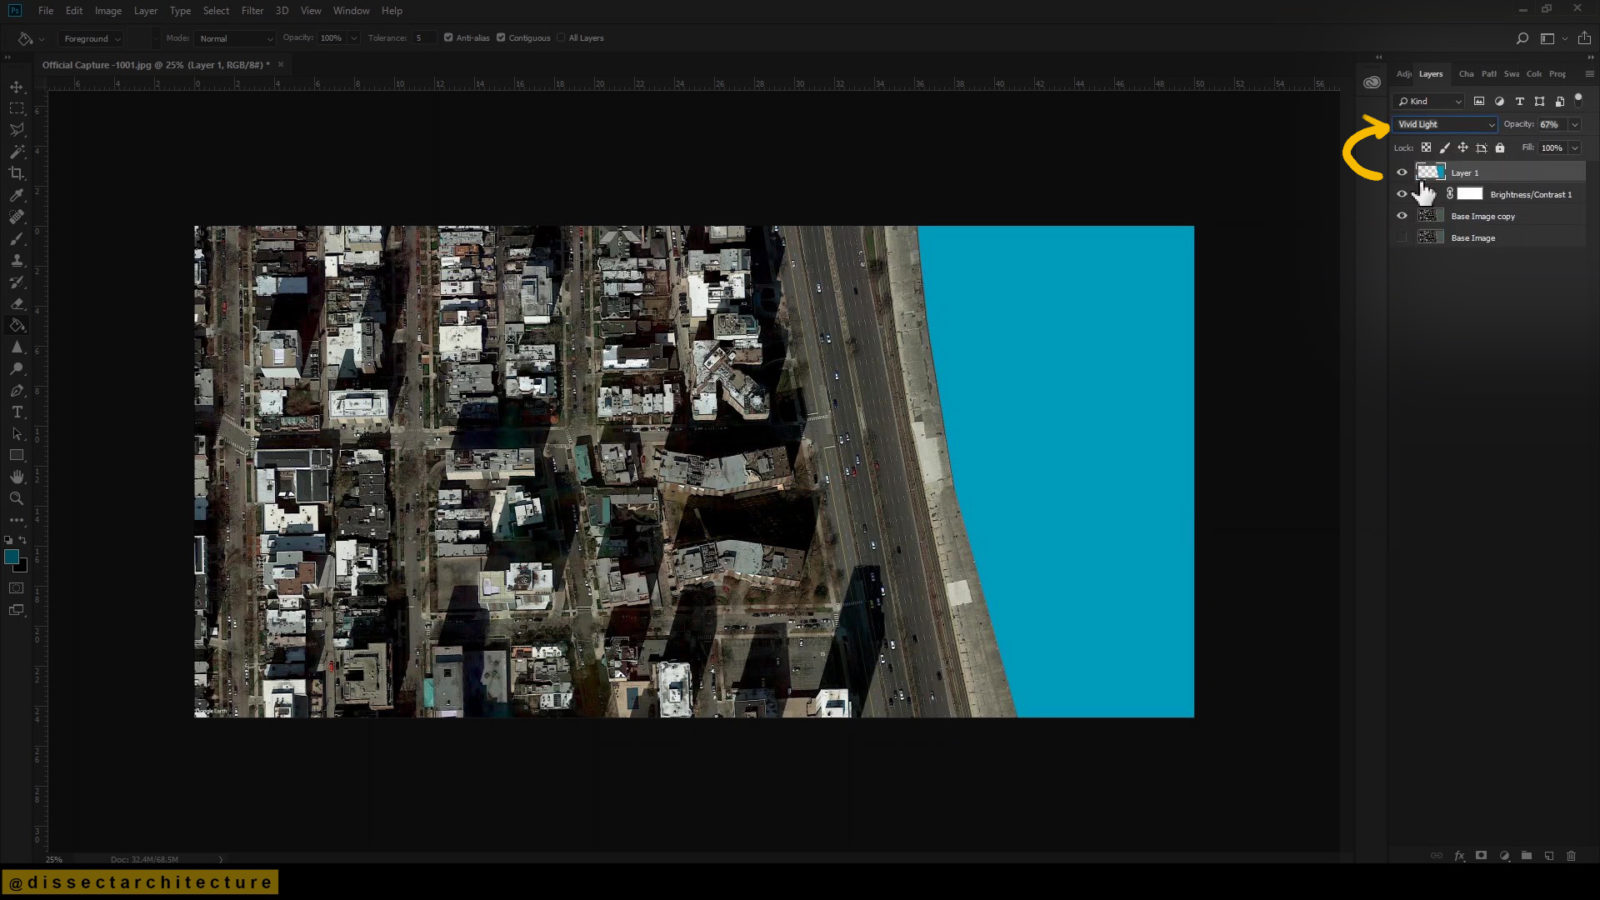
Step 06
Afterwards, I am adjusting the color blend mode of the layer to create a even blend of the color. I selected the Vivid Light color blend and set the opacity of the layer to 67%.
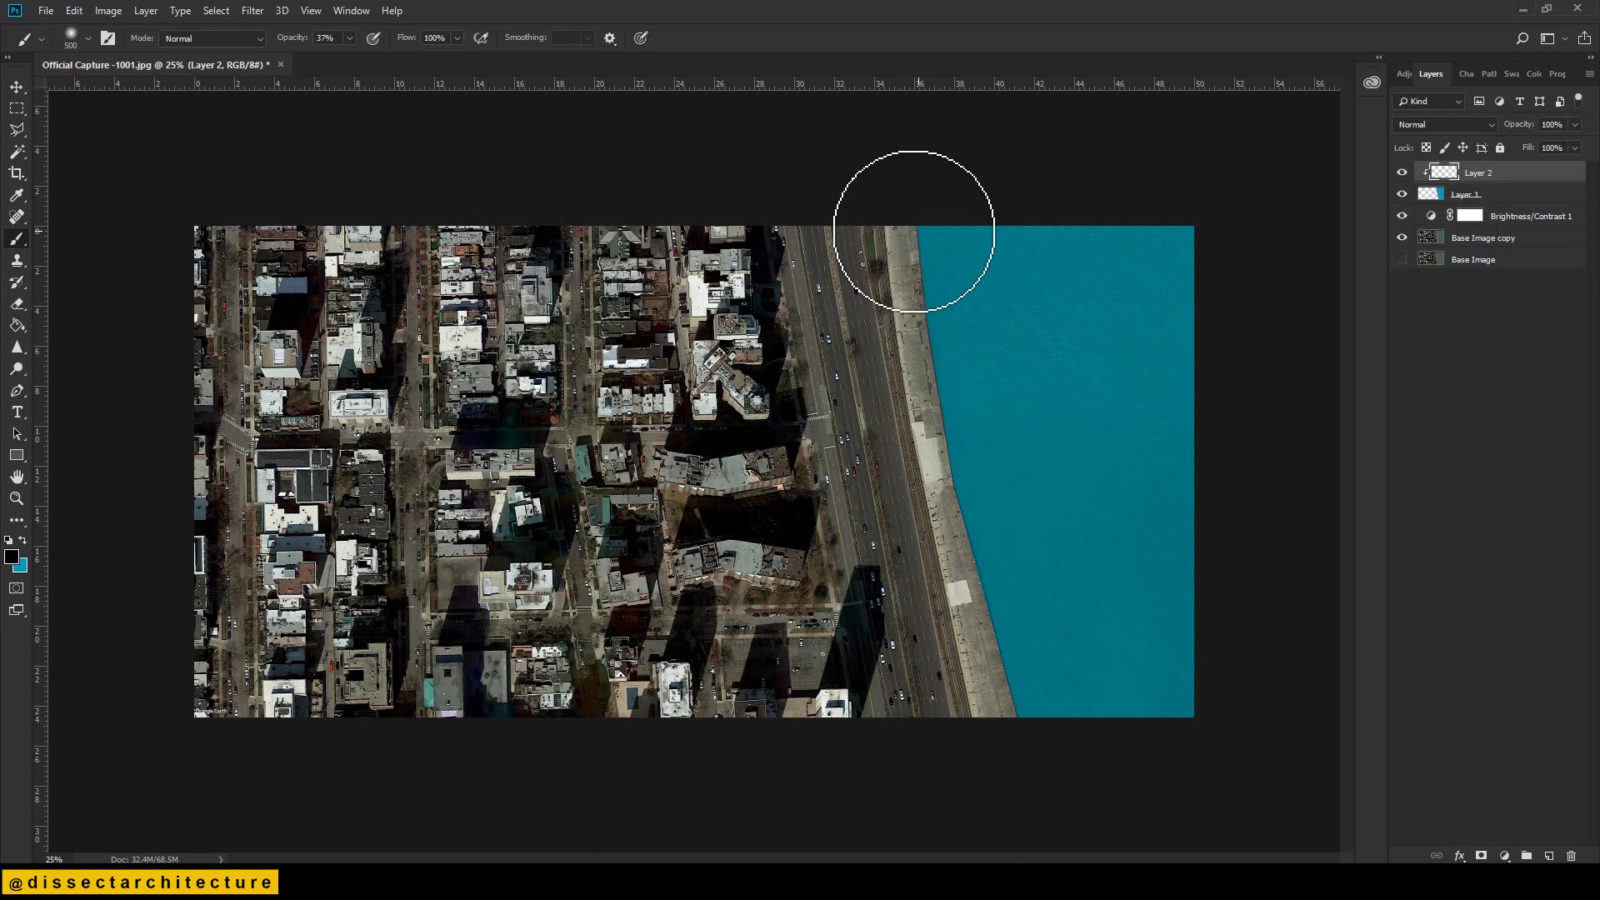
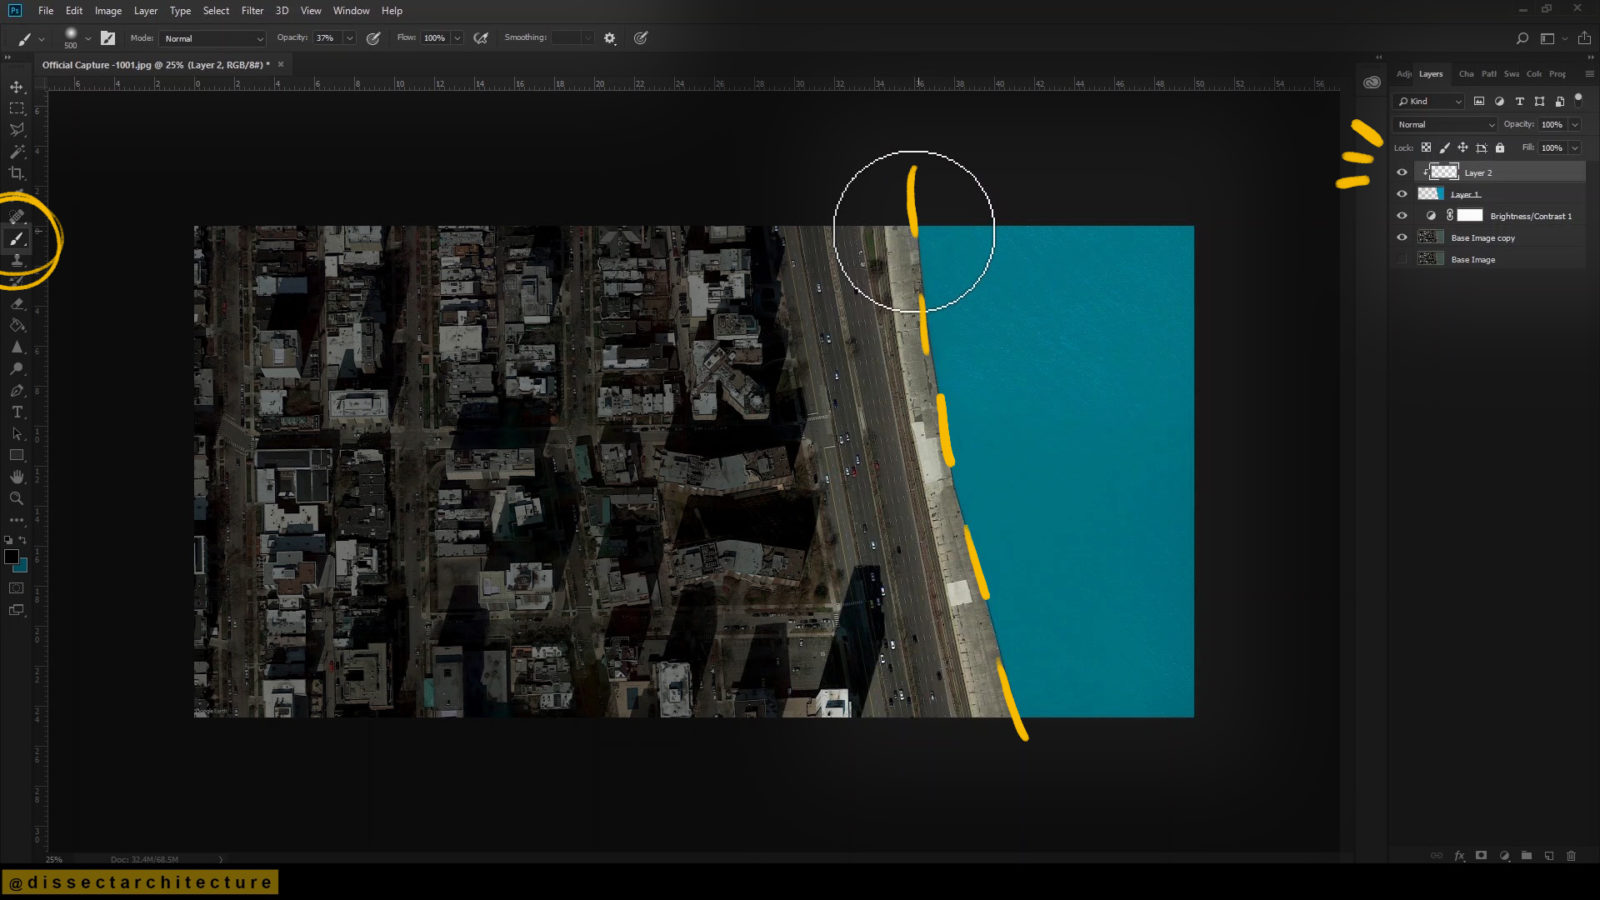
Step 07
Now, I am adding a shadow to the body of water at the edge of the lake.
I am doing this by first creating a new layer and clipping to the layer with the body of water below it. Then, I am using a large diffused brush with a black fill and using it where body of water meets land.
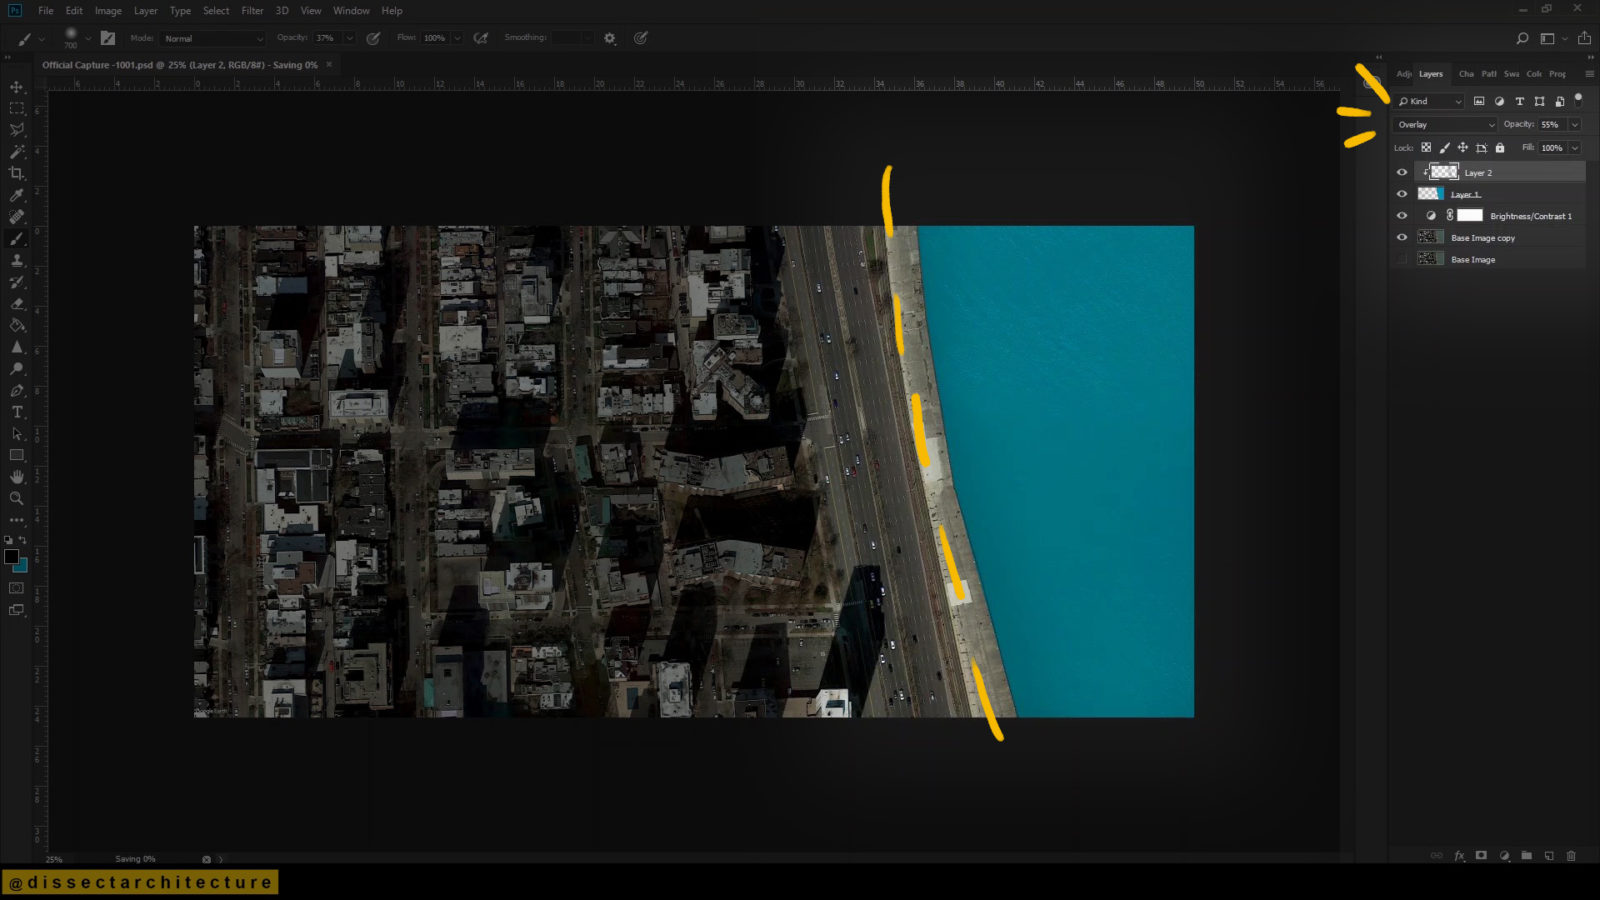
I then lowered the opacity of the layer to 55% and adjusted the blending mode of the layer to Overlay.

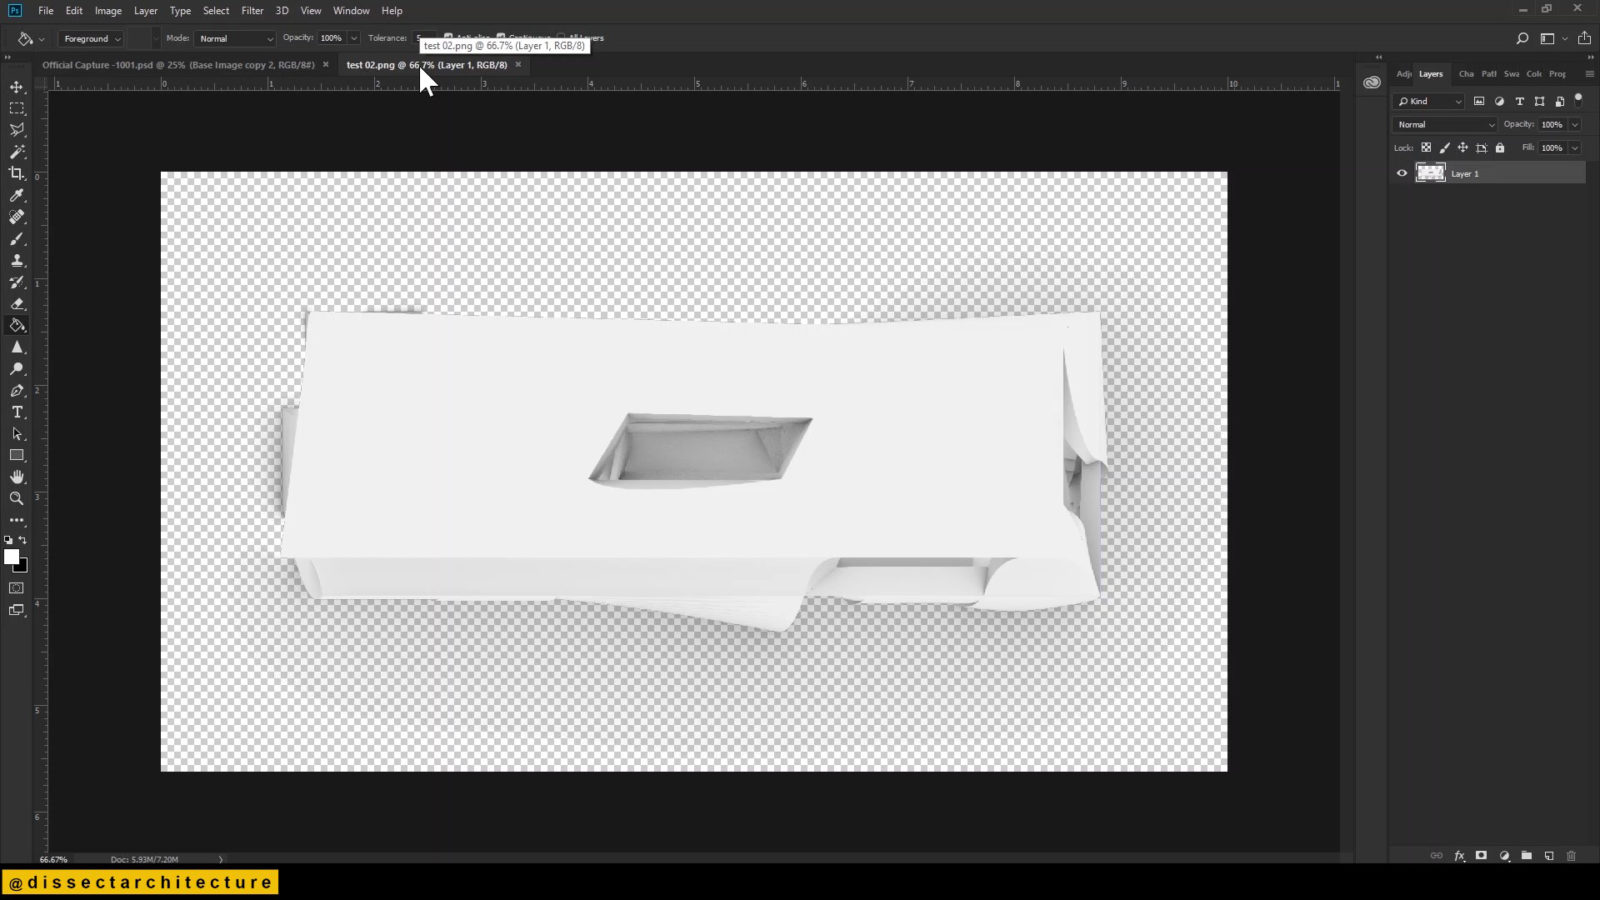
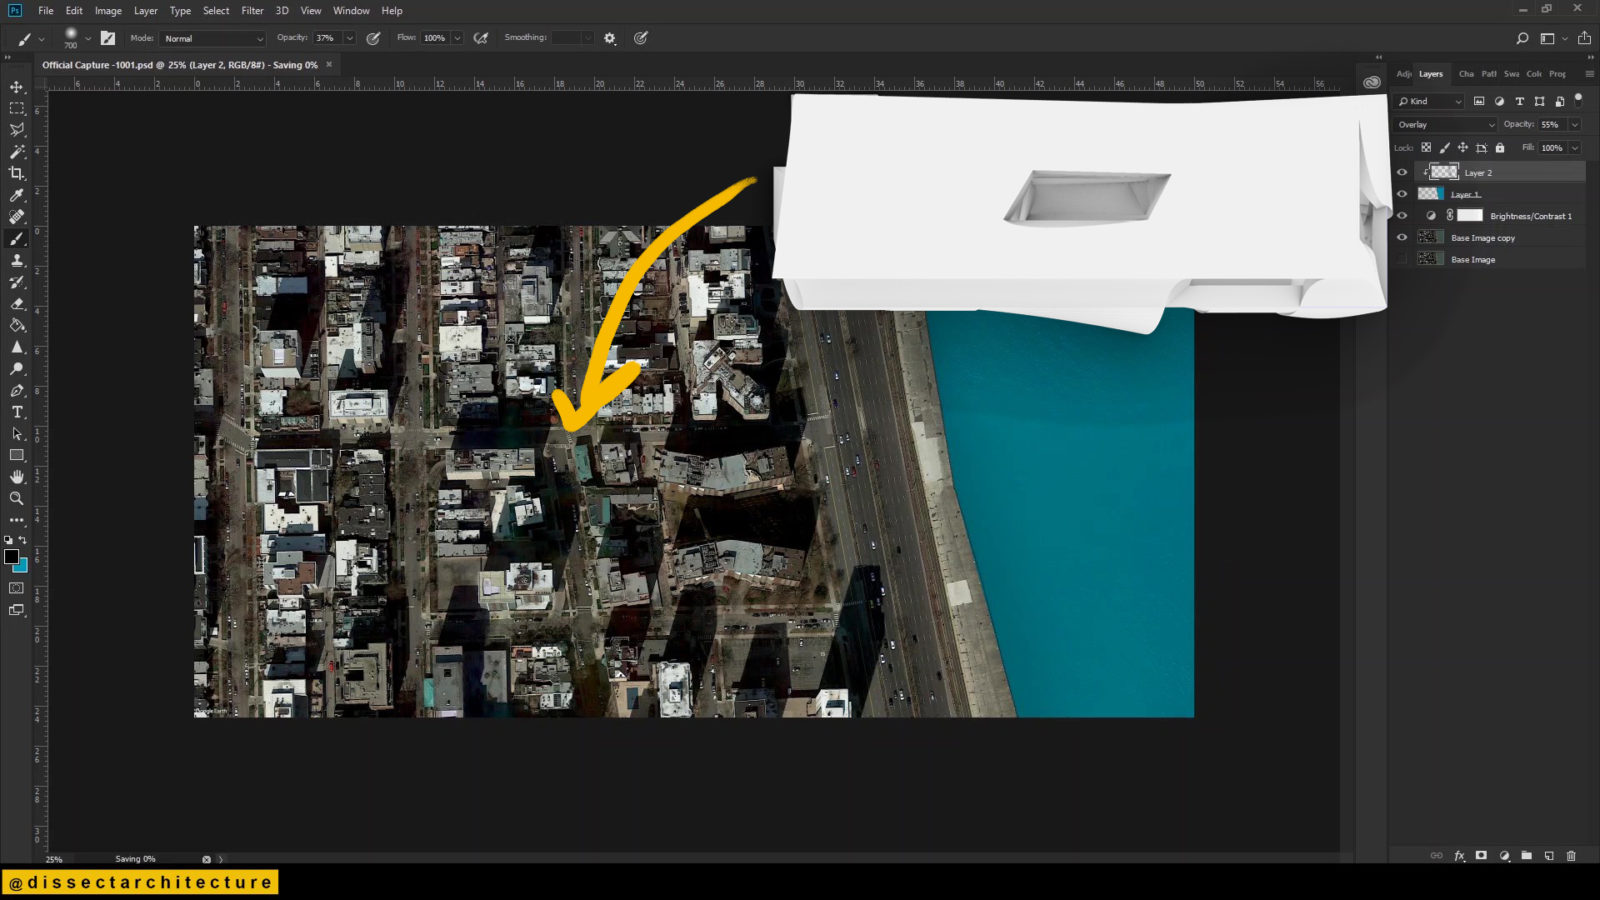
Step 08
Once that is done, I am adding an aerial rendered view of my project to add onto the Site Map.
I selected the rendered aerial and copied it. Then I pasted it into the working file with the Site Map. I used the Transform Tool to make it smaller to fit within the site. Go ahead and make any other transformations needed to fit into its site.
Step 09
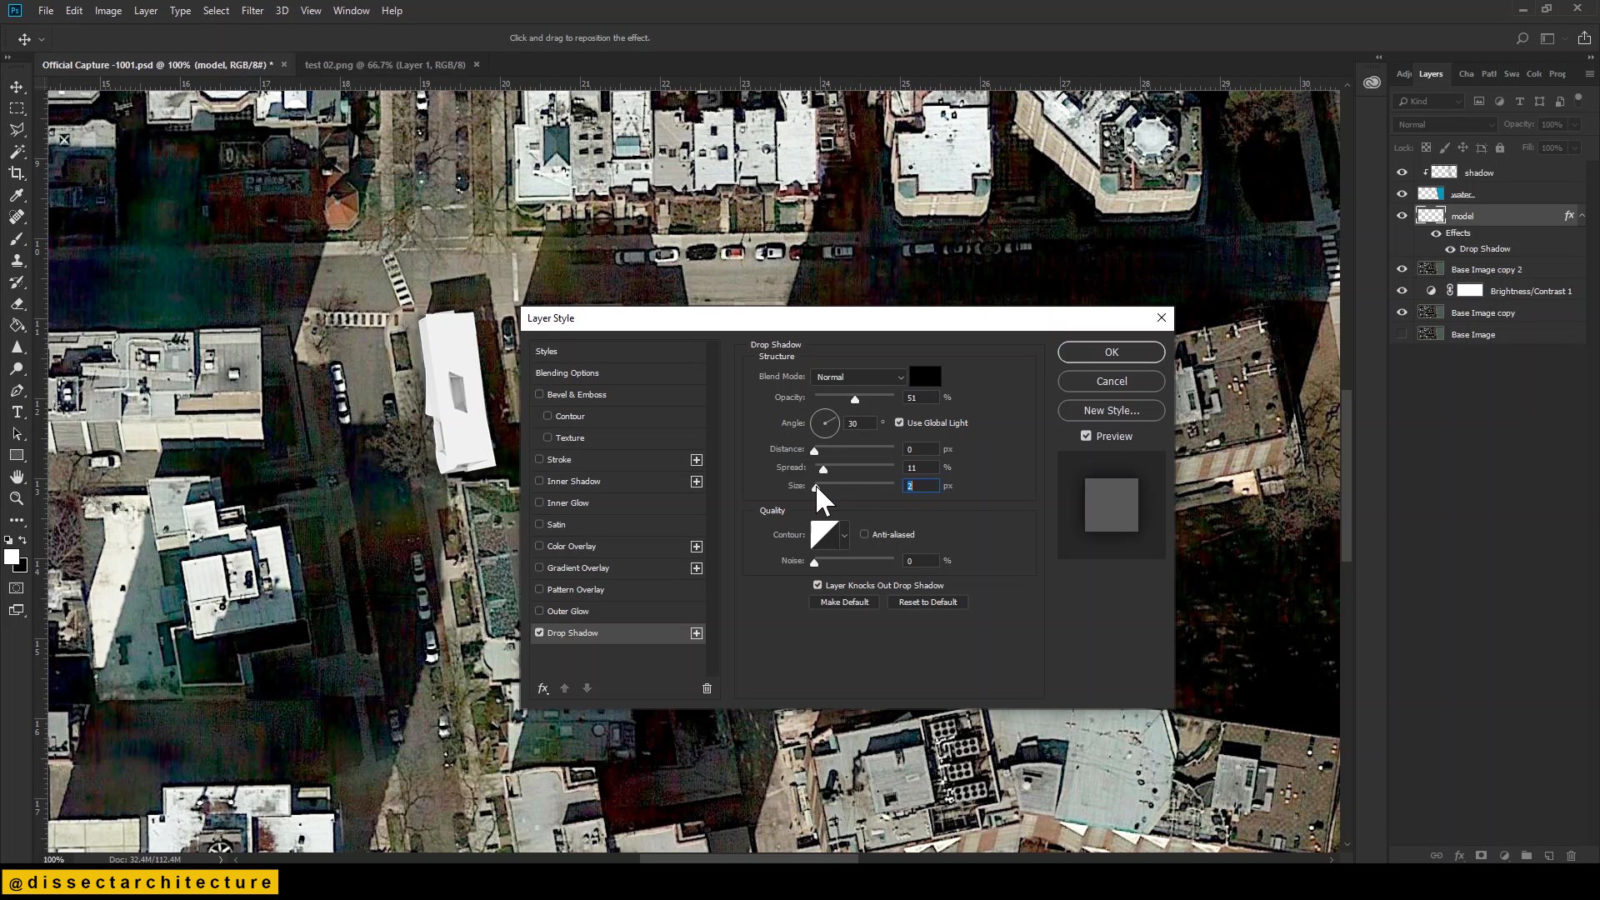
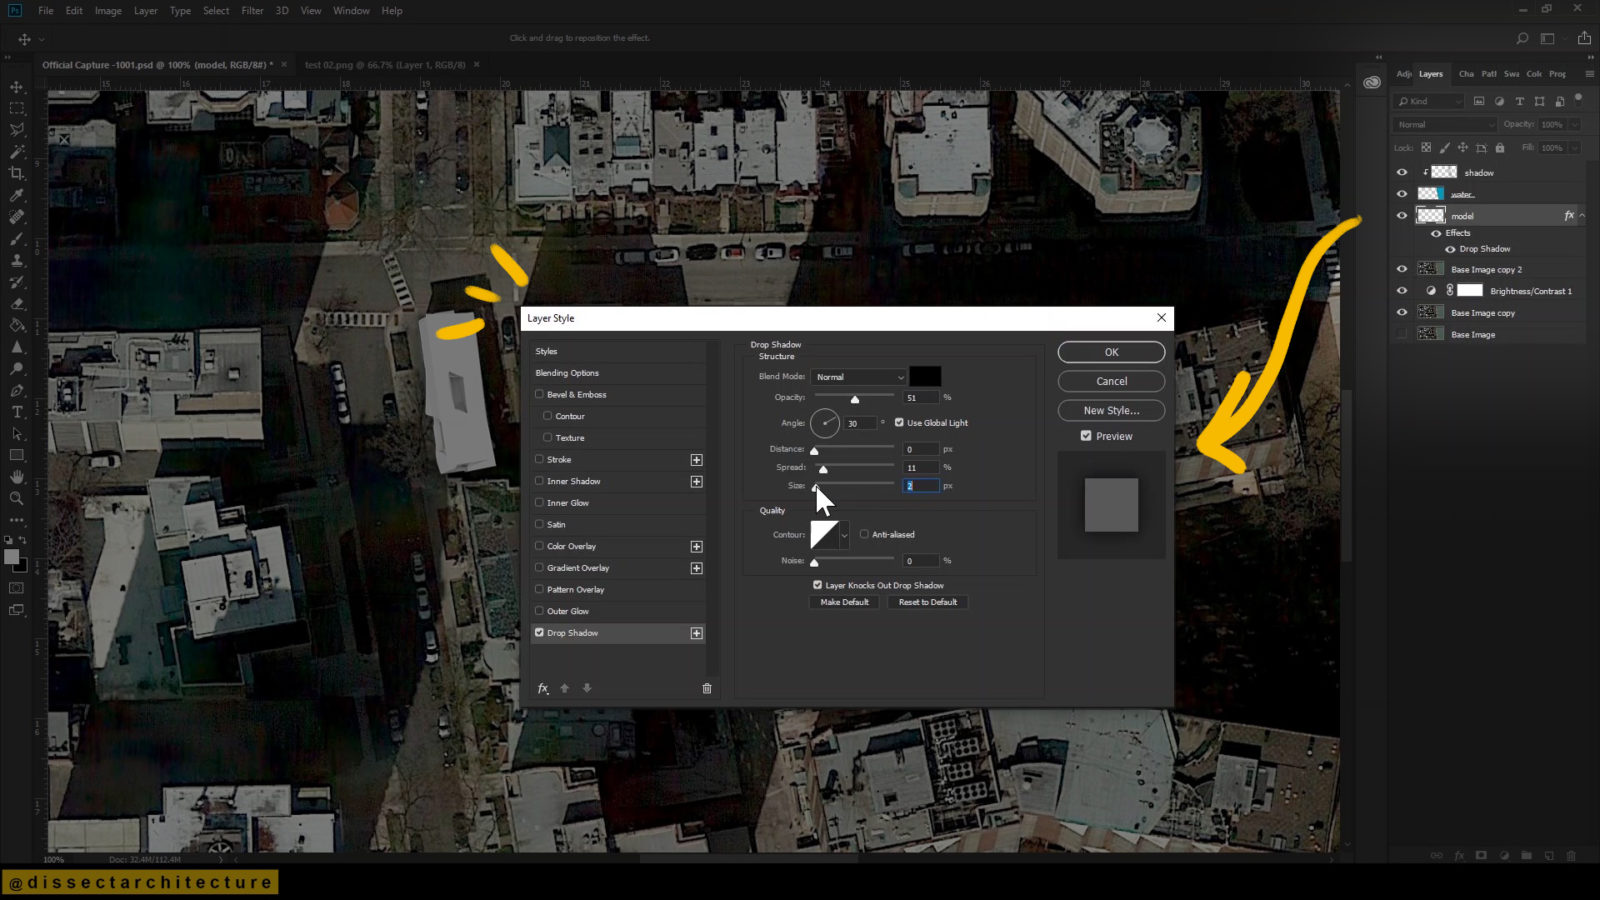
Next, I am adding a slight shadow to the aerial render that was just placed into the site map.
First, open the Layer Style Panel by double clicking on the layer with the rendered aerial. Then, select Drop Shadow from the left side menu options. Adjust its size, spread, distance, and opacity as necessary. Make sure the preview option is checked to help you make the best choices for your site map.
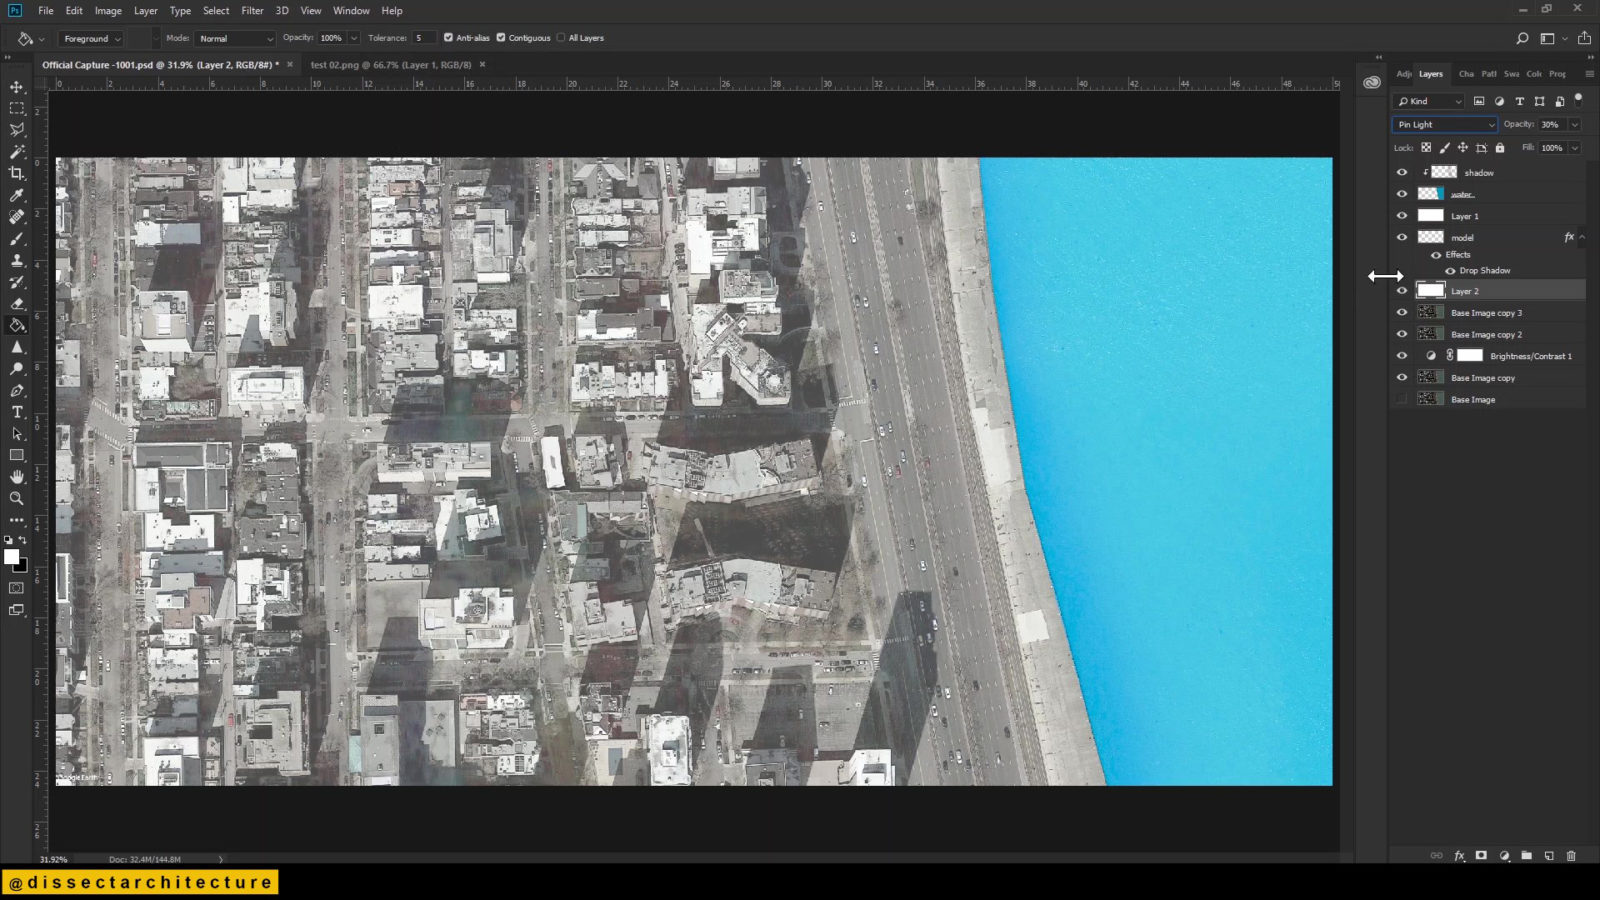
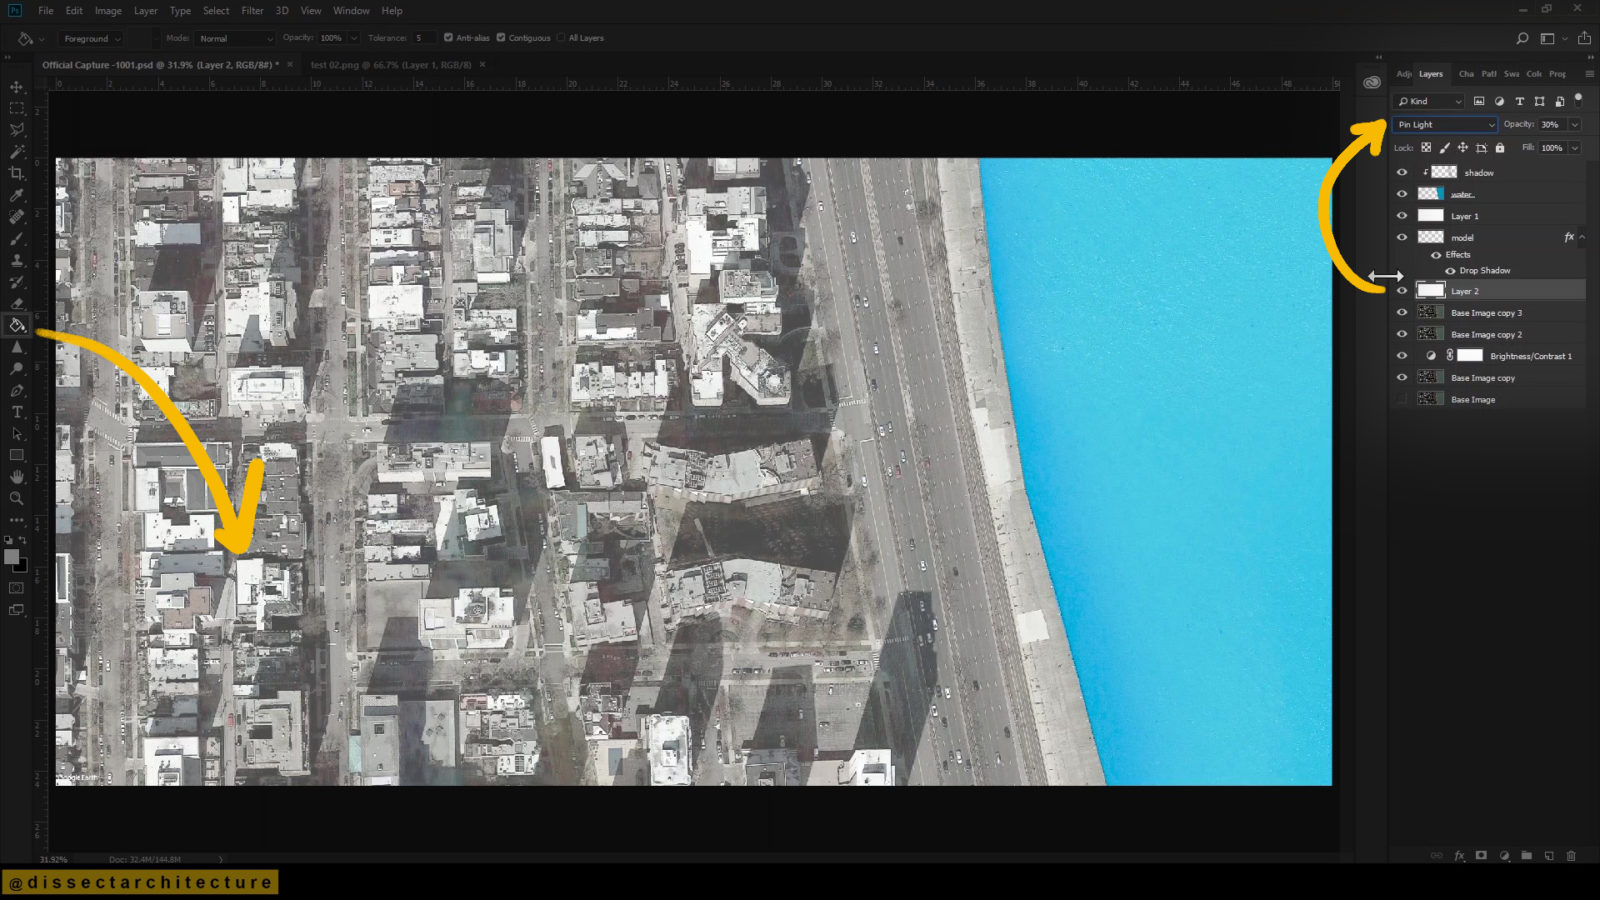
Step 10
If necessary, brighten the image of the site map even more.
First create a new layer and add a white fill to it. Then, change the blending mode to Pin Light and adjust the layer’s opacity to 30%. Make sure to place the new layer over the base image of the Google Earth Aerial.
Then, I lowered the blue fill of the lake to 15%, as it was overpowering the site map. Always organize your layers as you are working!
Step 11
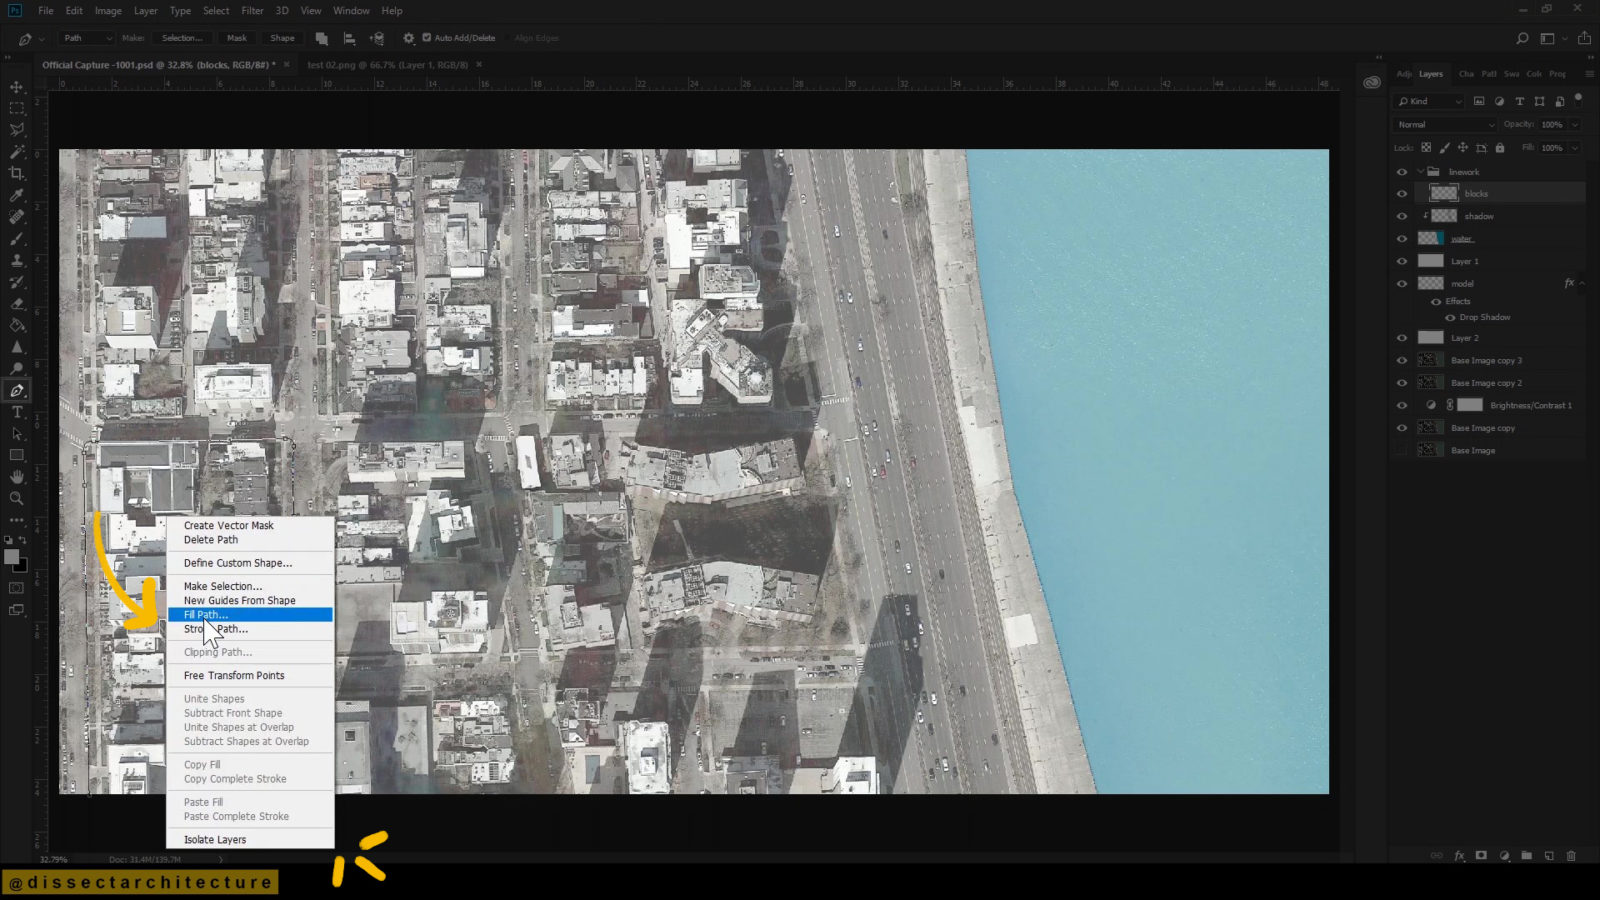
I am adding more detail to the image by tracing the outlines of the blocks from the Google Earth Aerial. First, I created a new layer and then used the Pen Tool to quickly trace the outlines.
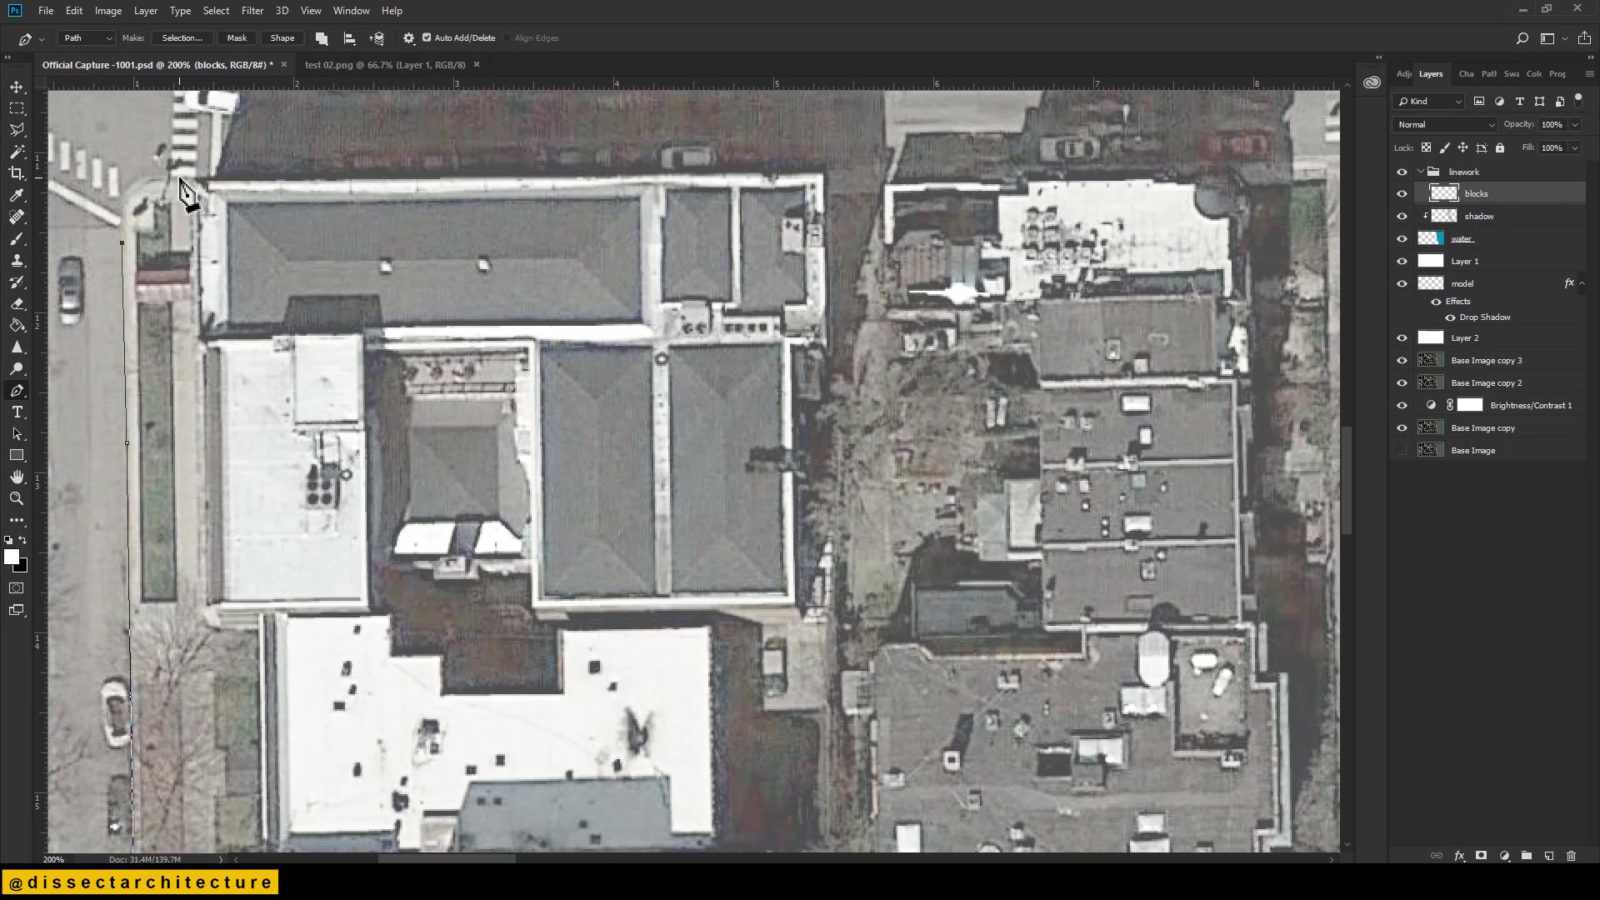
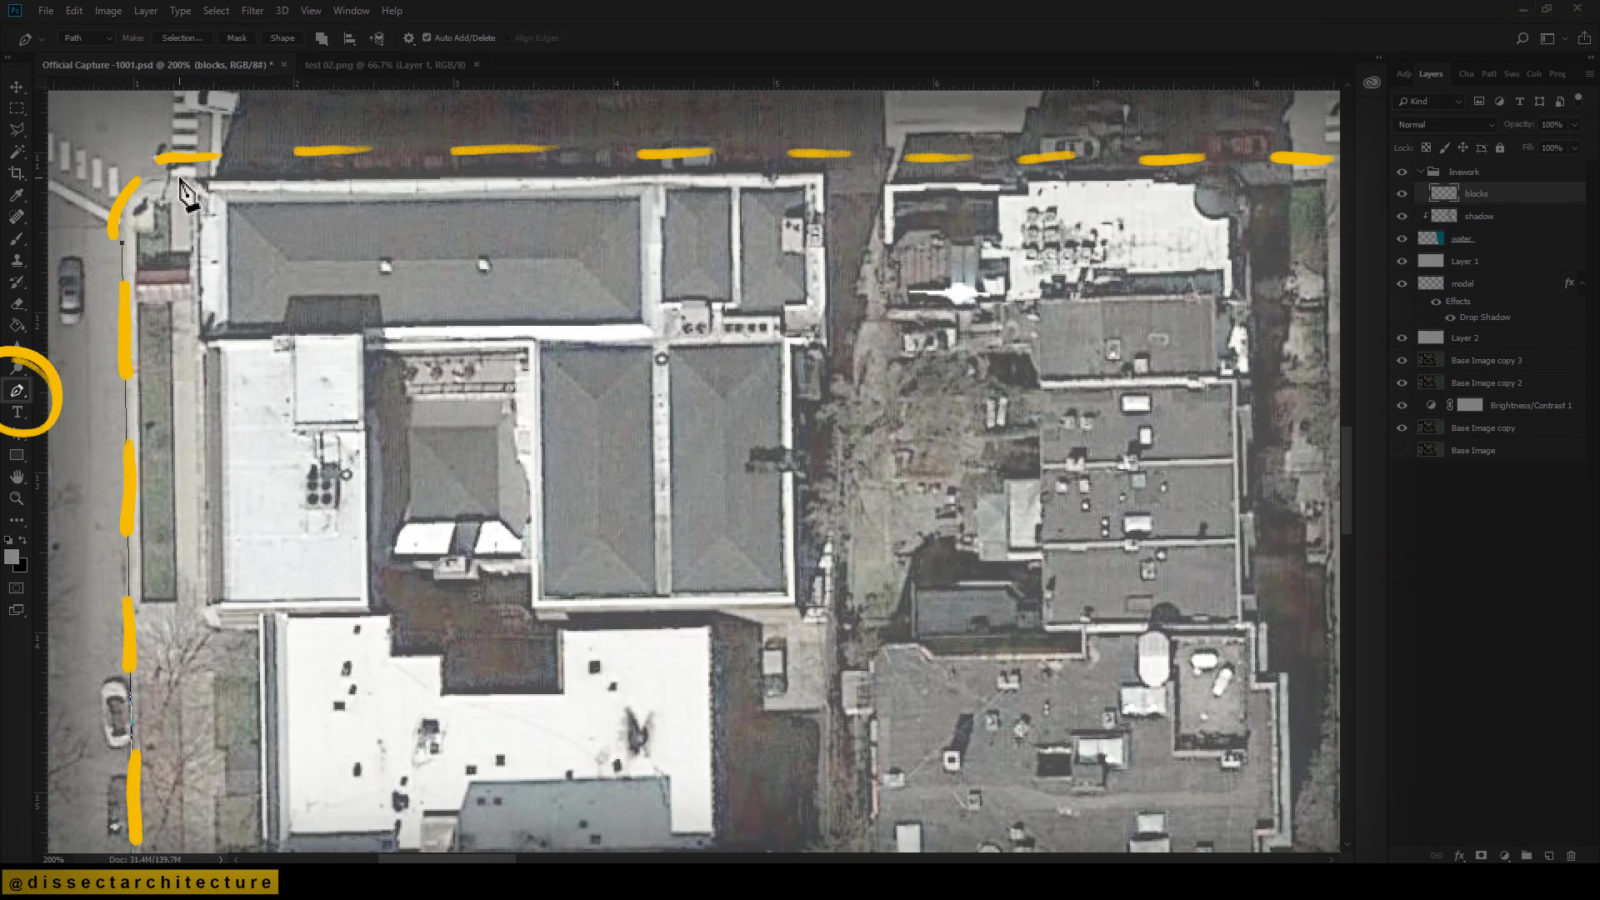
After creating an outline, right-click and select Stroke Path from the menu.
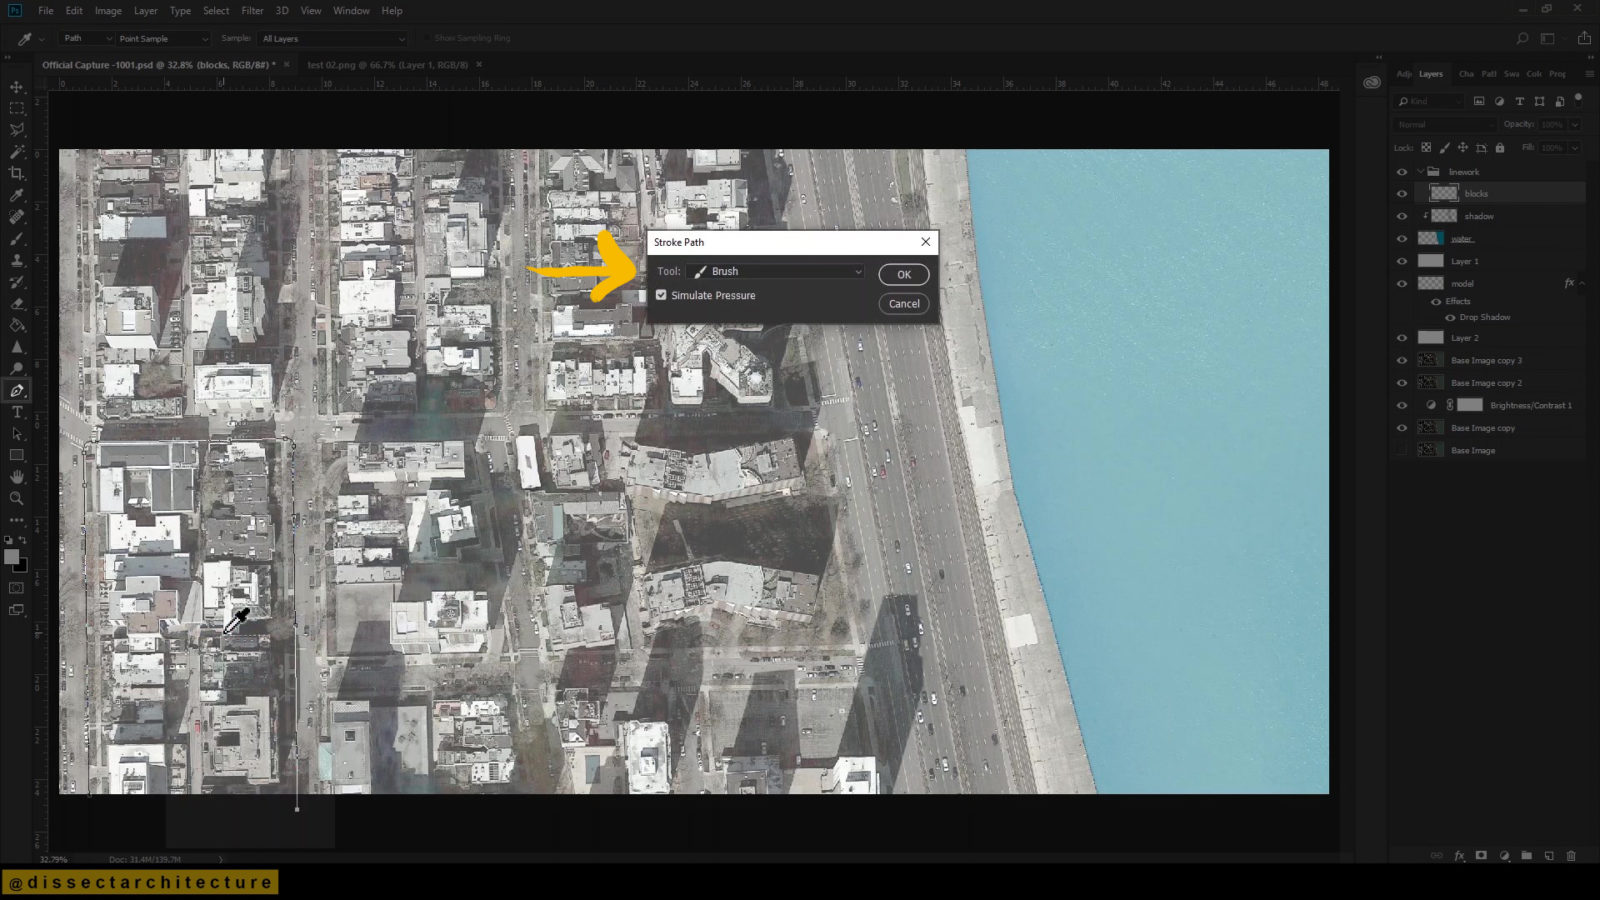
A pop-up menu will appear, it will prompt you to select the tool that you would like to create the path from. I have selected the brush. It will create the path based on the default color you currently have selected – I used white. After you are done with your selections, hit OK.
Continue this process for the rest of the blocks.
Step 12
Afterwards change the opacity of the layer with the blocks you just outlined to 85%. During the previous outline process I also outlined the lakeshore. I am now separating the trace of the blocks from the outline of the lakeshore by selecting it with the Rectangular Marquee Tool and placing it on its own layer.
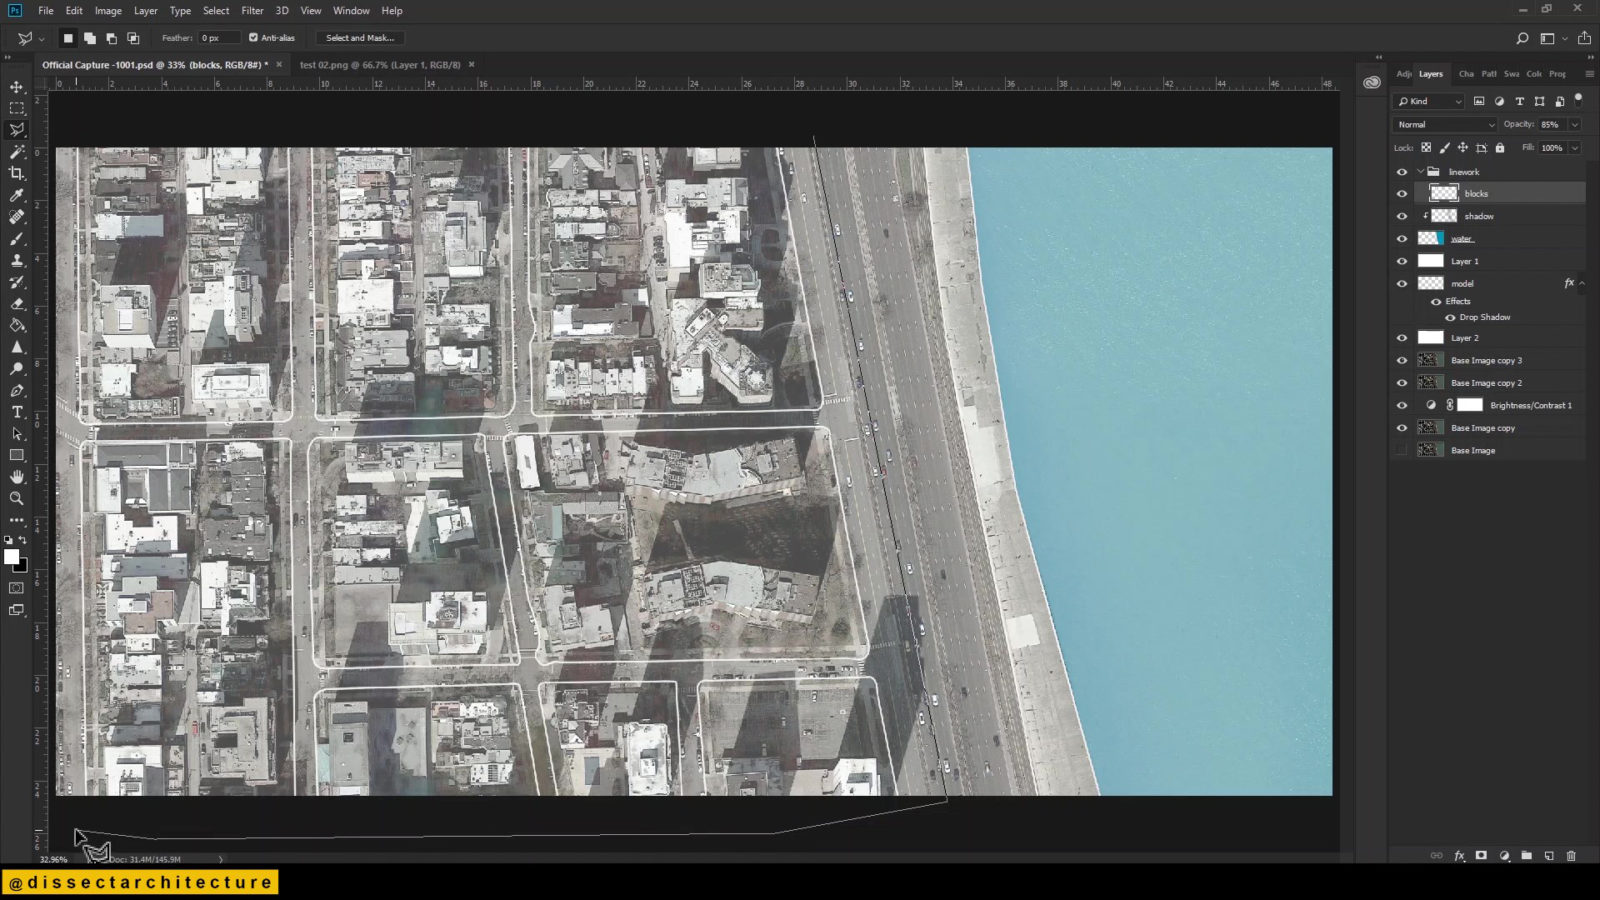
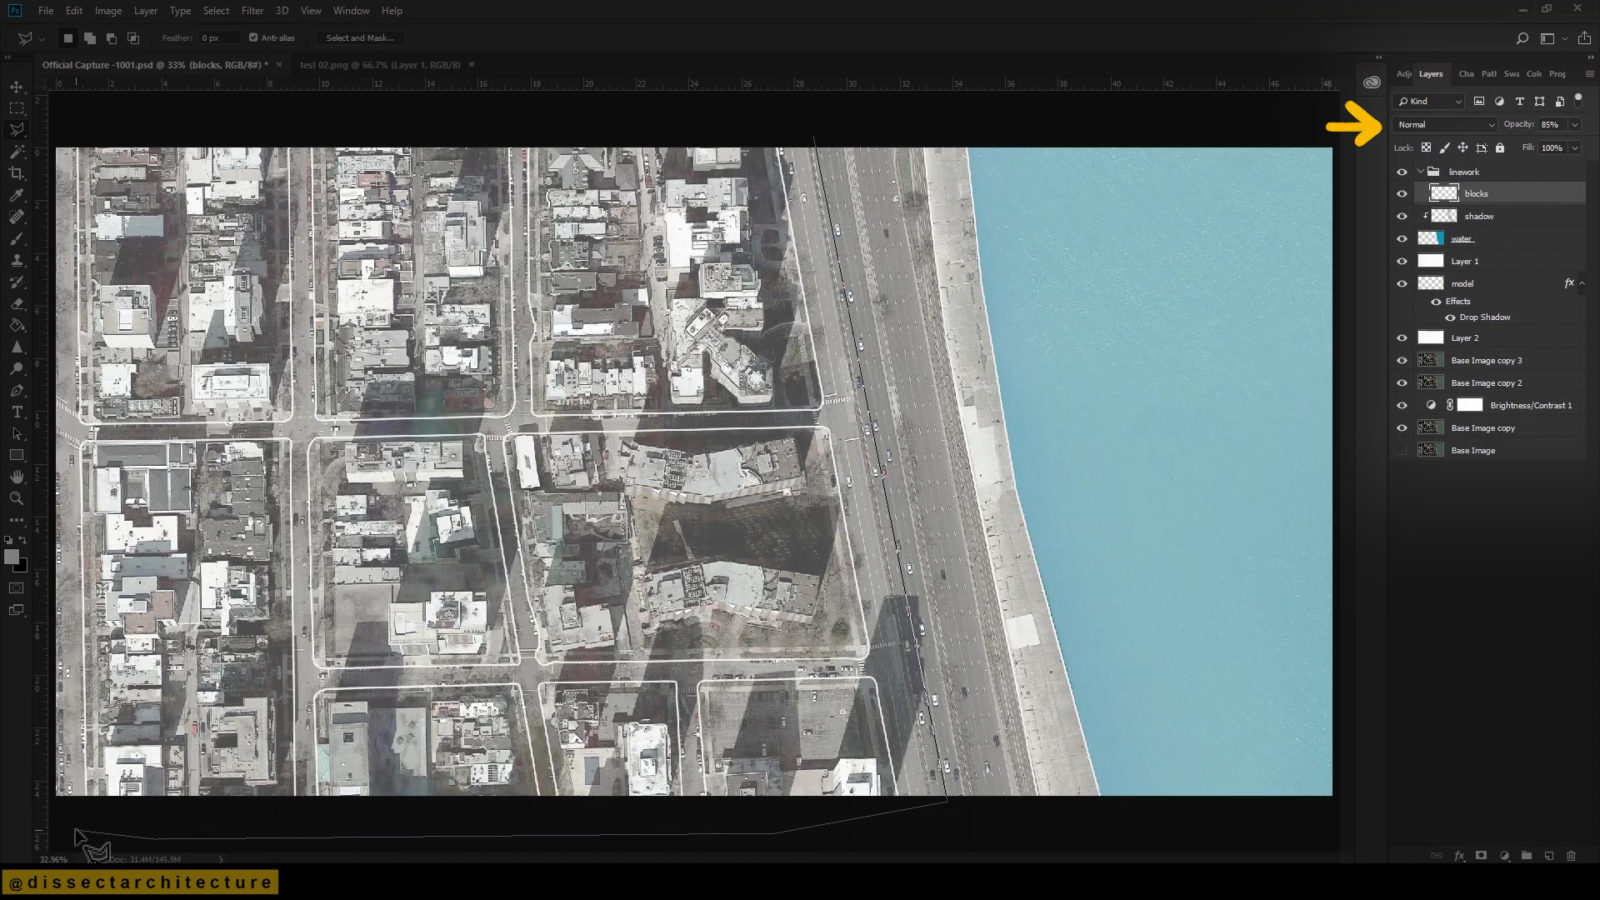
Then, I am changing the opacity of the layer 50%.

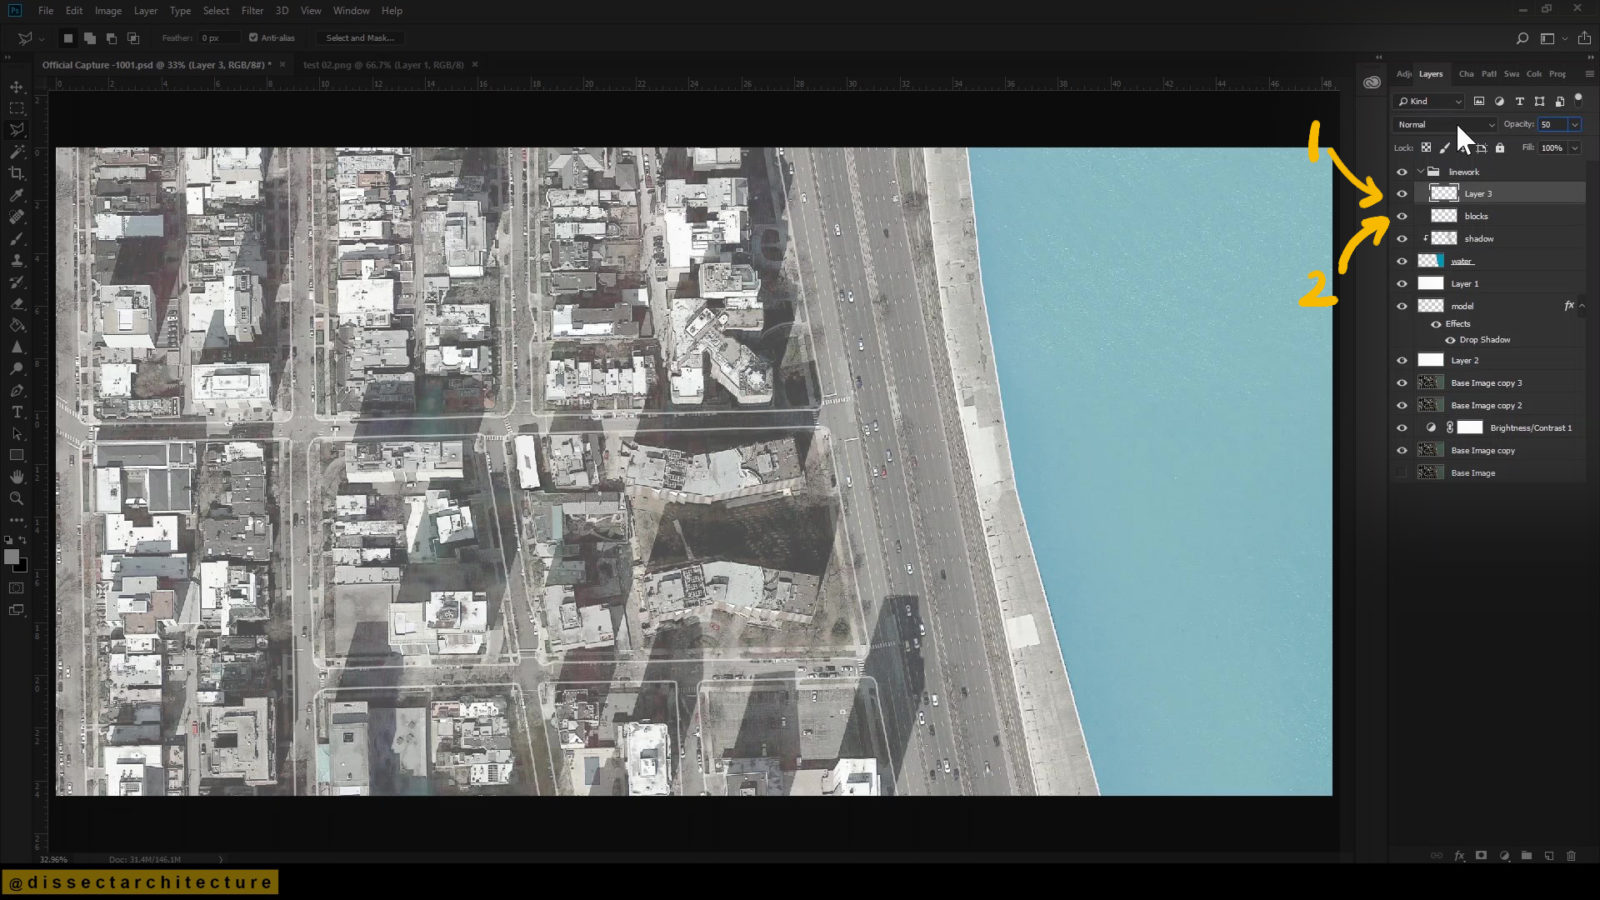
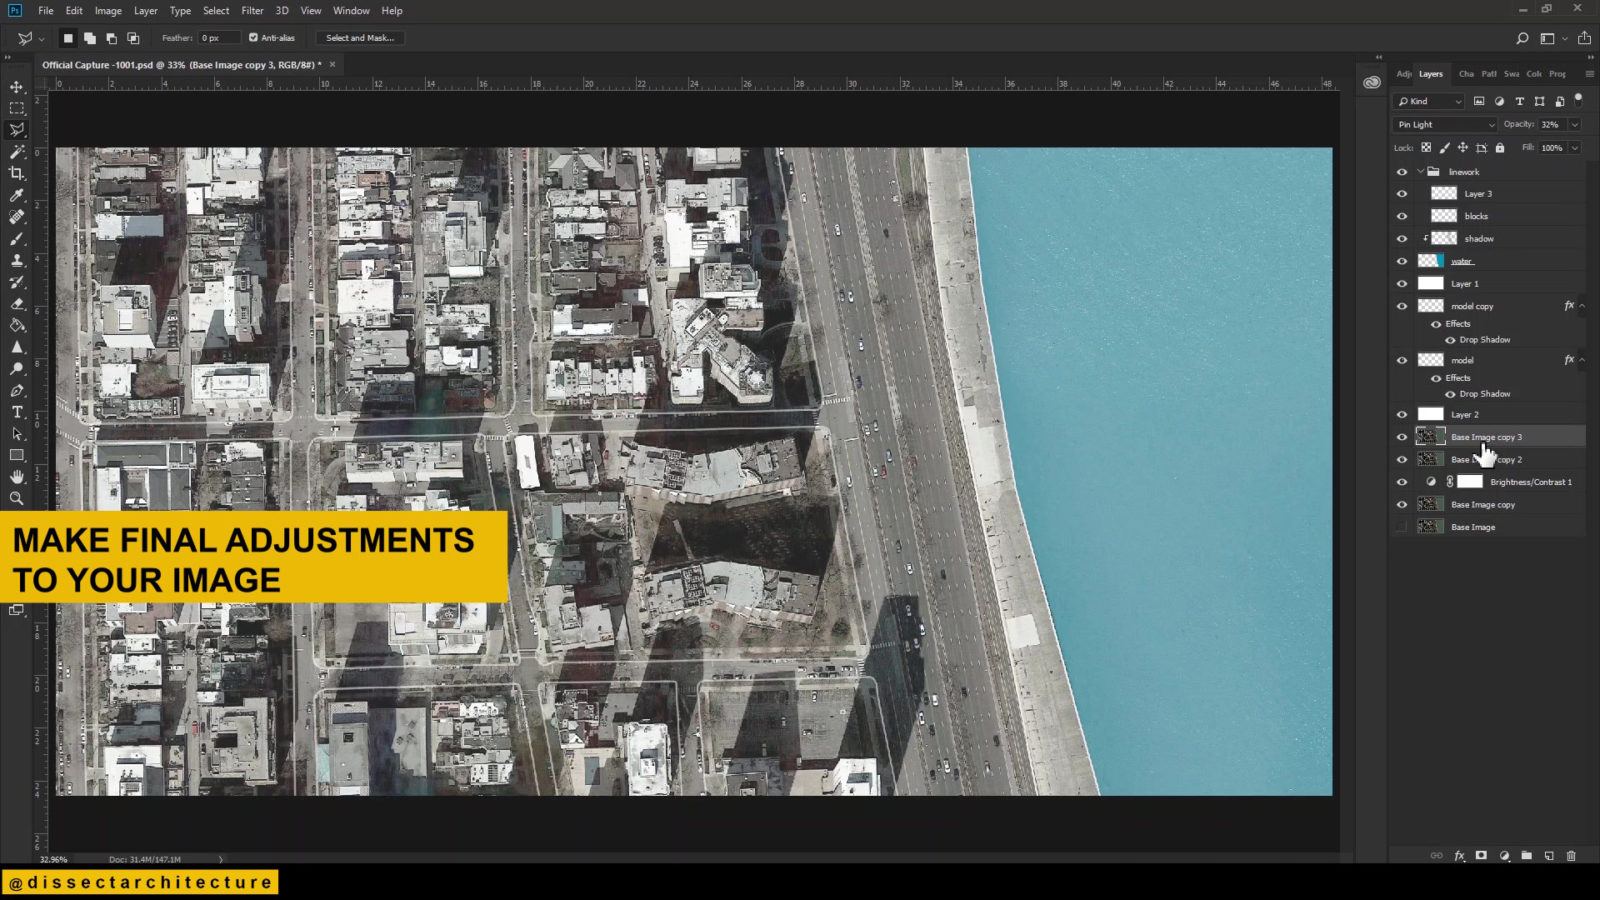
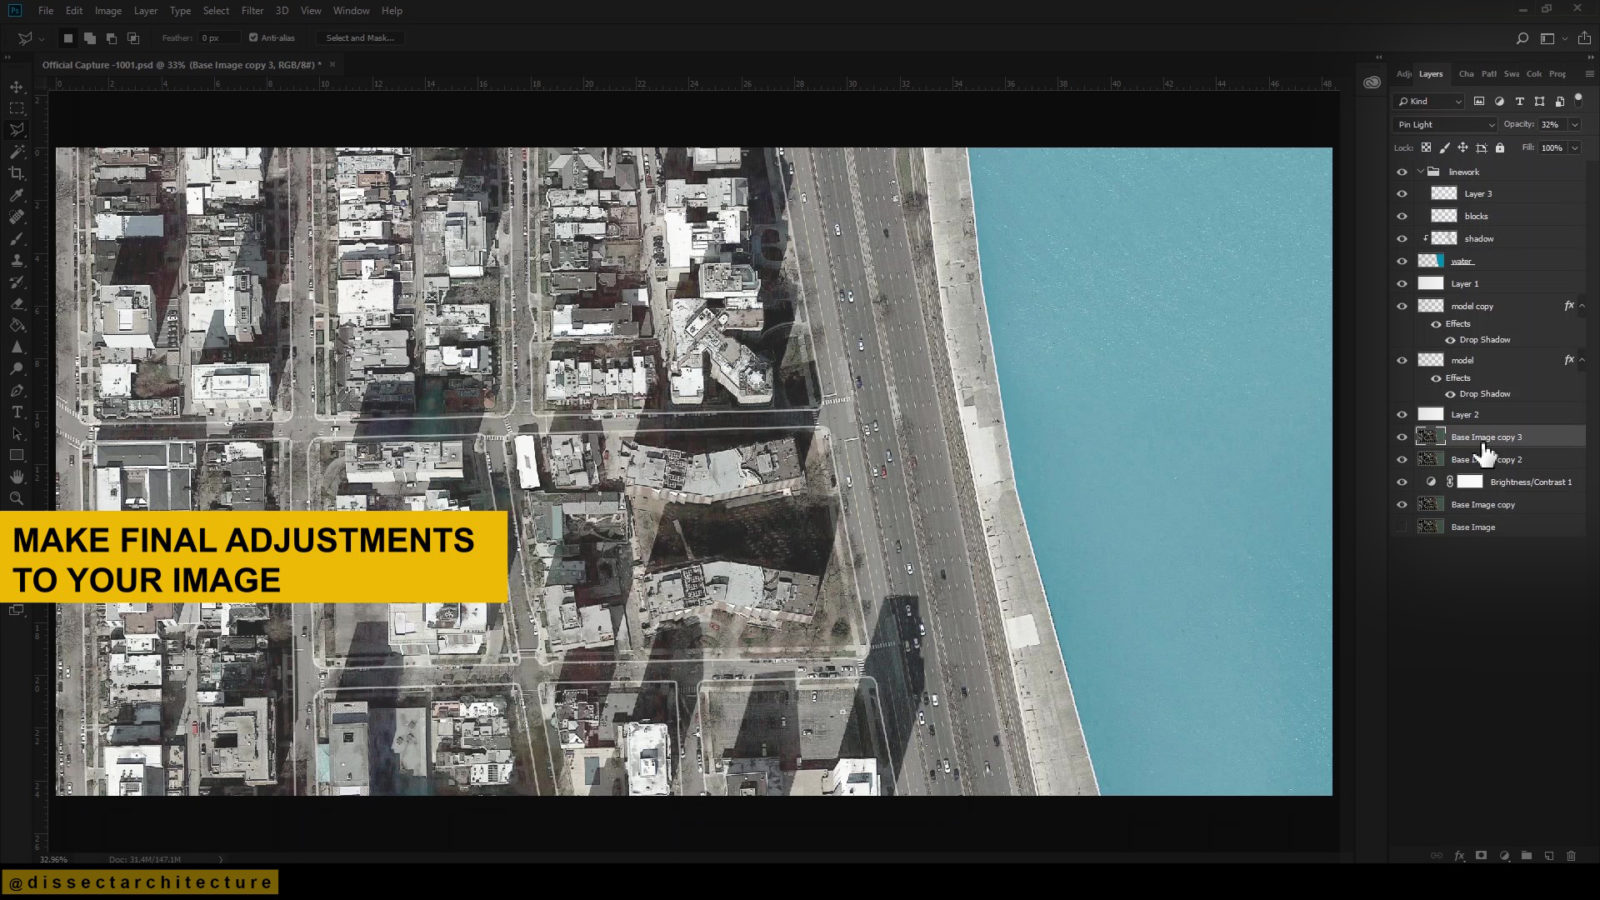
Step 13
At this point make any final adjustments to your site map as you see fit.
I went back to the layer with the white color fill and changed its opacity to 16% from 30%.