How to Create and Import Aliases in Rhino 3D
Software Used:
Step 01
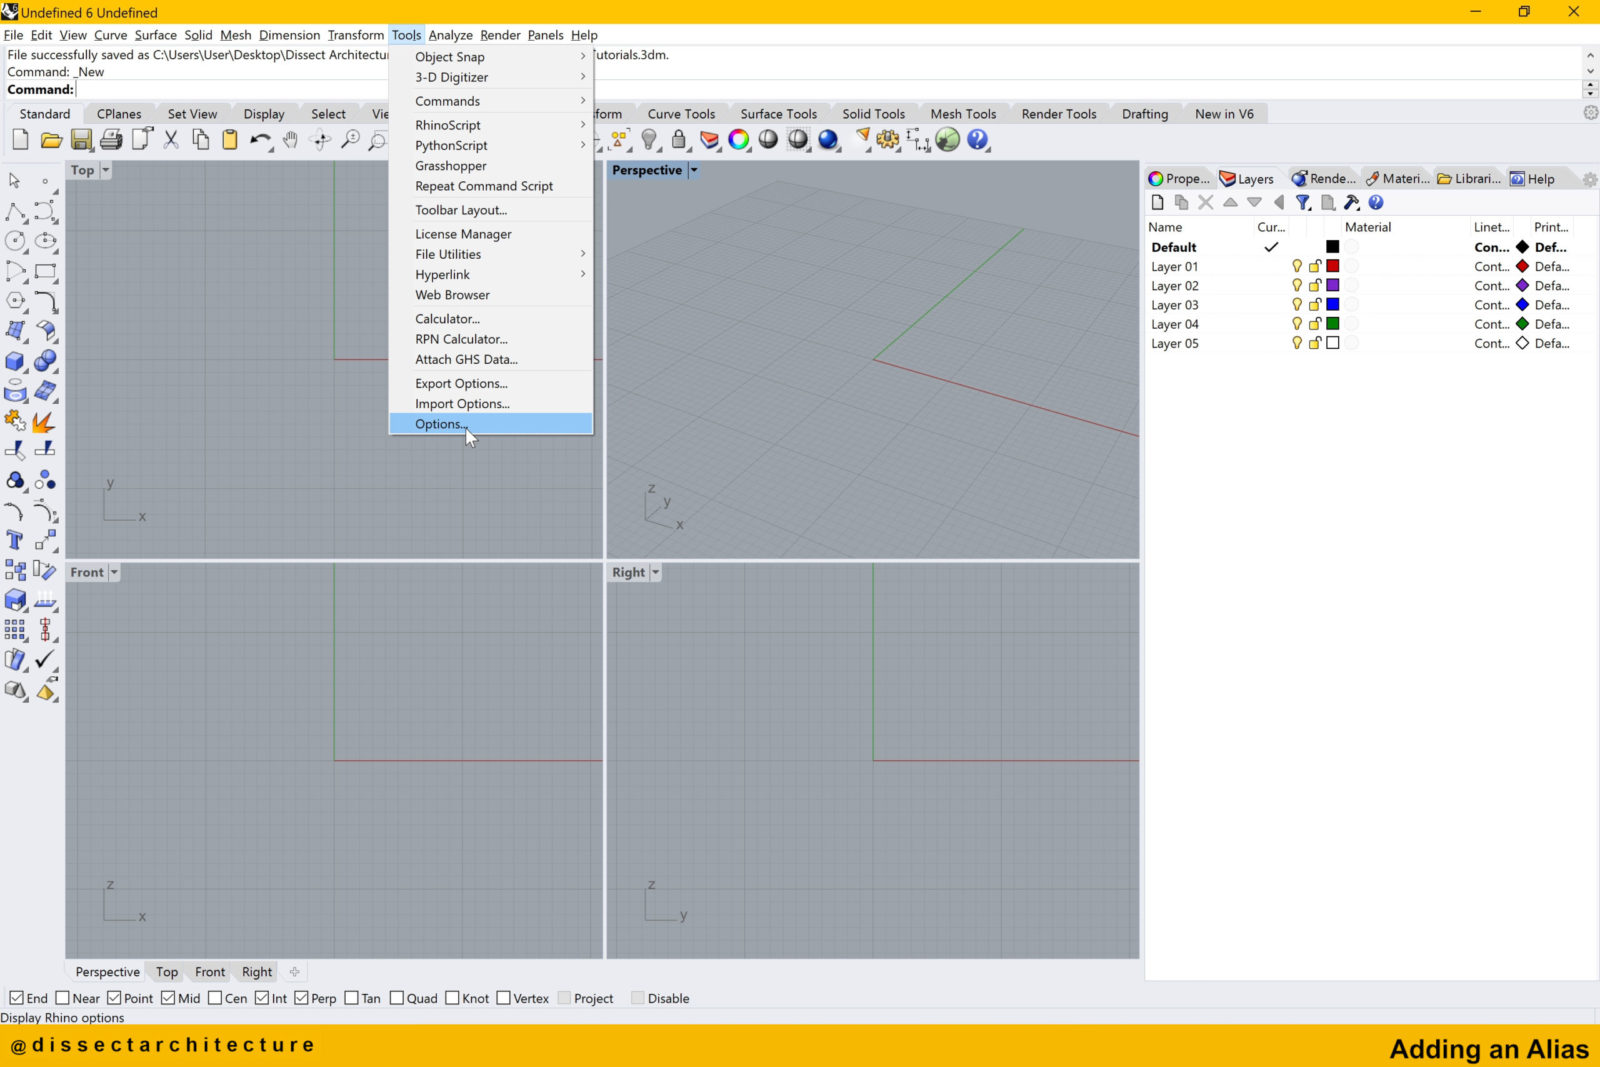
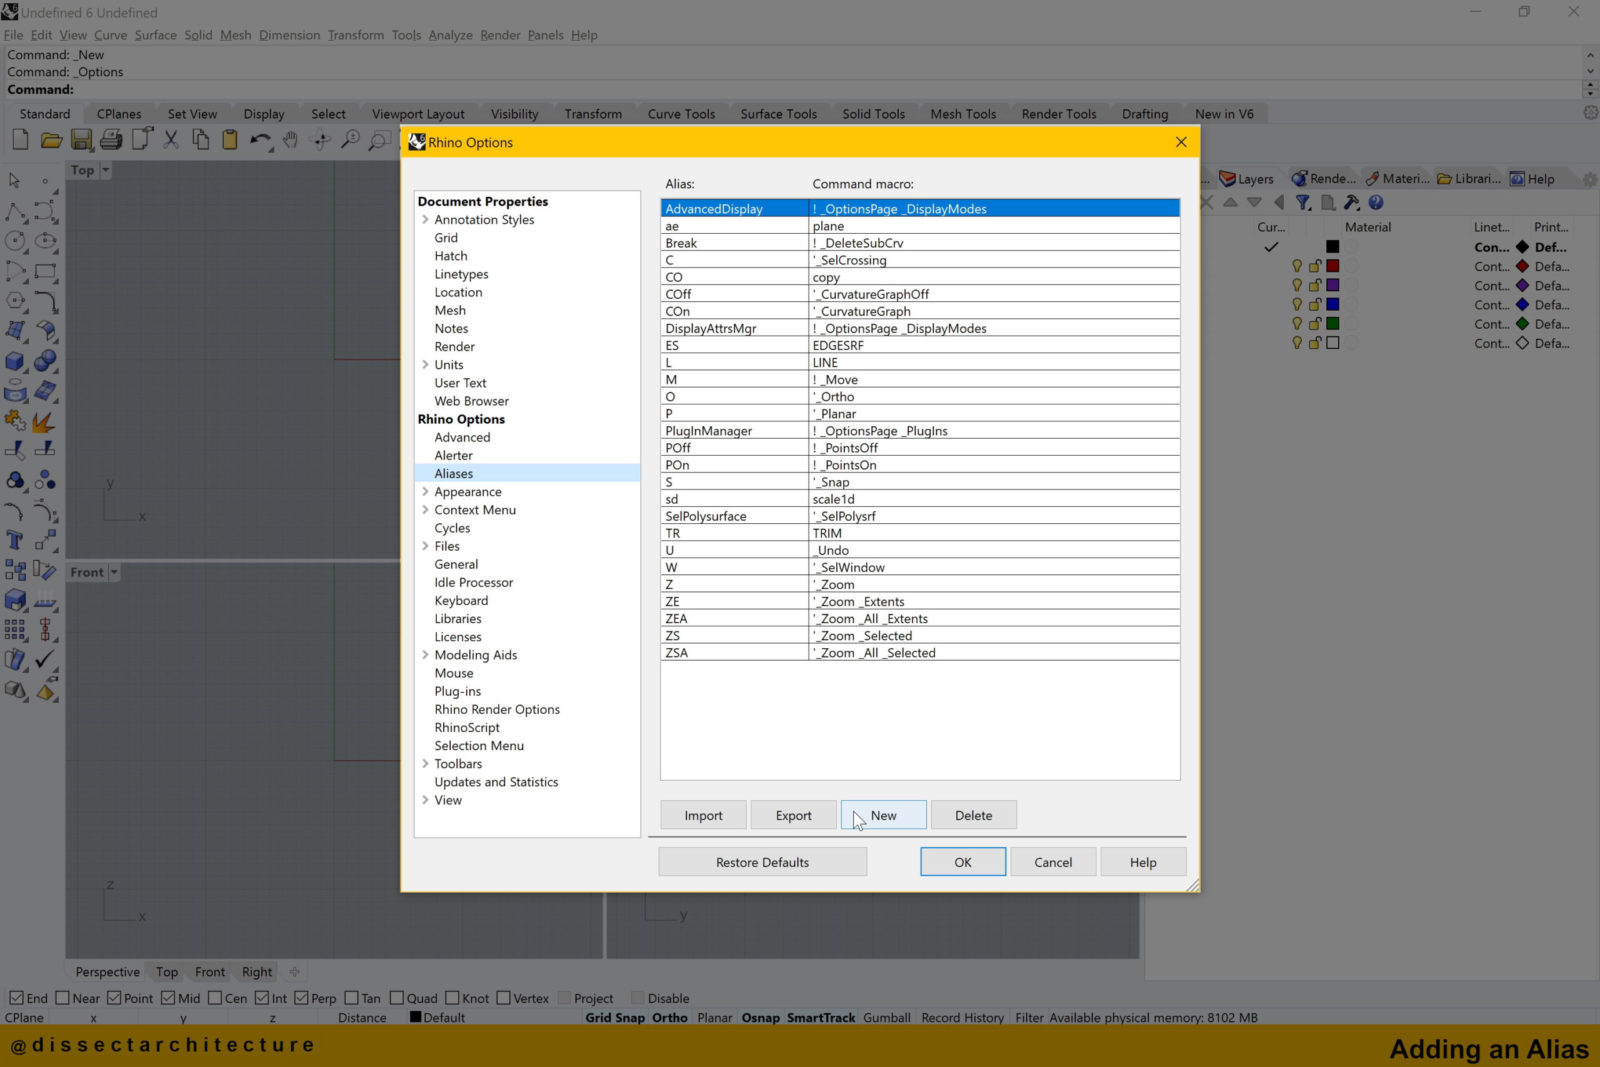
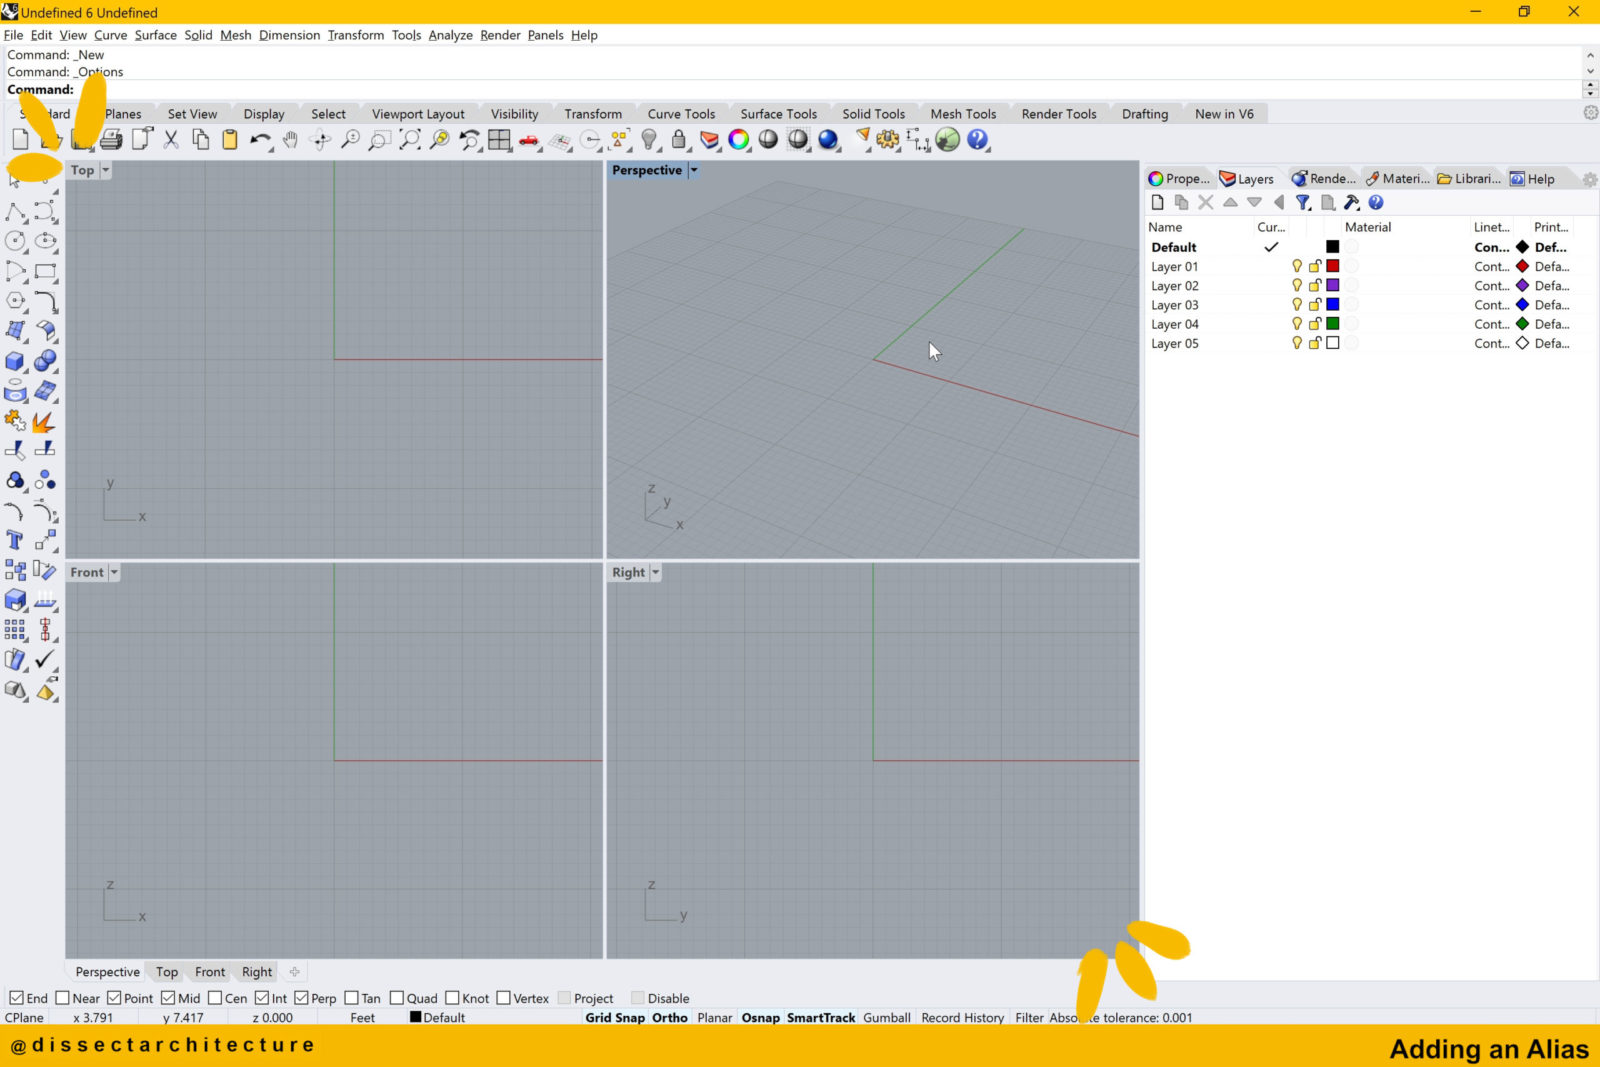
Go to the Tools Menu and select Options to open the Rhino Options Panel.

Step 02
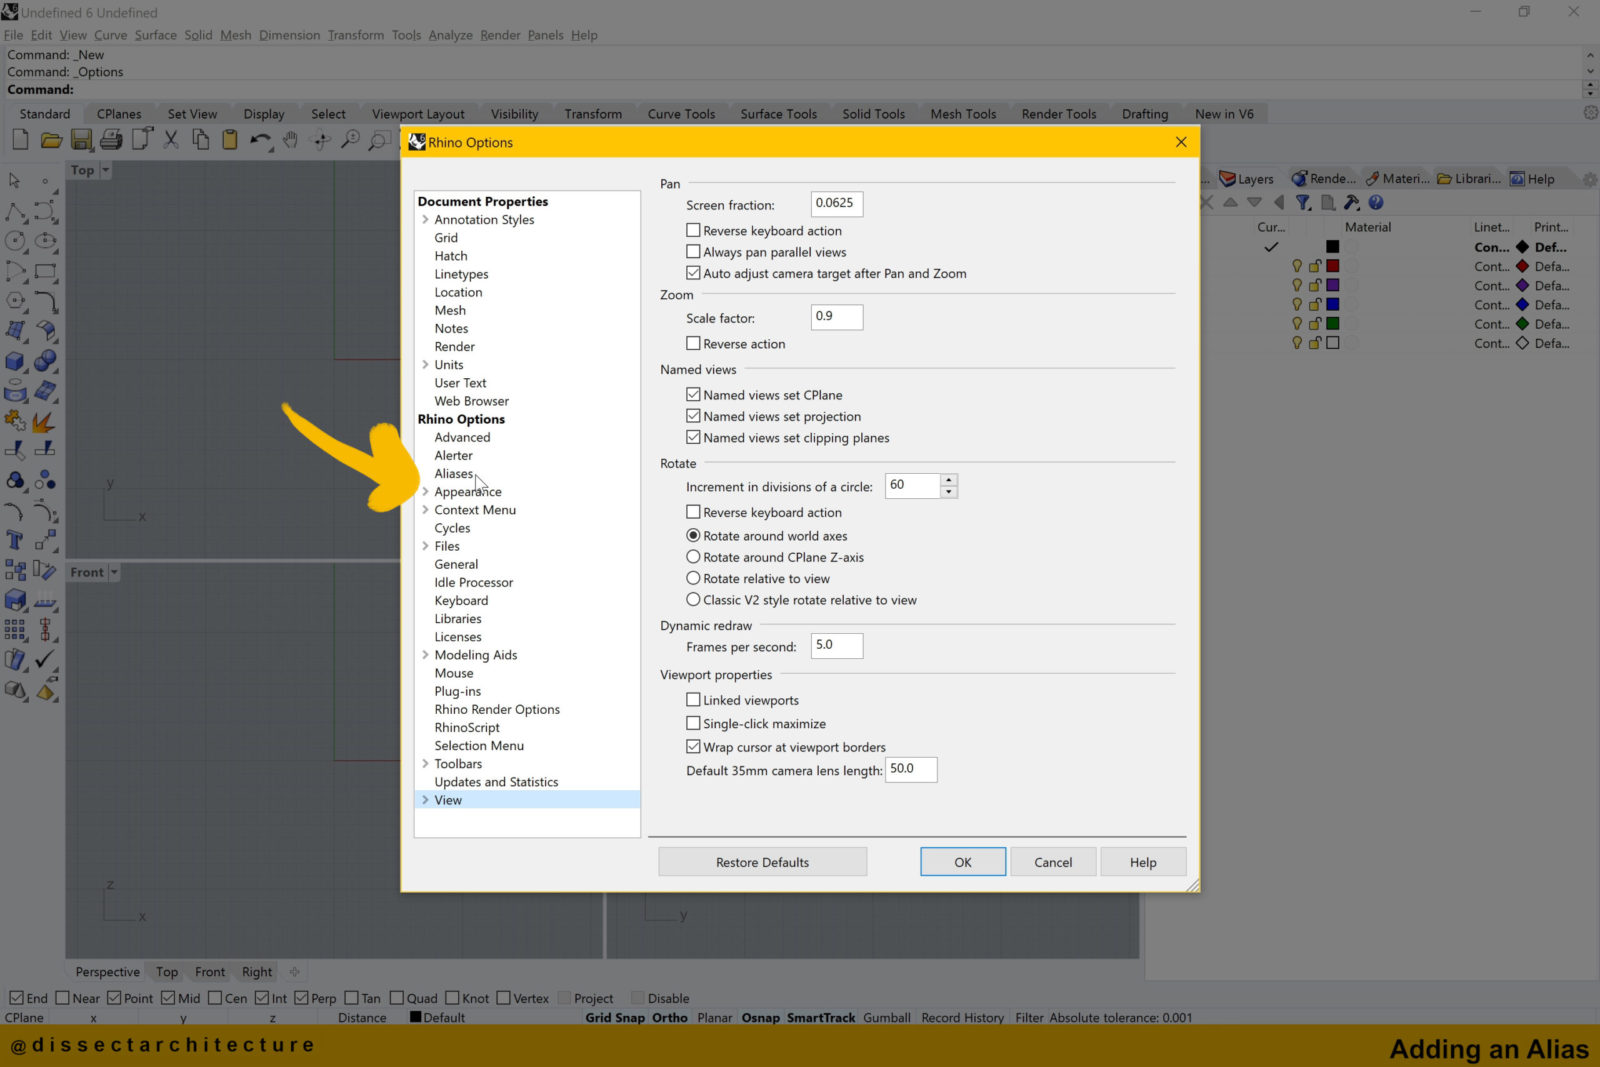
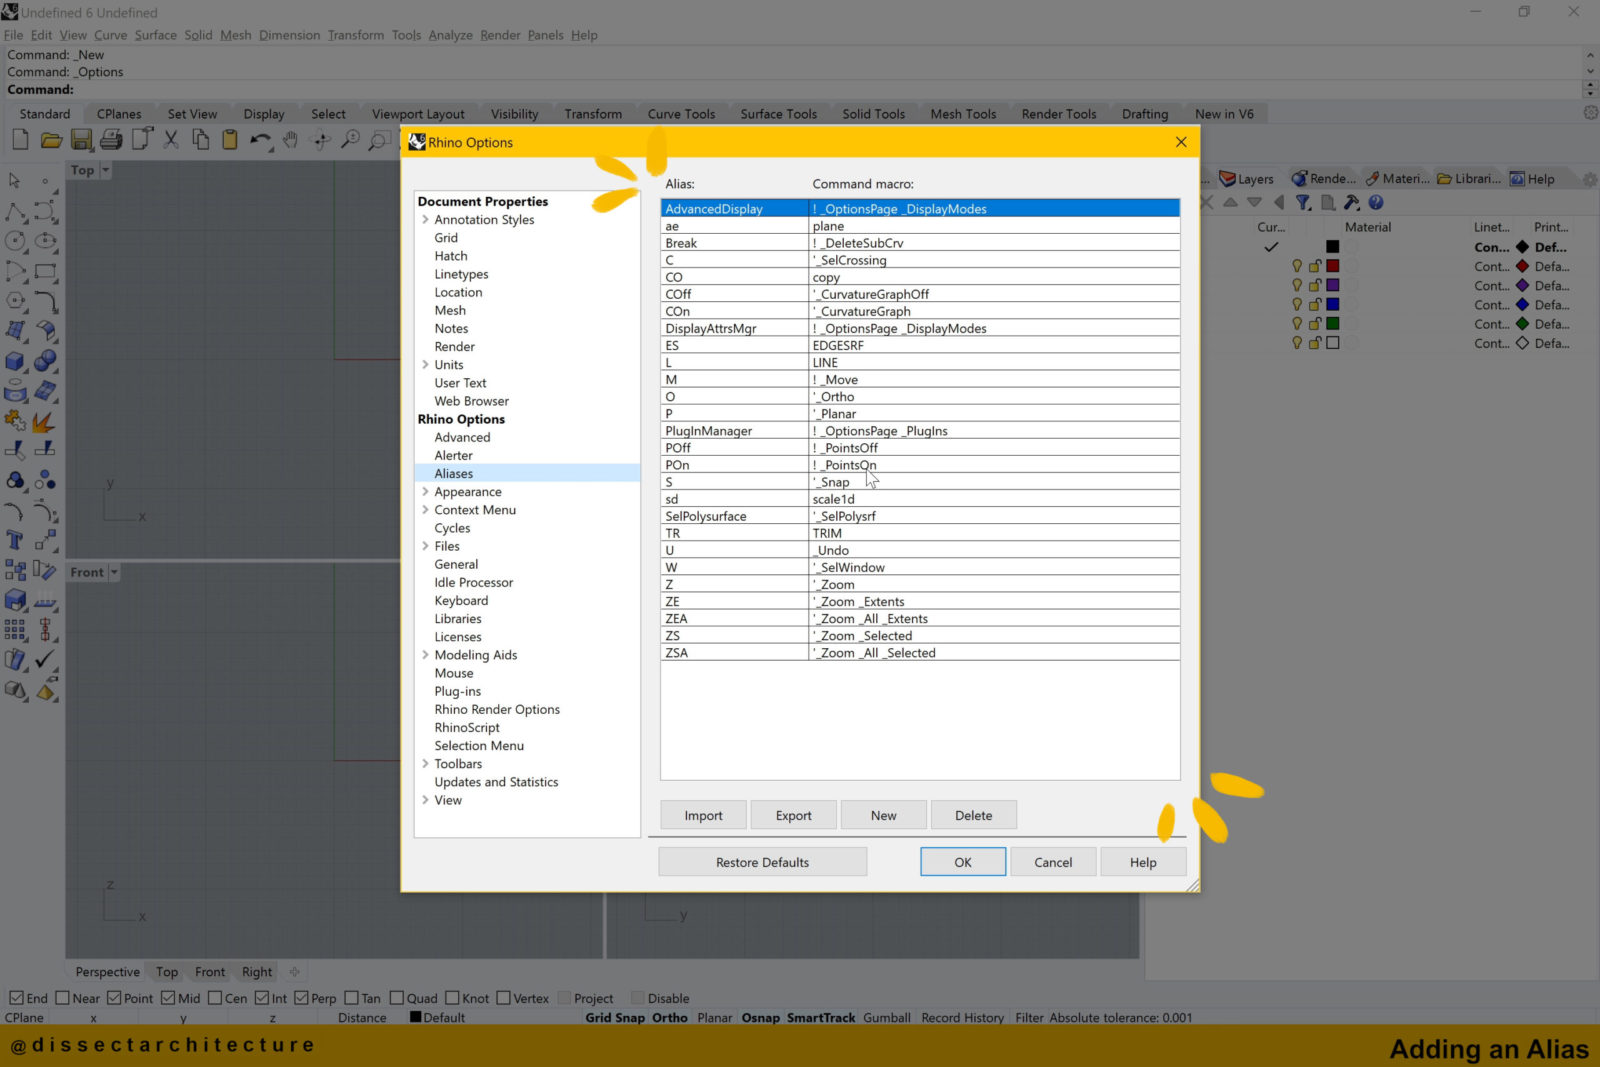
On the left-hand side of the panel select Aliases and you will then be able to see all the current active Rhino aliases and their corresponding commands.
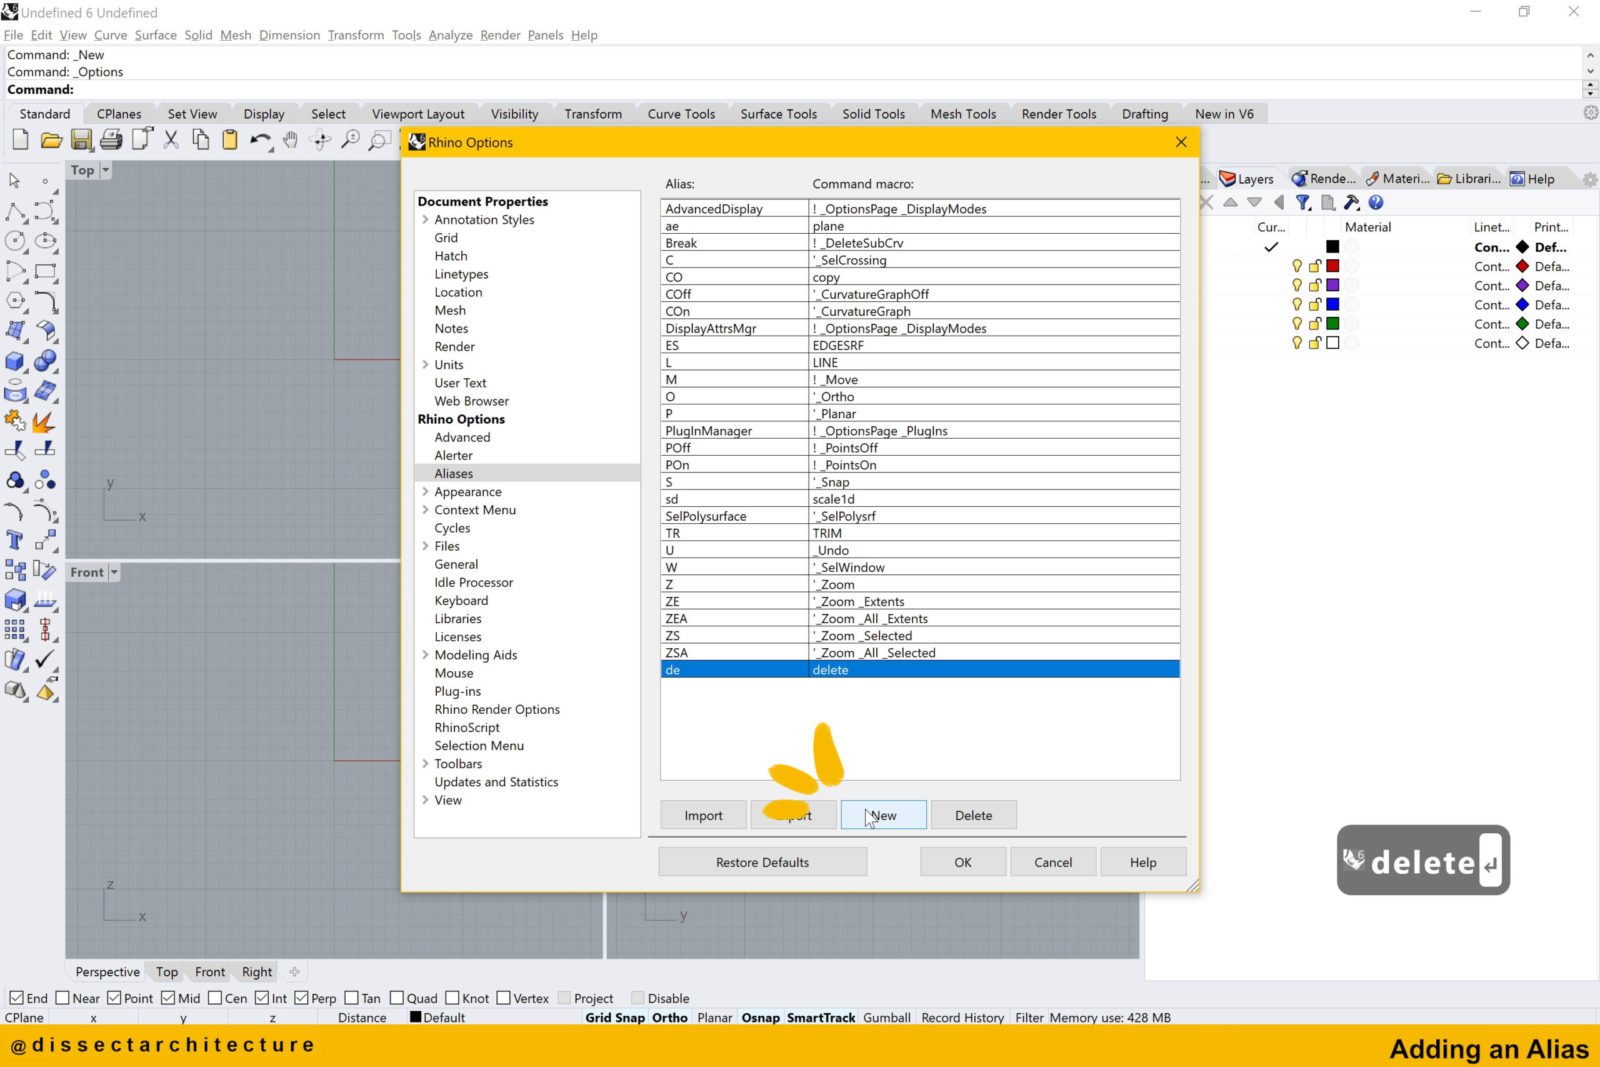
Step 03
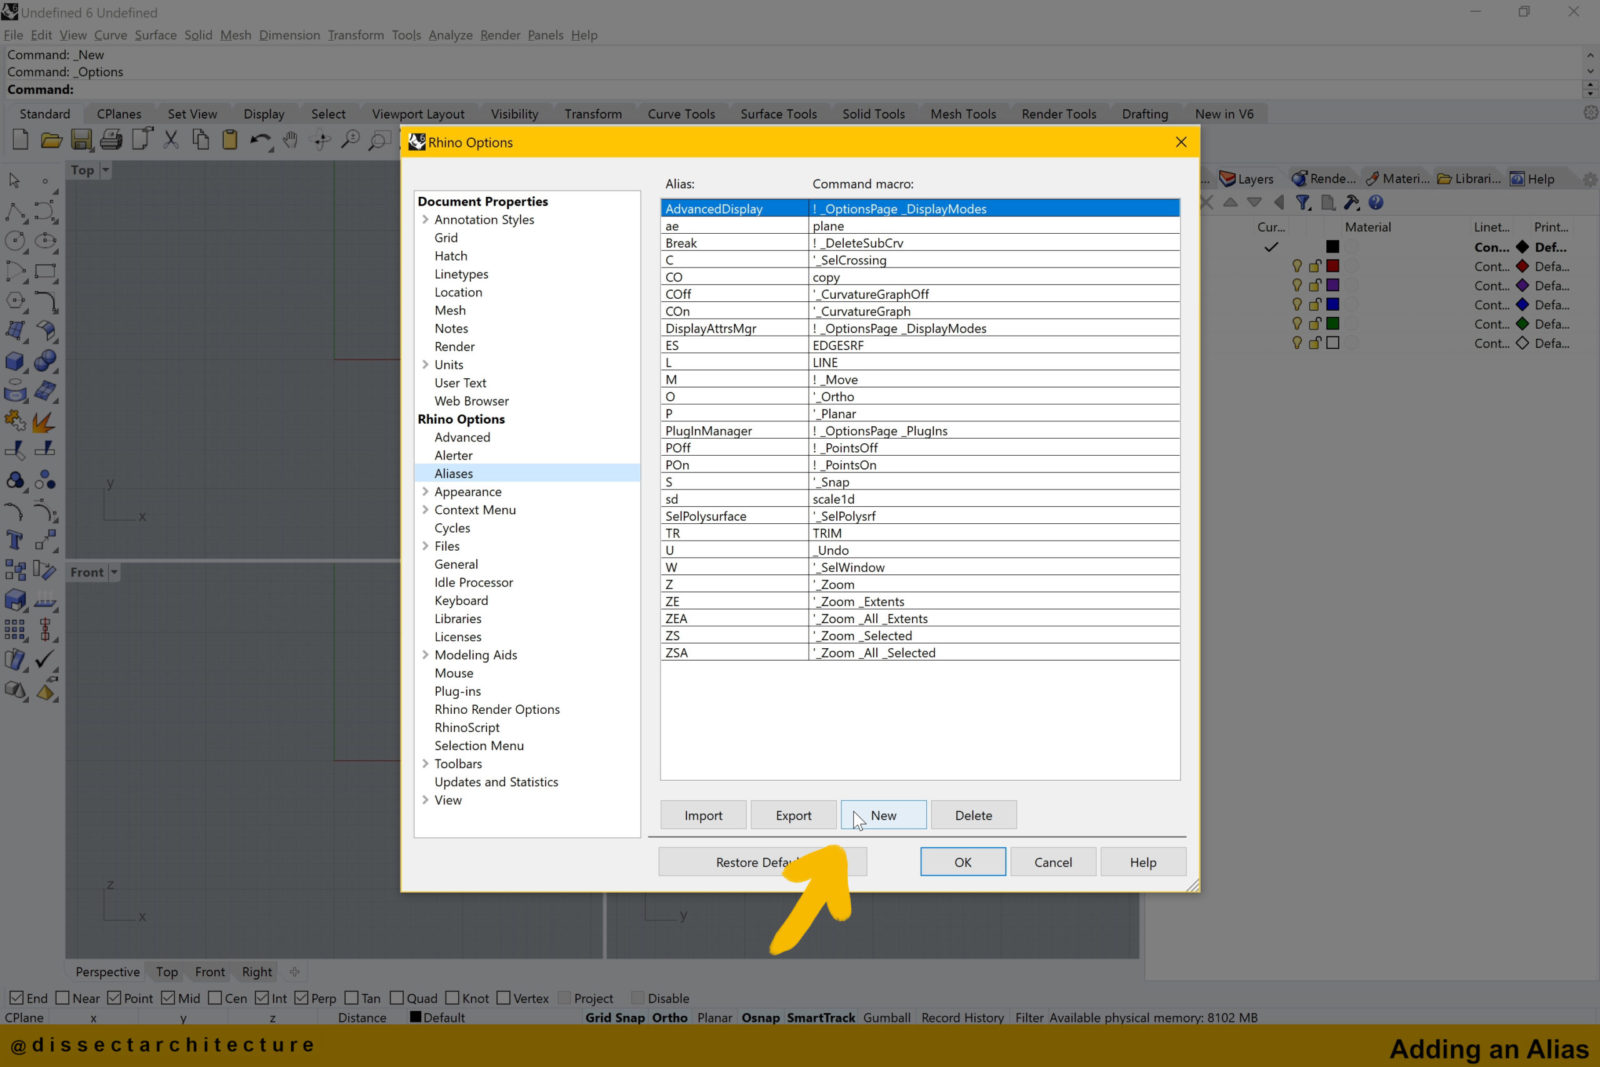
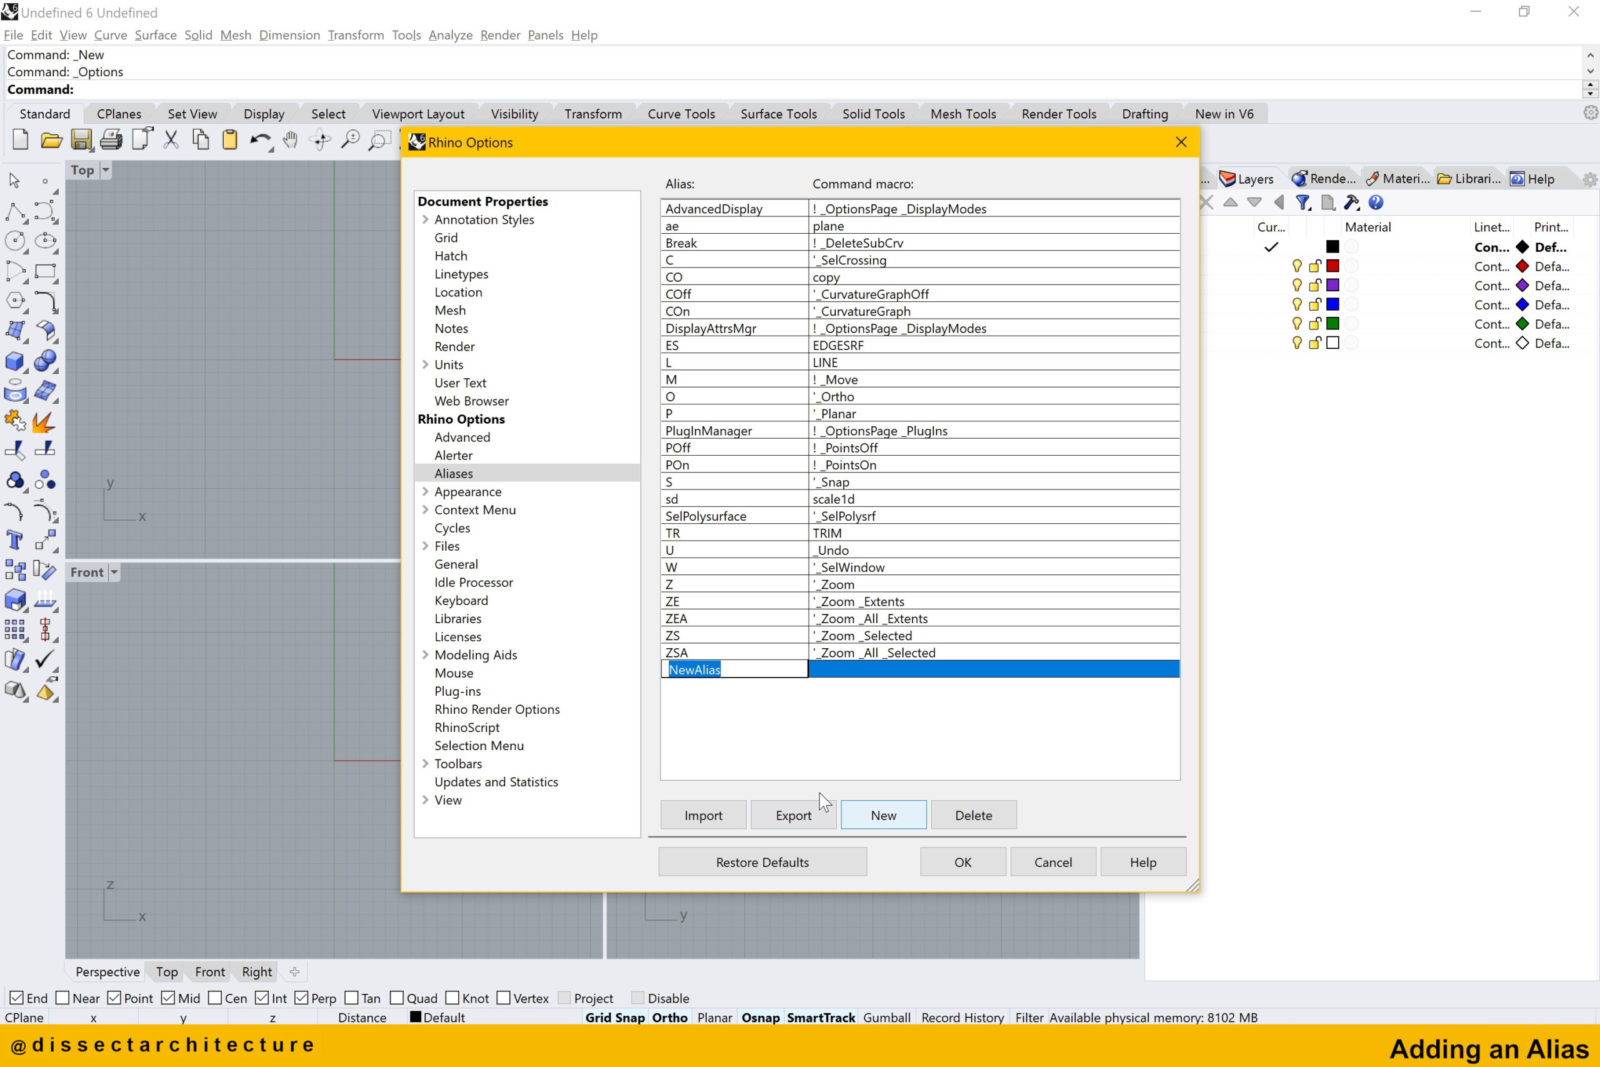
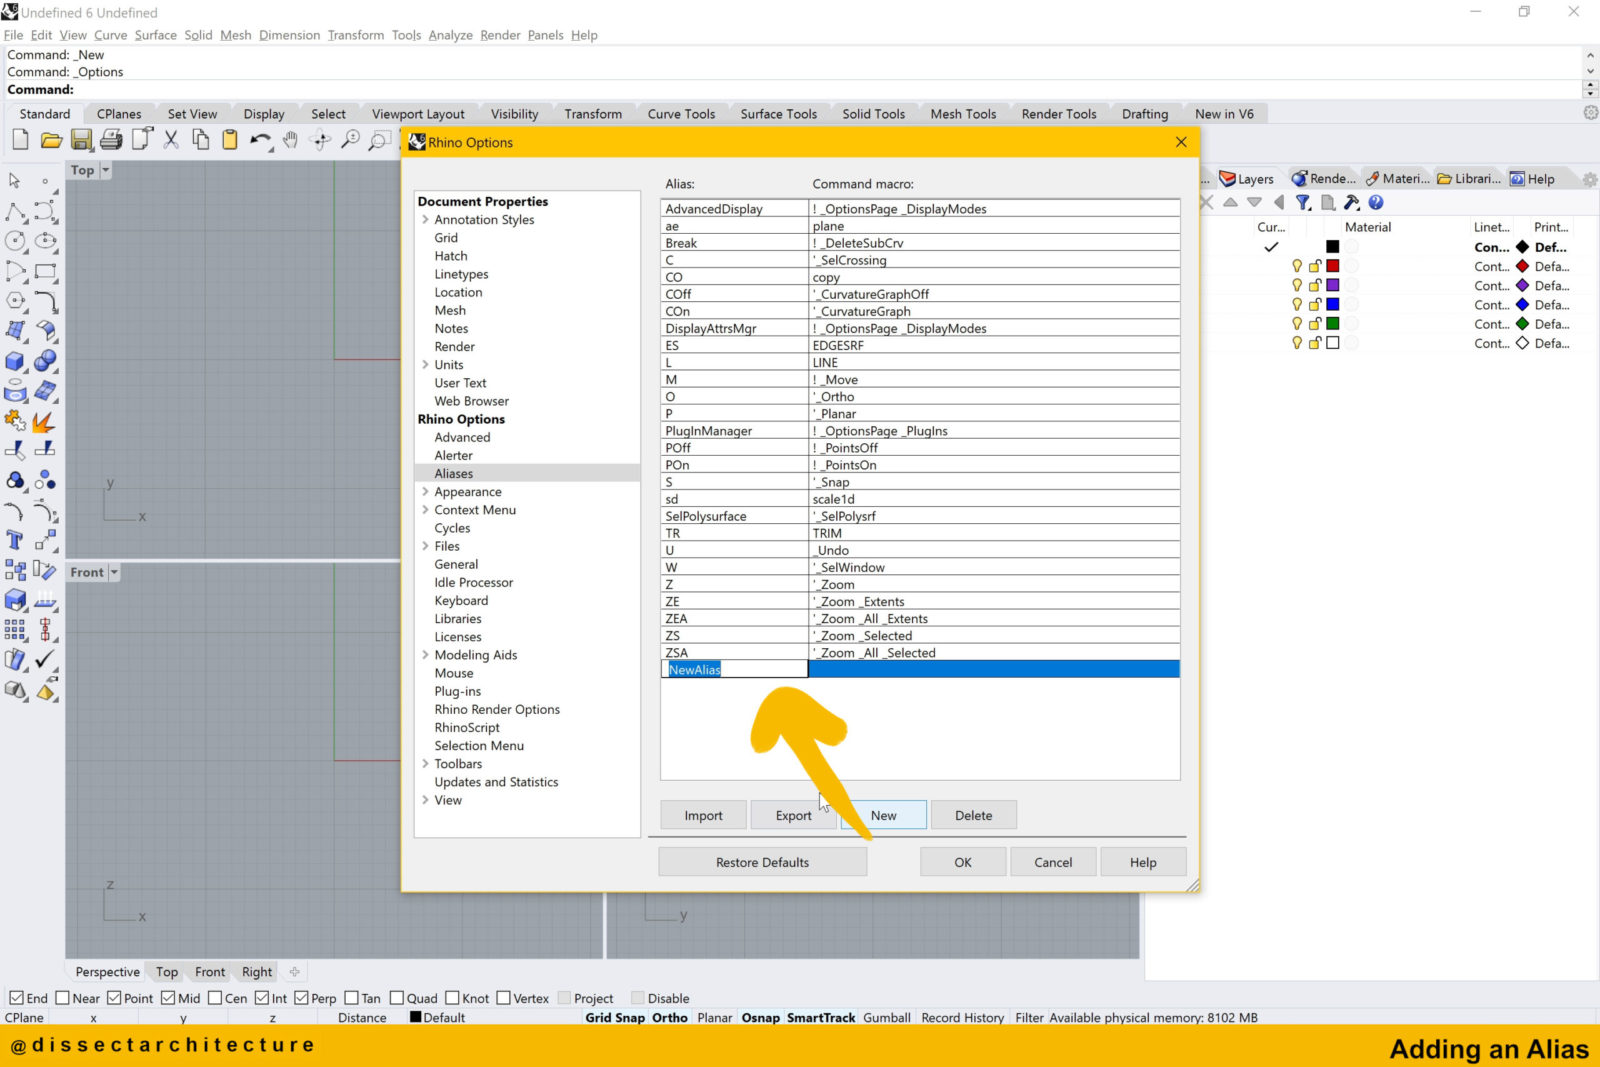
Add a new alias by clicking on the New button, below the list of Aliases, which will then automatically add a new row to add to the list of Aliases.
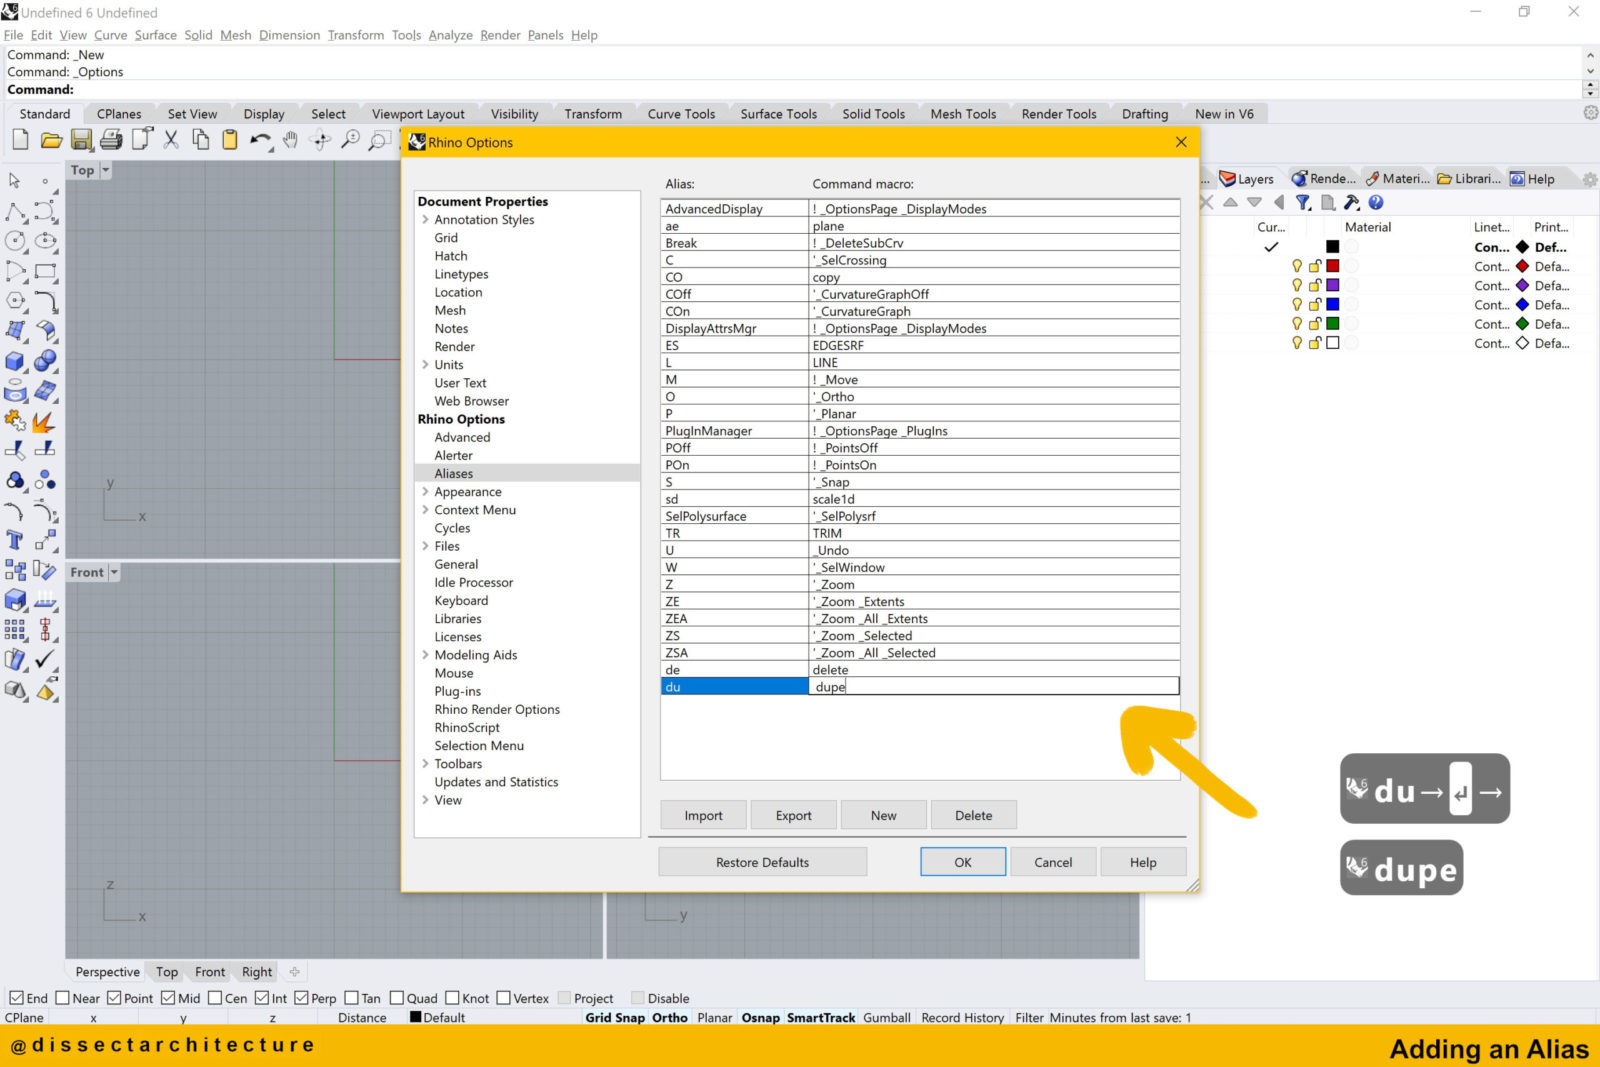
Step 04
Go ahead and enter the alias and the command that it will correspond to.
Step 05
Continue to add as many aliases as you’d like.
You can click directly on an alias if you’d like to change it.
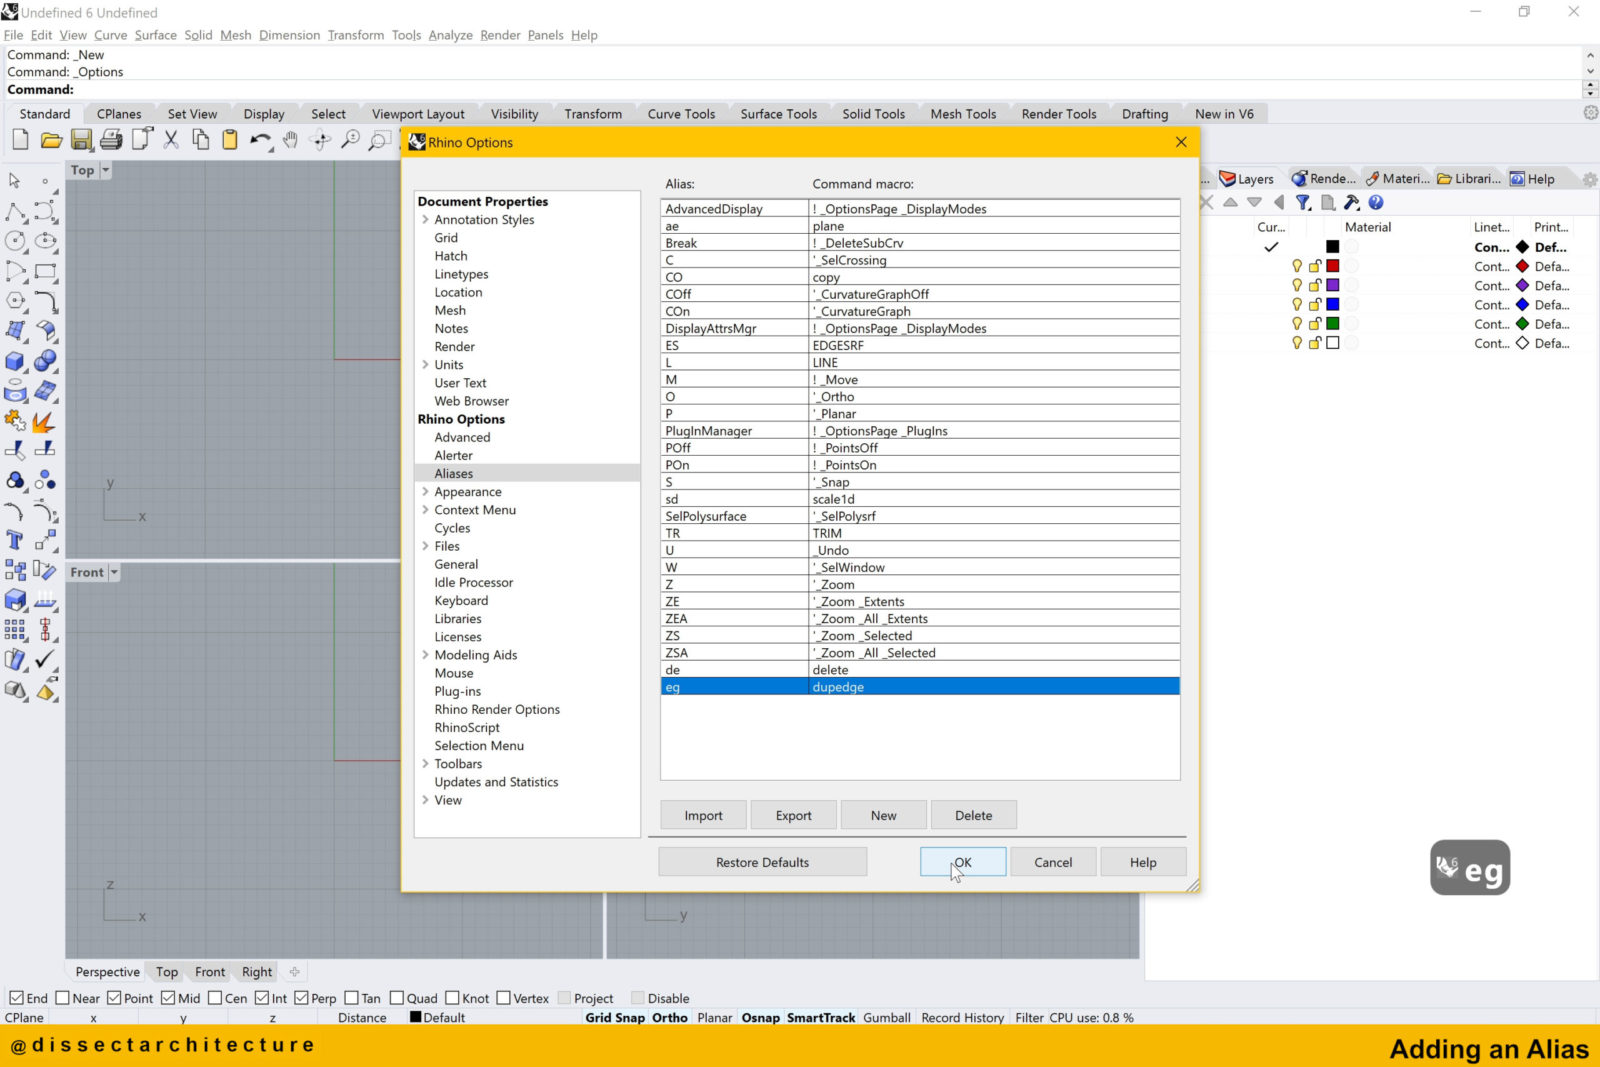
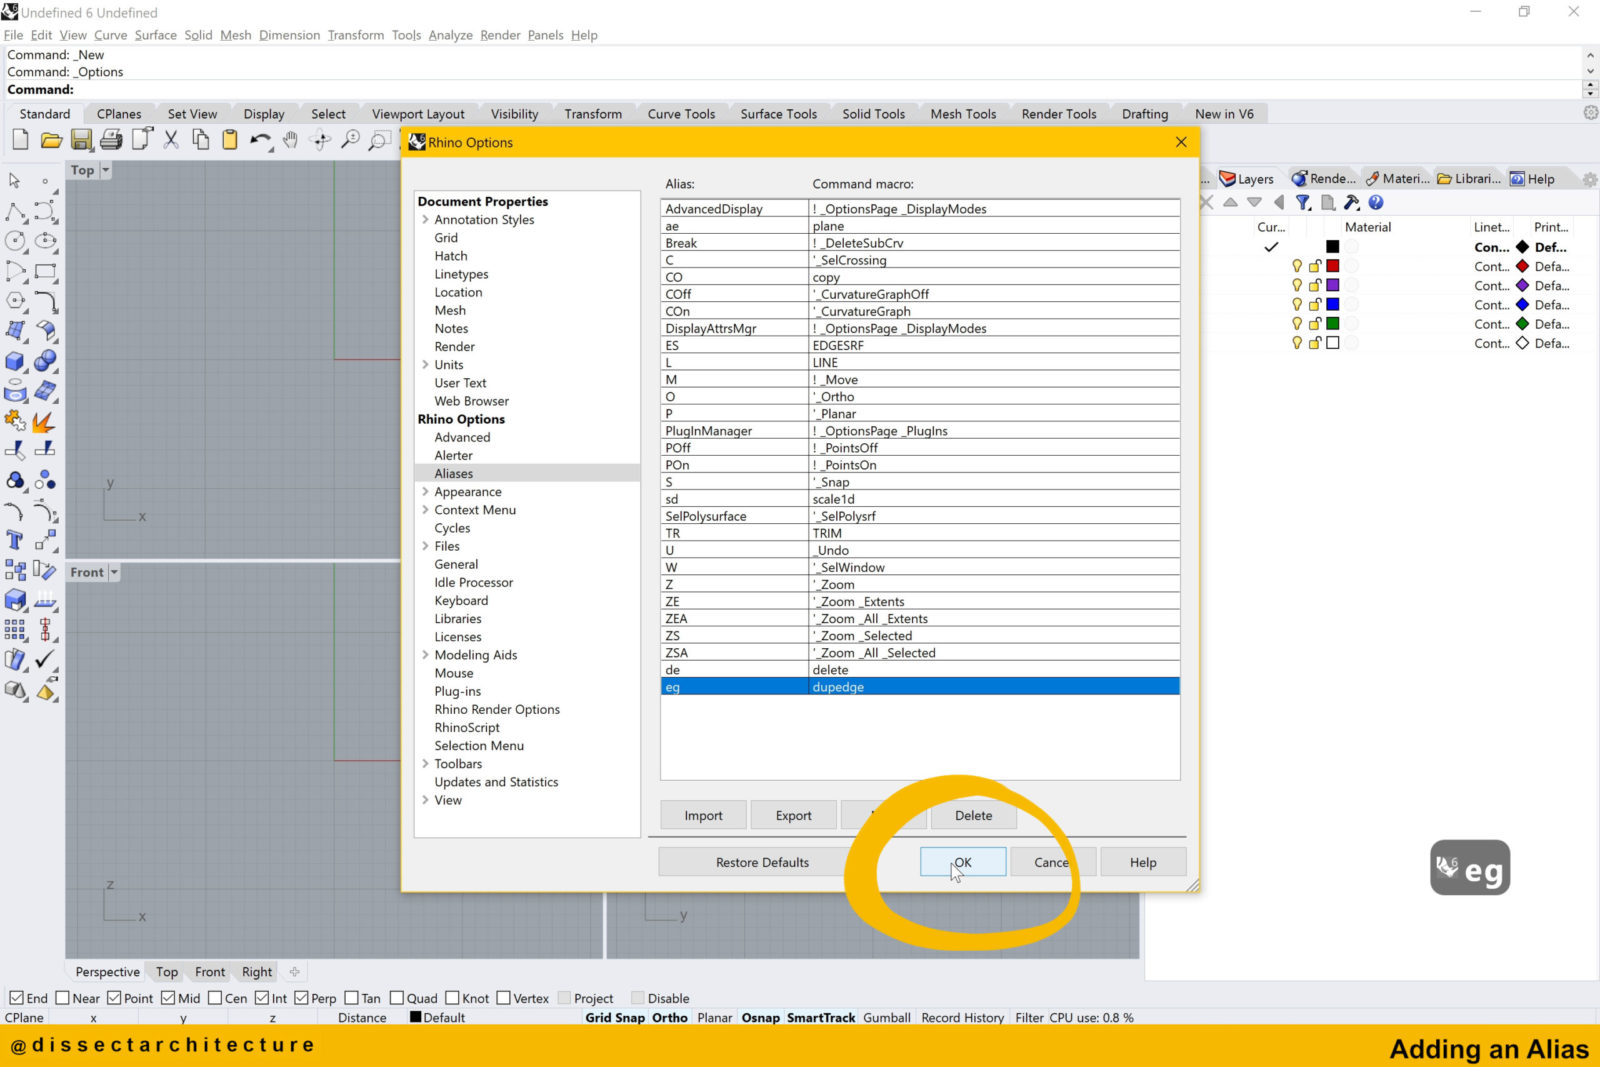
Step 06
Once you are done adding your aliases, click OK.
Step 07
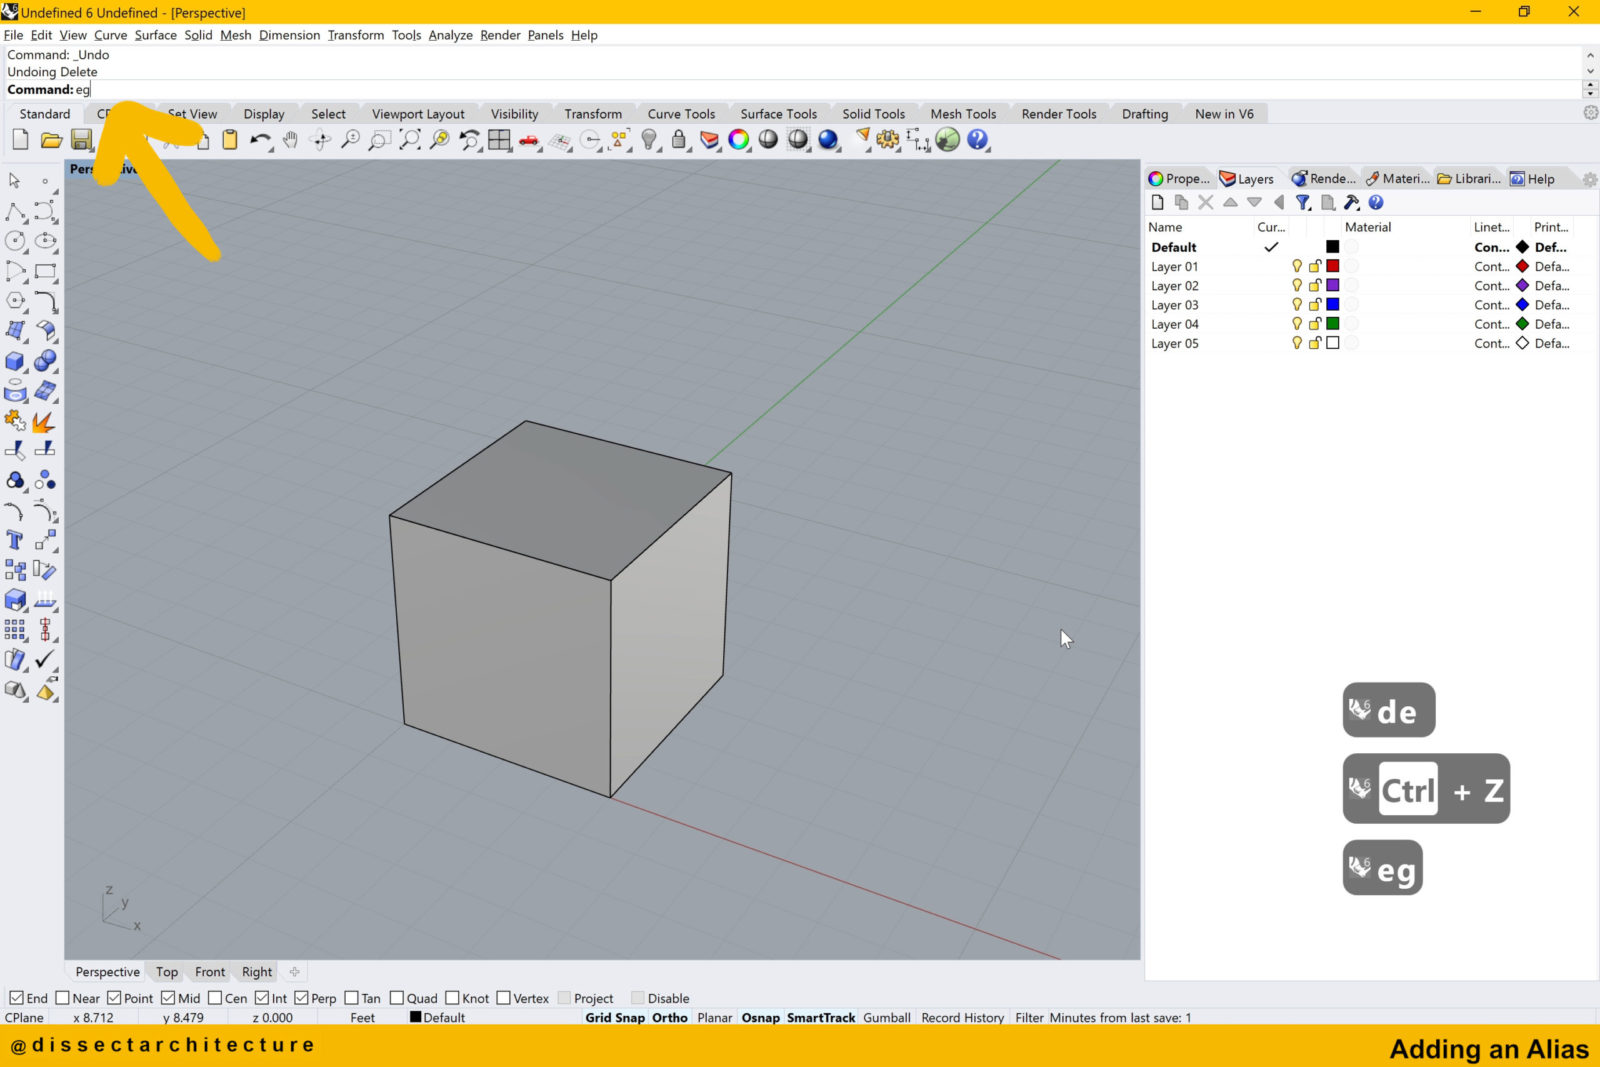
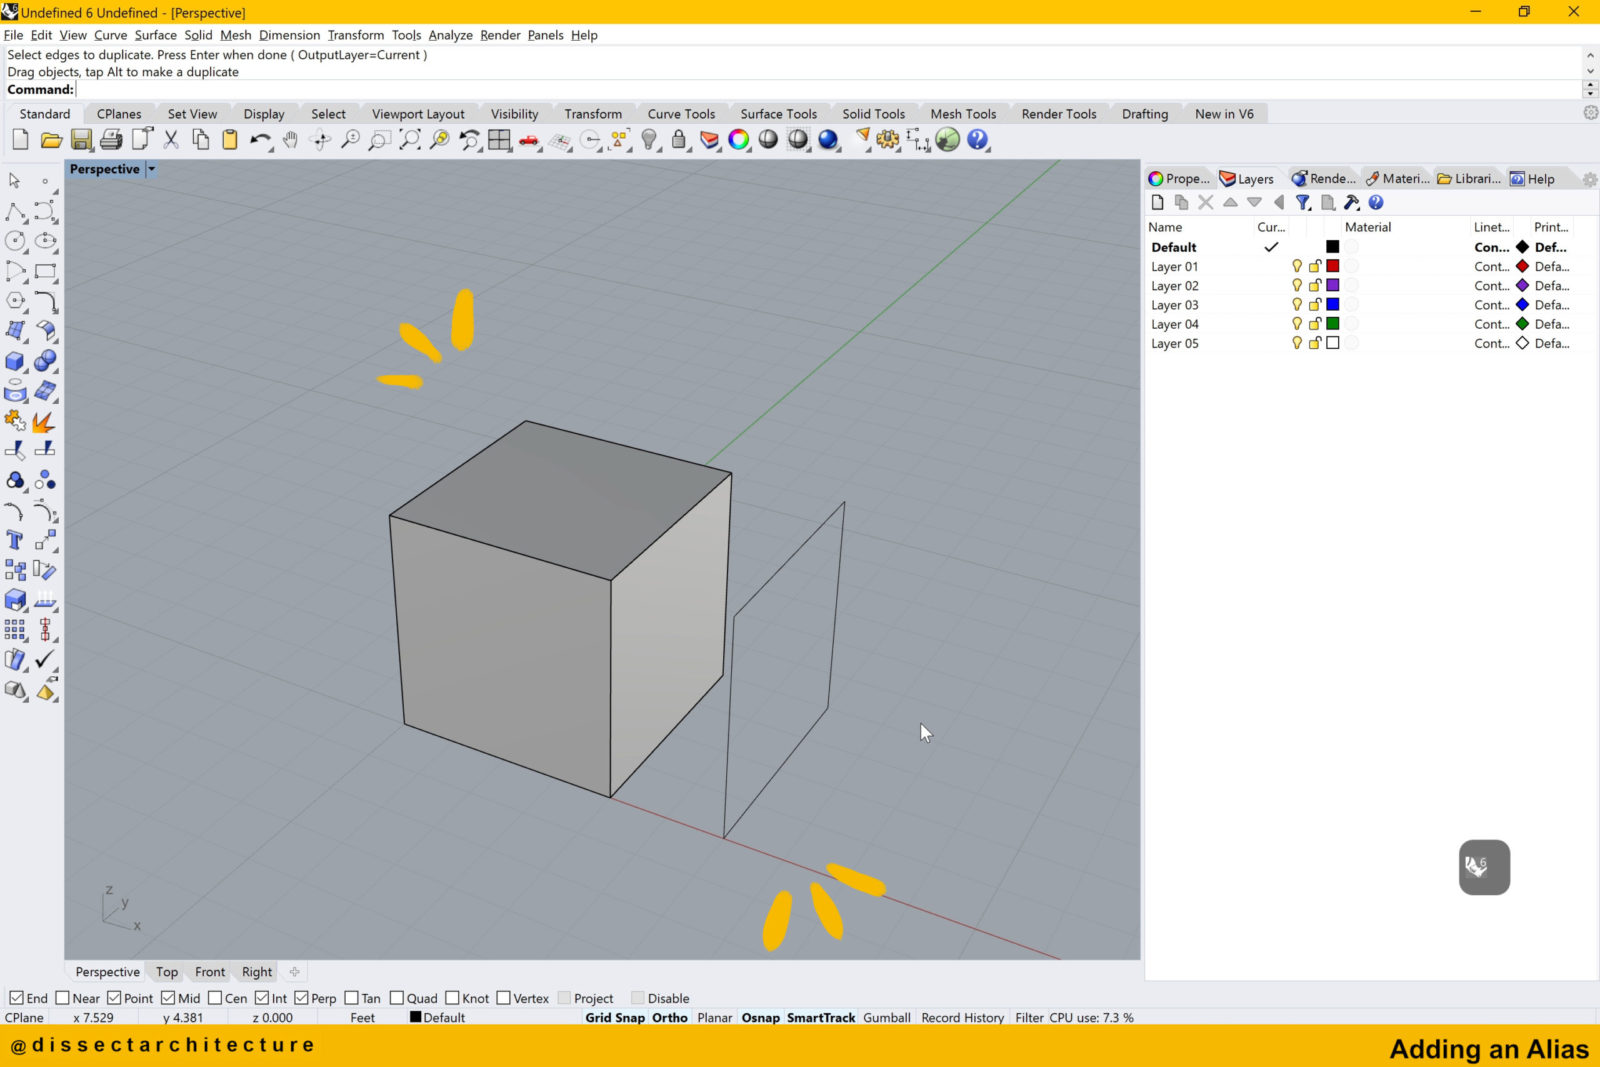
Now it is time to test your newly added alias!
Step 08
I am testing the EG alias that stands for DupEdge command, and you can see this alias executed the command successfully!
Step 01
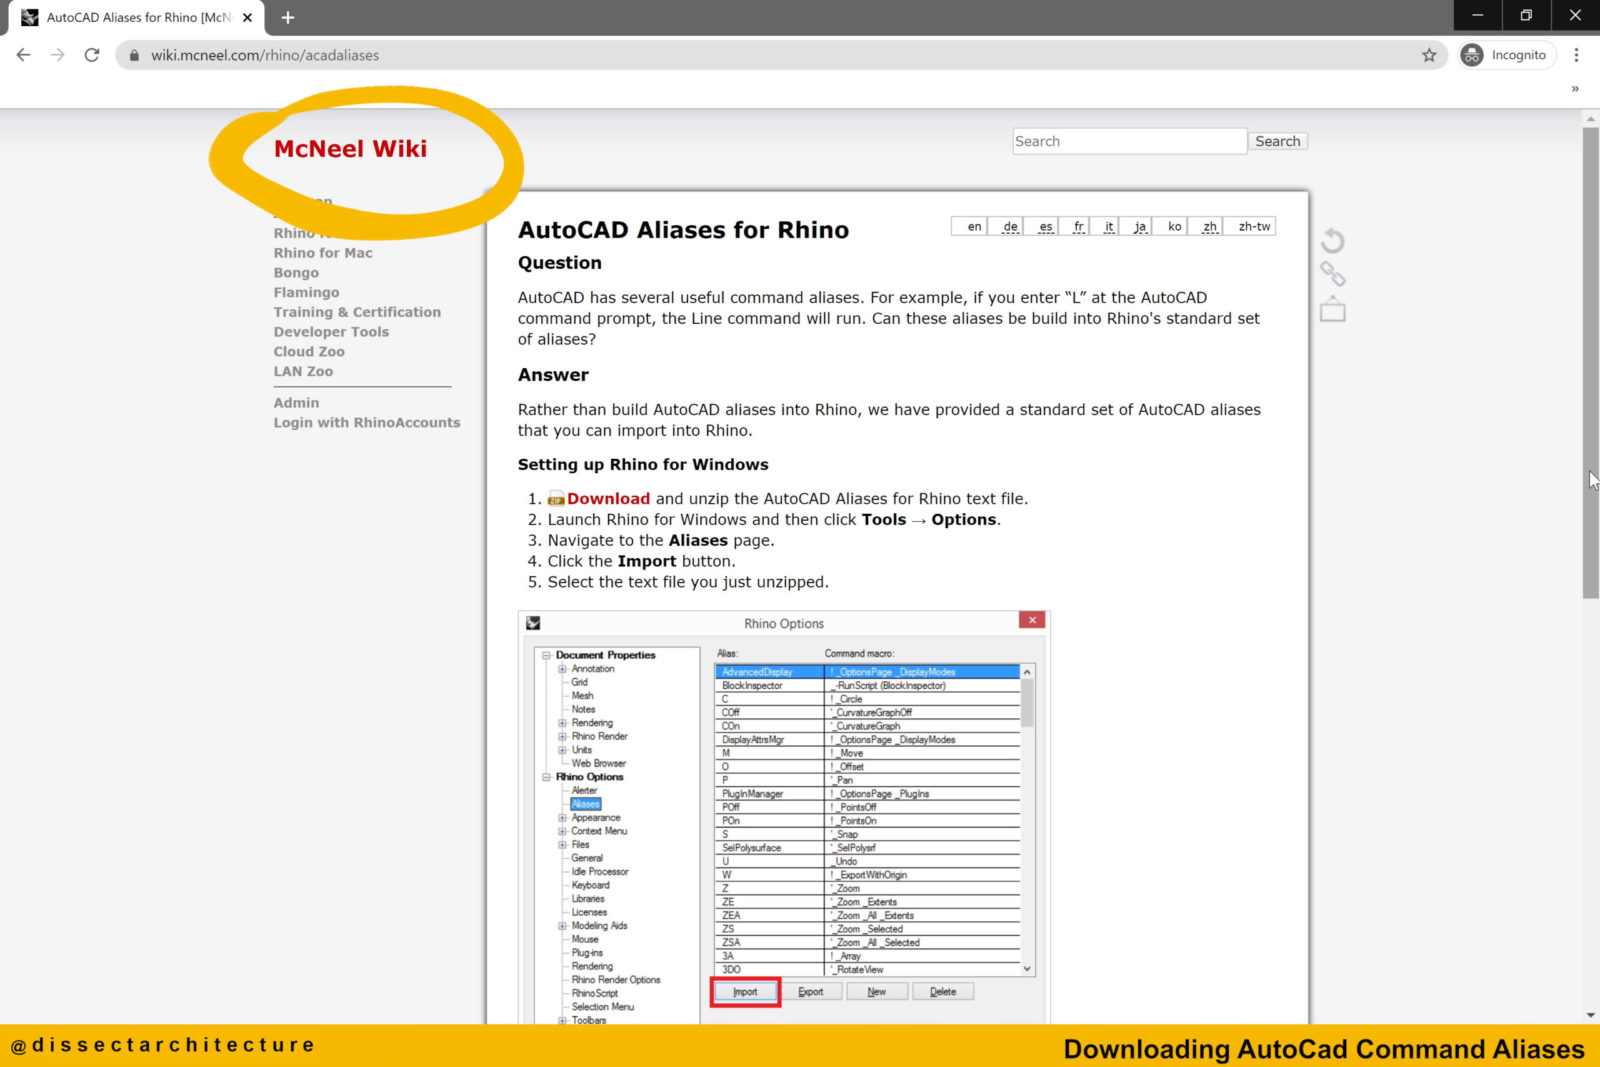
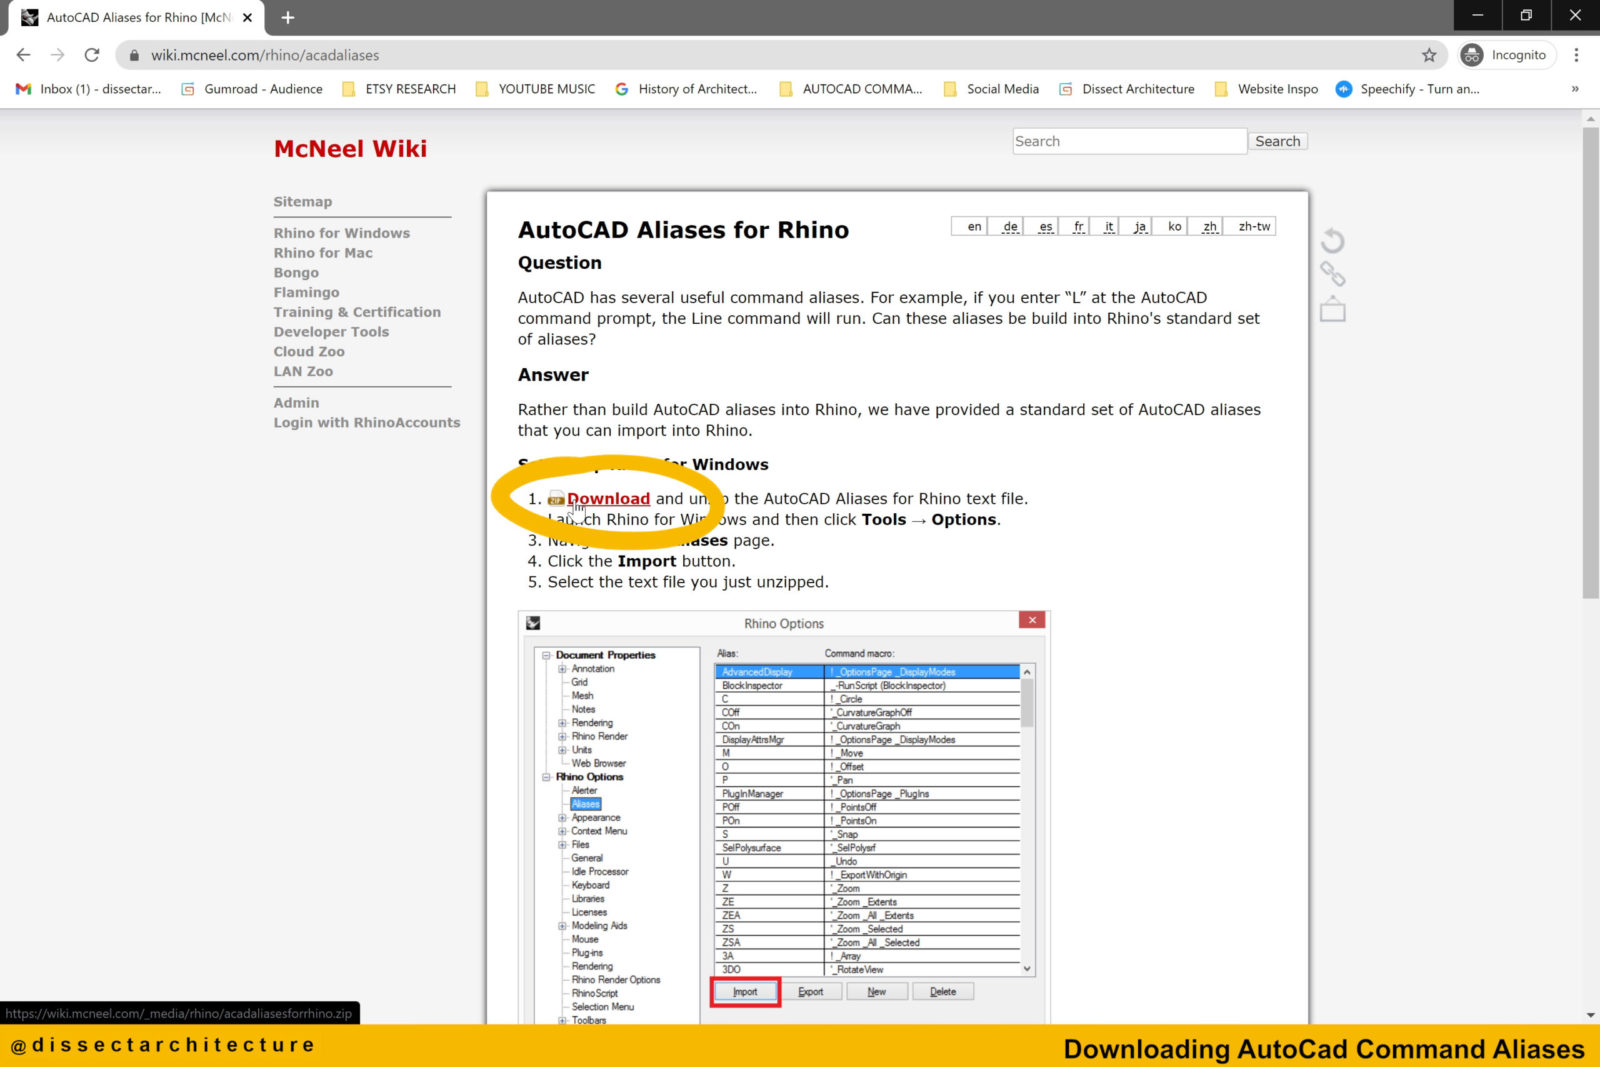
The AutoCAD command aliases can be directly downloaded from McNeel Wiki to be imported into Rhinoceros 3D.
In this page you can also see the basic steps on how to create and import aliases in Rhino to install the file both Windows and MAC operating systems. Click on the Download button for your corresponding operating system. I am downloading the Windows option.
Step 02
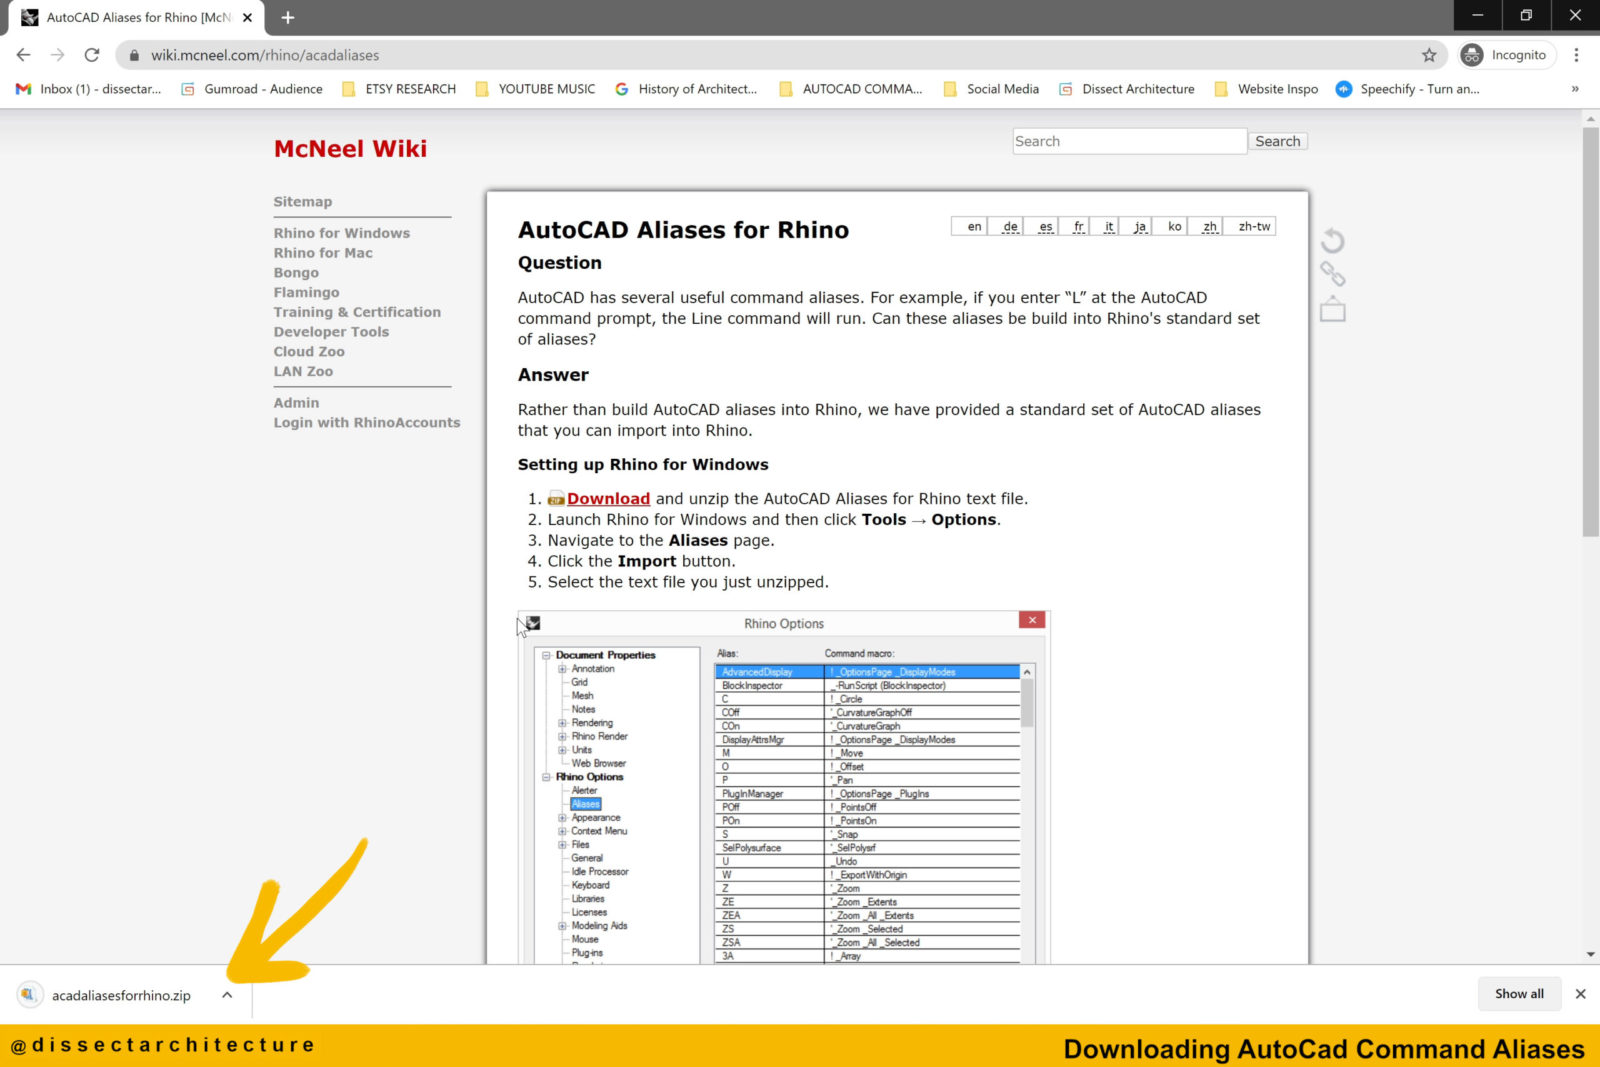
This will download as a Zip file. After your file has downloaded, open the file and unzip it to a safe location.

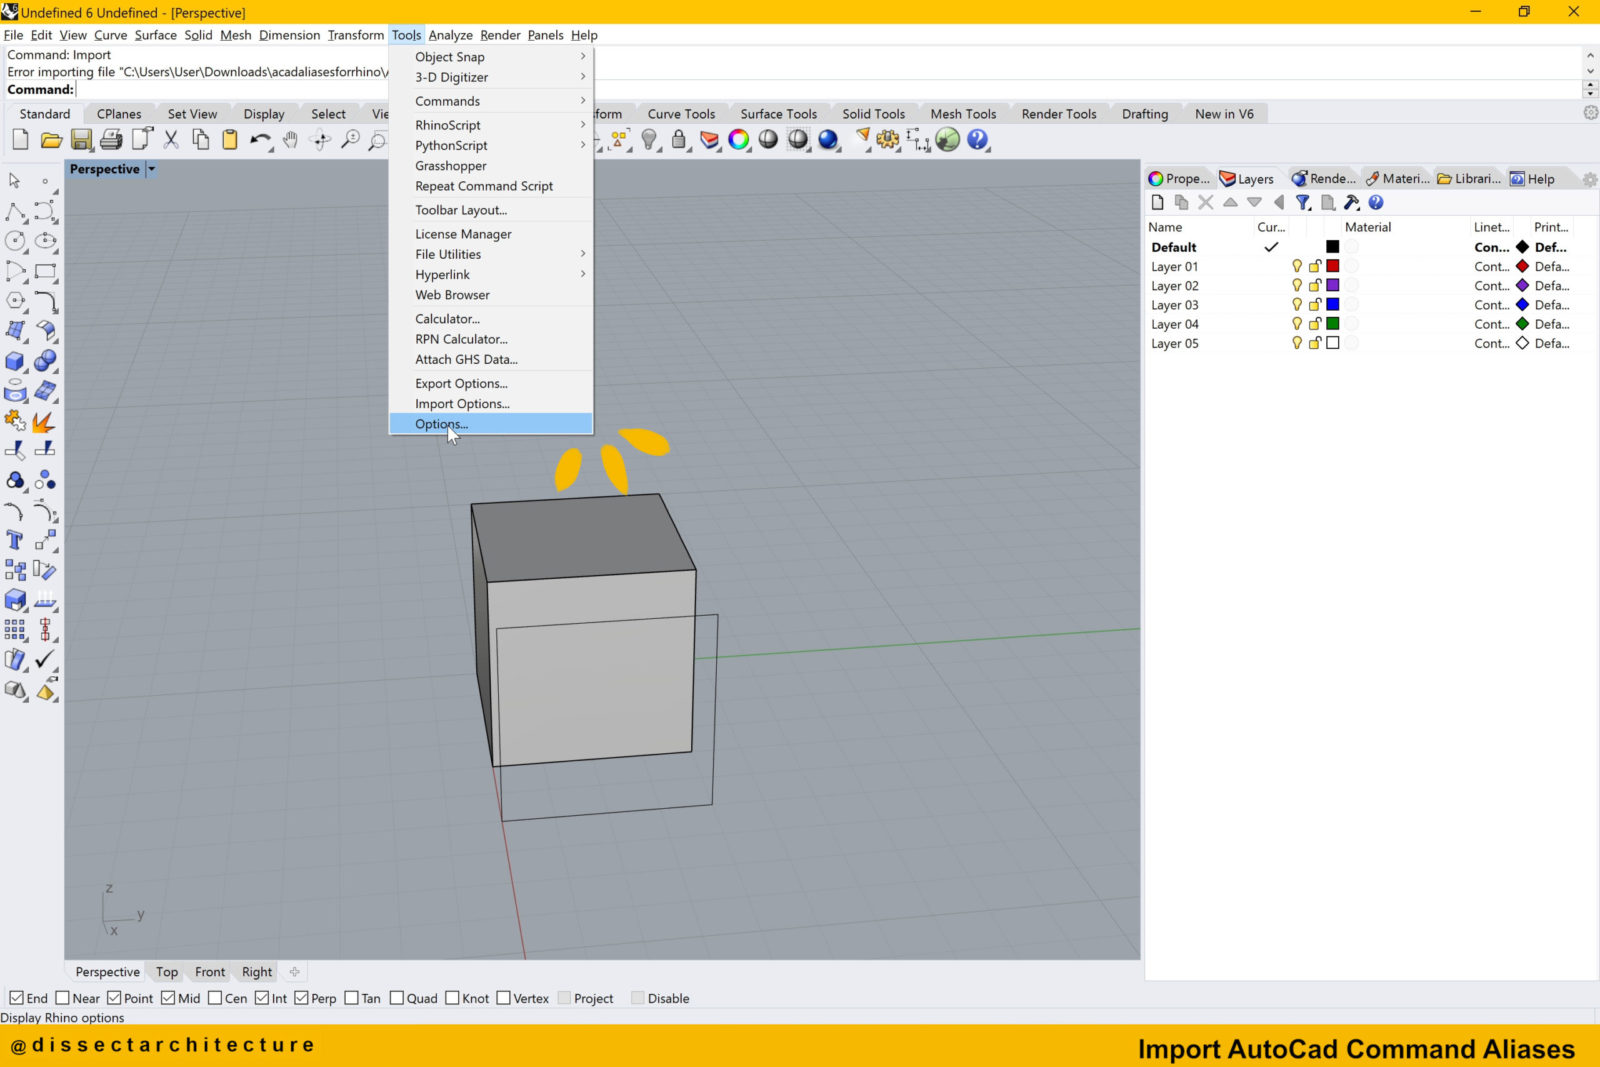
Step 03
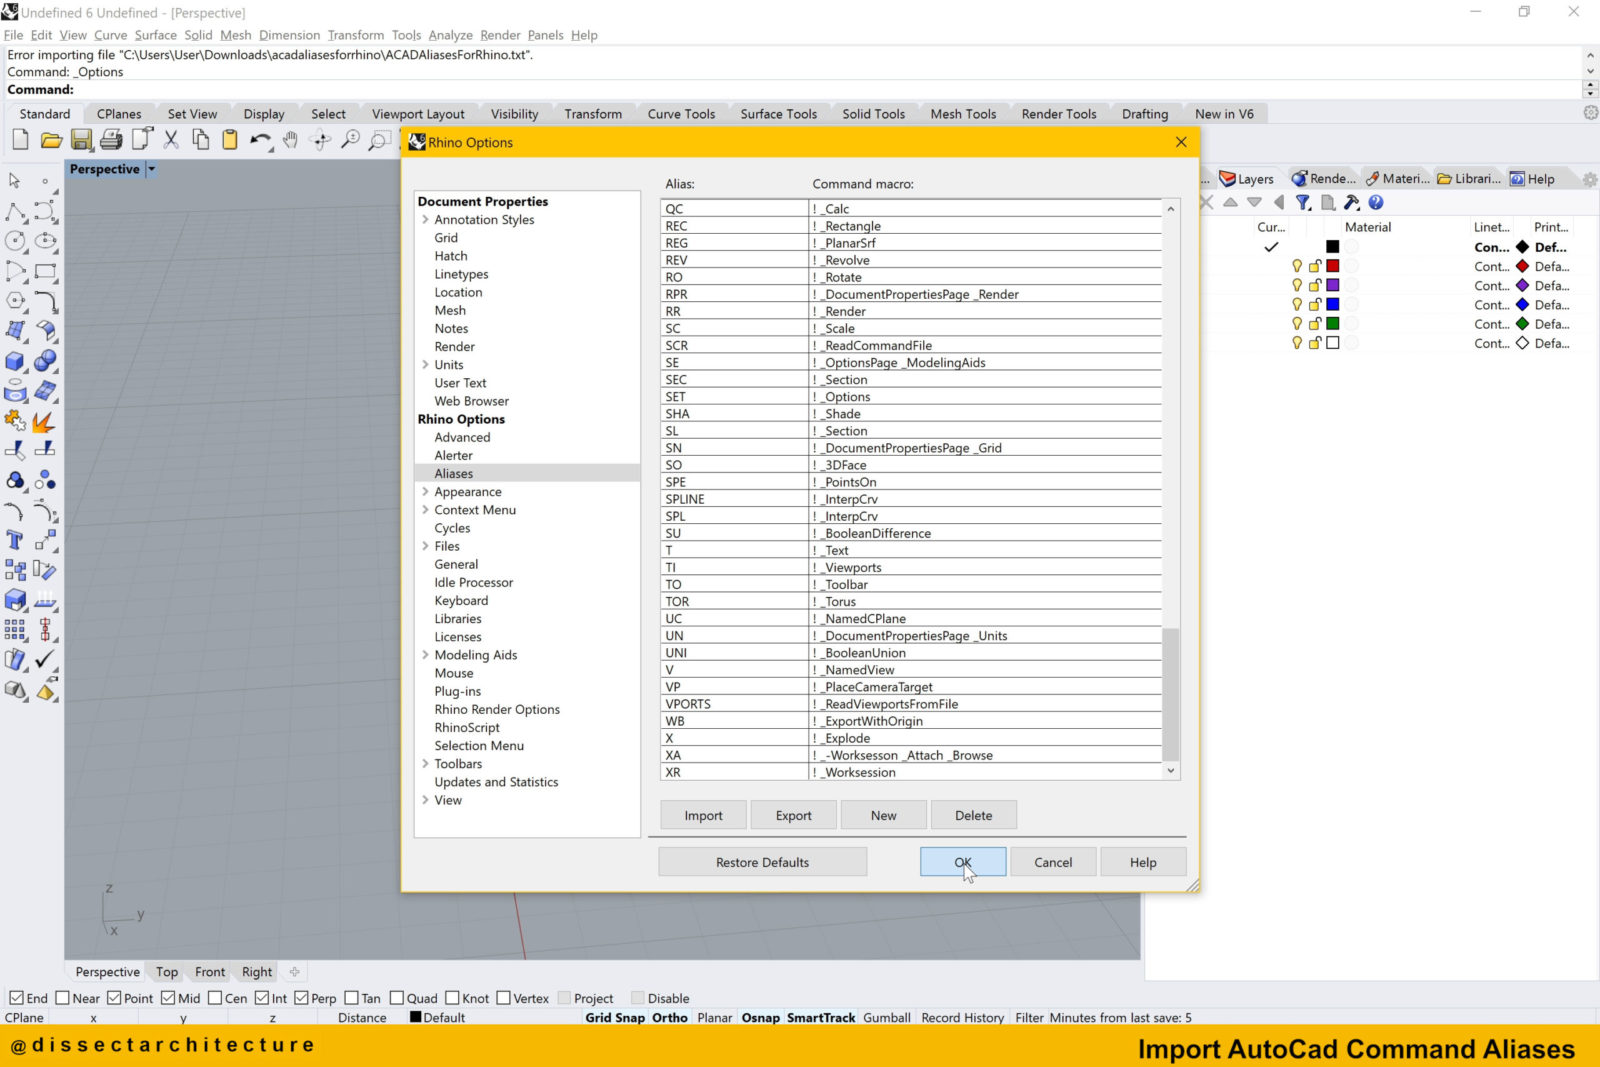
Then open Rhinoceros 3D to import the file you just downloaded. Go to the Tools Menu and select Options to open the Rhino Options Panel.
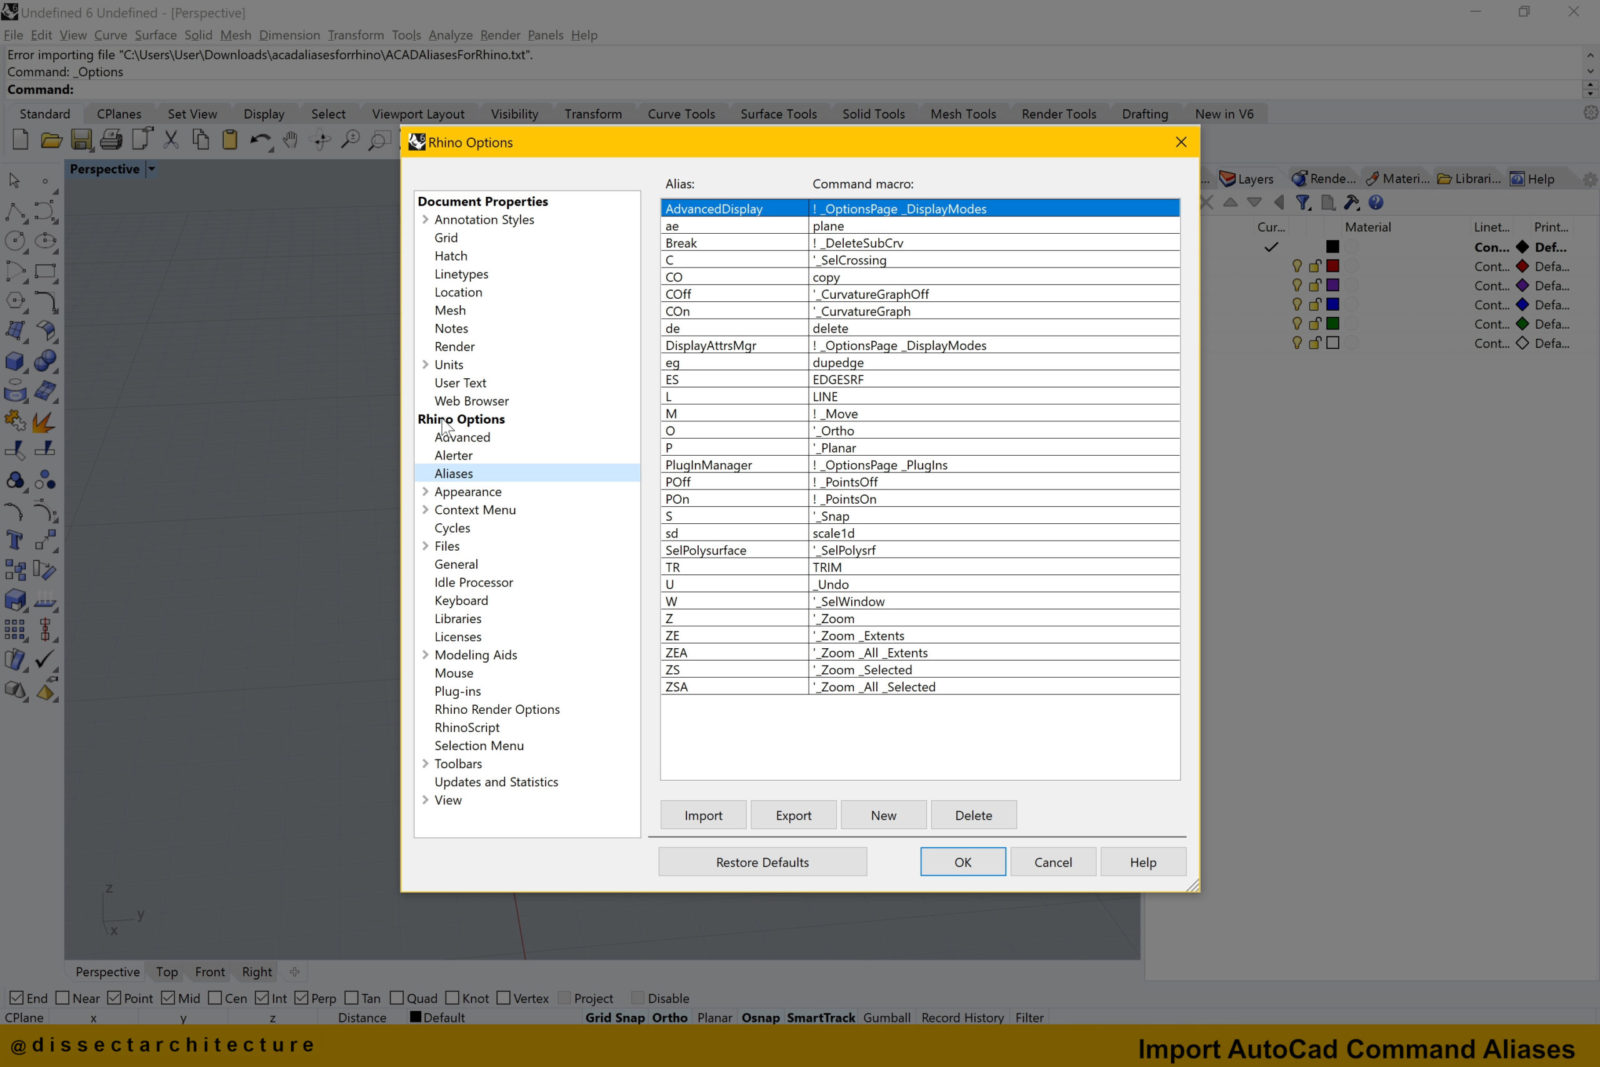
Step 04
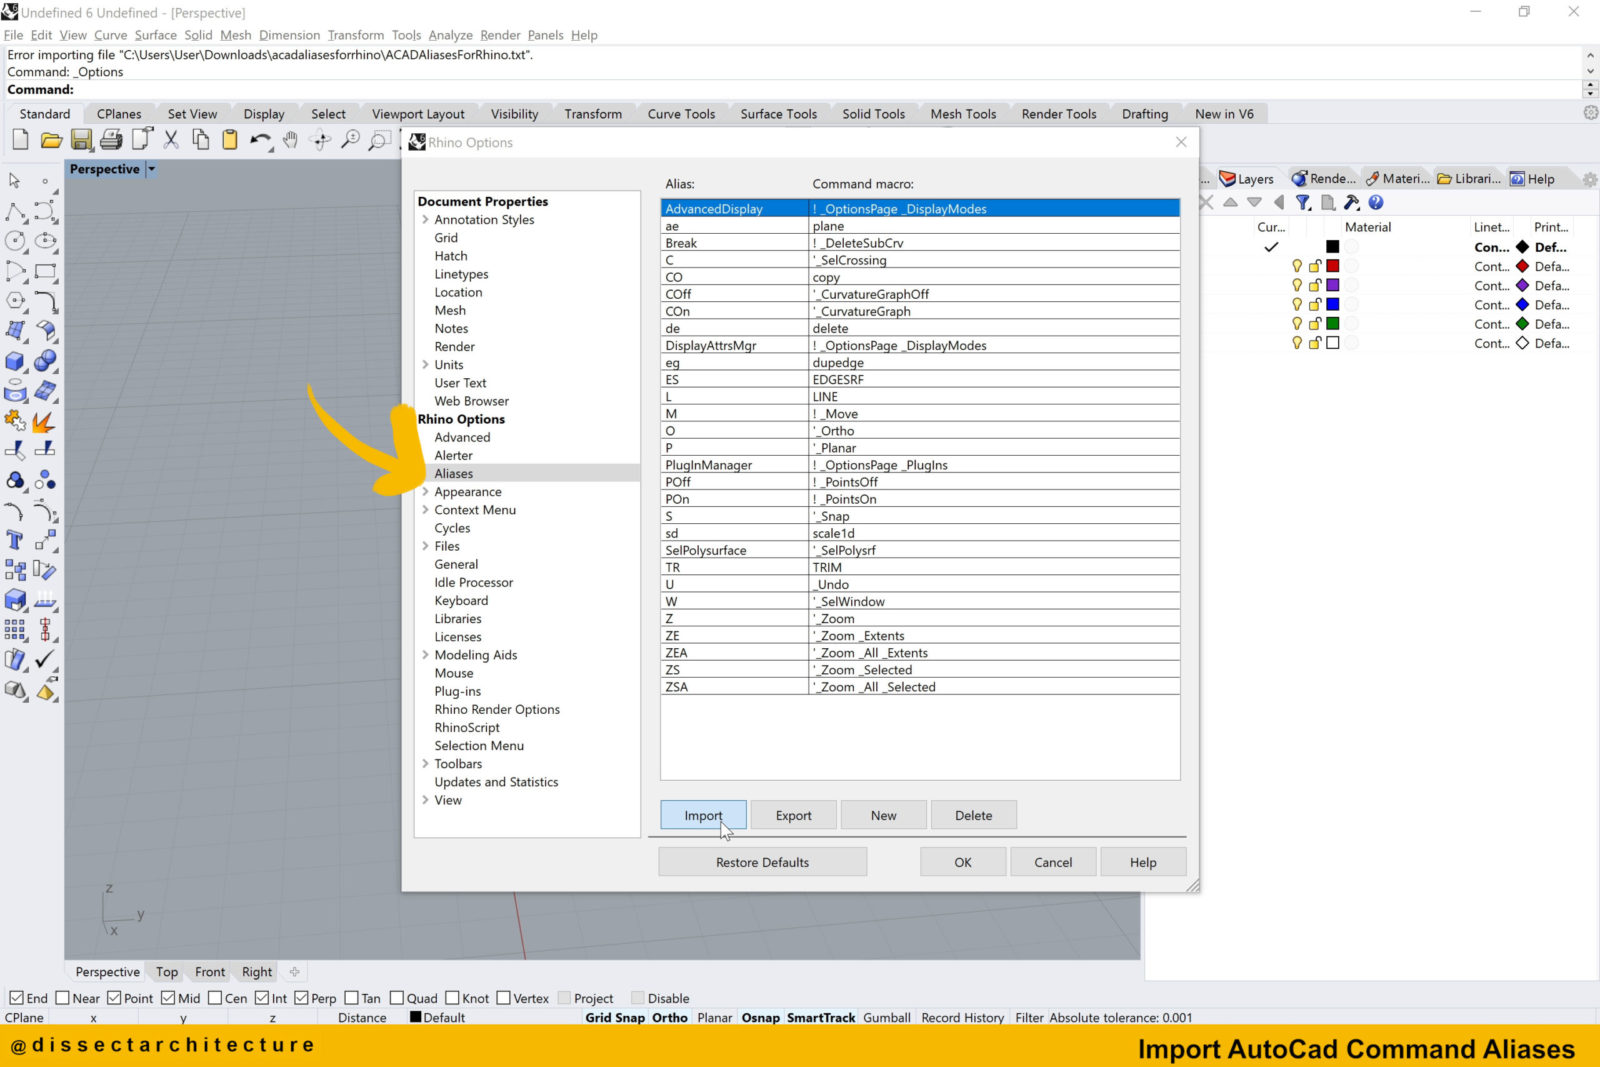
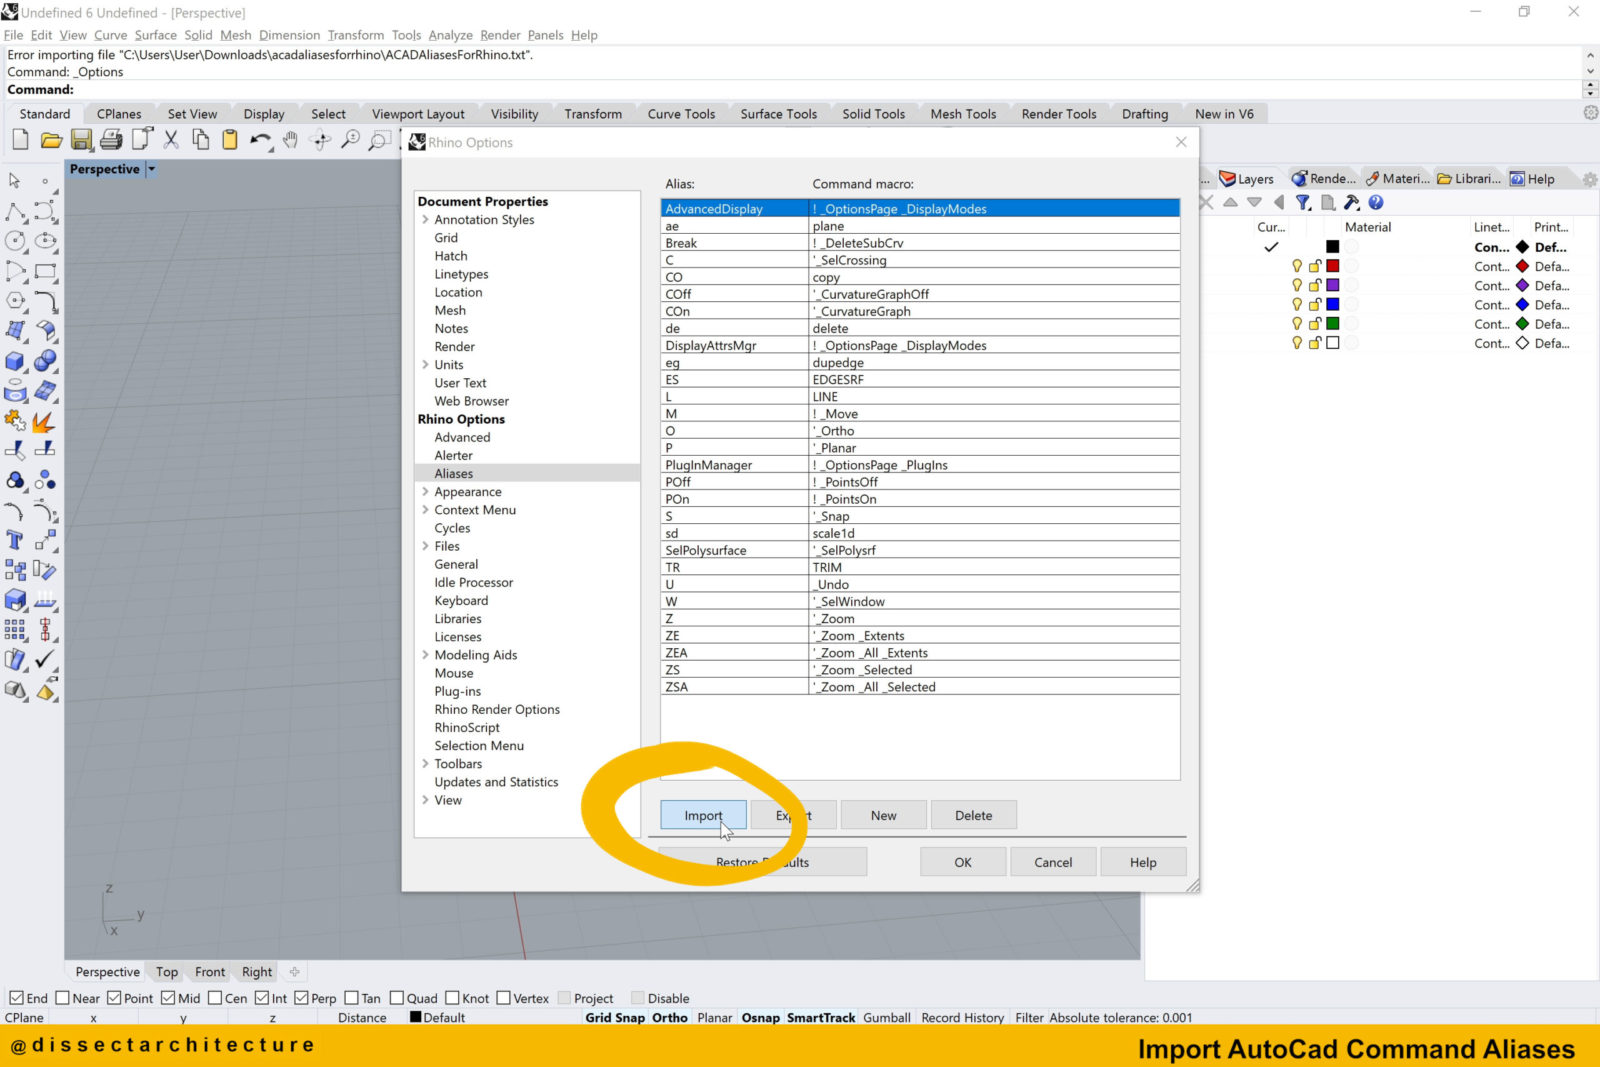
Select Aliases from the left side options panel and then click on the Import button.
Step 05
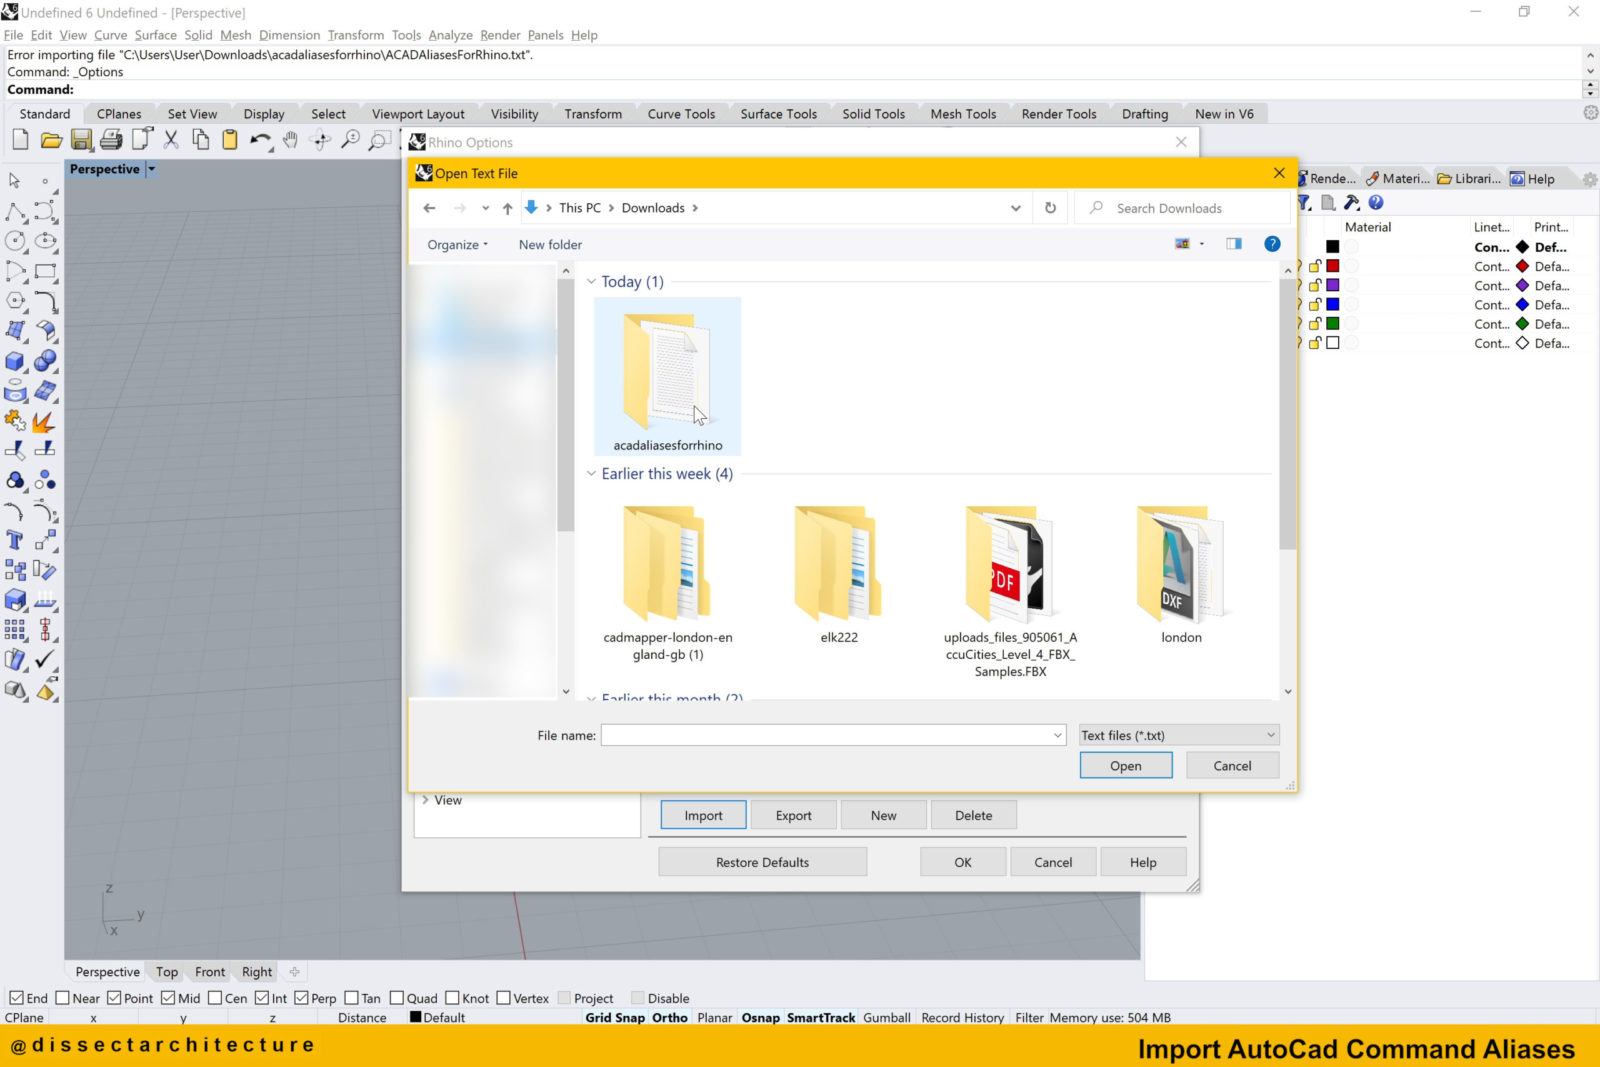
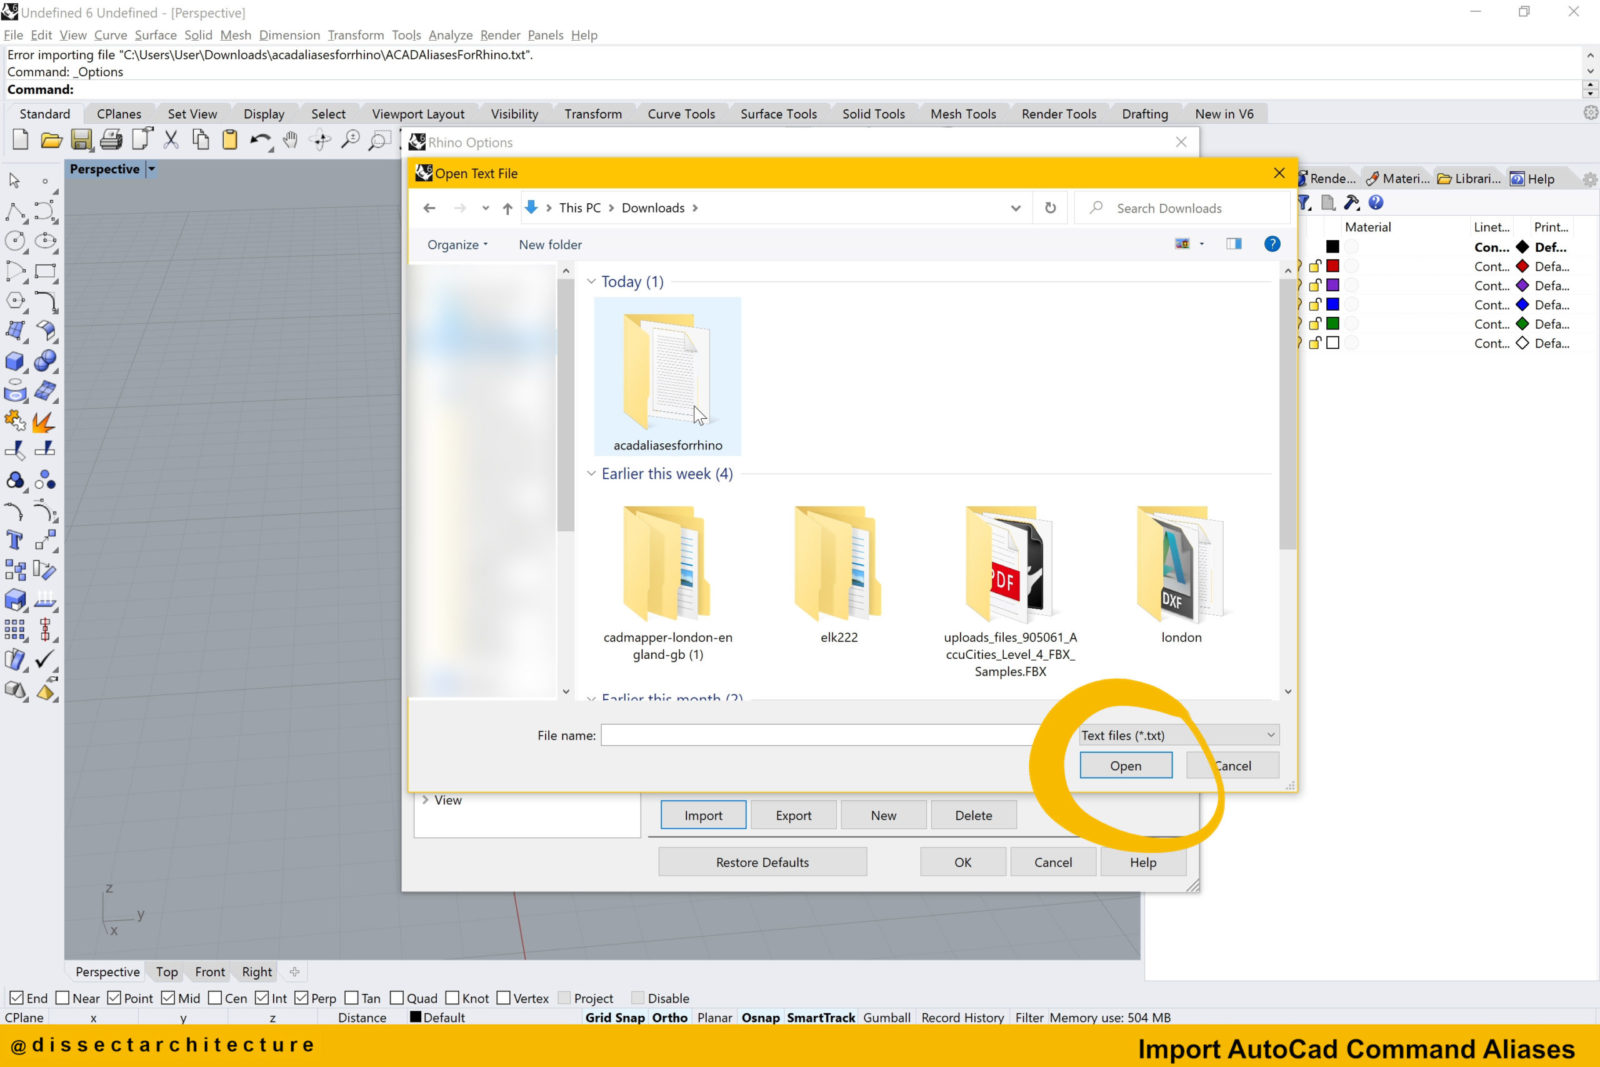
The File Explorer will now open.
Go over to the location where you previously saved your downloaded file, select it, and click Open.
Step 06
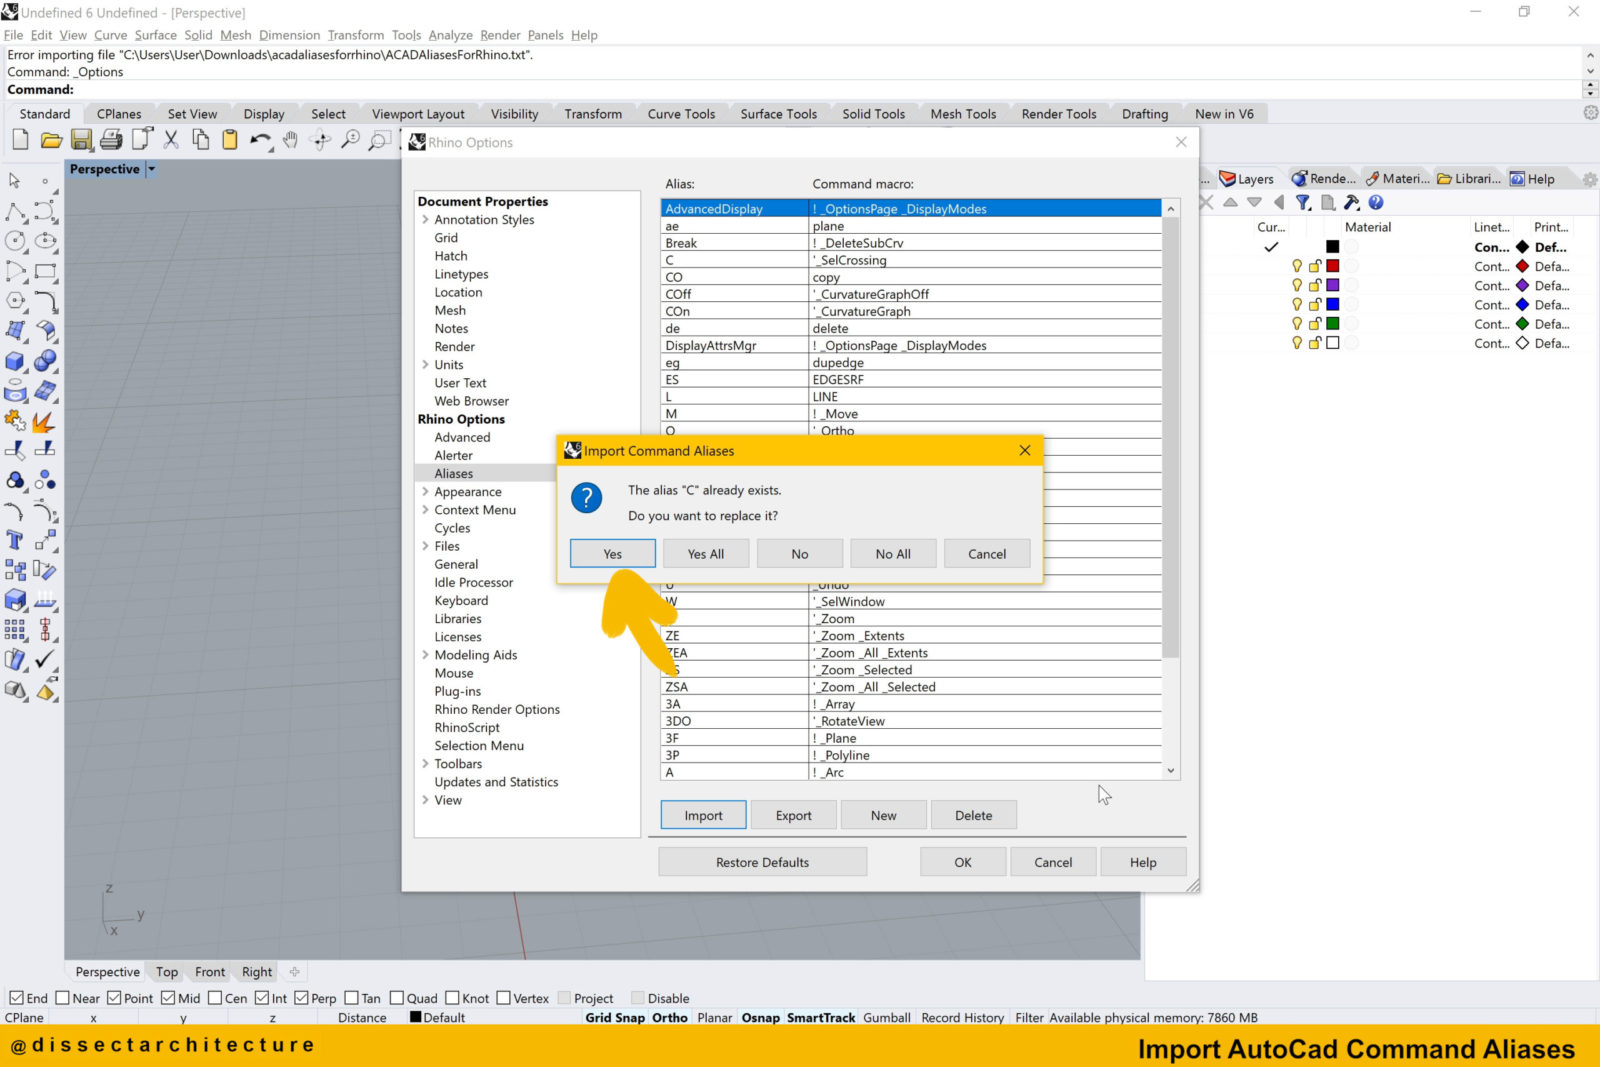
This will start the Import process. If an alias already exists with the same alias that is being imported you can select if you’d like to replace it.
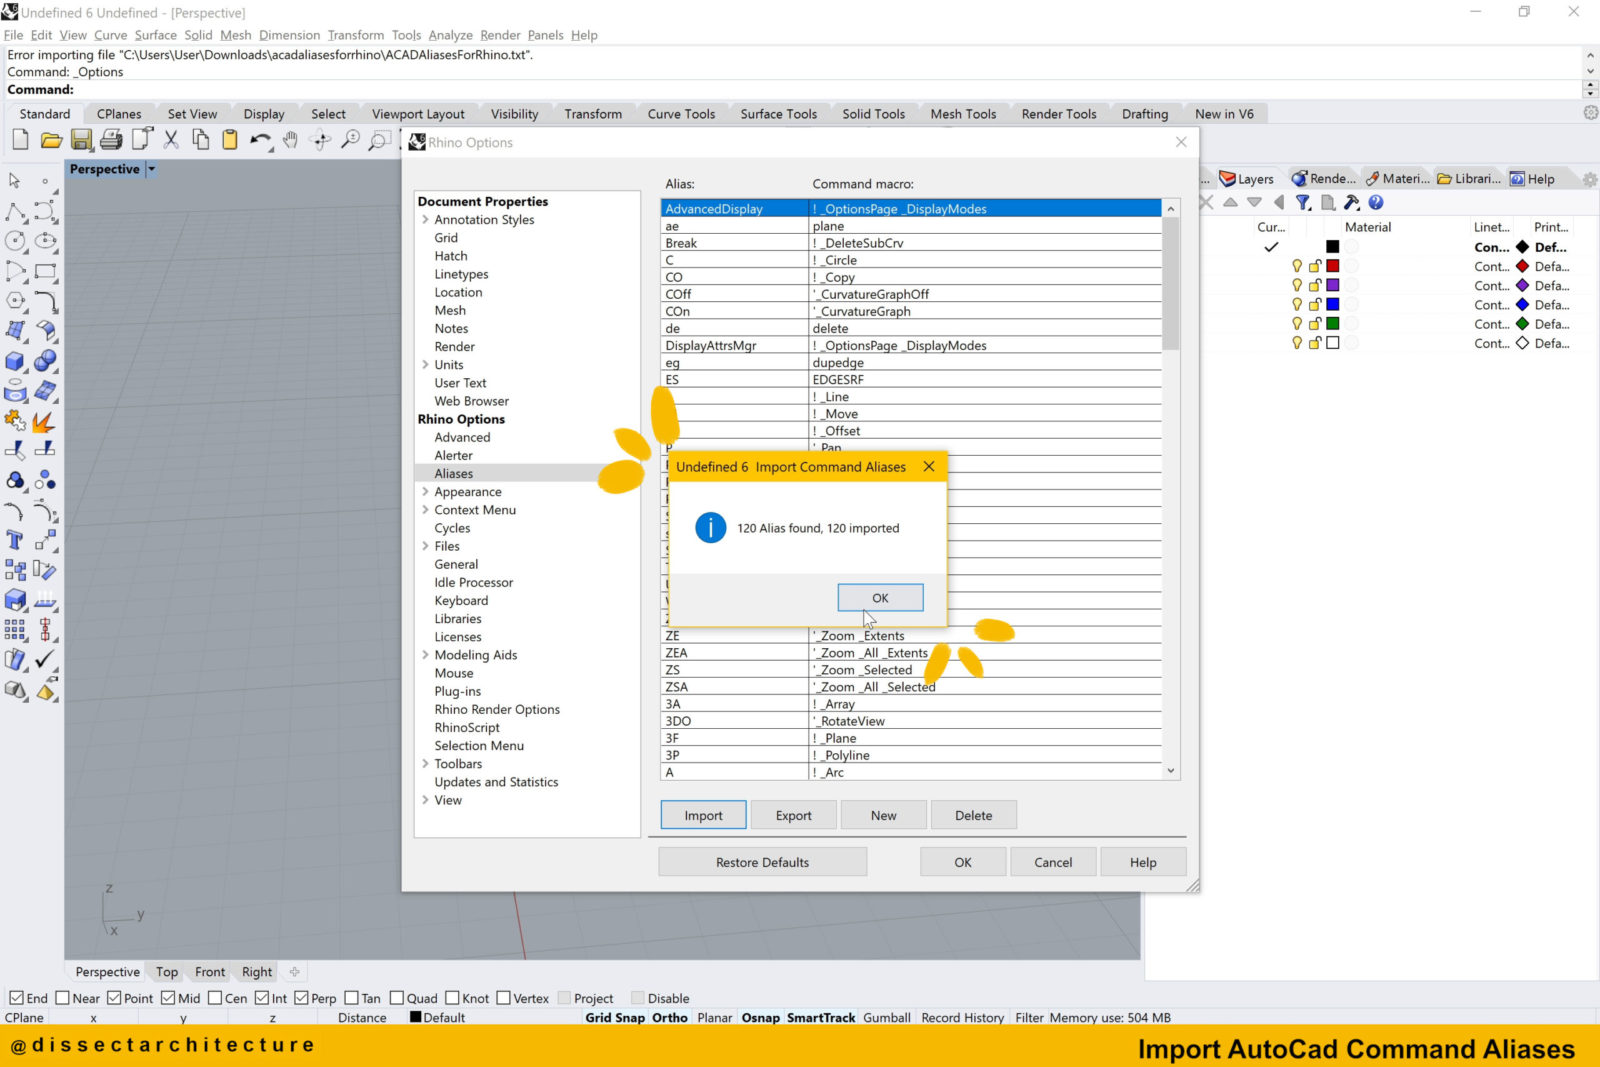
Once the import process is finished, a pop-up panel will appear listing how many Aliases were successfully imported. Click OK to close it.
Step 07
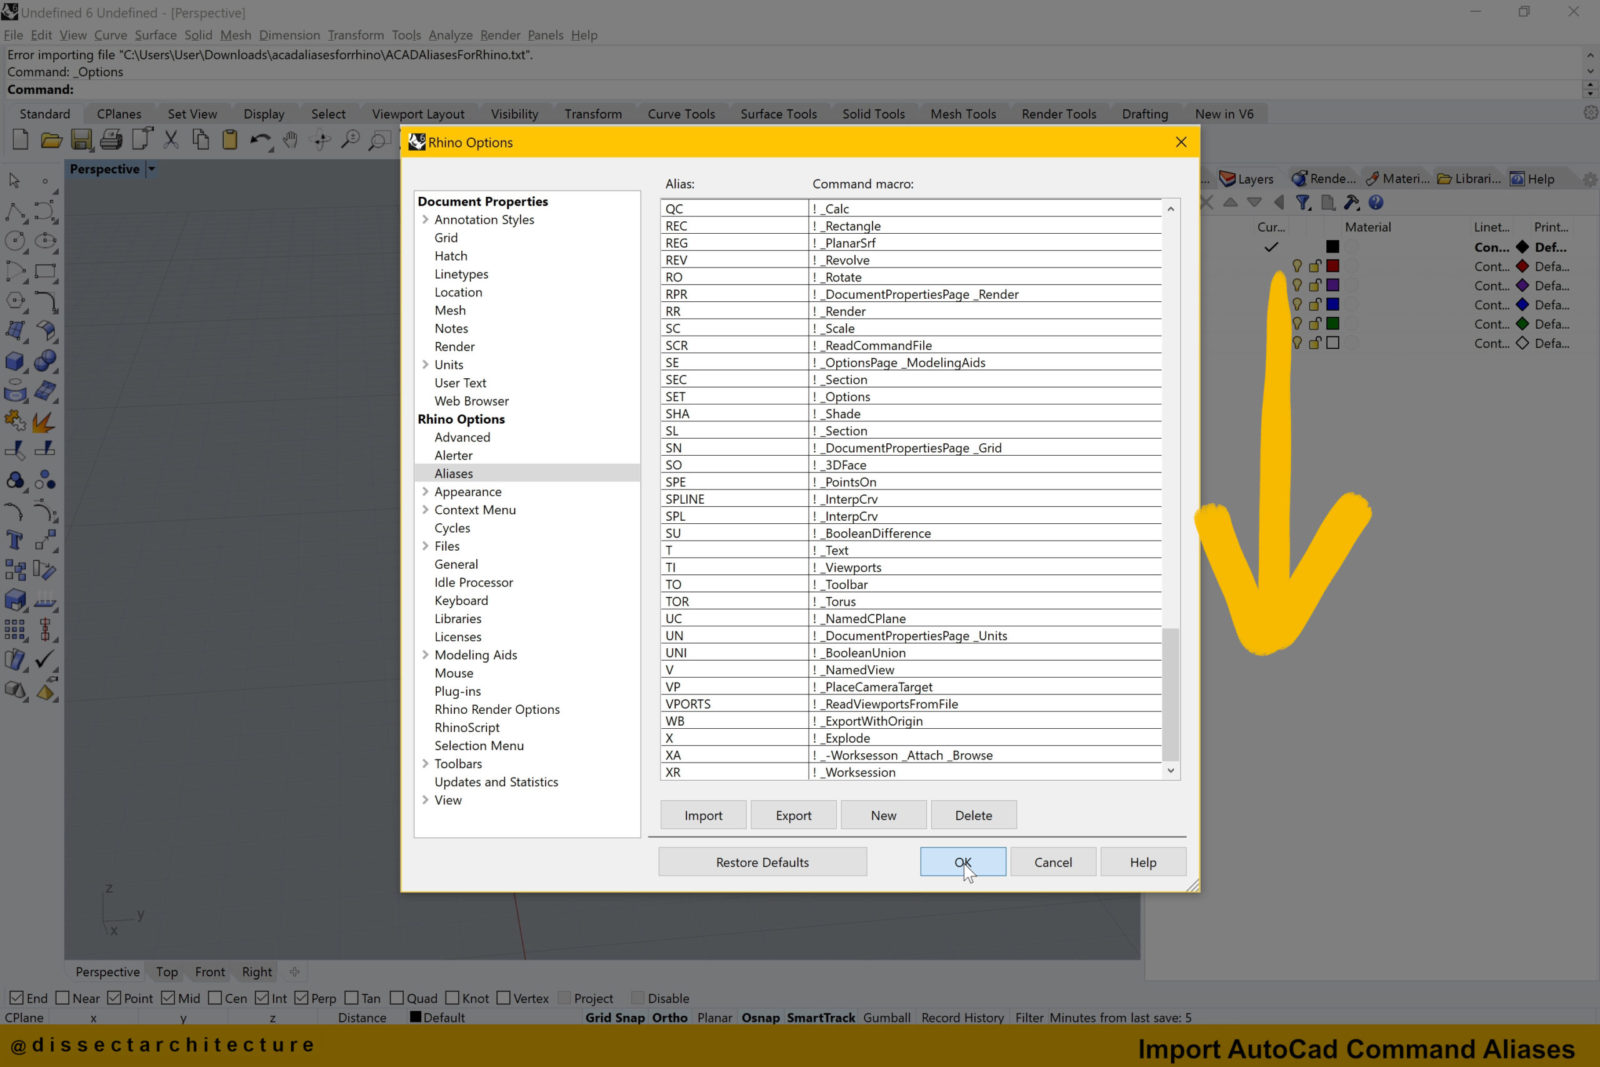
You can then scroll through the list of aliases and see the aliases that were imported.
Step 08
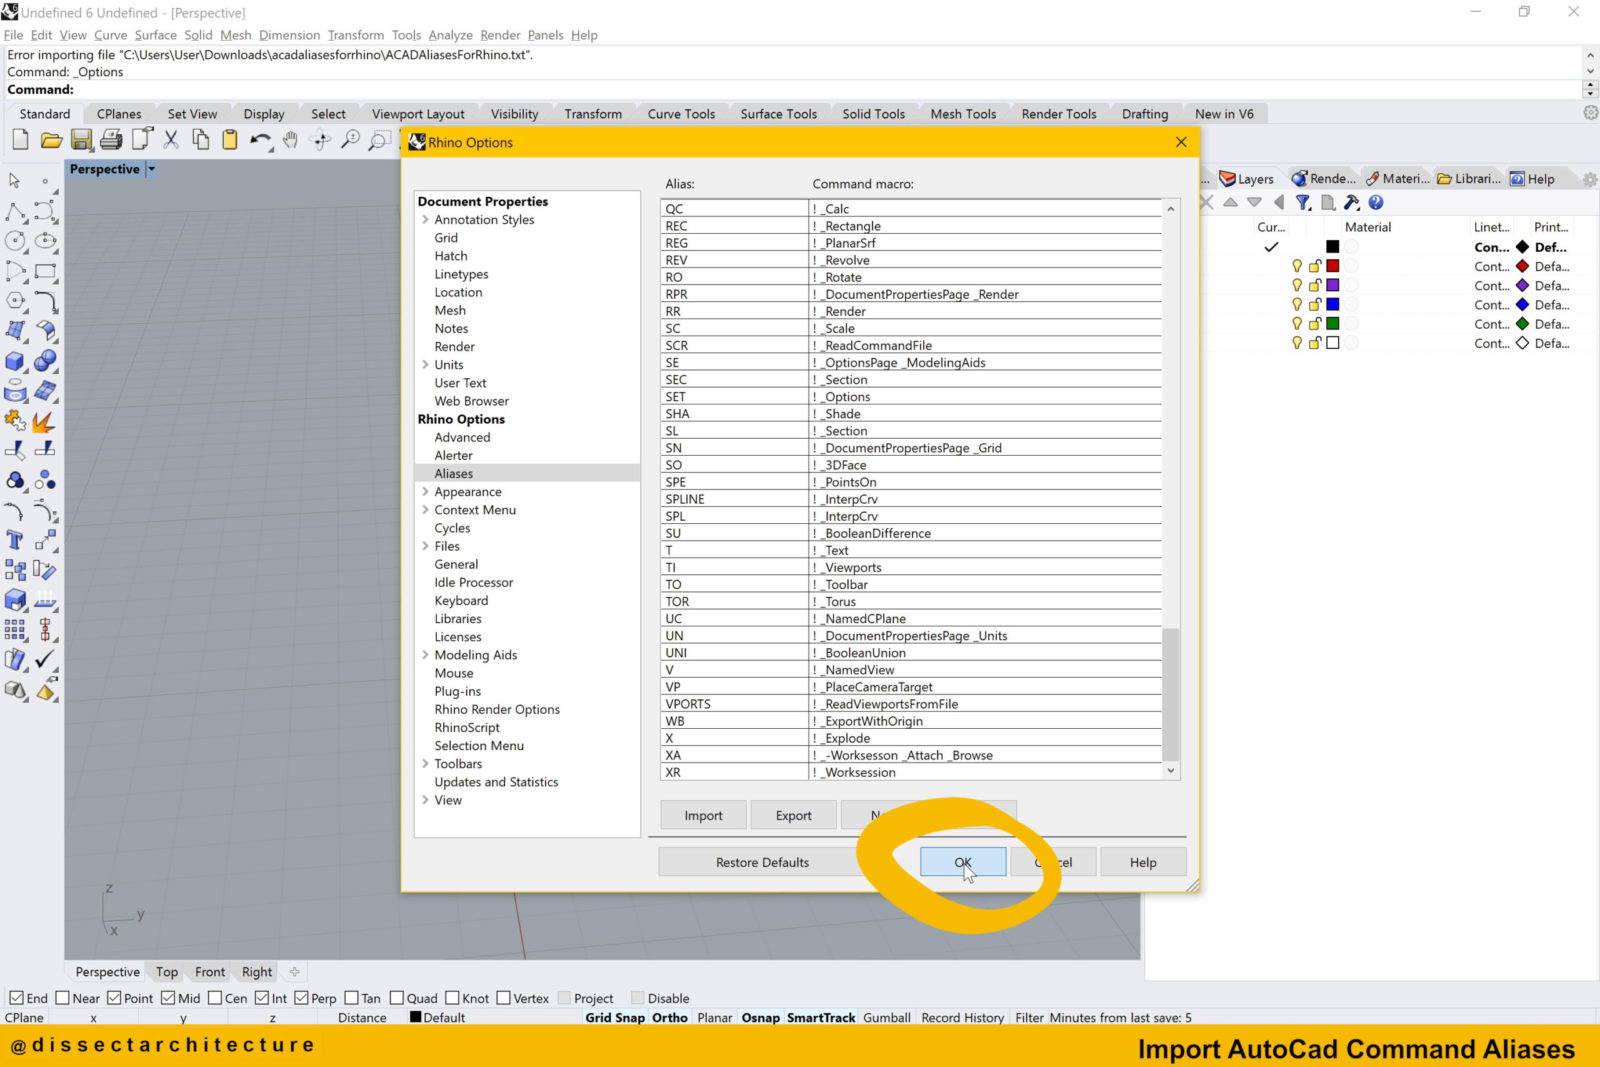
Click OK when you are finished to close the Options Panel.
Step 09
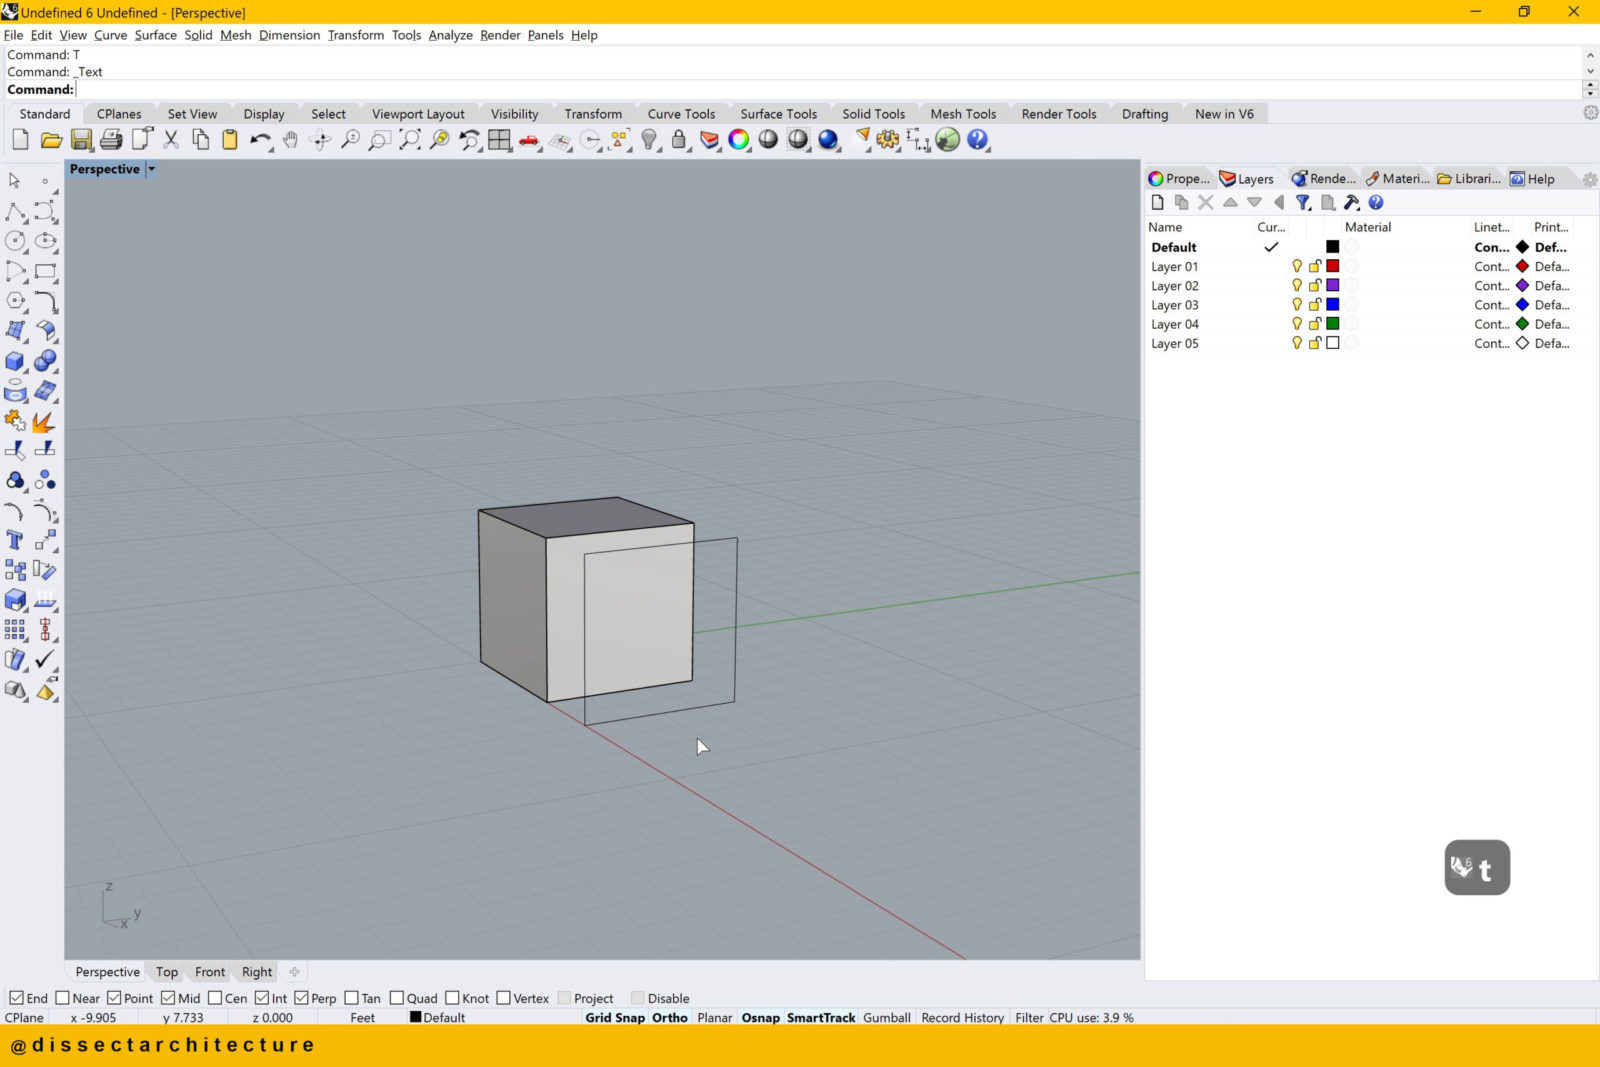
Now we can test the newly imported aliases!
Step 10
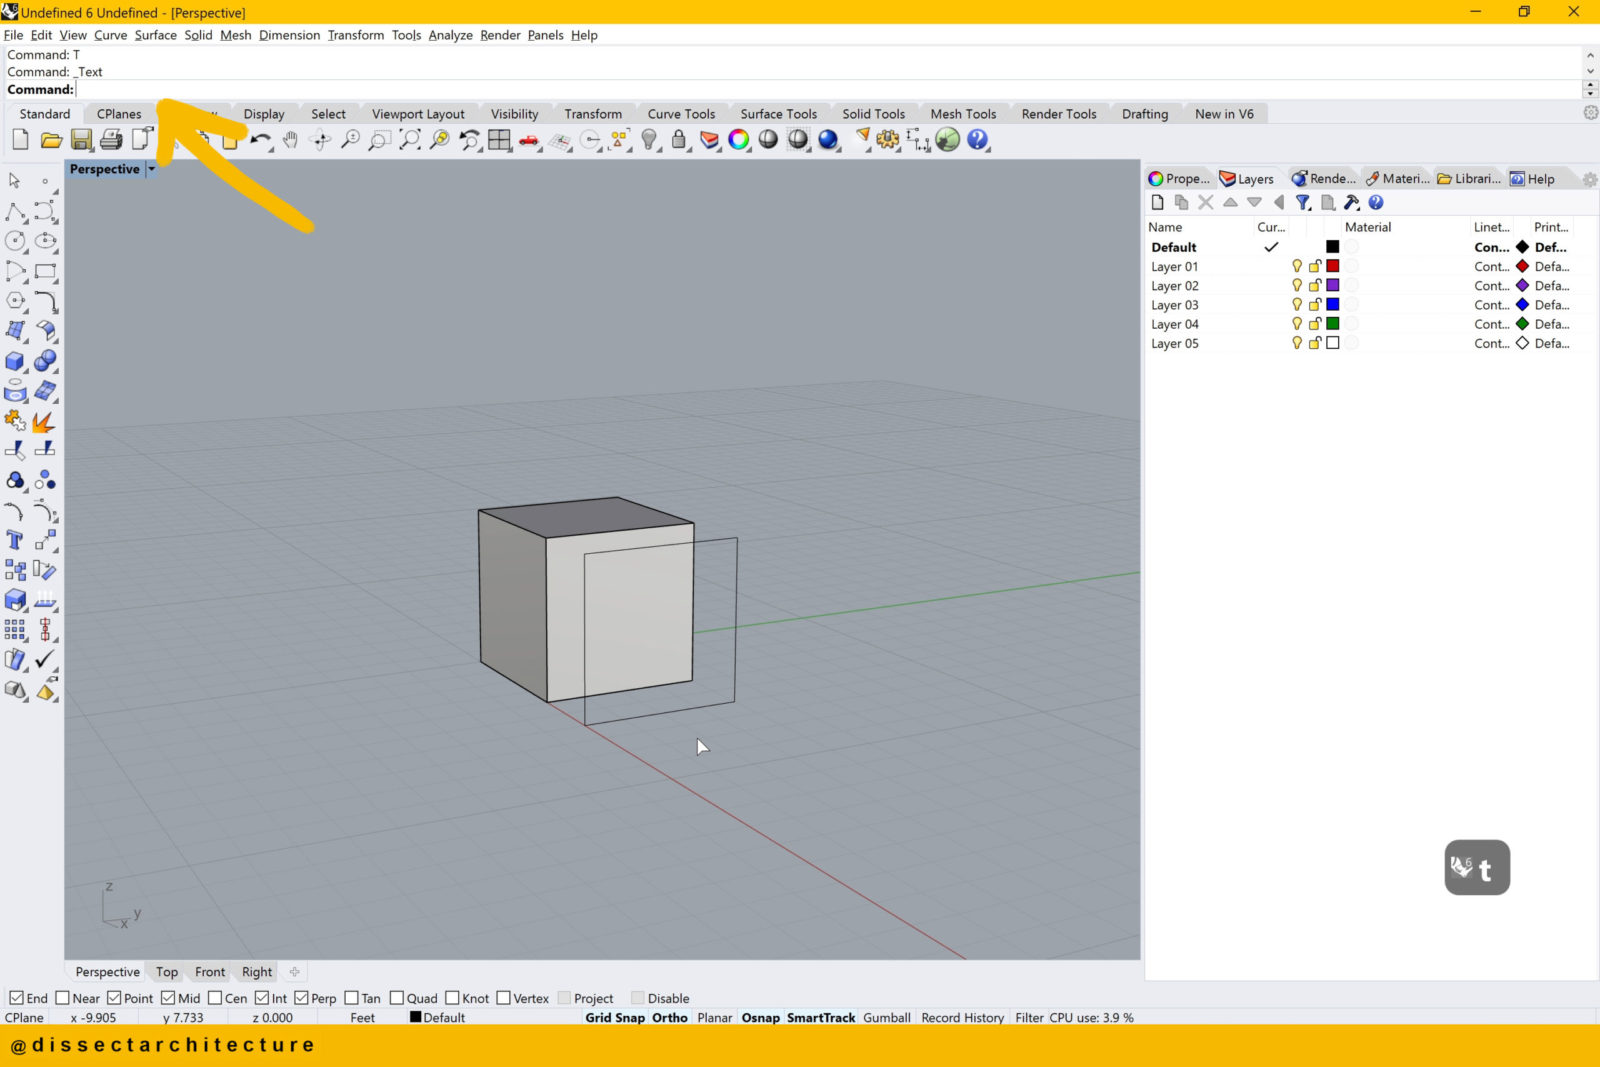
Use any of the aliases in your workspace.