How to Create a Pattern in Photoshop
Objective:
Learn through this tutorial how to create a pattern Photoshop and maintain a pattern library for future use in any projects.
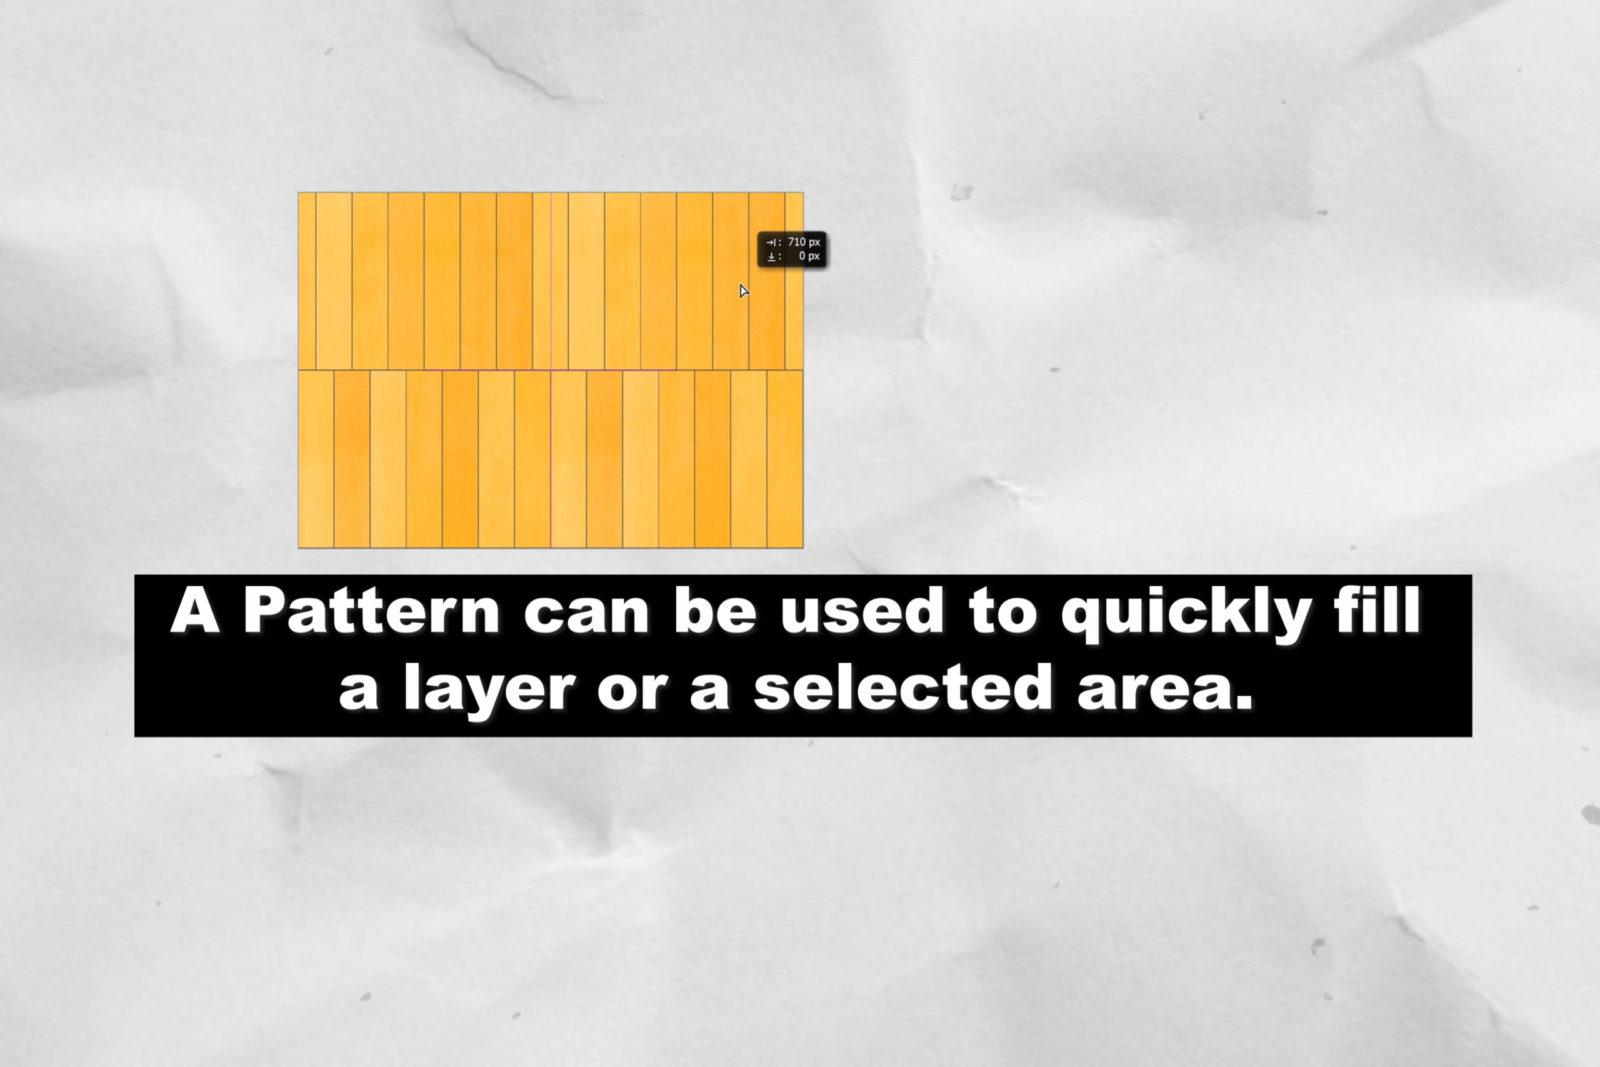
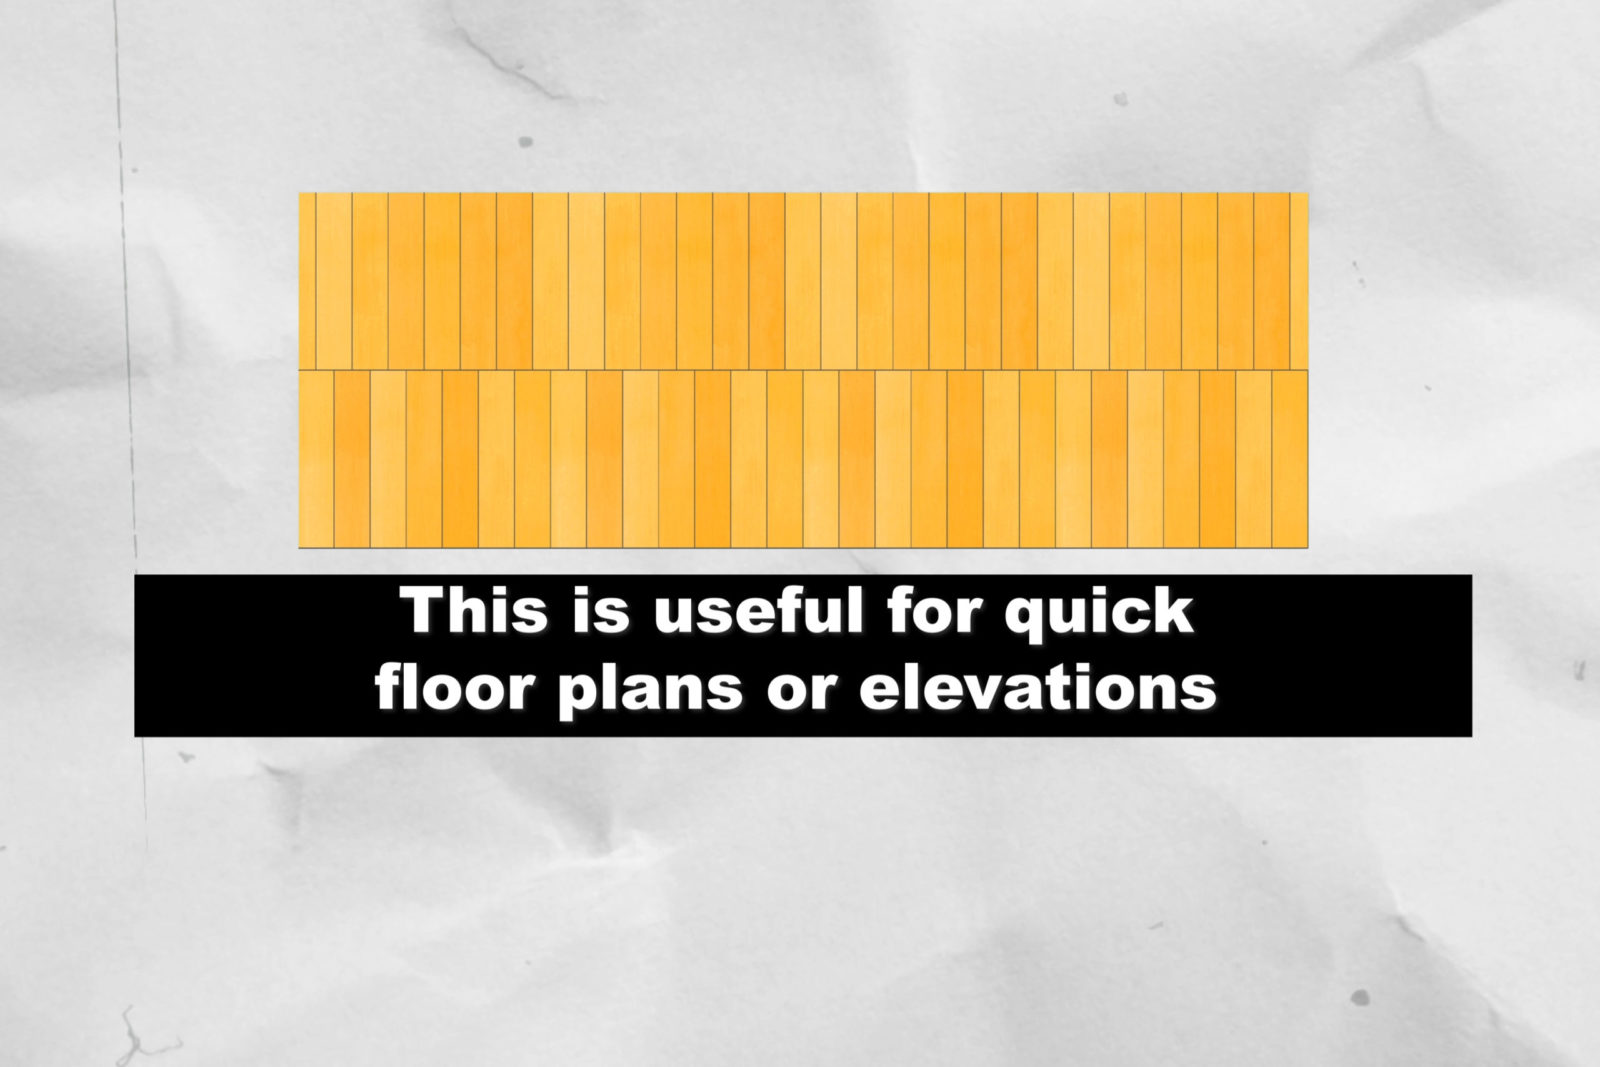
Patterns are easy to use with images that don’t have a seam to quickly fill an area of space like floor, or to create a tile in your architectural renderings.
Software Used:
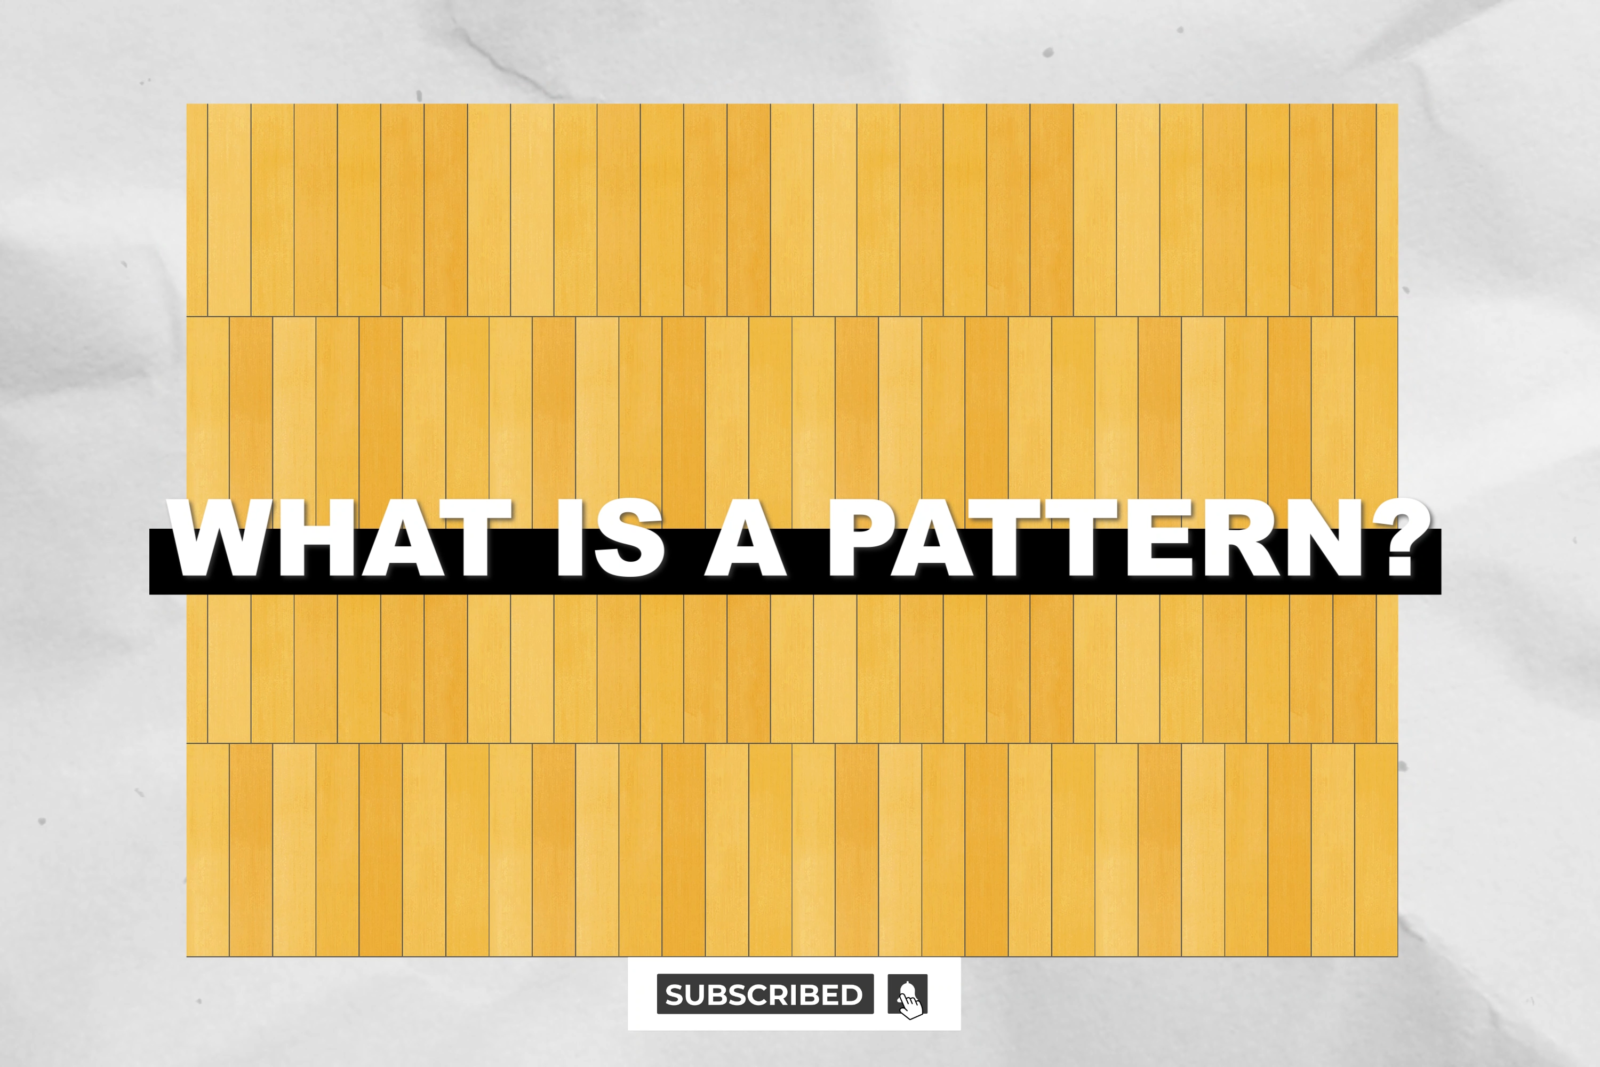
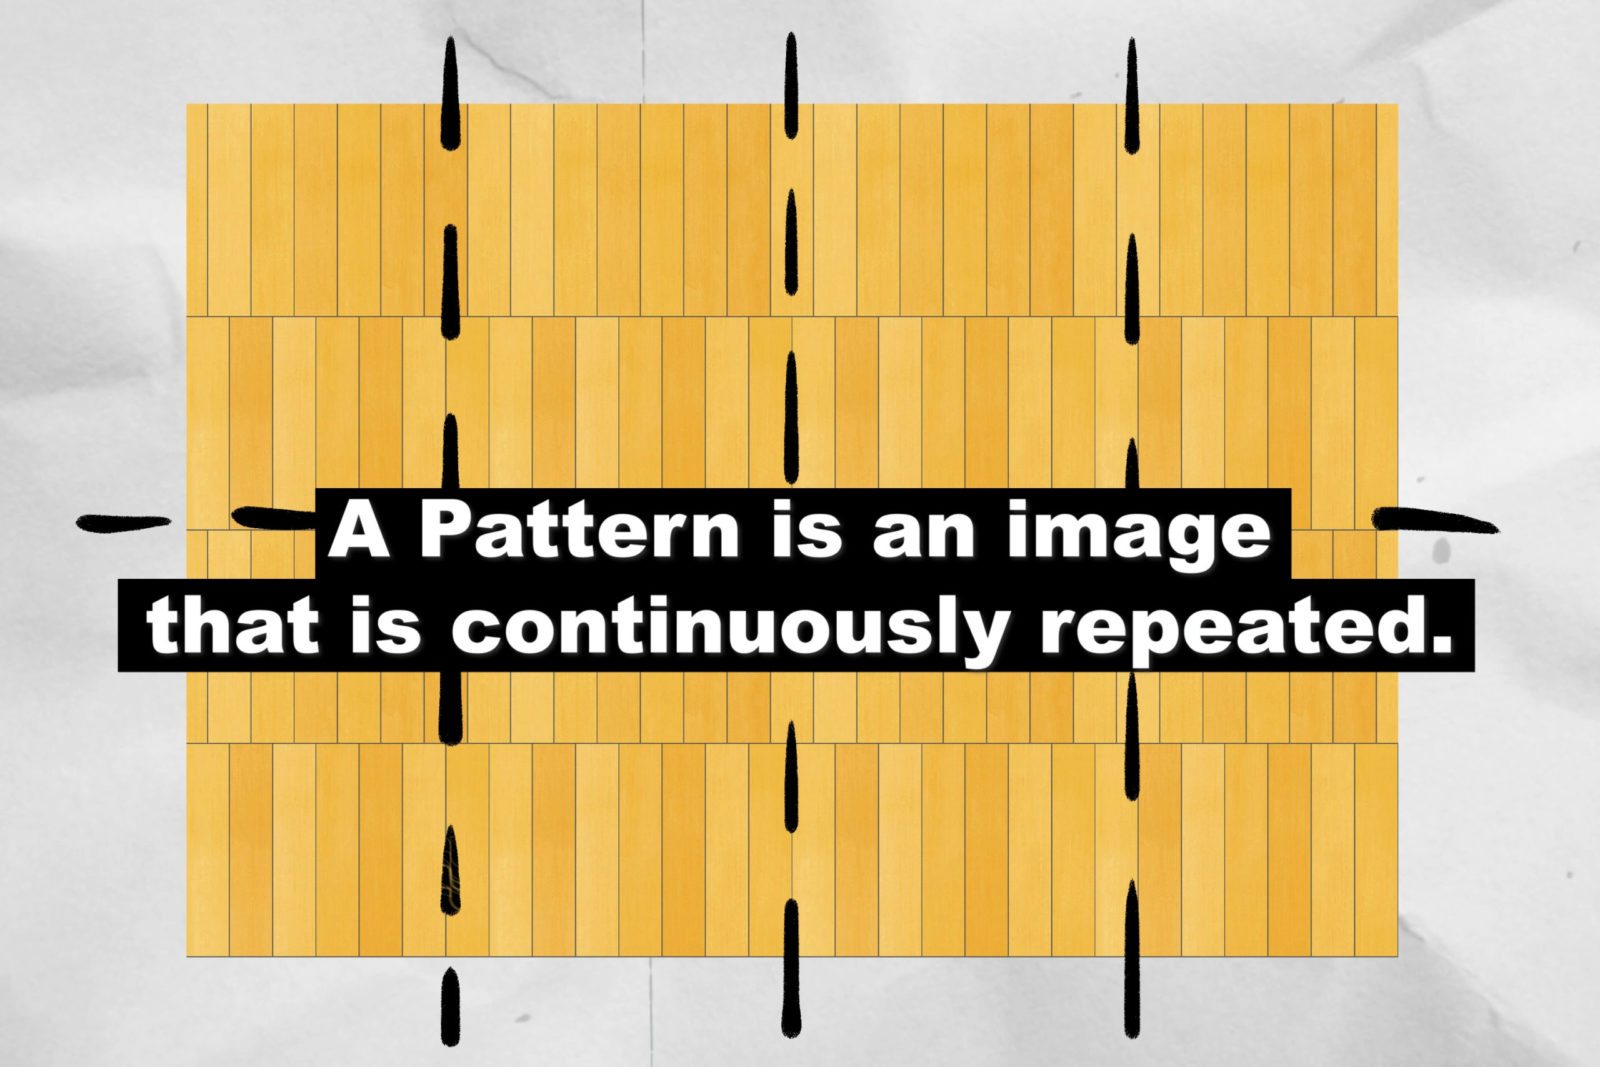
What is a Pattern:
So what is a pattern?
A pattern is an image that is continuously repeated.
Where to Find Patterns:
Various resources are available online.

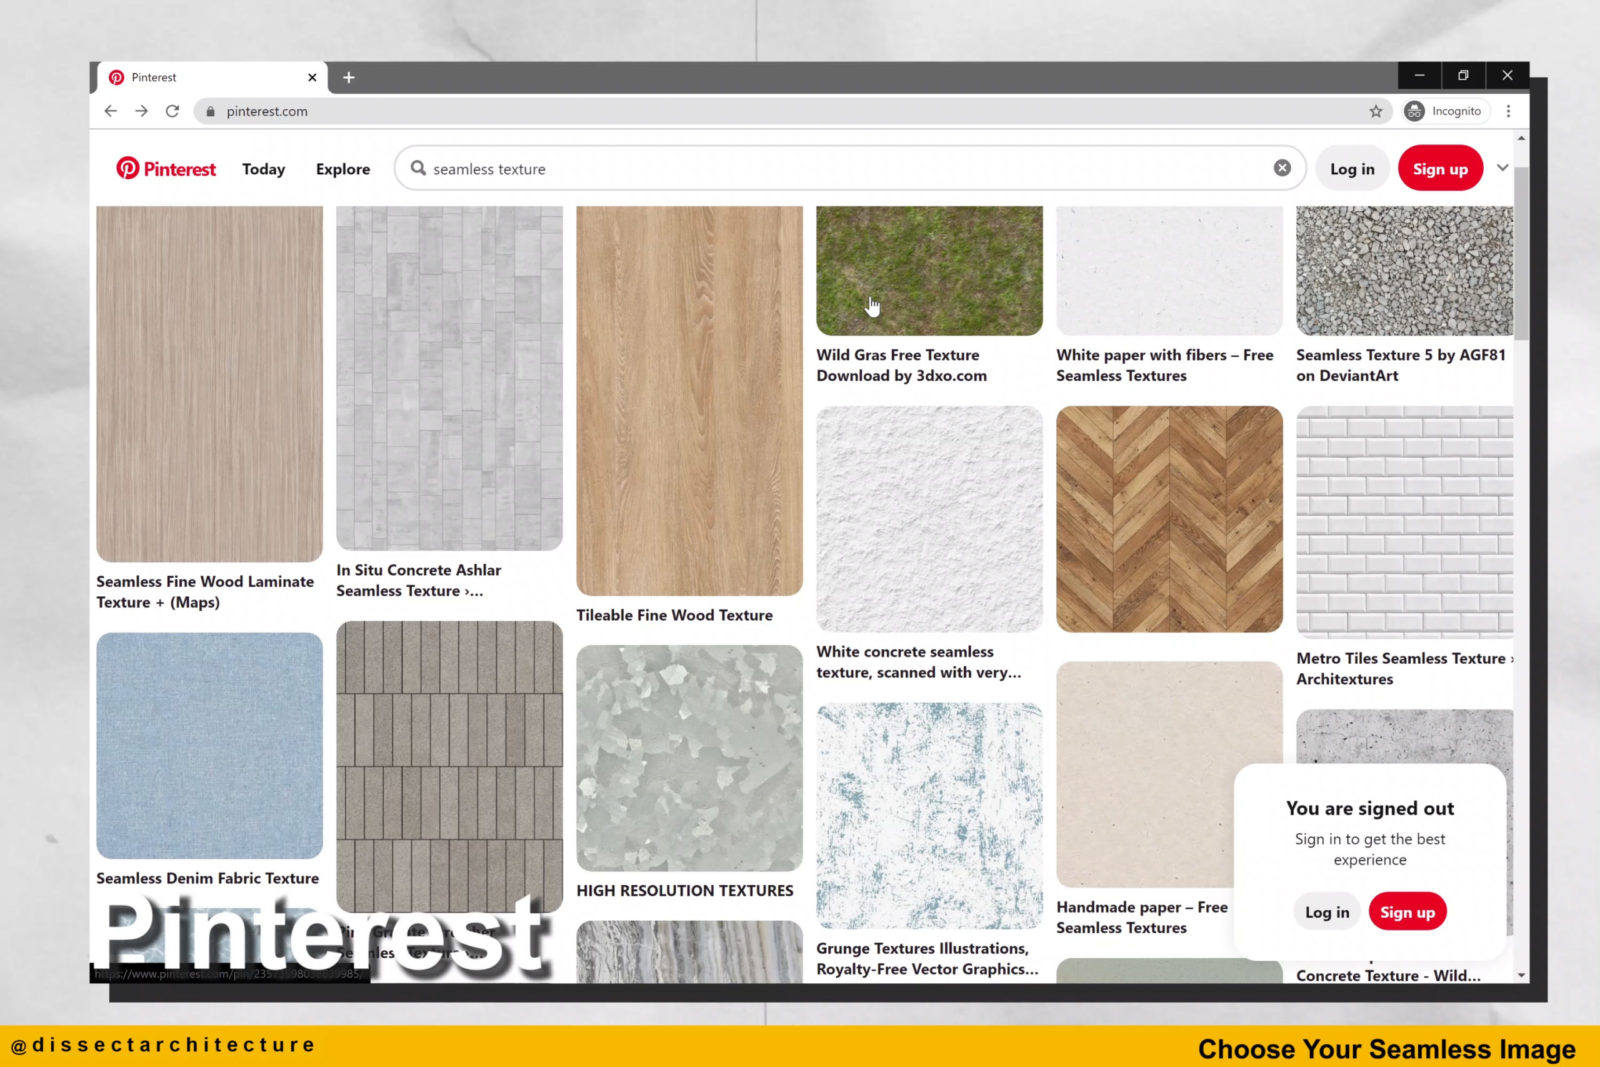

Pinterest:
Pinterest is an image sharing service that allows designer to discover information and images in the form of pinboards. Here you will find thousands of patterns available for download.

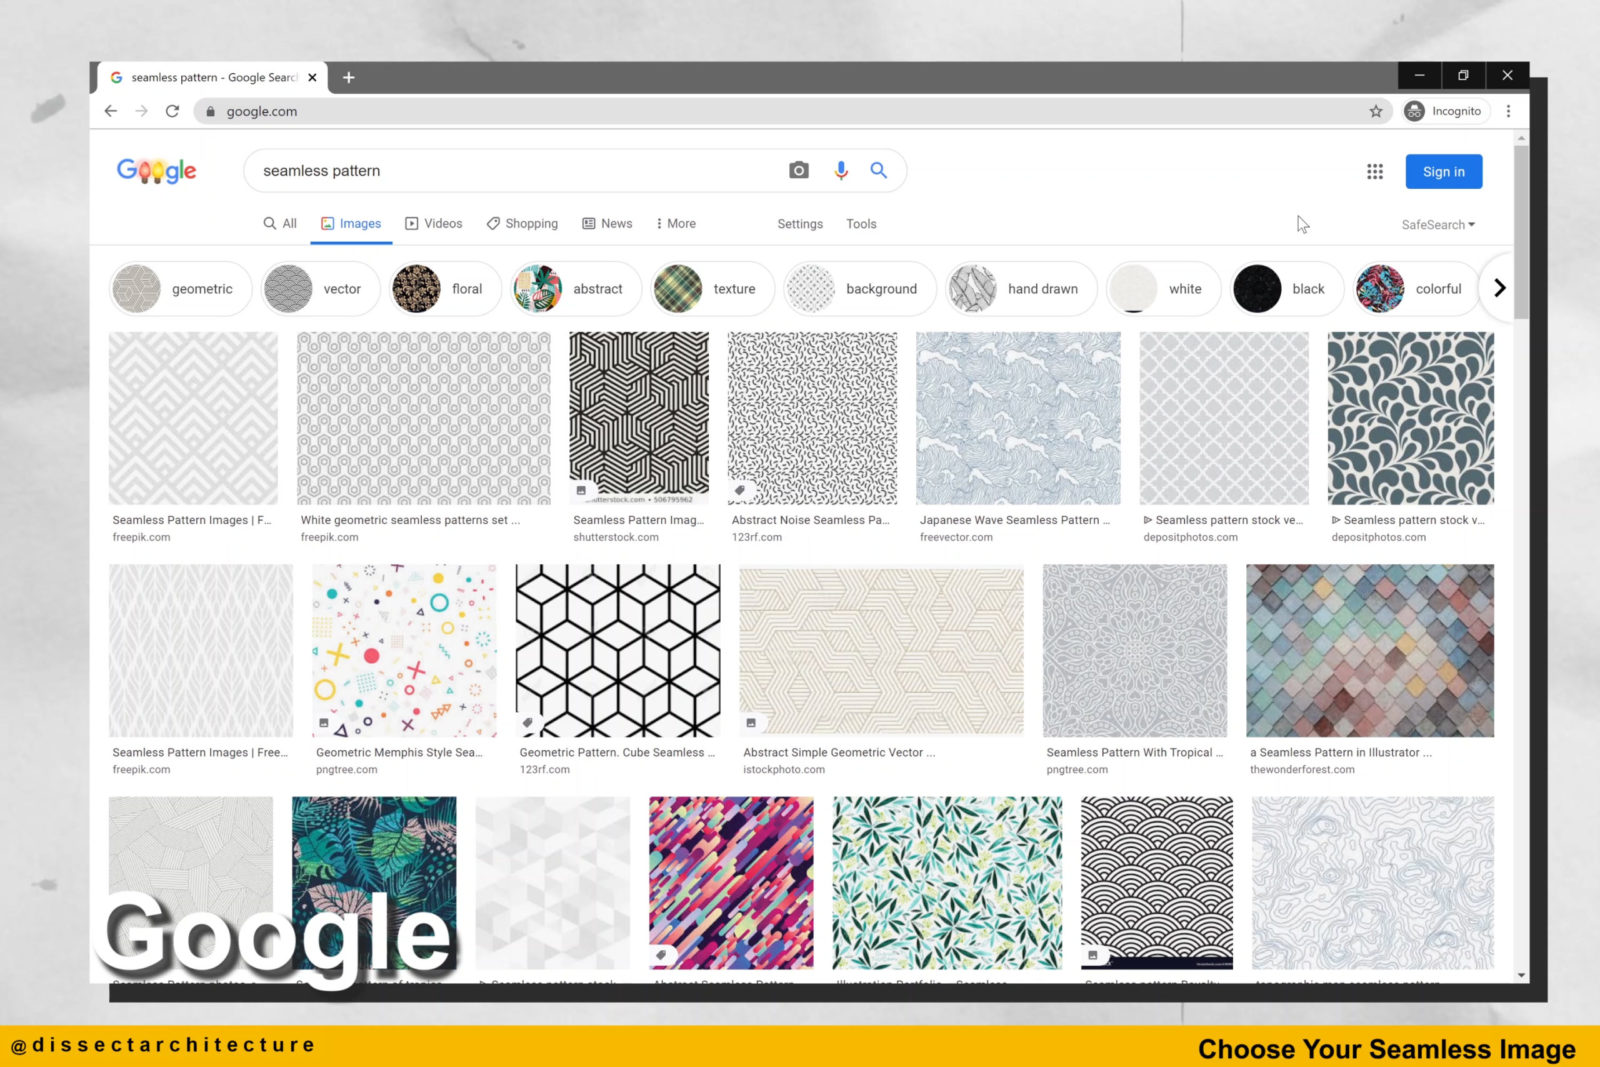
Google Images:
Google Images allows you to quickly find different patterns and possibly other websites that have a pattern database. You can quickly and easily download an image.

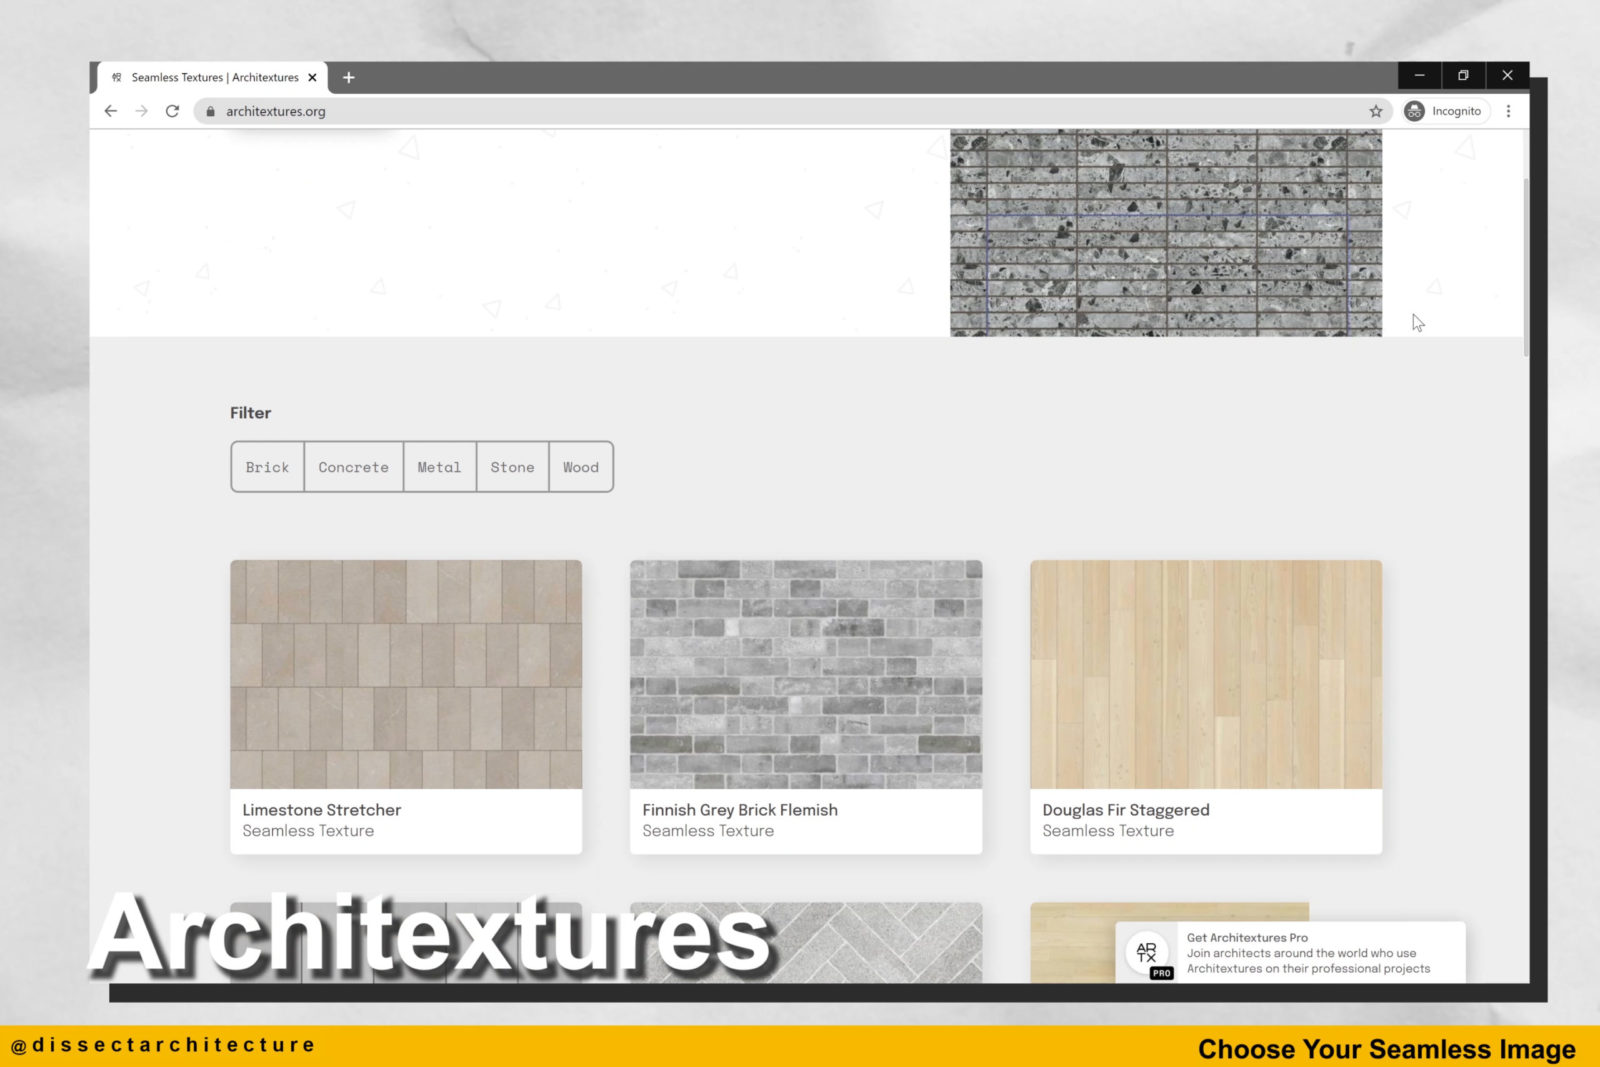
Architextures.org:
Architextures.org is a material library created for architects and designers. It was developed by architect Ryan Canning. What is great about this platform is that the patterns are seamless and can easily be used by all skill levels.
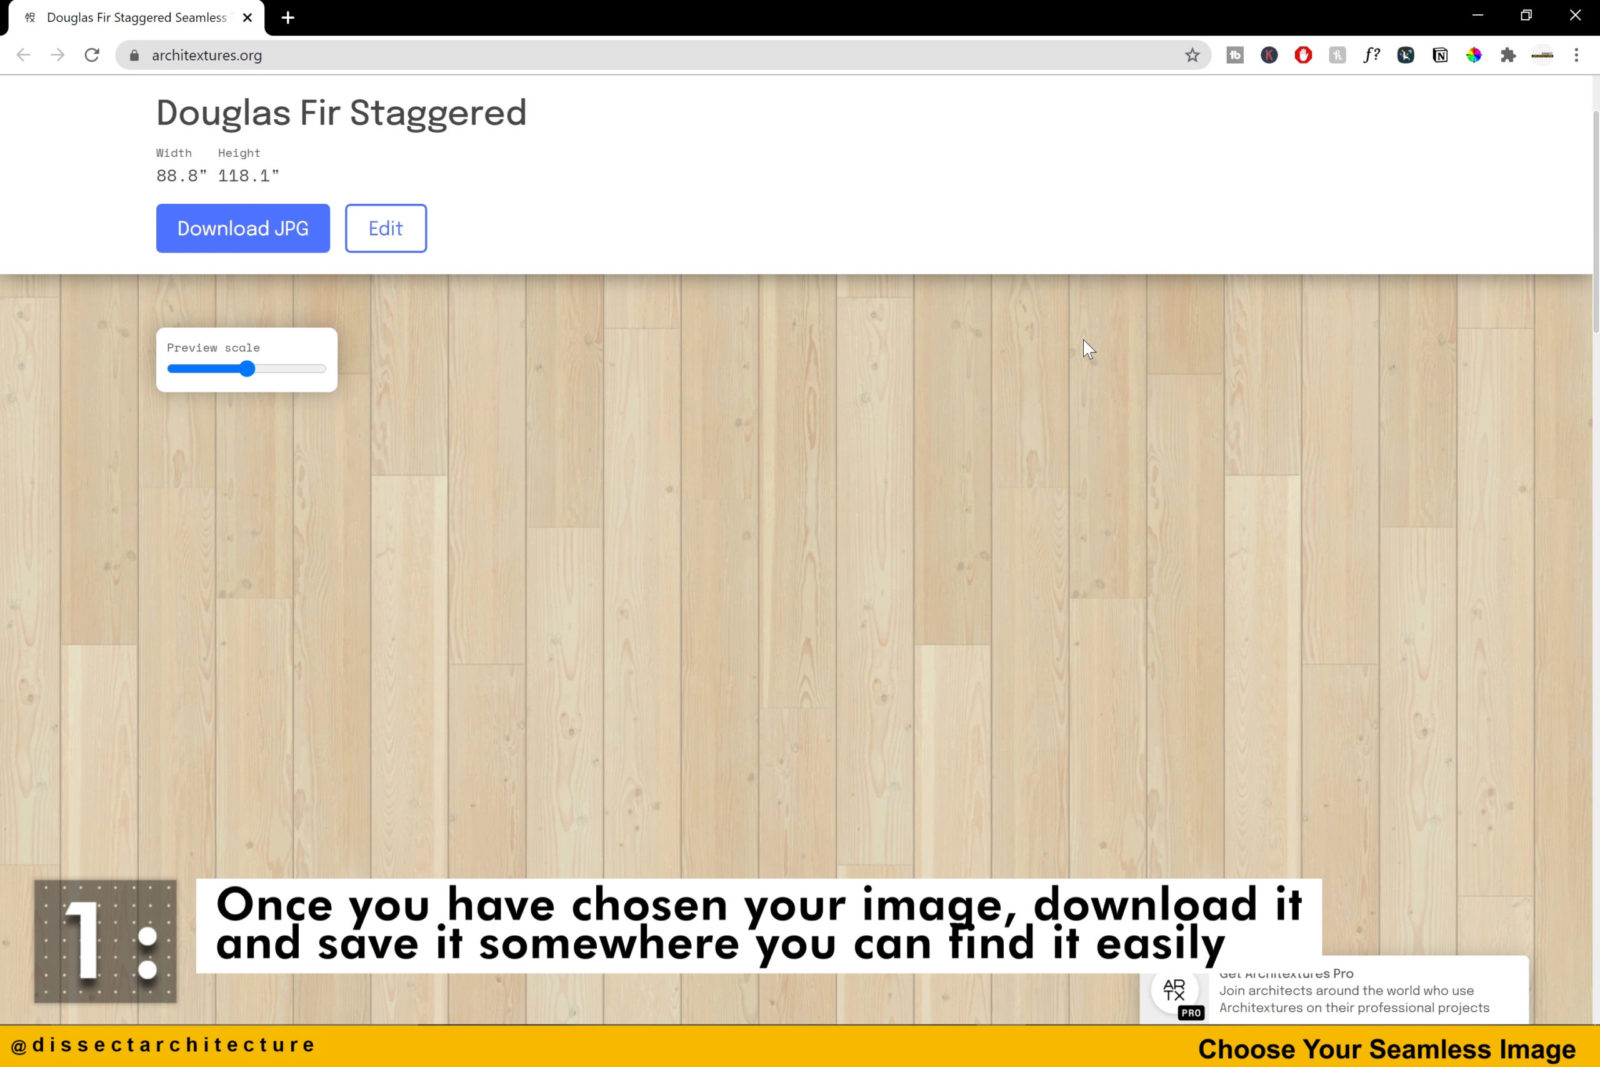
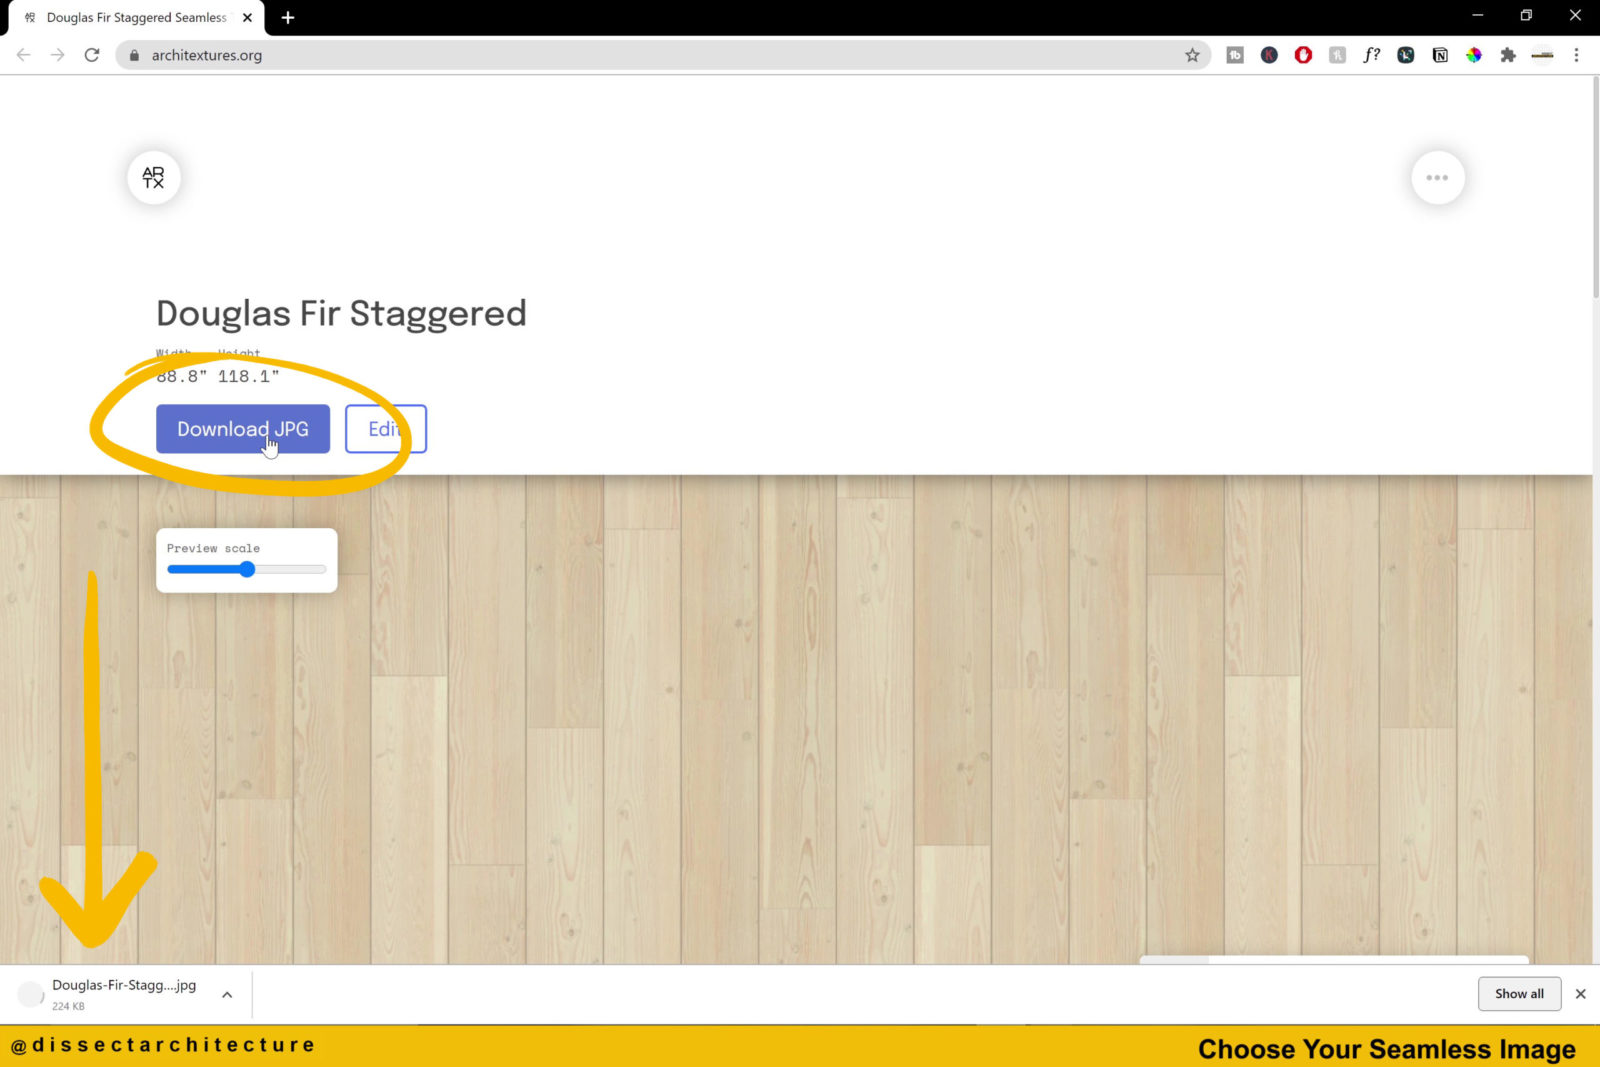
Step 01
Start by downloading a pattern image of your choice. Here I am on the Architextures website. The material I am downloading is a Douglas Fir texture that we will later use to quickly fill the floor of a plan. Architextures also provides with you with information about the pattern you are about to download.
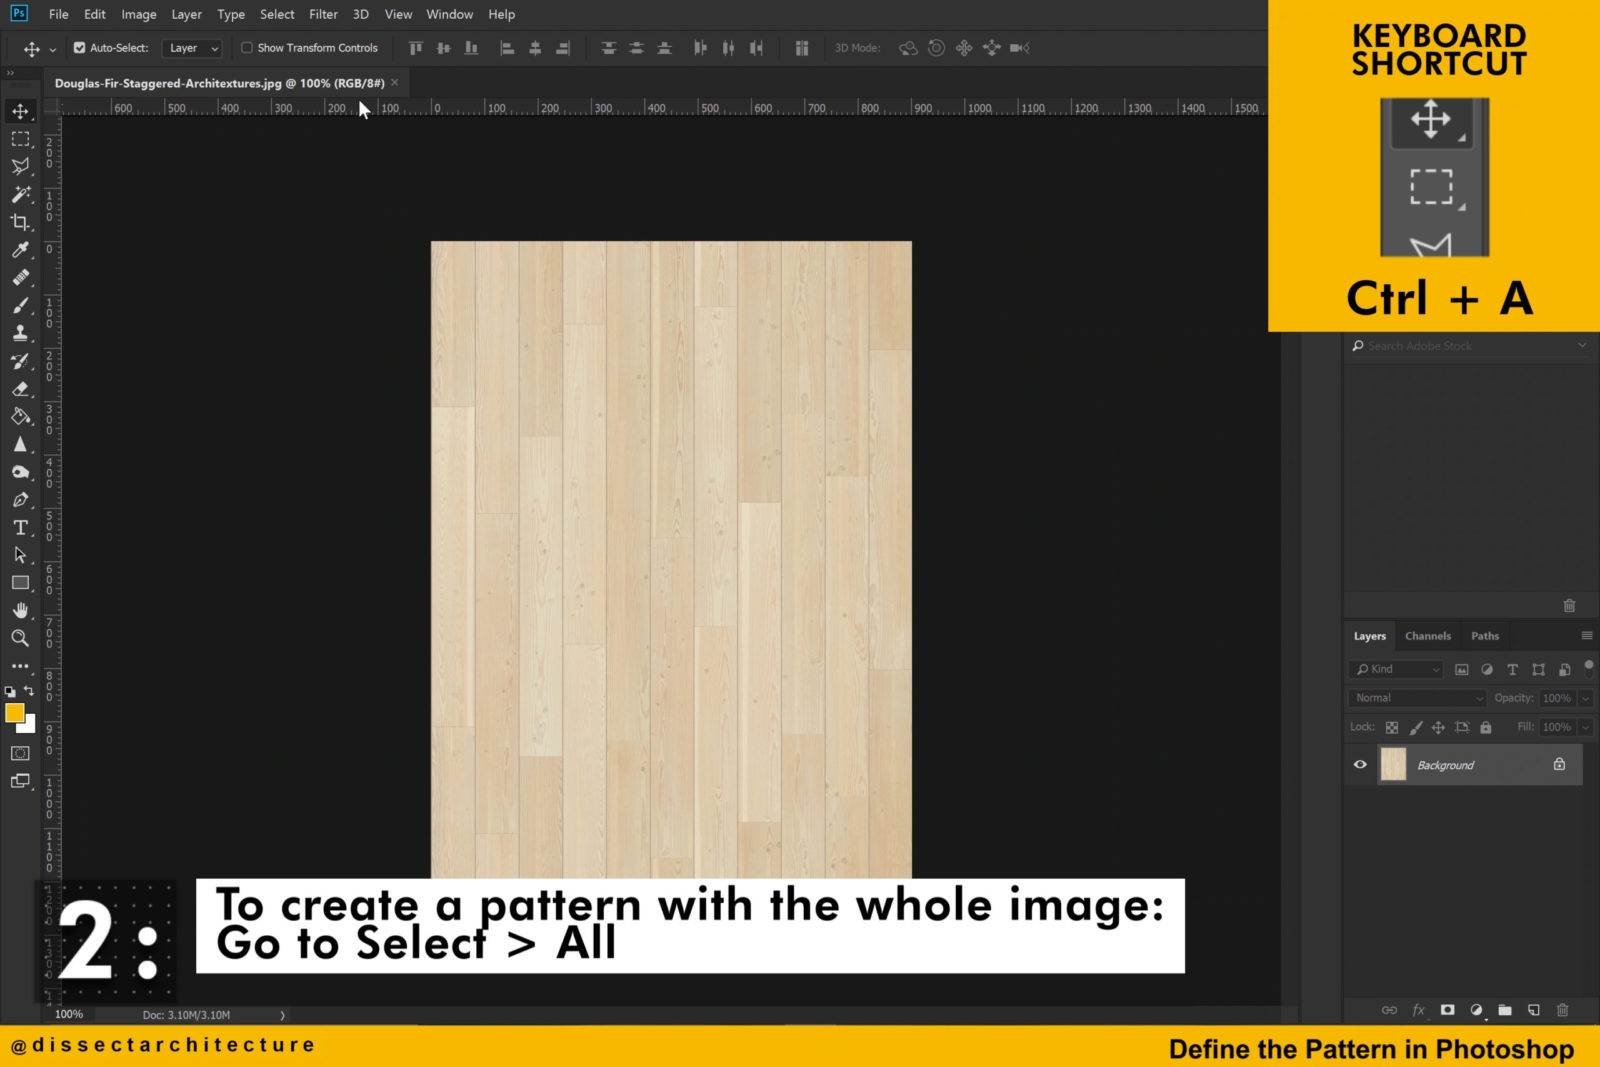
Step 02
Let’s jump into Photoshop to transform the texture into a pattern.
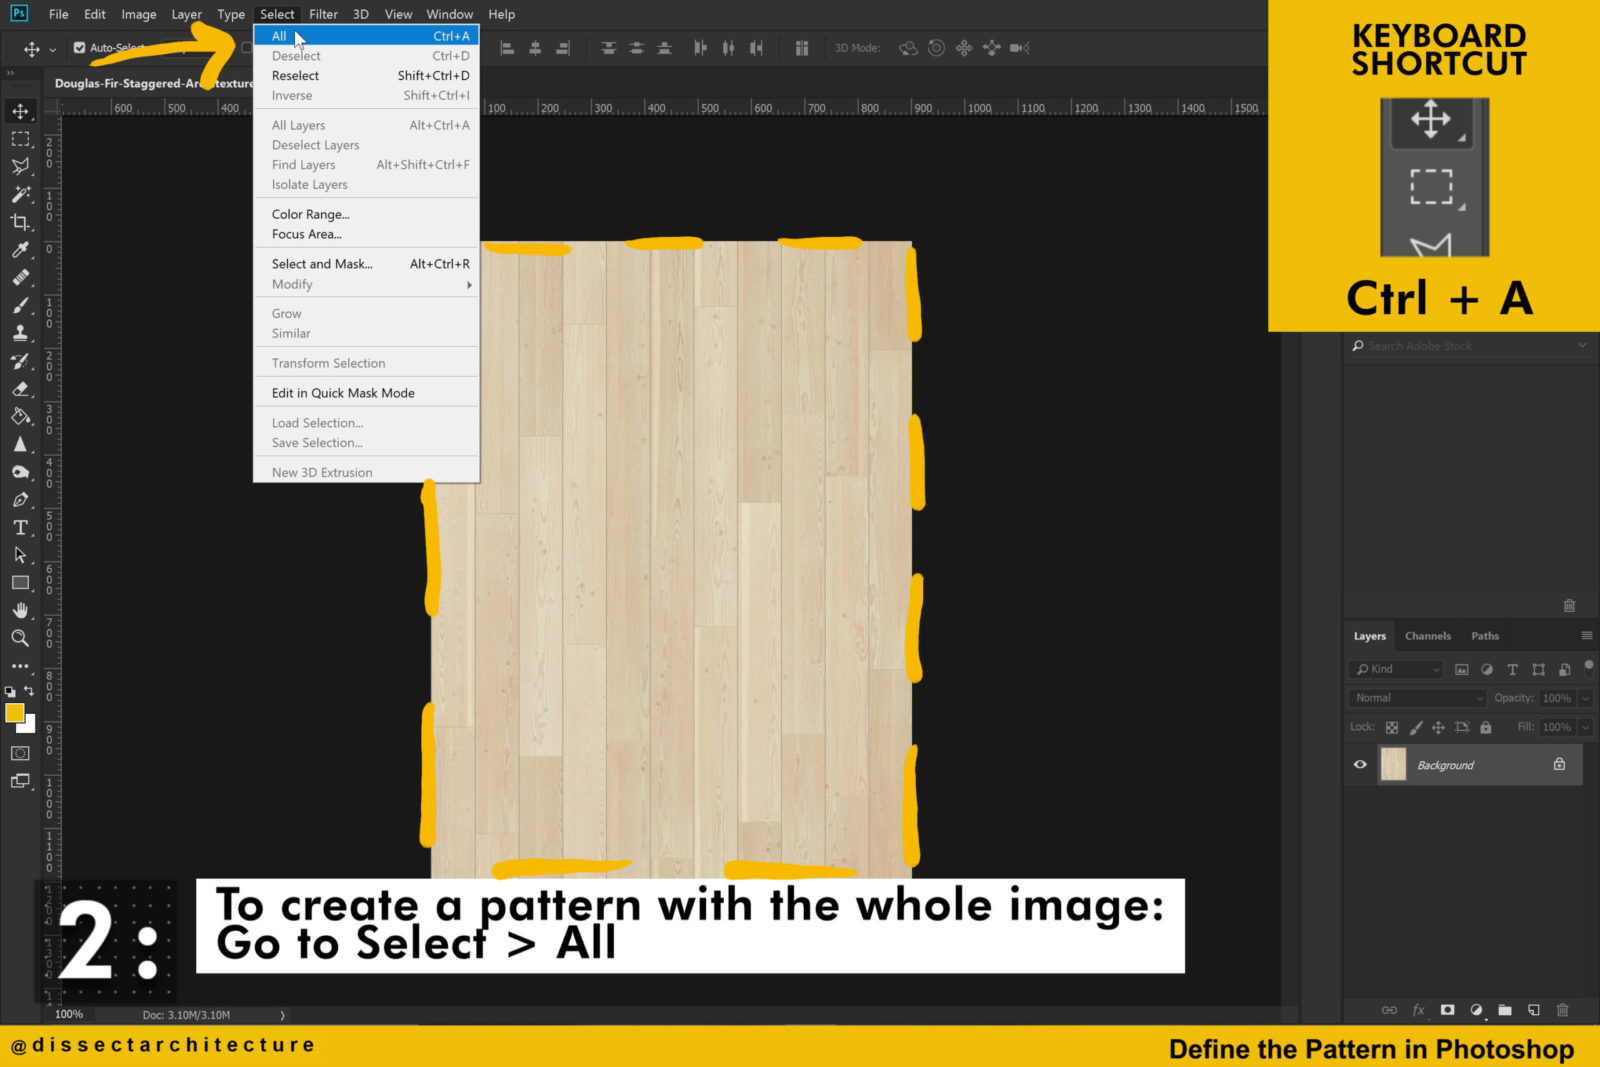
If you’d like to create a pattern with the whole image go to the Select Menu and click on All.
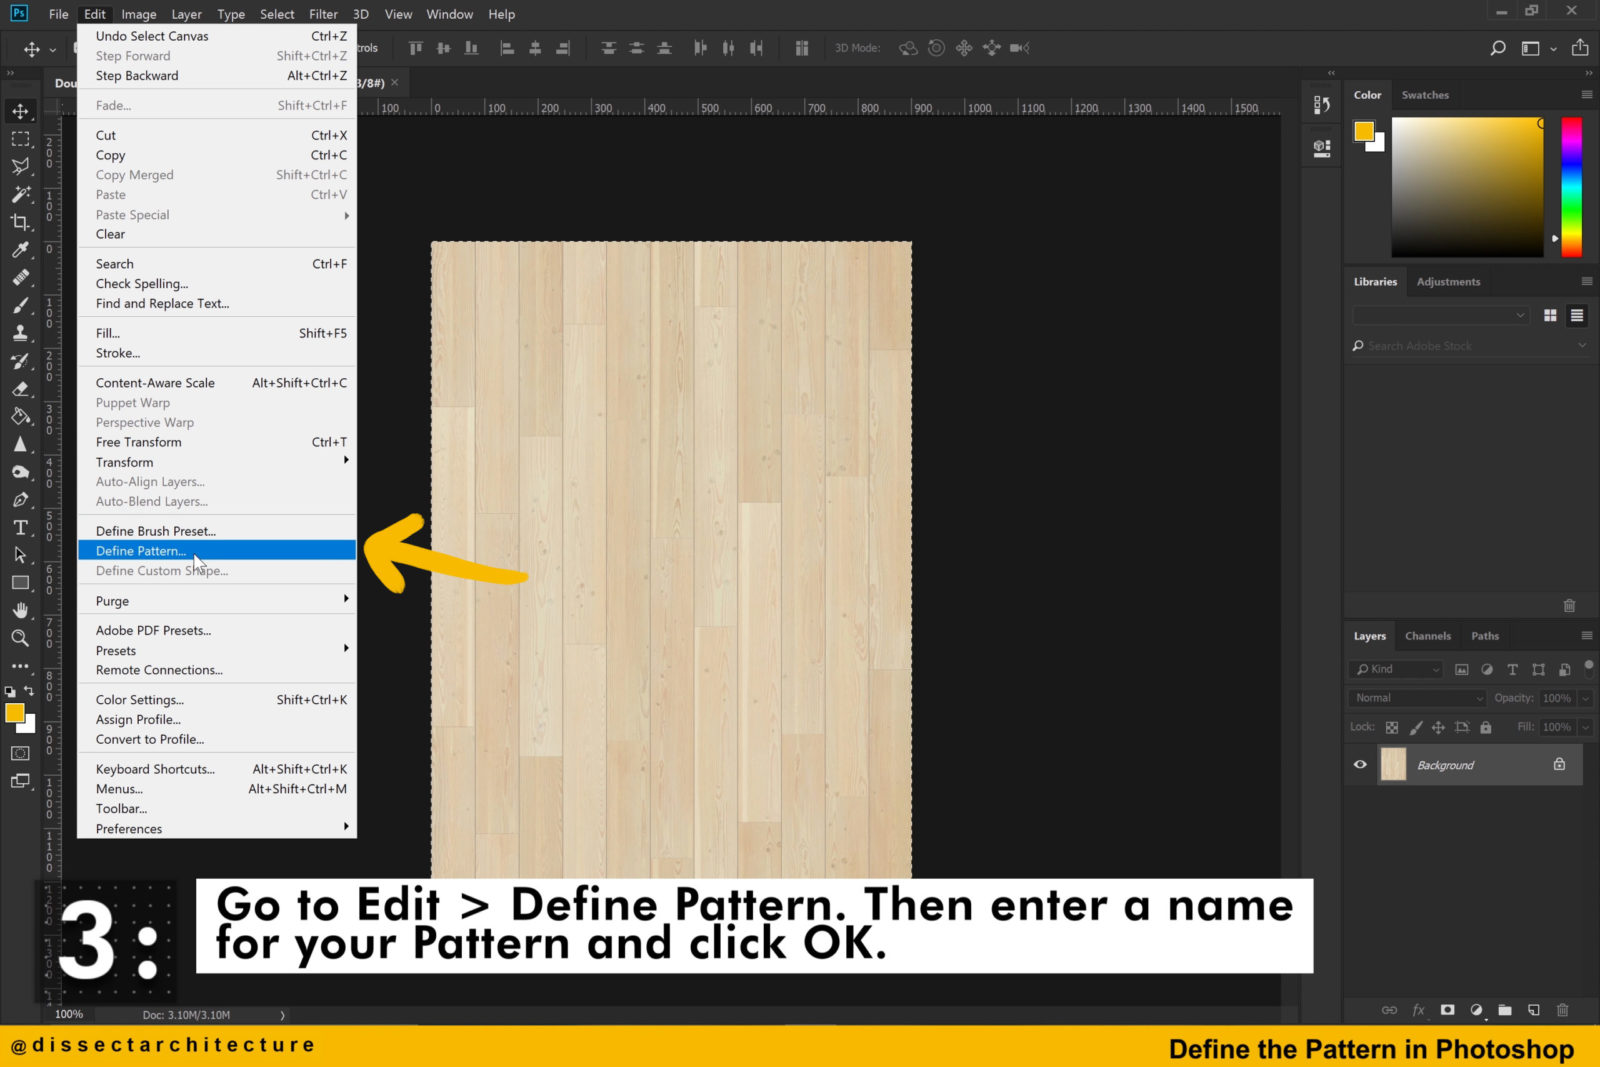
Step 03
Then go to the Edit Menu and click on Define Pattern.
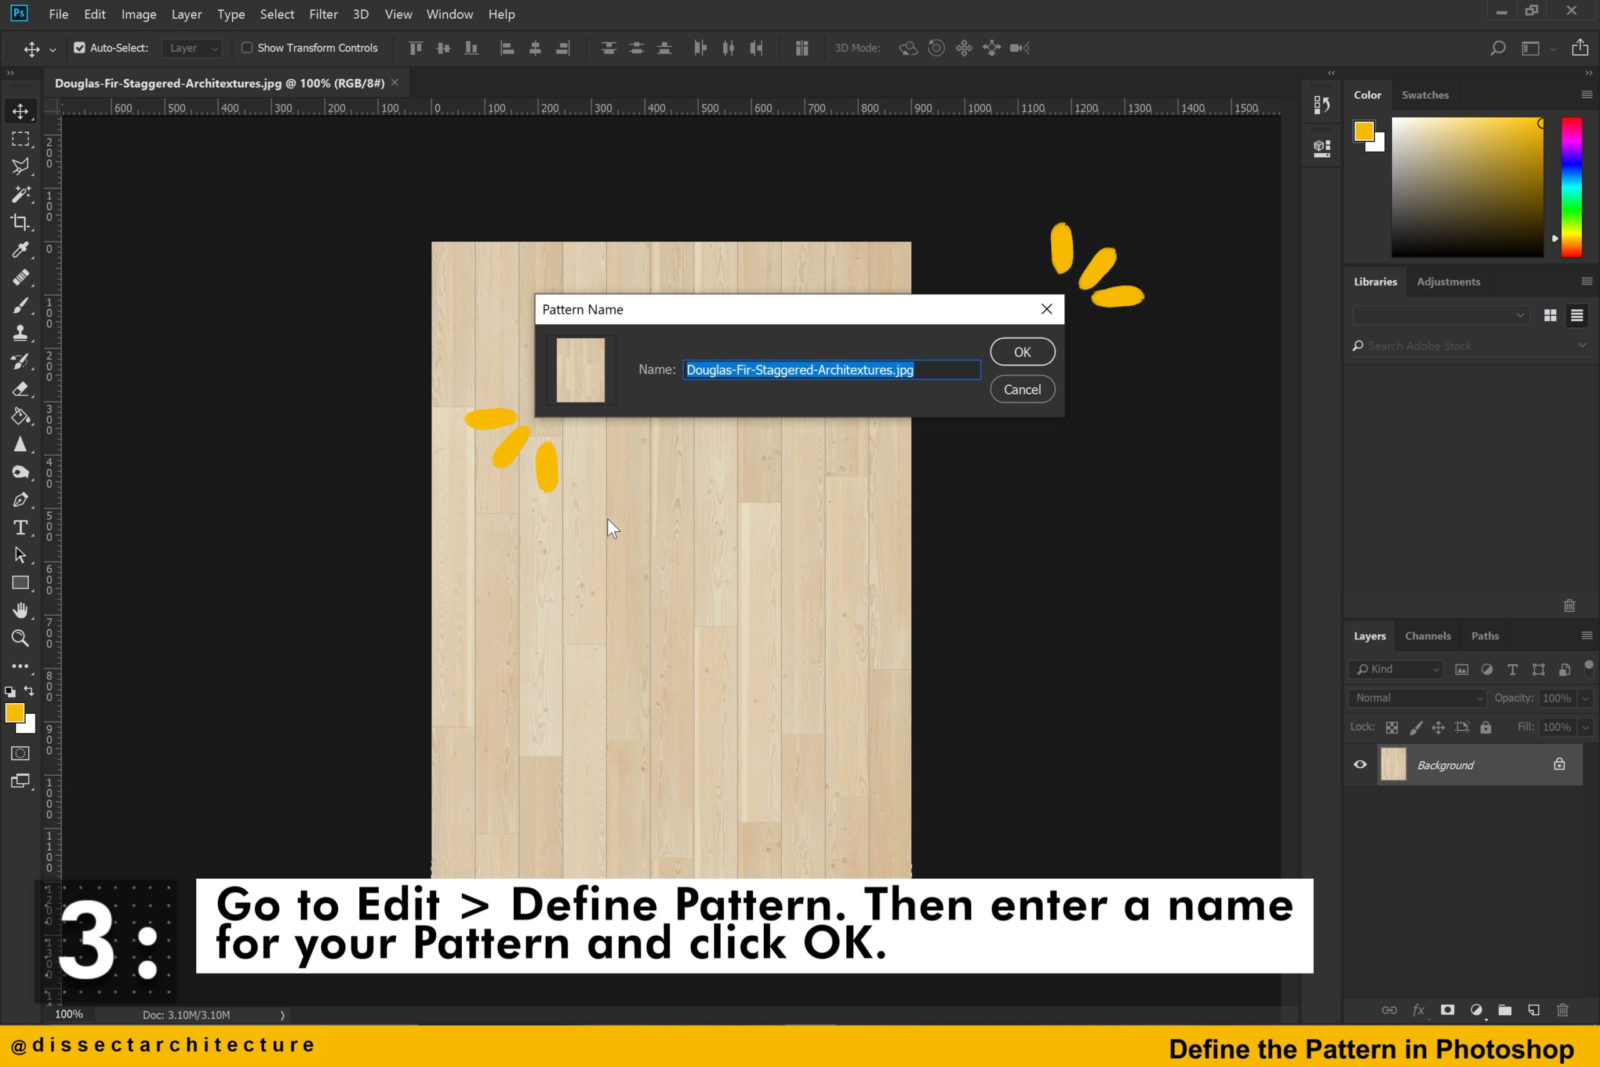
You will see a pop-up screen that will prompt you to enter a name for the pattern being created. Give your pattern a name and then hit OK.
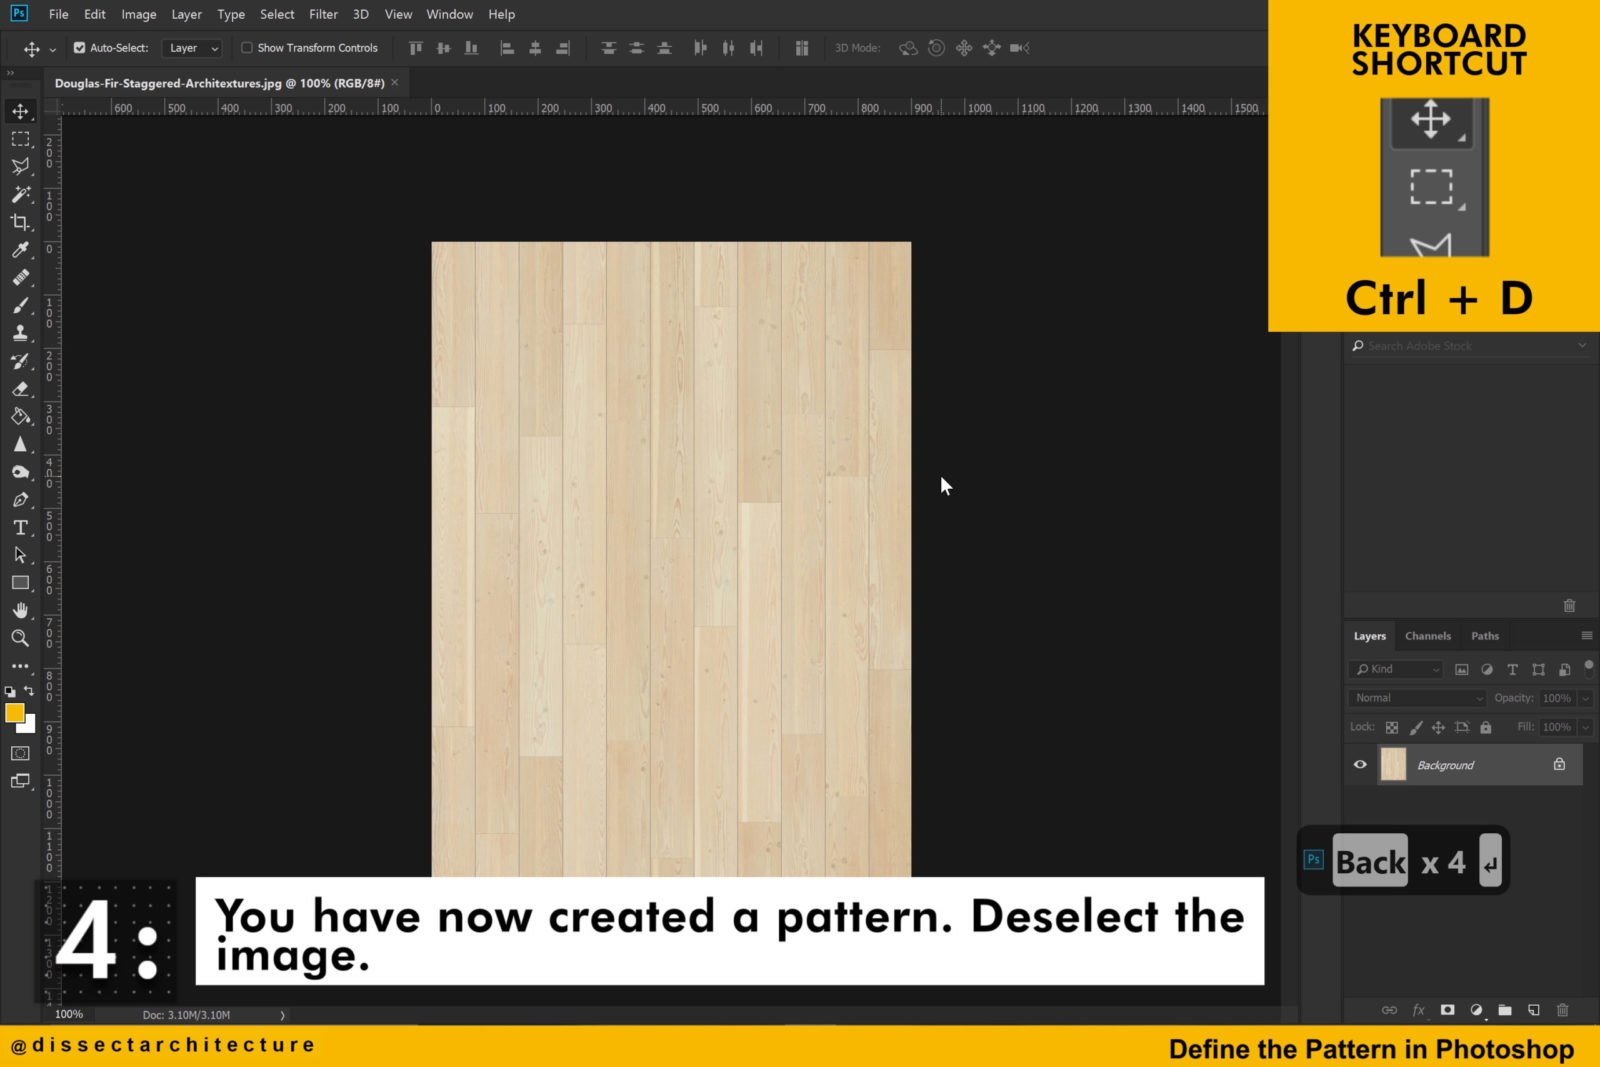
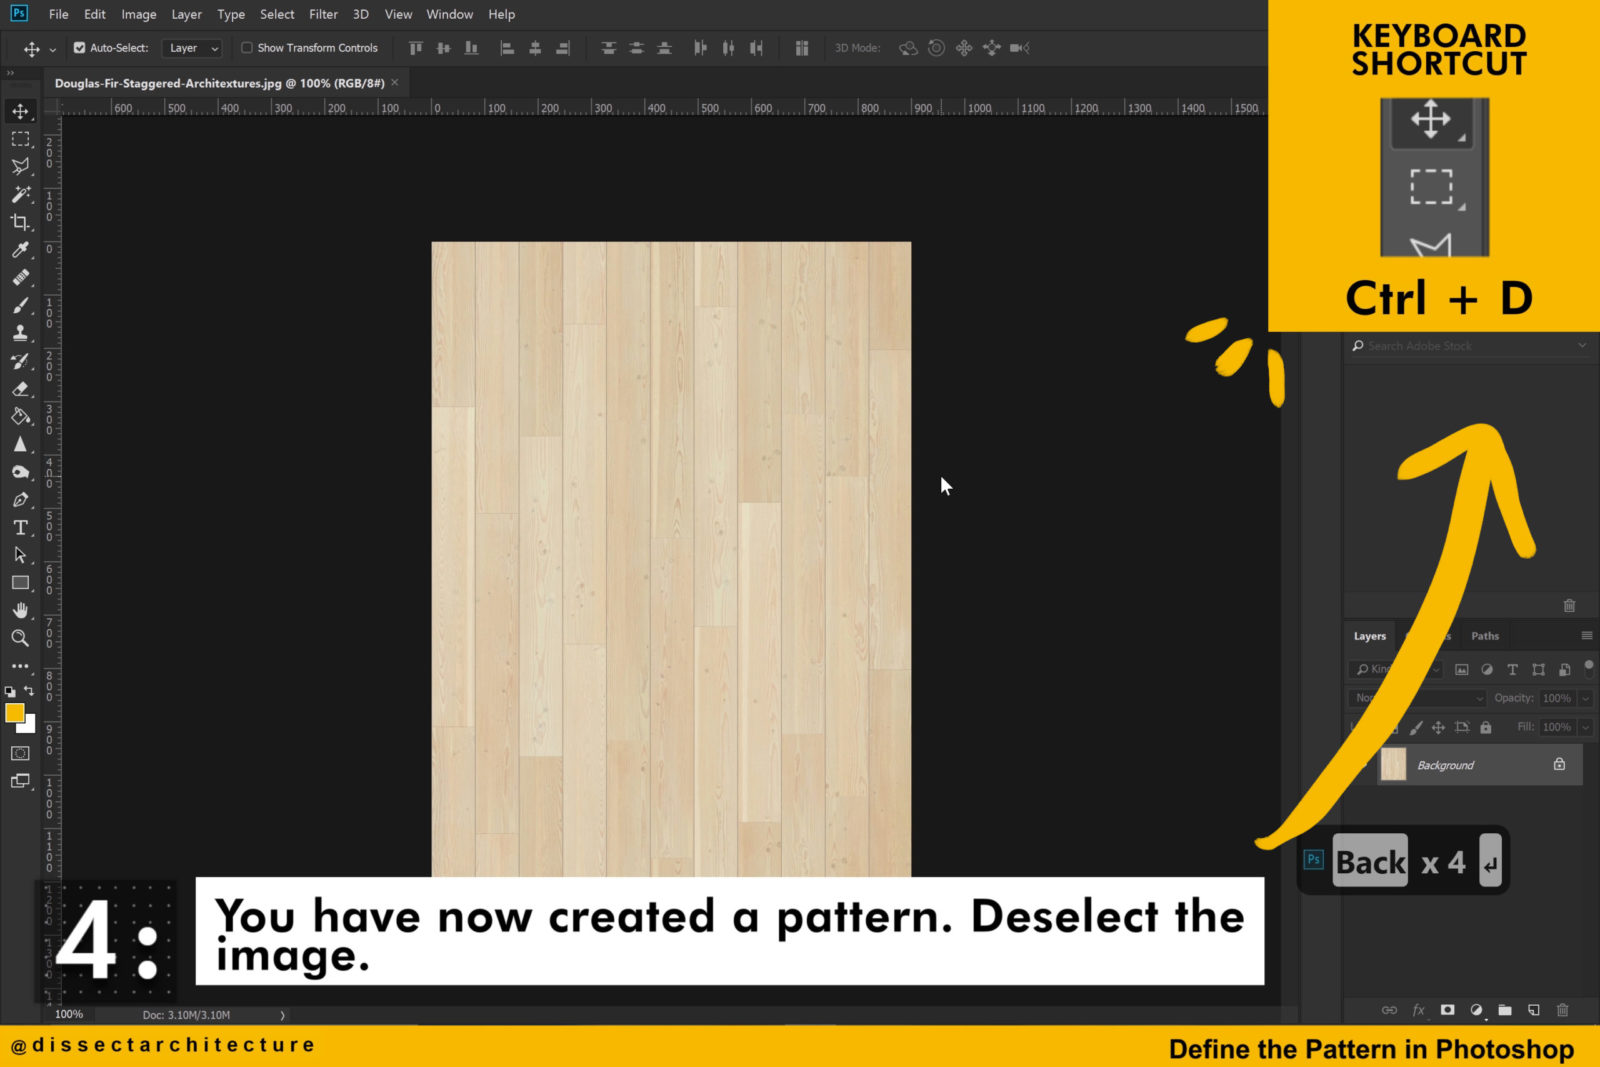
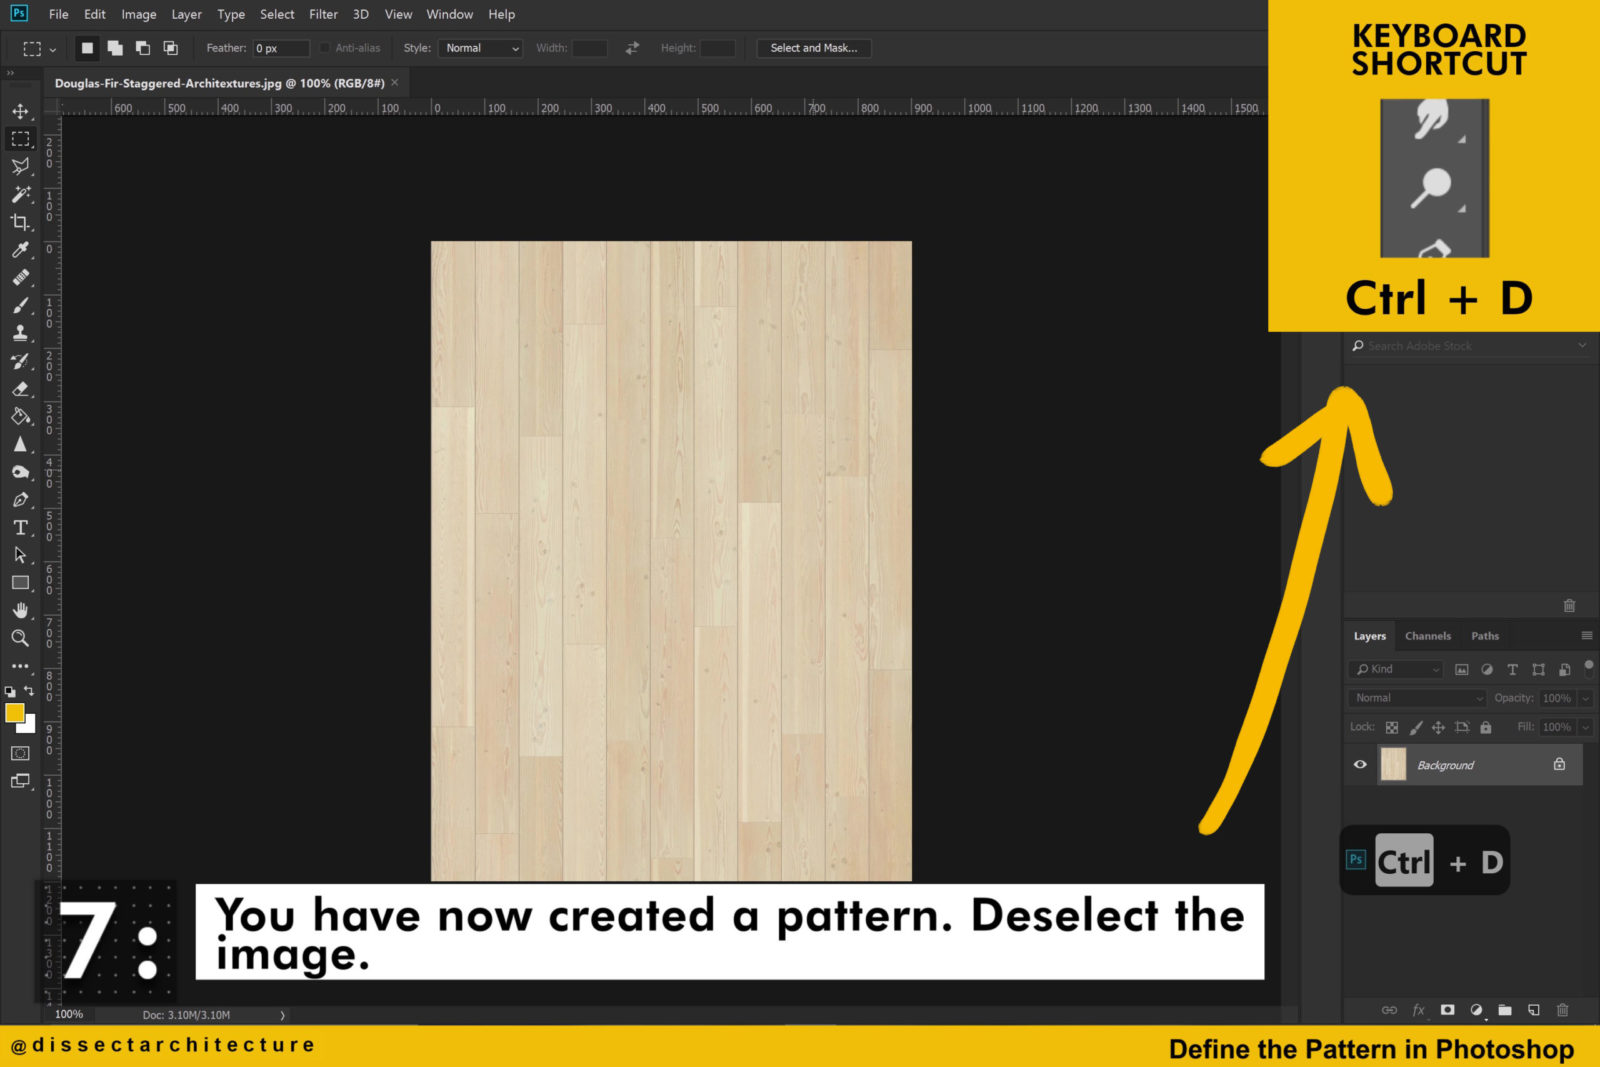
Step 04
You have now created a pattern!
Deselect the image by using the CTRL + D shortcut.
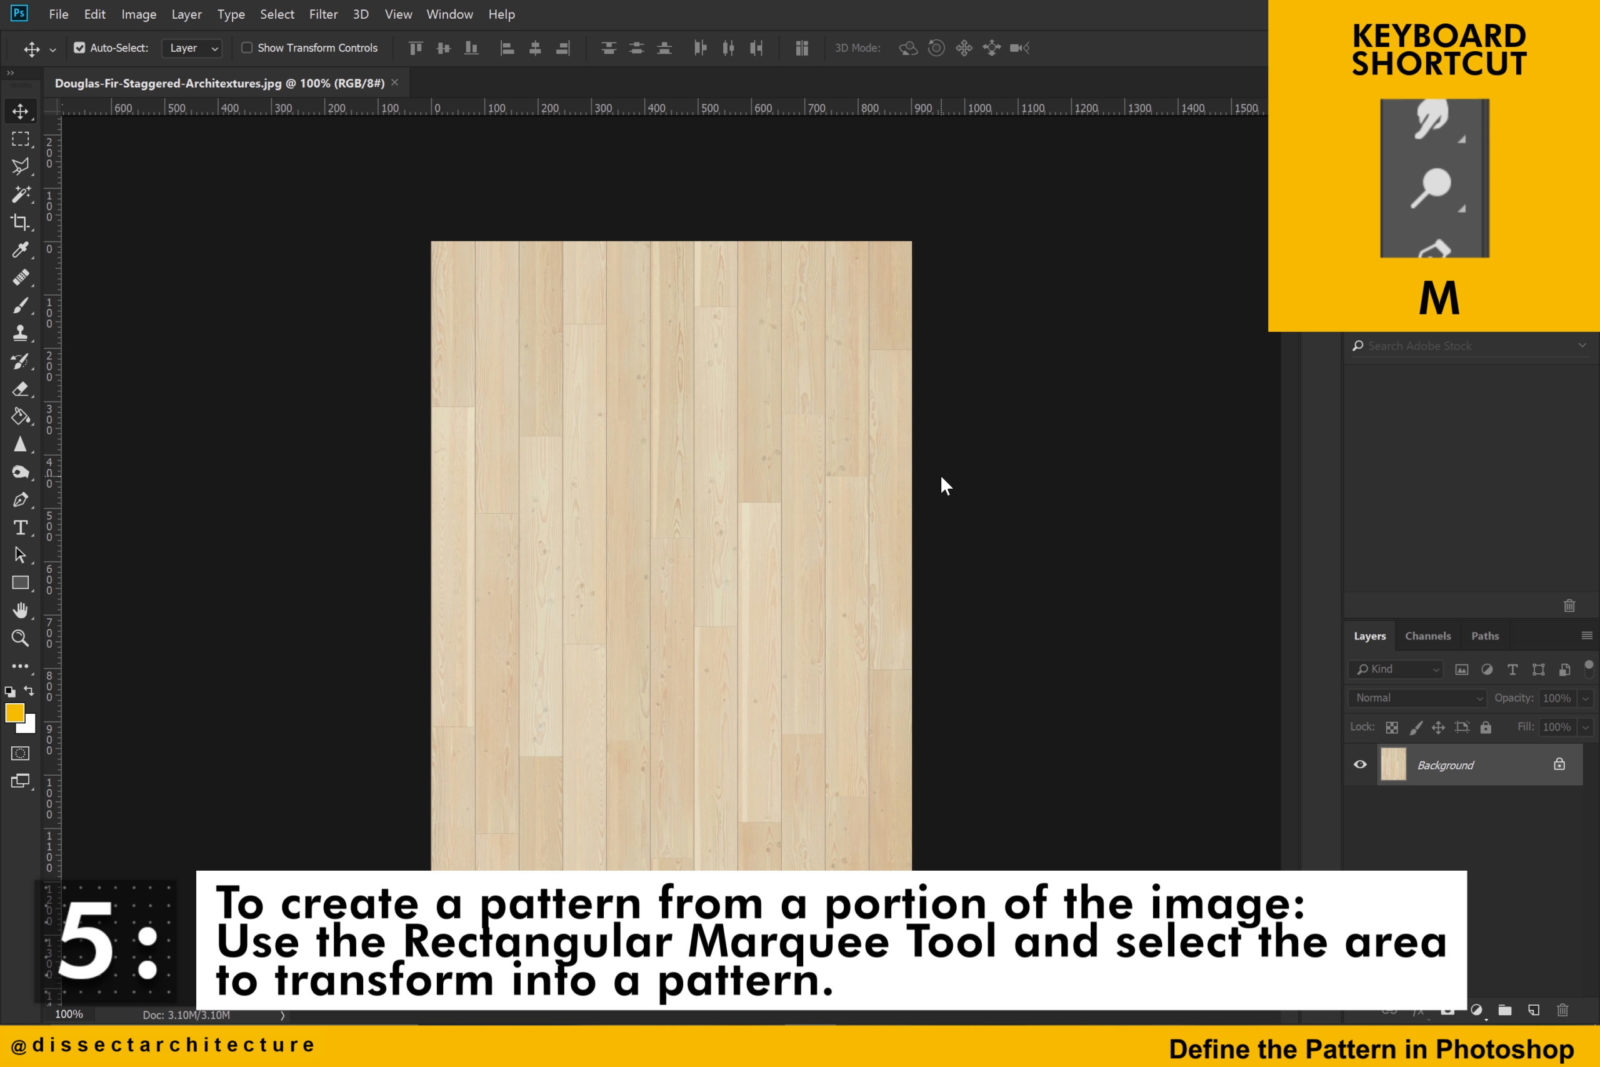
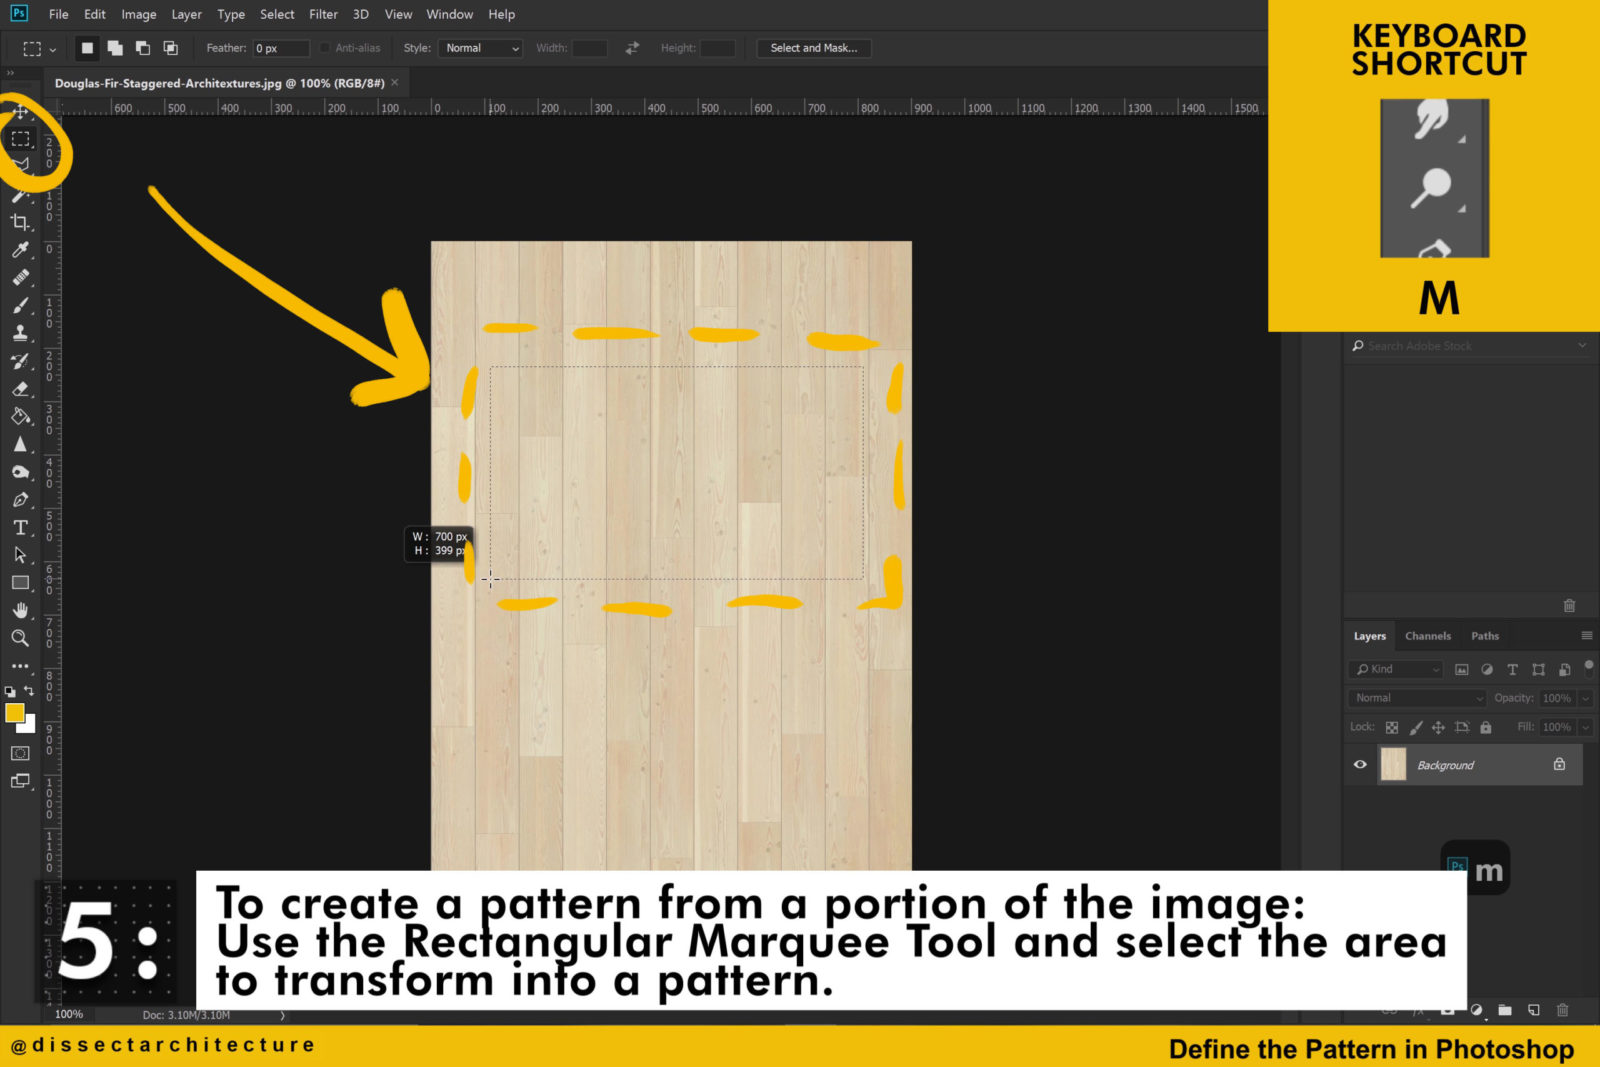
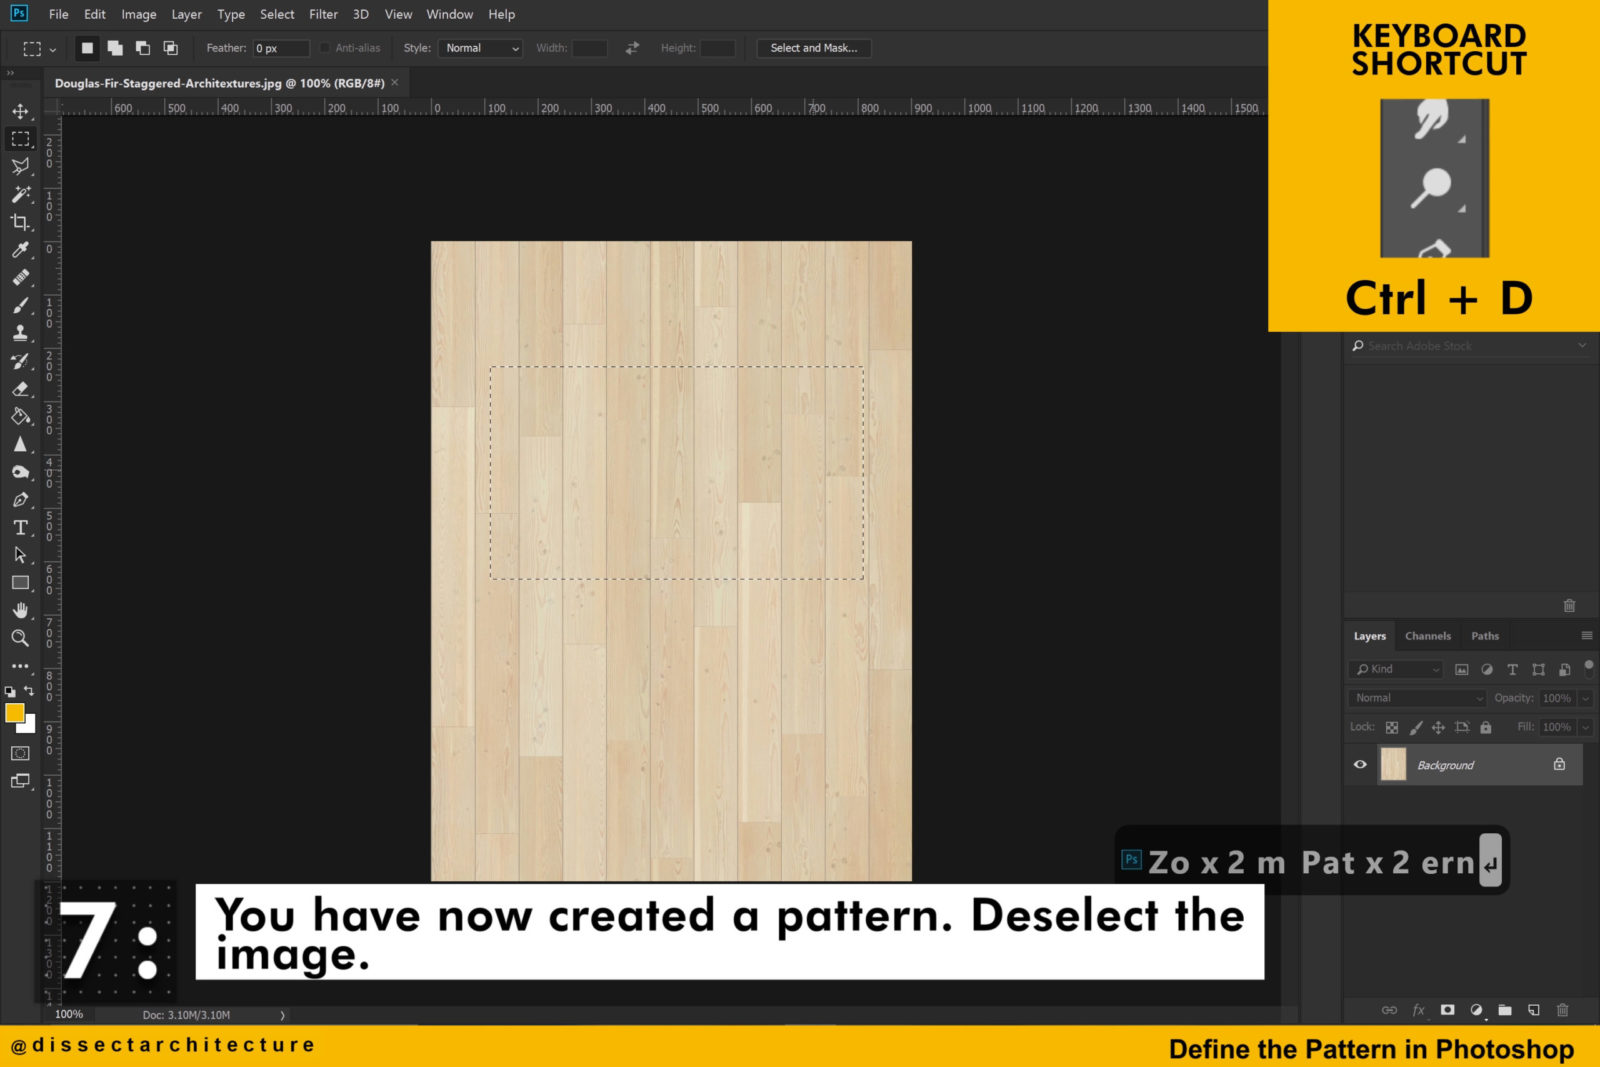
Step 05
If you’d like to create a pattern from only a portion of an image.
First use the Rectangular Marquee Tool to select the area that will be transformed into a pattern.
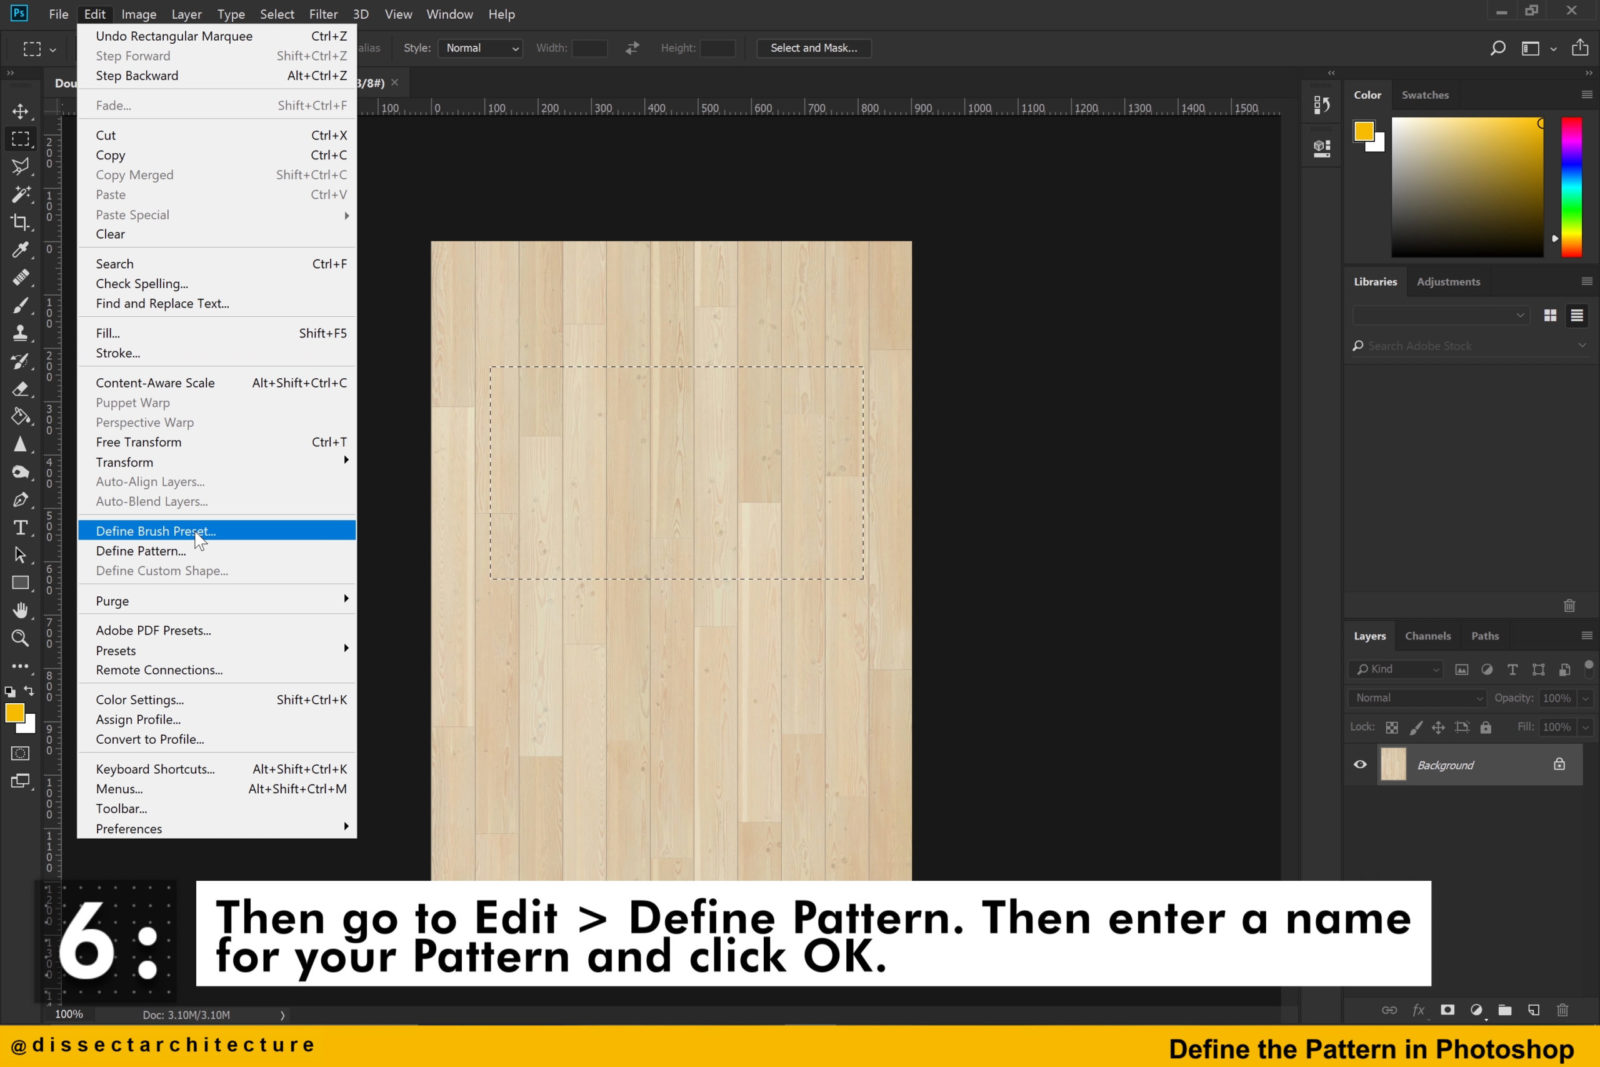
Step 06
Repeat the same steps as before.
Go to the Edit Menu and click on Define Pattern. Enter a name for the pattern being created on the pop-up screen and click OK.

Step 07
You have now created a pattern!
Deselect the image with the CTRL + D shortcut.
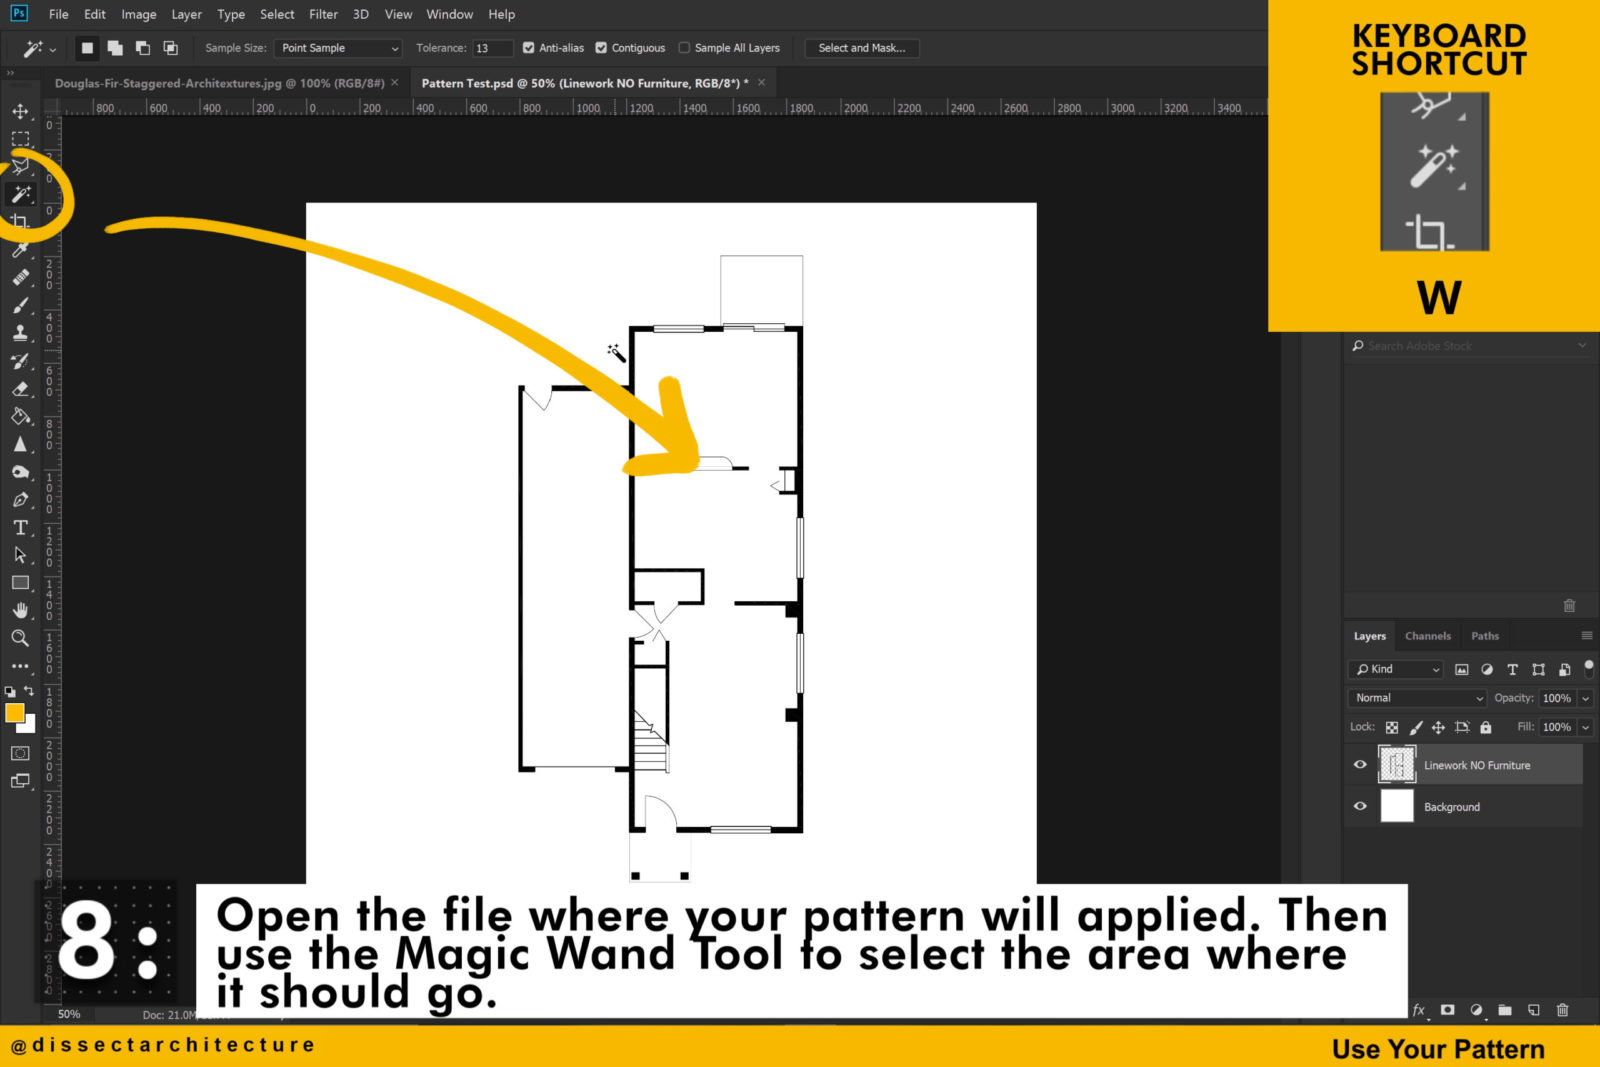
Step 08
Test the pattern by applying it to a different file.
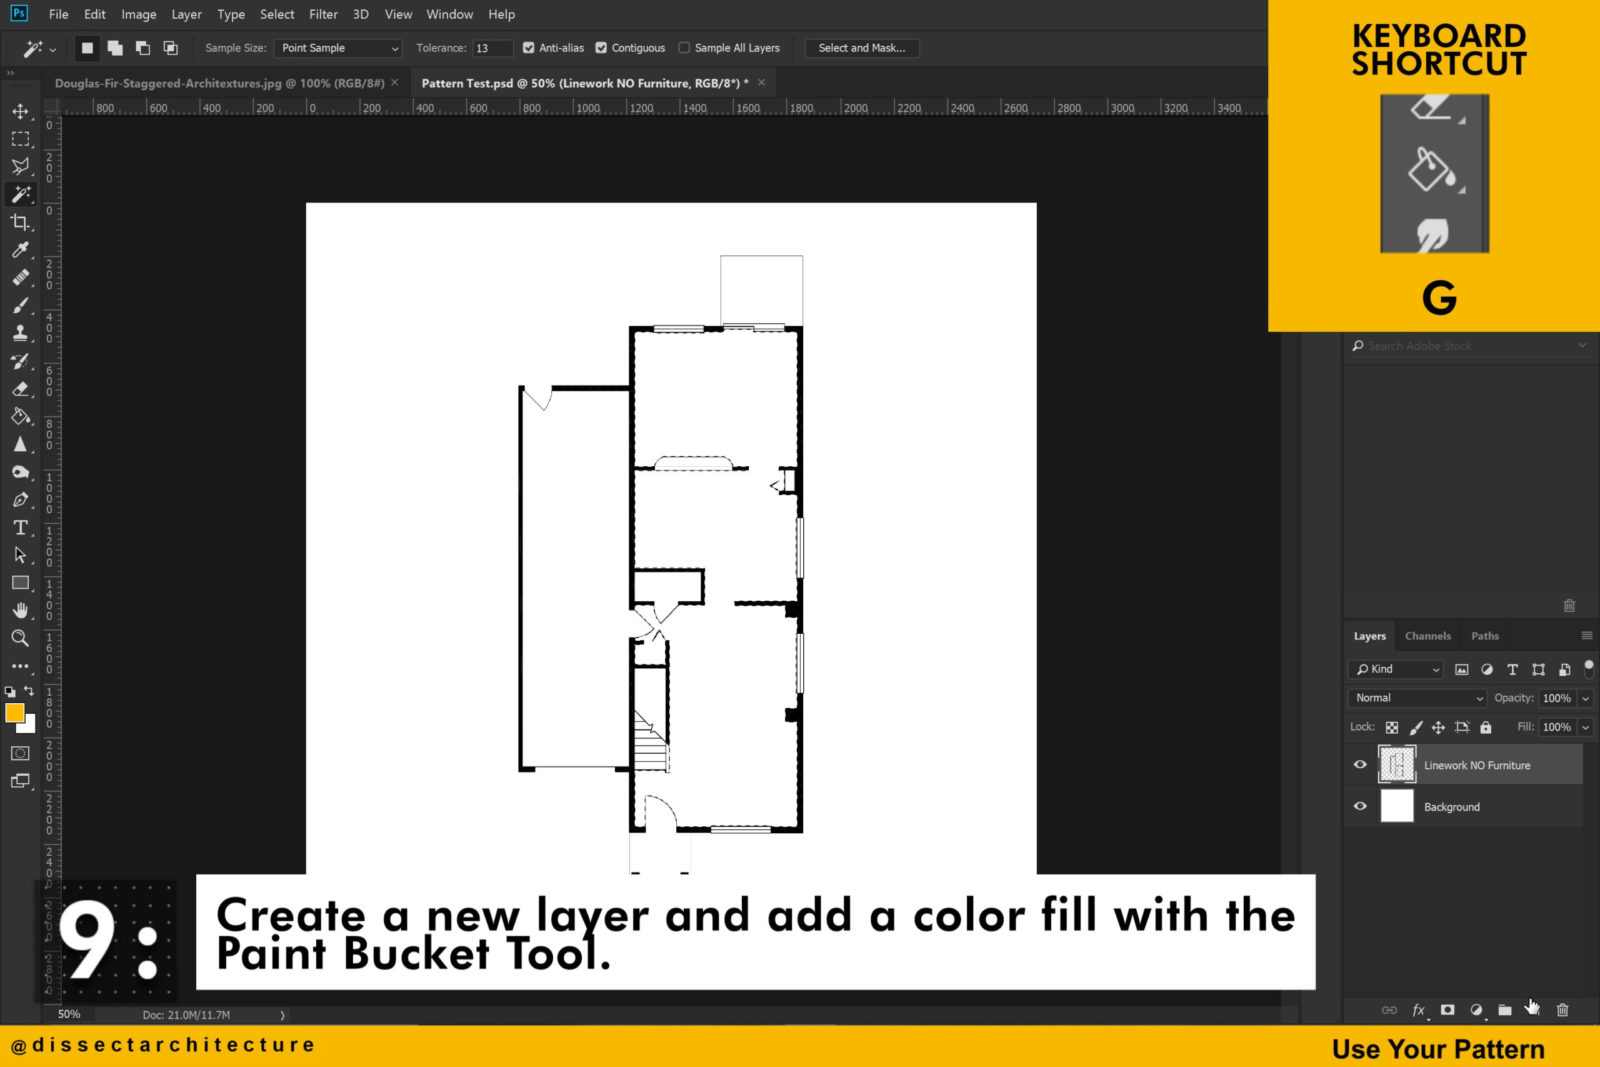
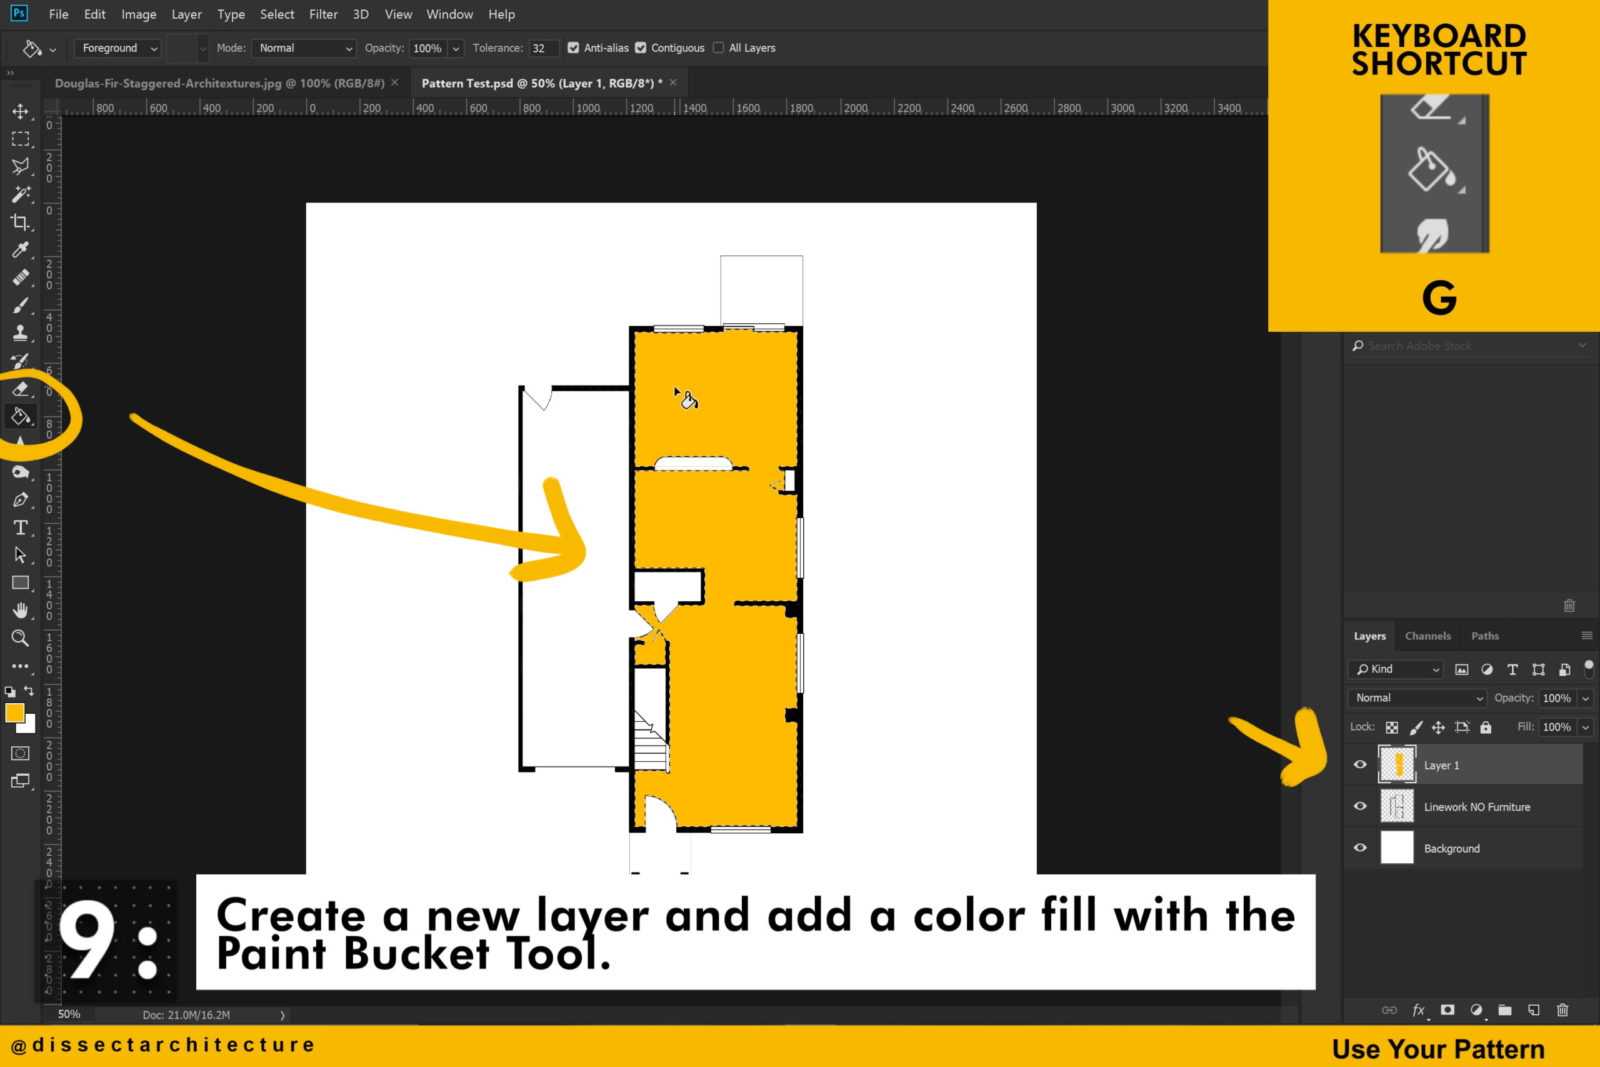
Here I am using the floor plan of a house. Use the Magic Wand Tool to select the area where the pattern will be applied.
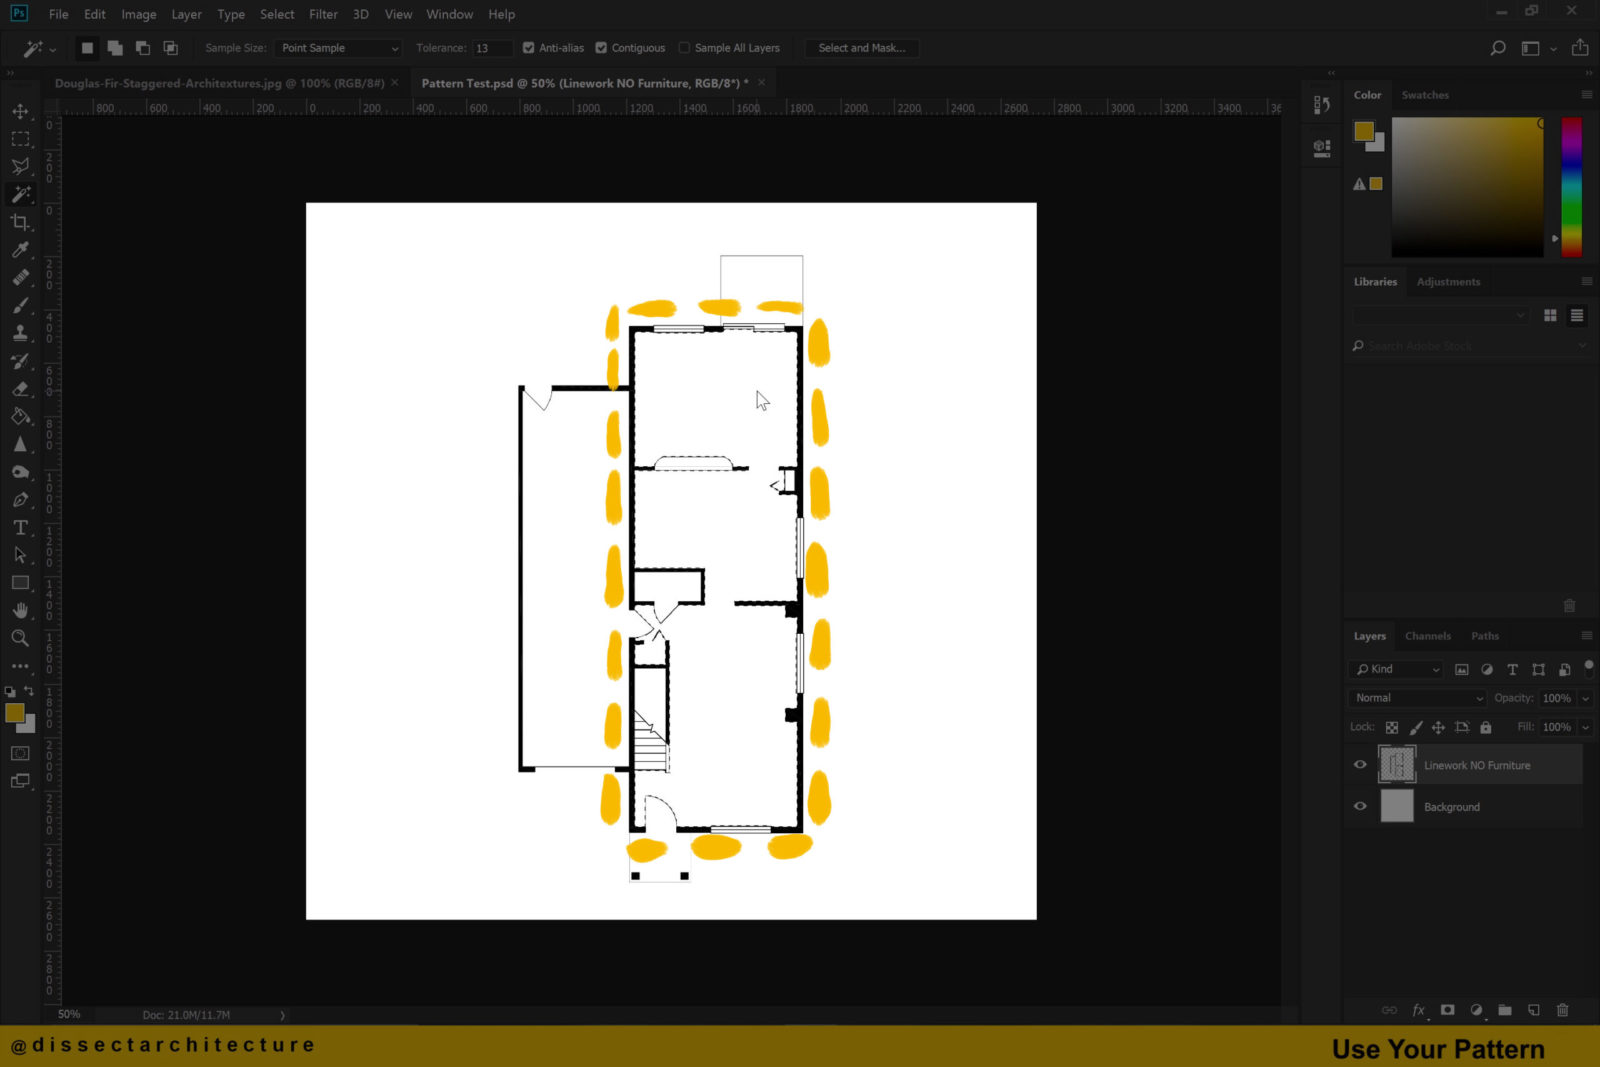
Step 09
Then create a new layer and add a color fill with the Paint Bucket Tool. You can use the keyboard shortcut, G, to activate the Paint Bucket Tool.
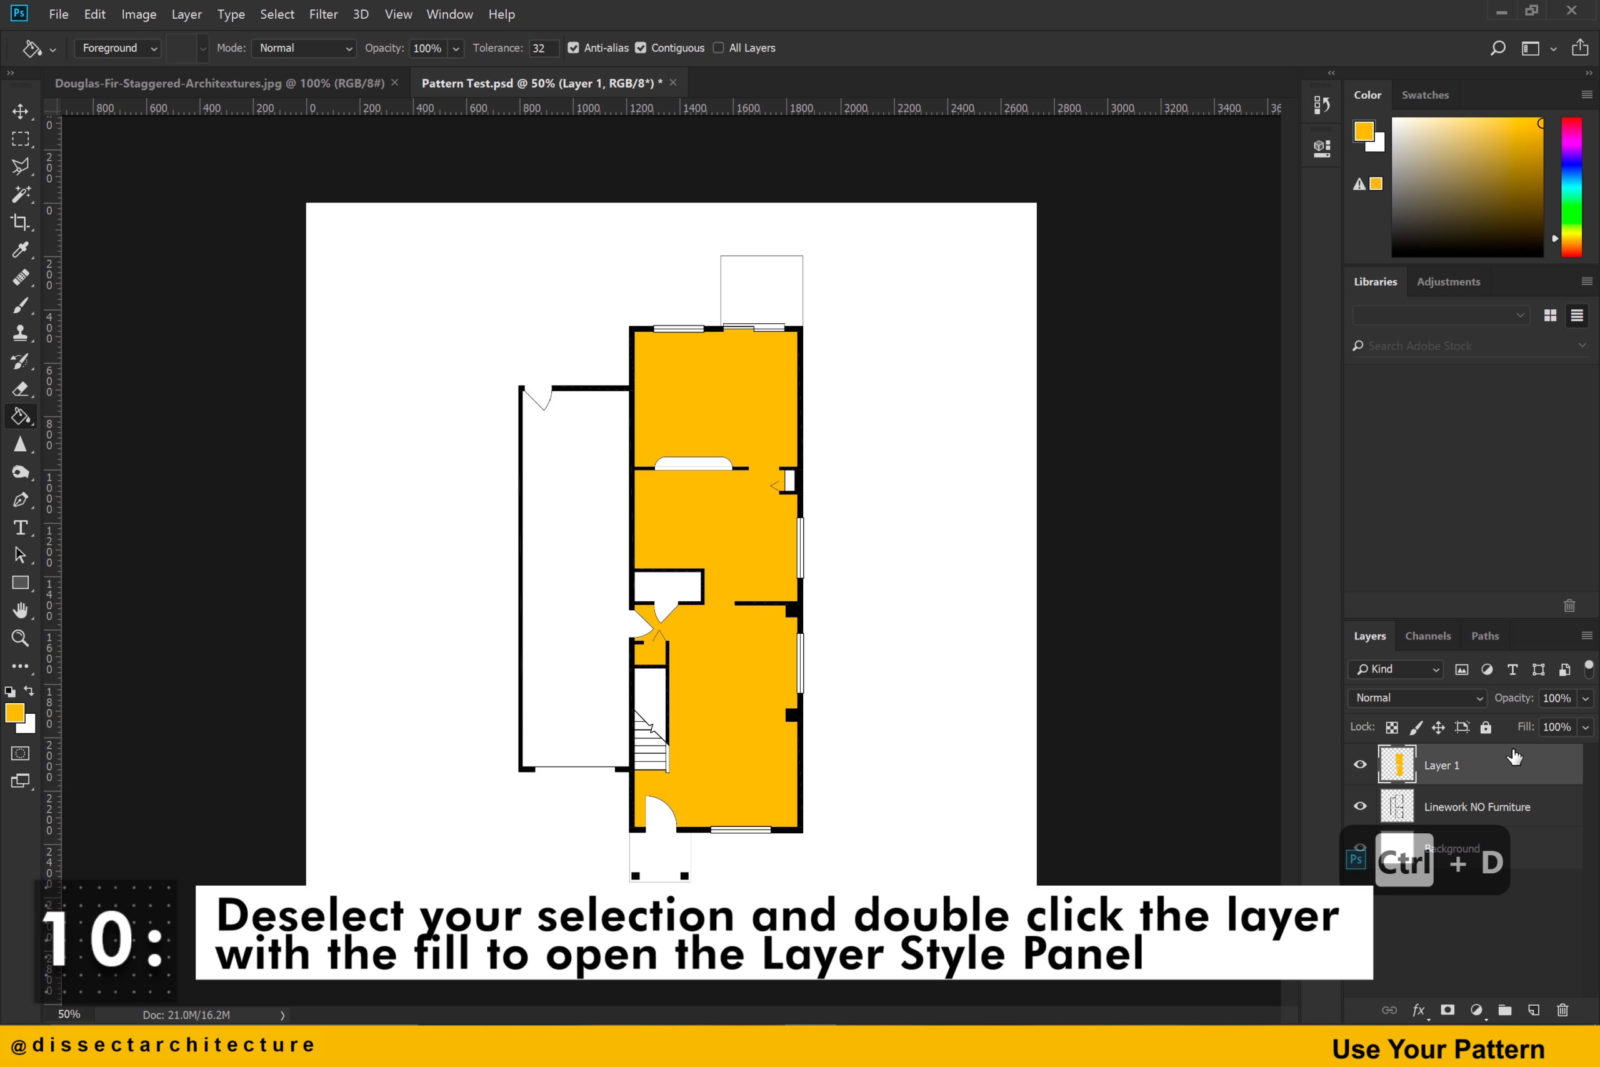
Step 10
Deselect your selection and then double click the layer with the fill to open the Layer Style Panel.
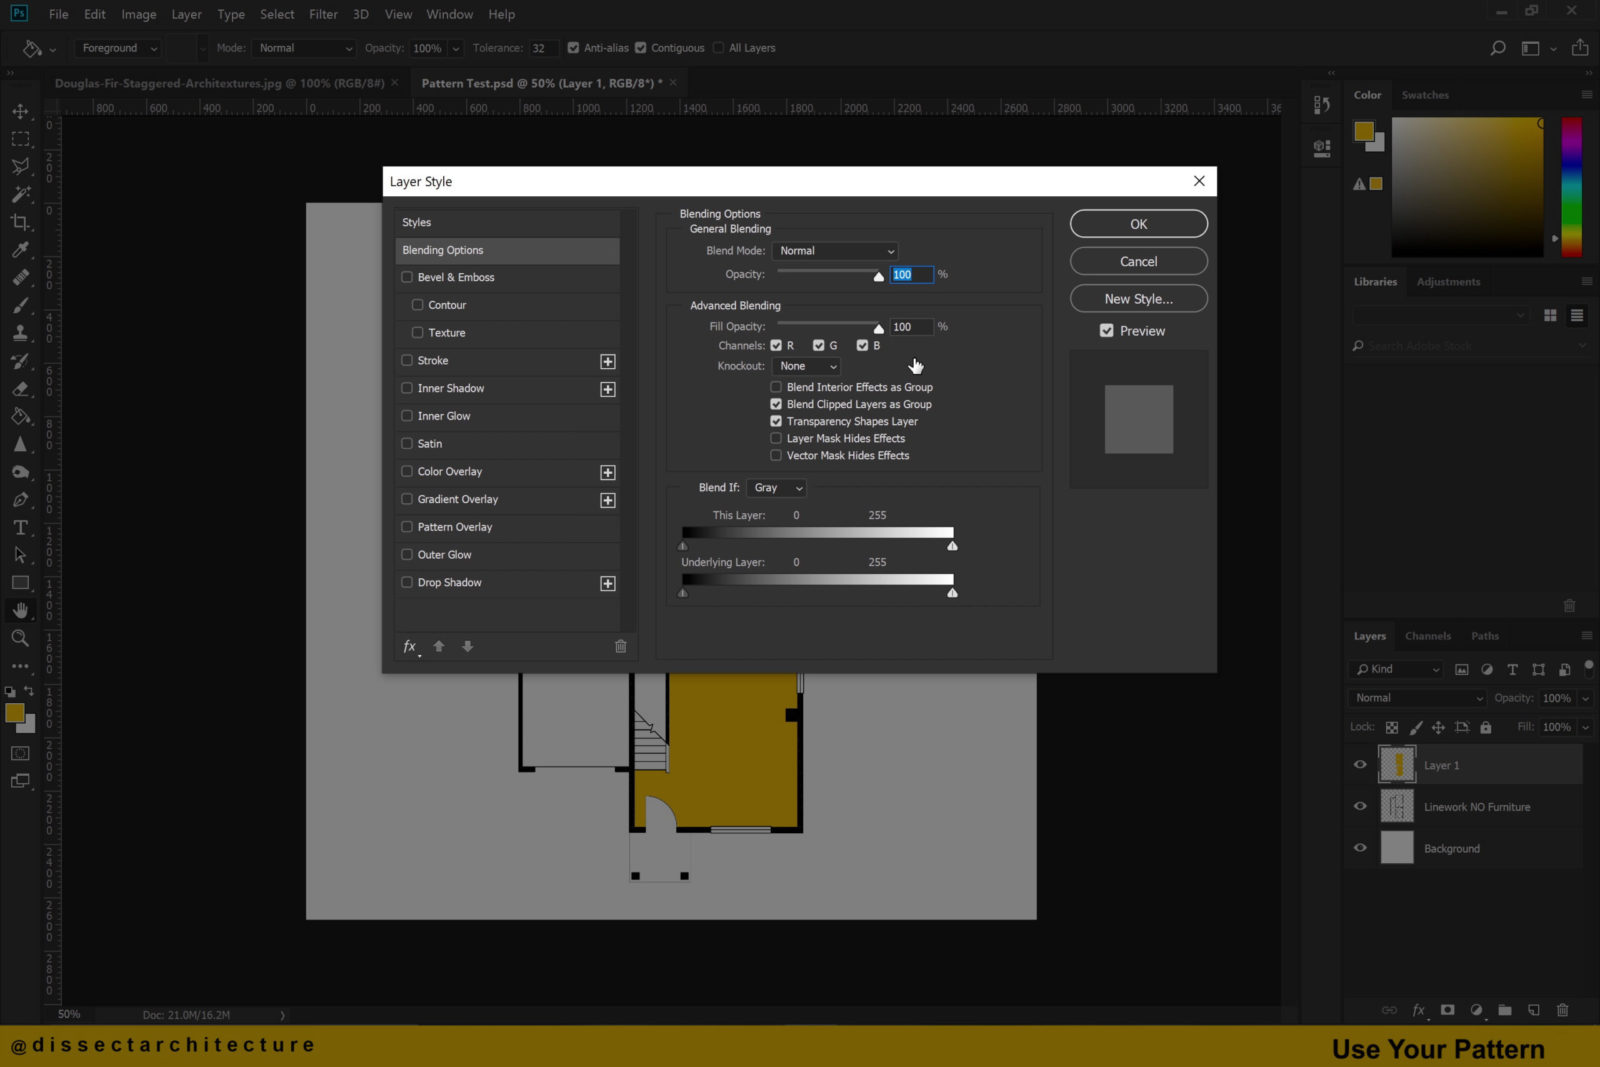
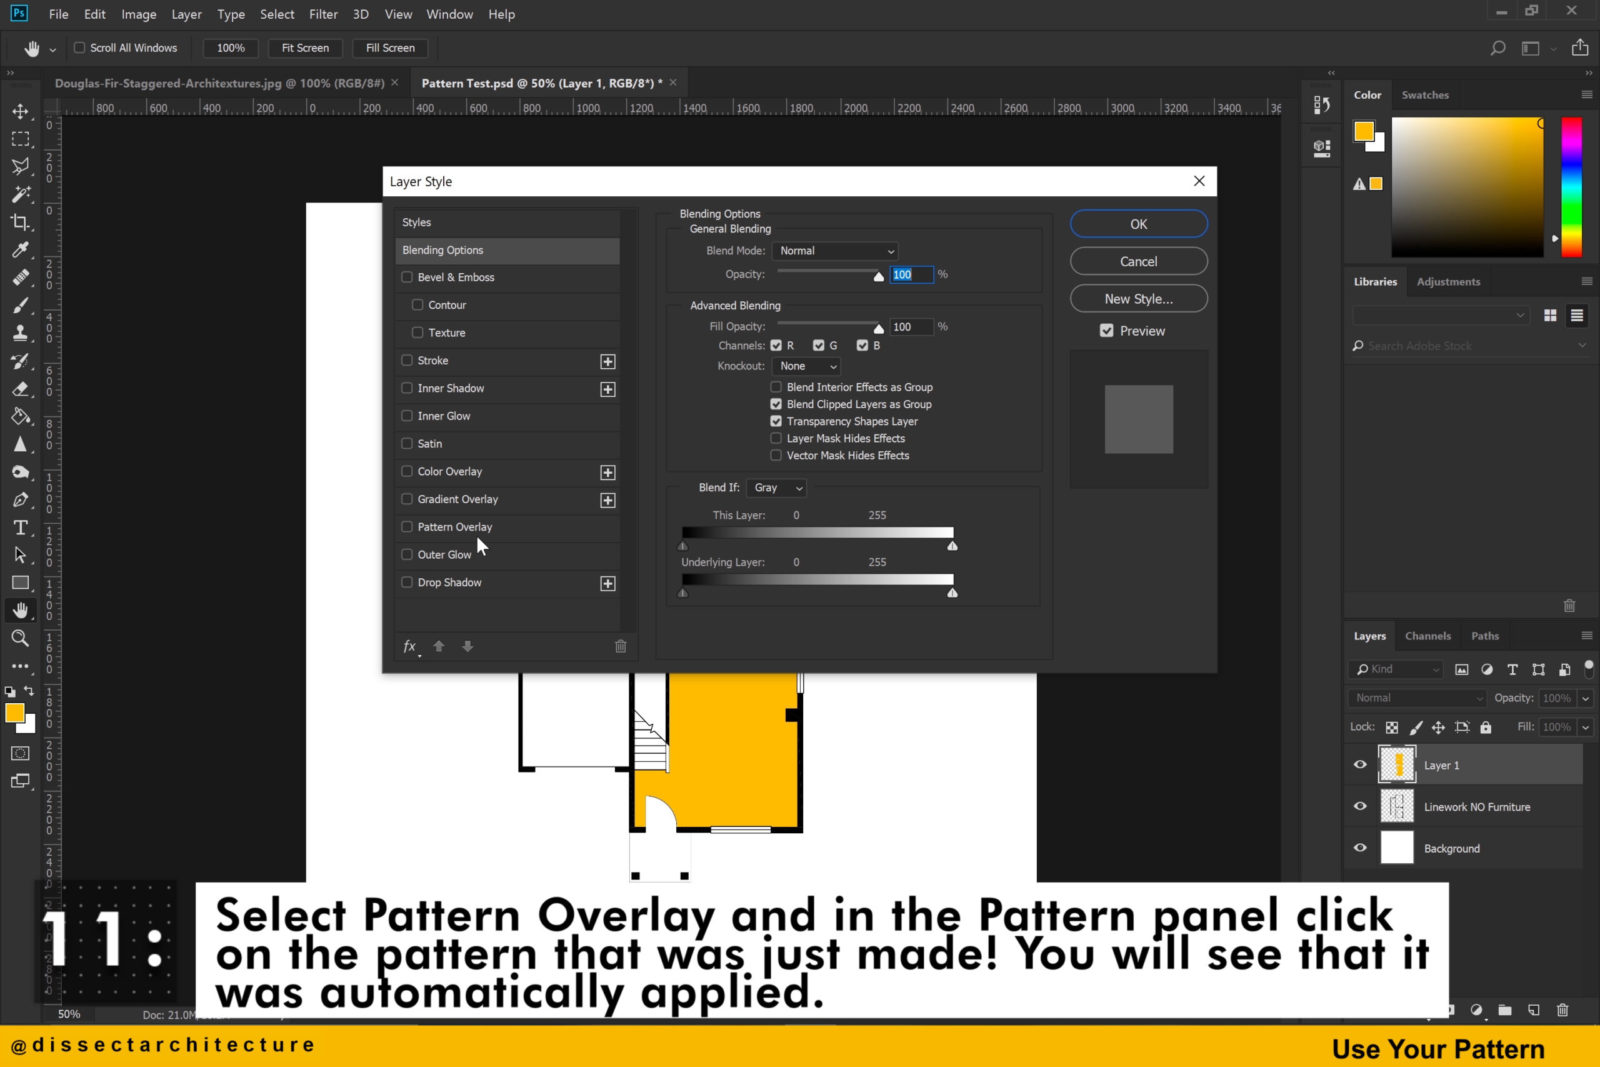
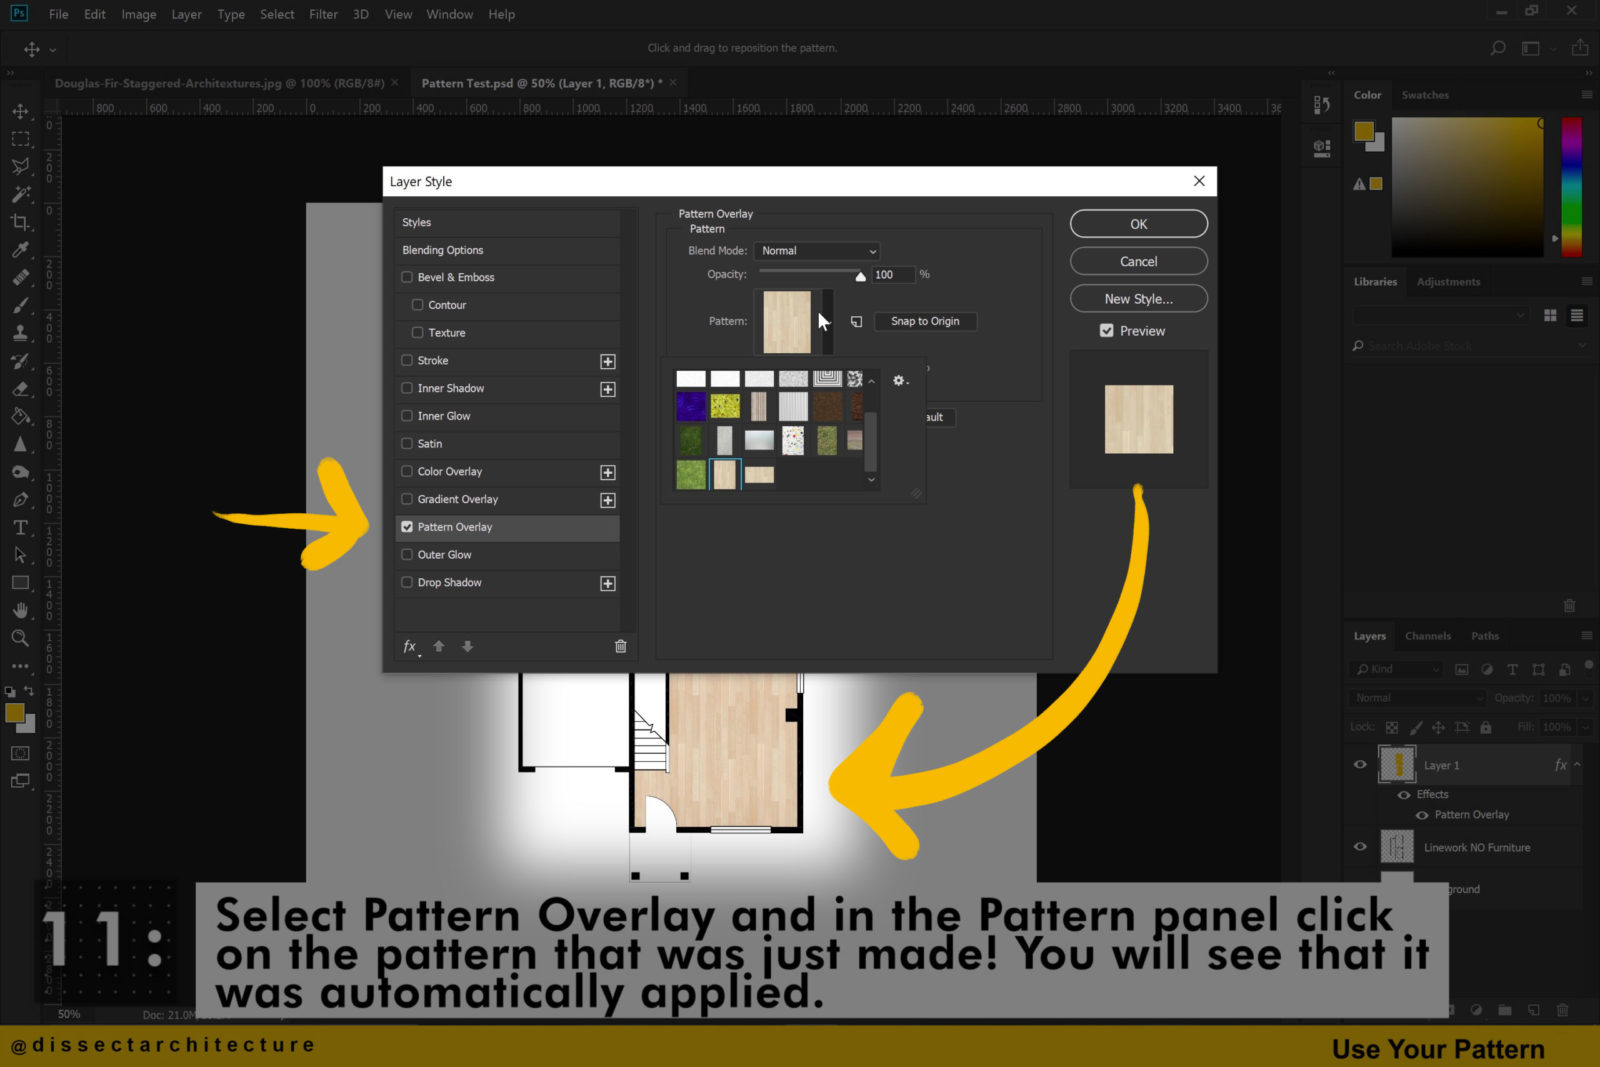
Step 11
Select Pattern Overlay from the list of options on the left and in the Pattern panel find the pattern you just created. You will see that this is automatically applied to your color fill.
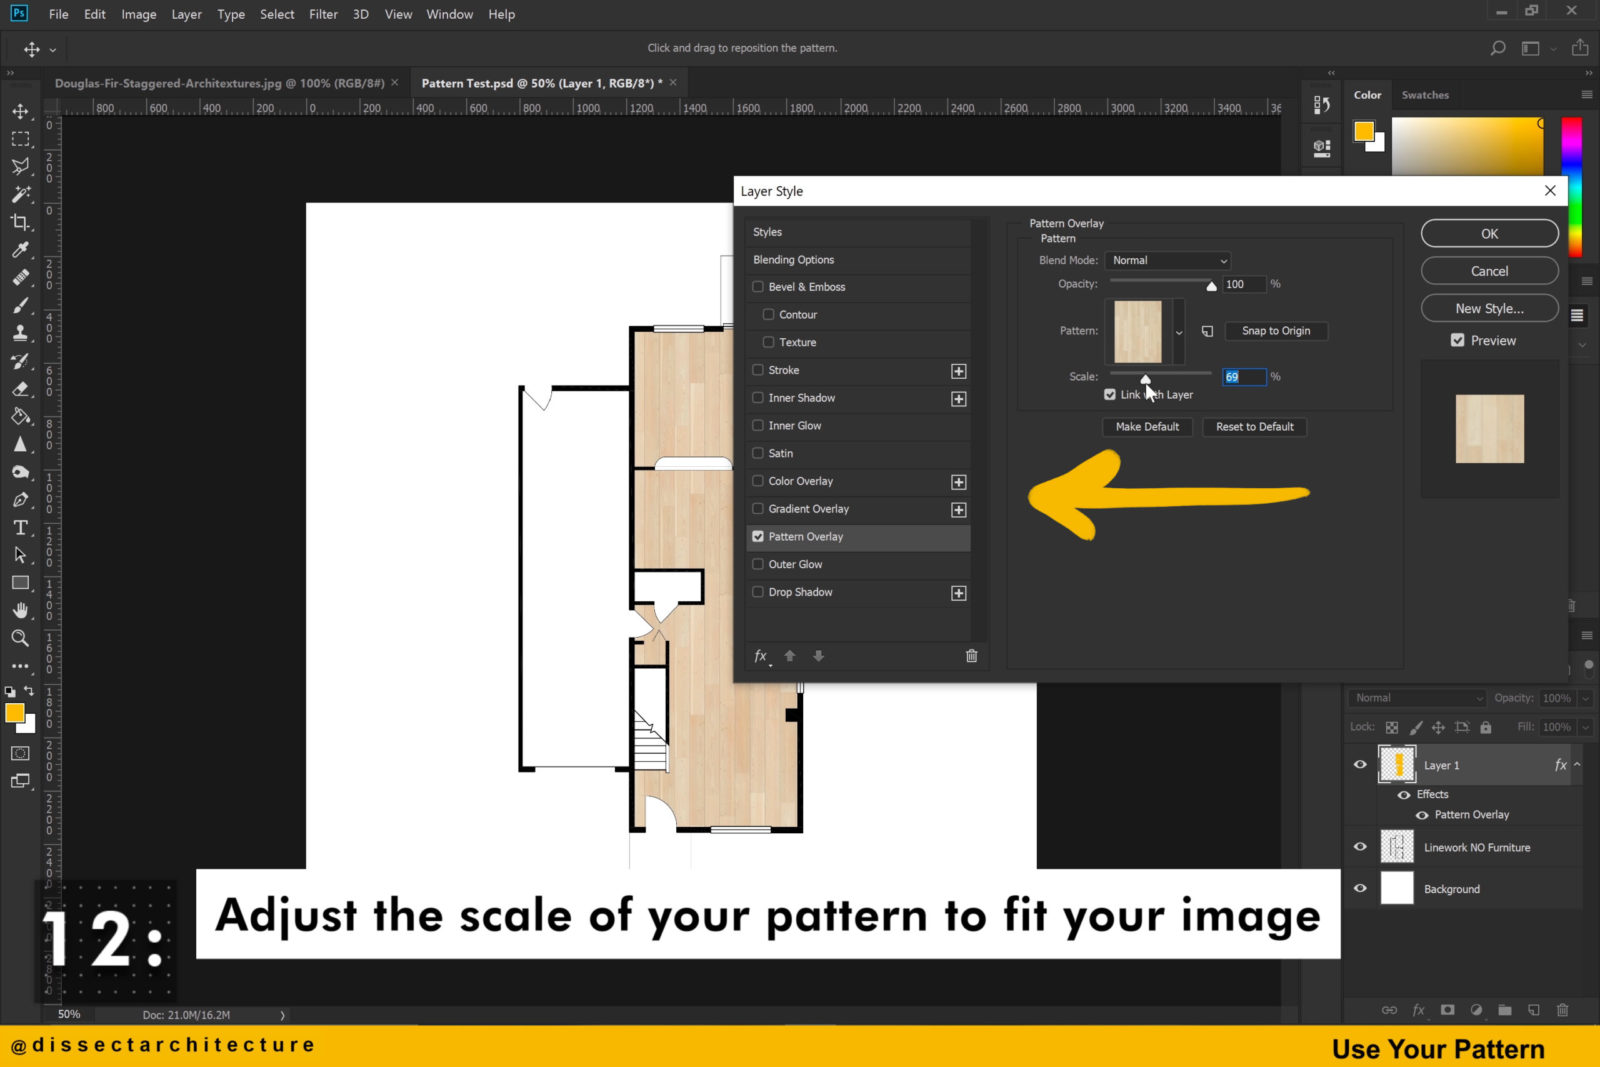
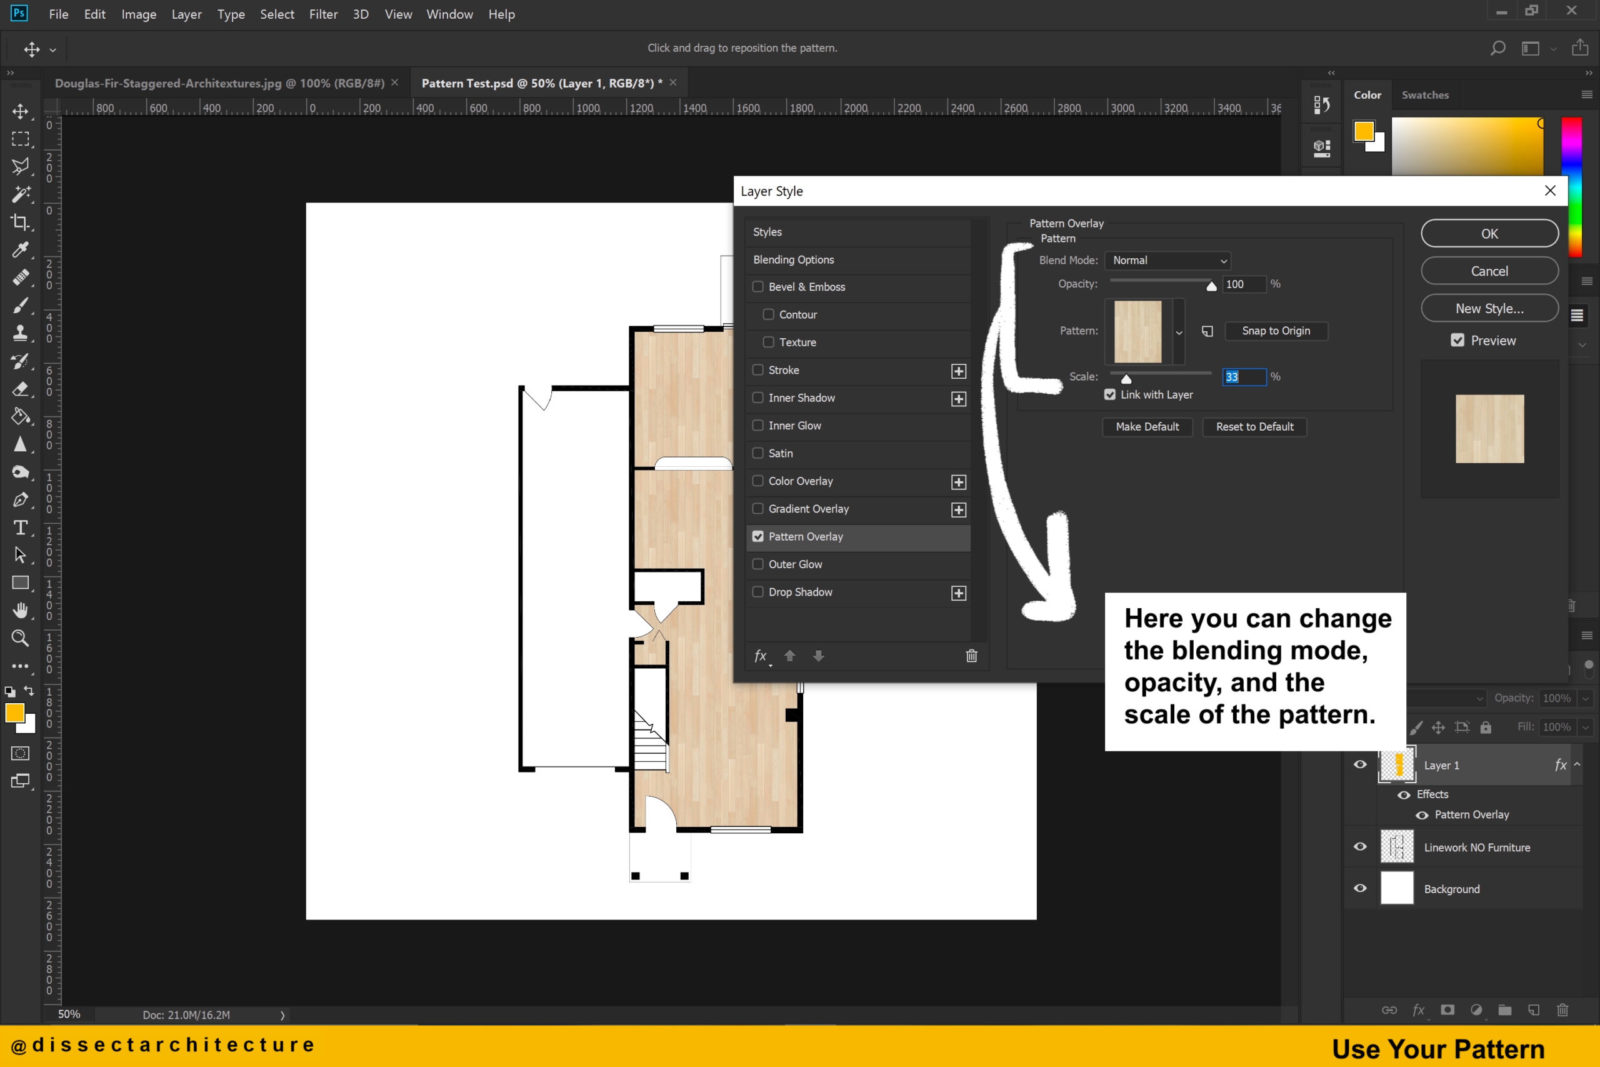
Step 12
There are various options available. The pattern can be scaled to become bigger or smaller, the blending mode of it can be changed, and the opacity of it can also be adjusted.
Click OK when you are done making your selections.
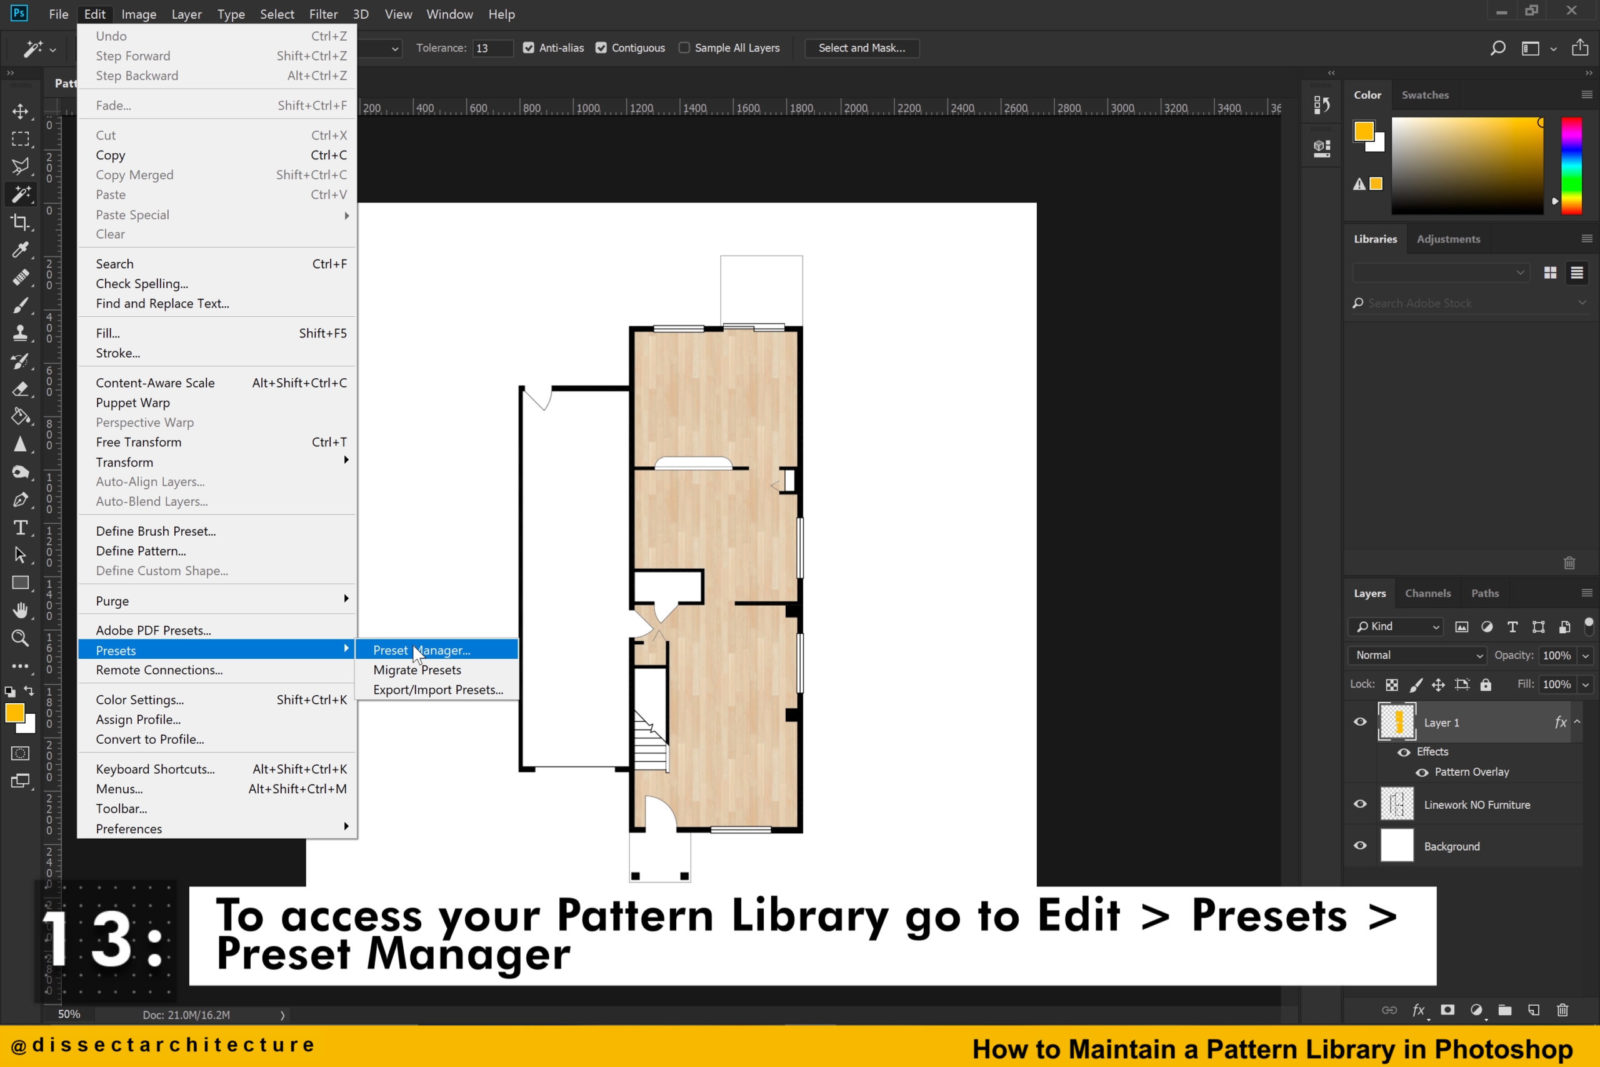
Step 13
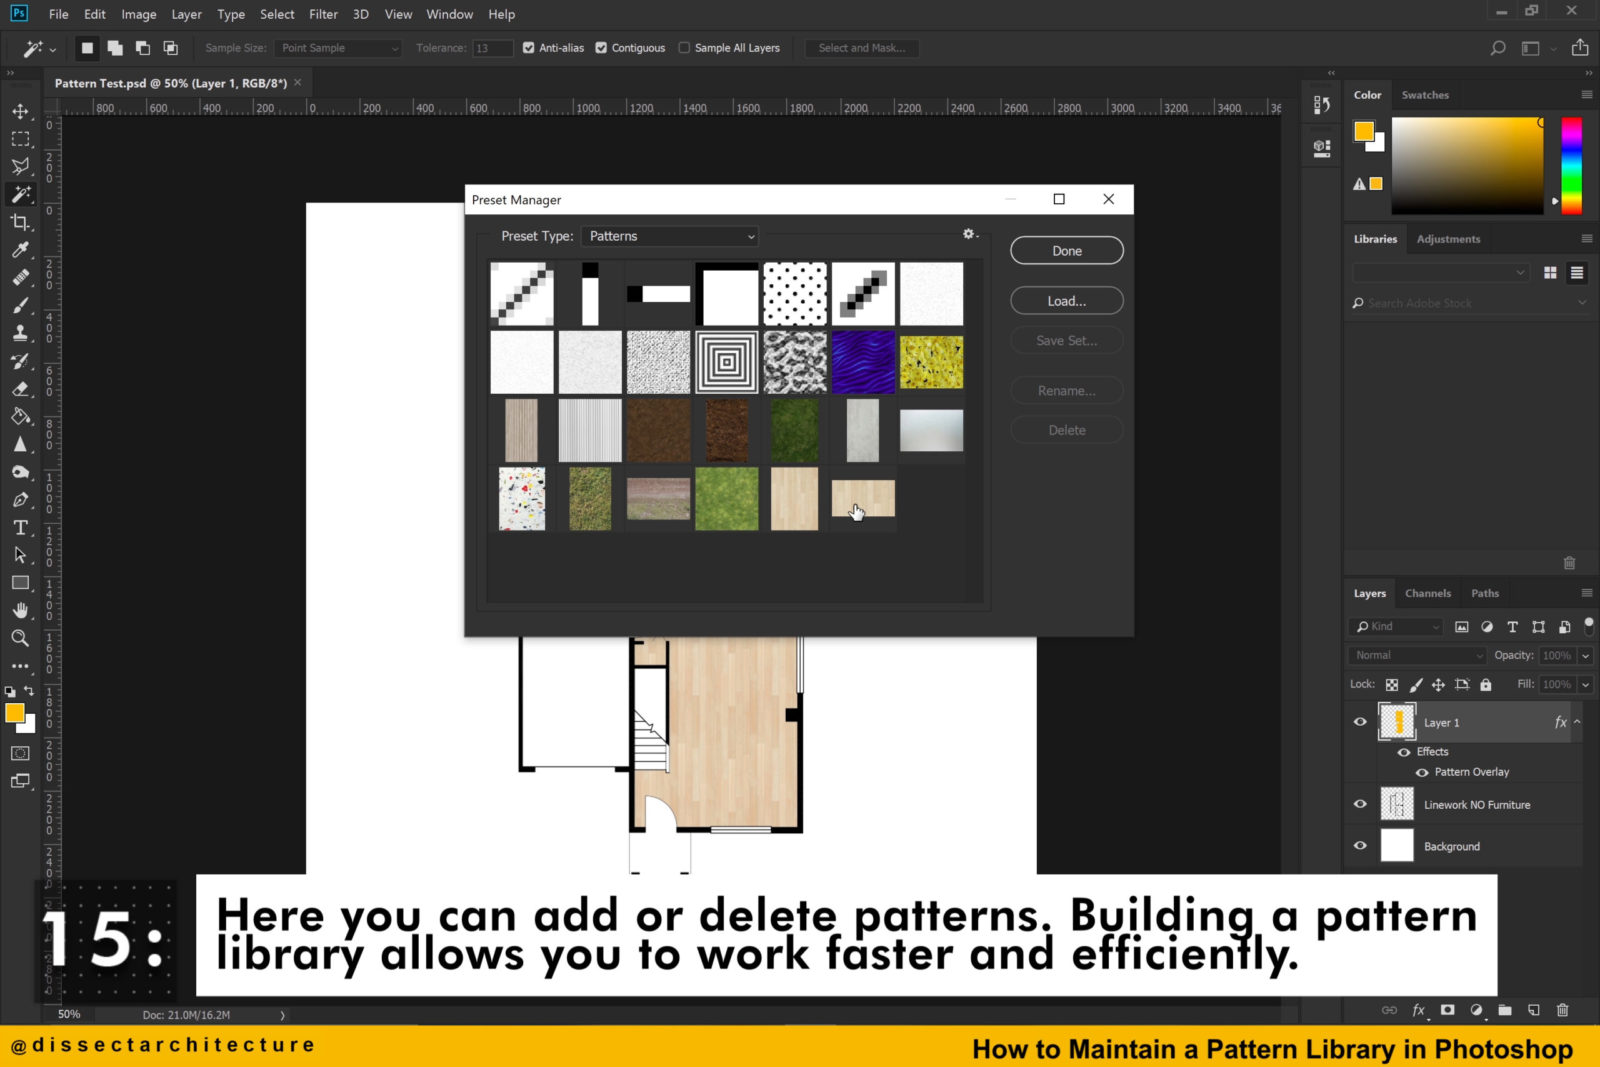
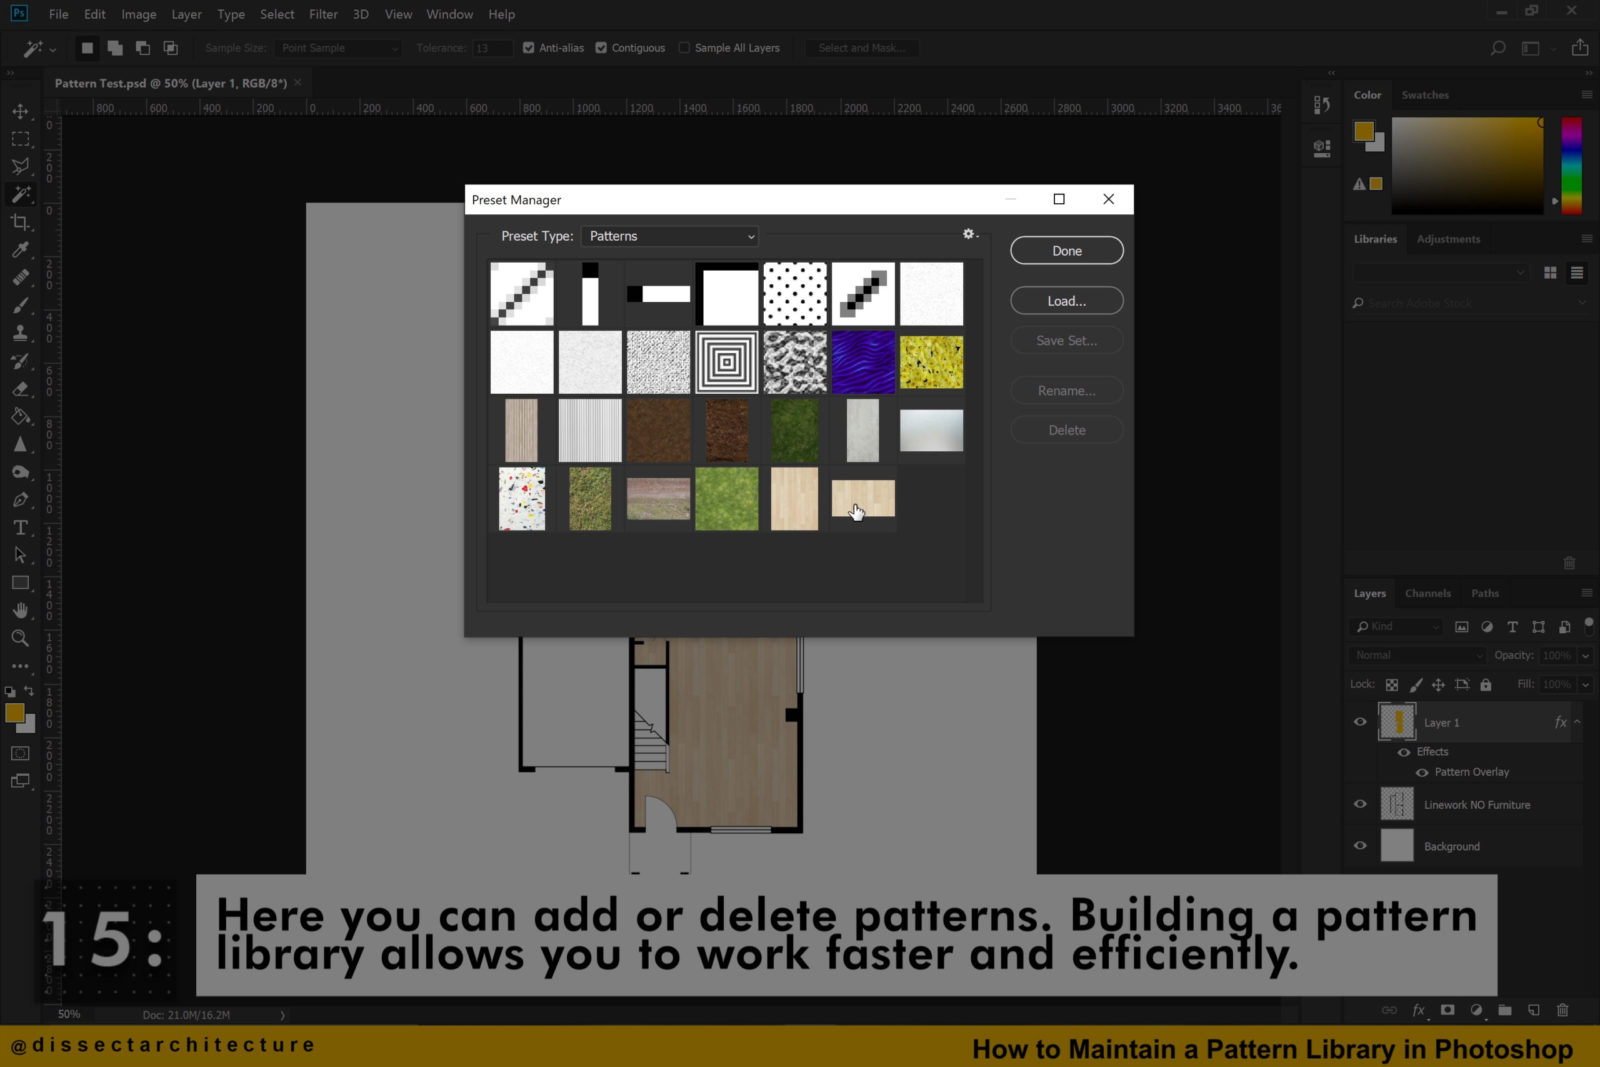
You can create and maintain your Photoshop Pattern Library by going to the Edit Menu, selecting Presets, and then clicking on Preset Manager.
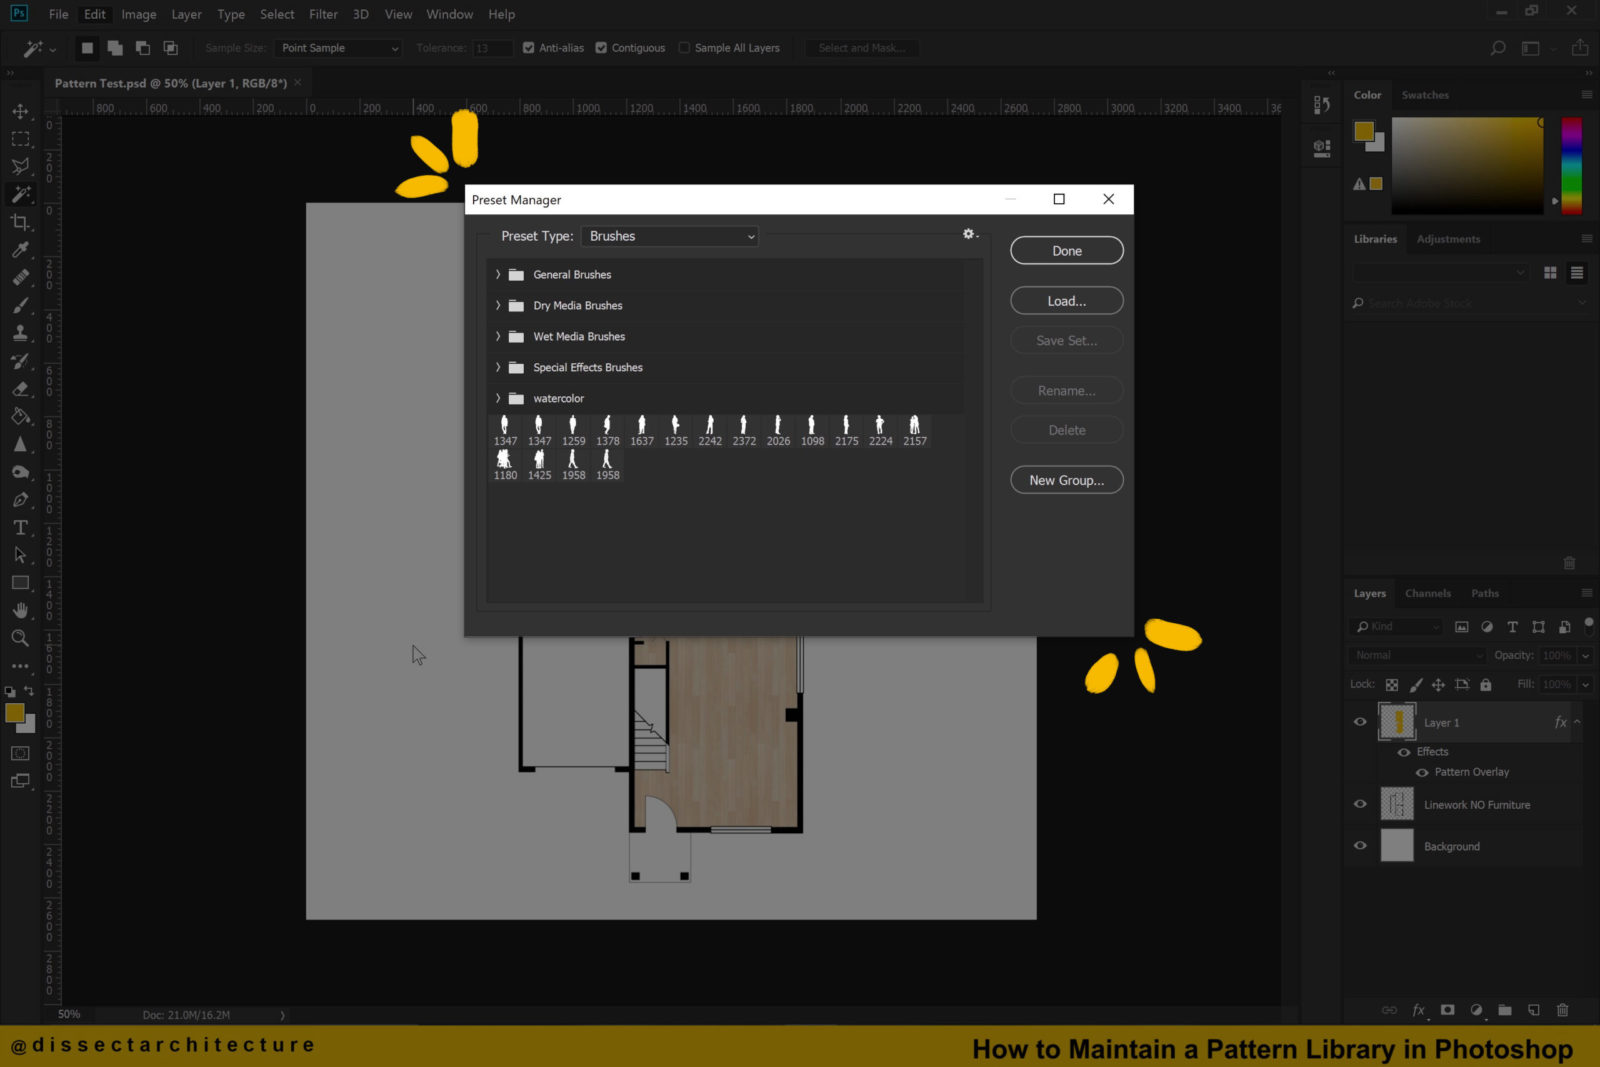
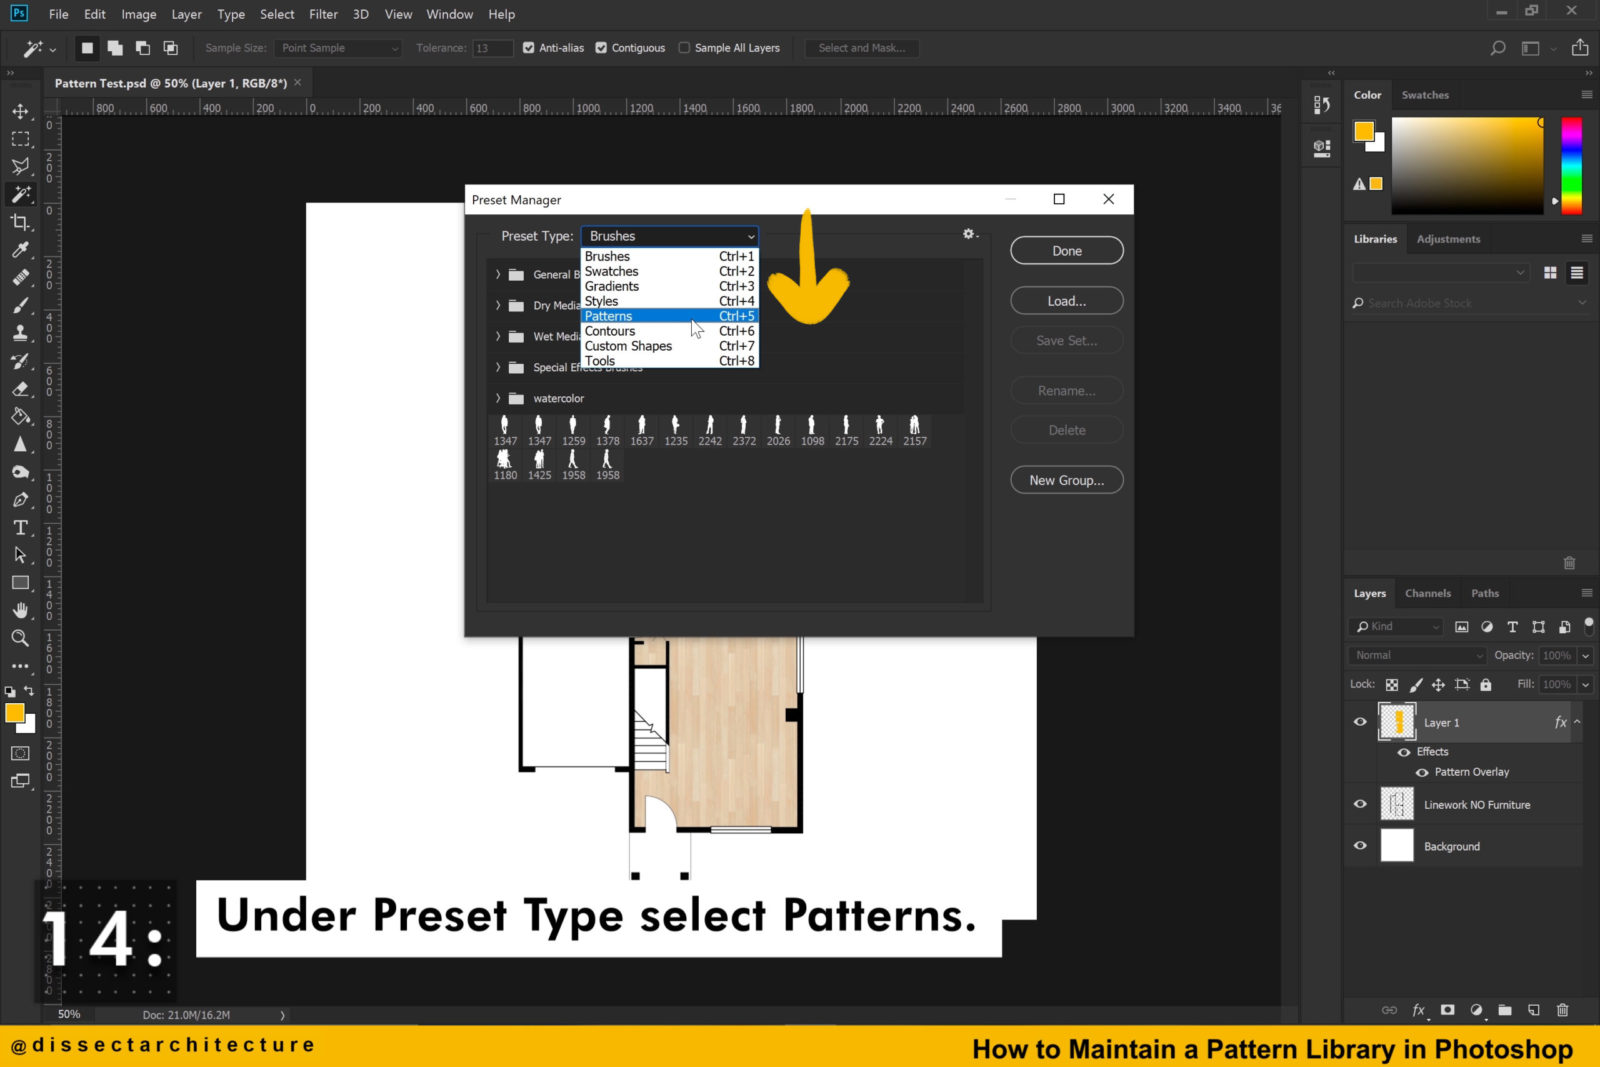
Step 14
A pop-up menu will appear. Under the Preset Type select Patterns.

Step 15
You will be able to add or delete patterns here.
Building a pattern library will improve your workflow enabling you to work faster and efficiently.