How to Create a Building Diagram
Objective:
This tutorial aims to show how to create a building diagram from a Google Warehouse file download and rendering it in Rhino. A building diagram can be created as a form of representation for building precedents within a project.
Software Used:
Step 01
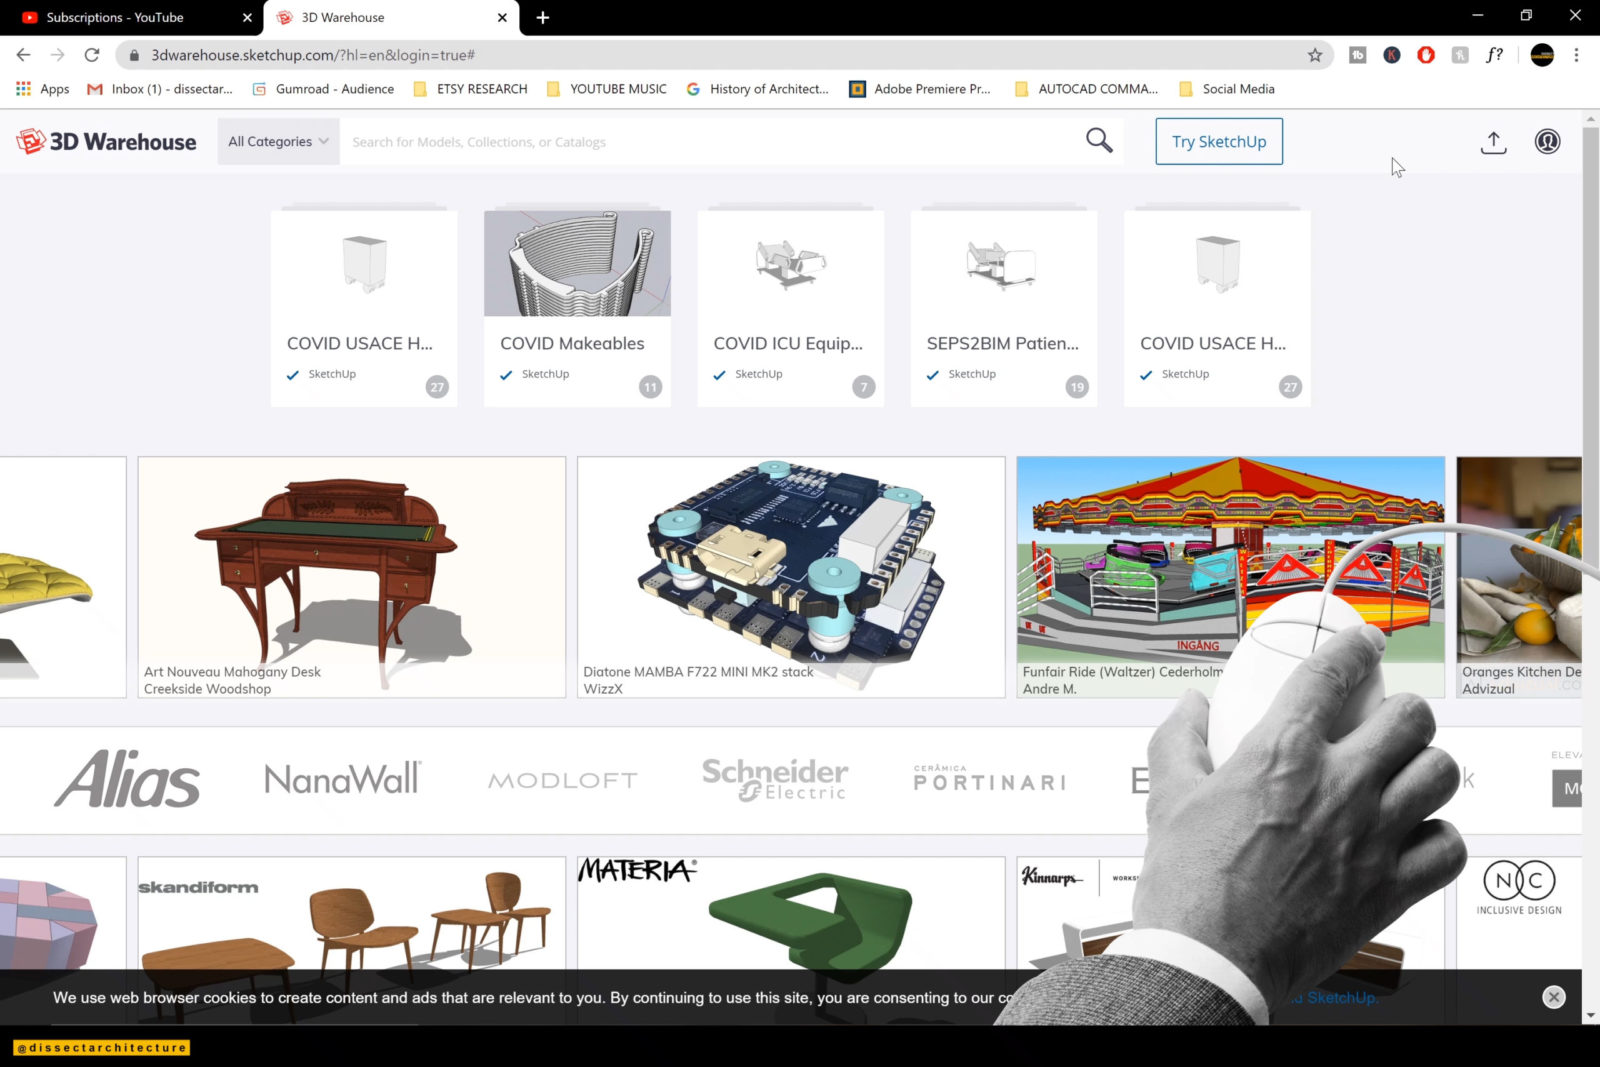
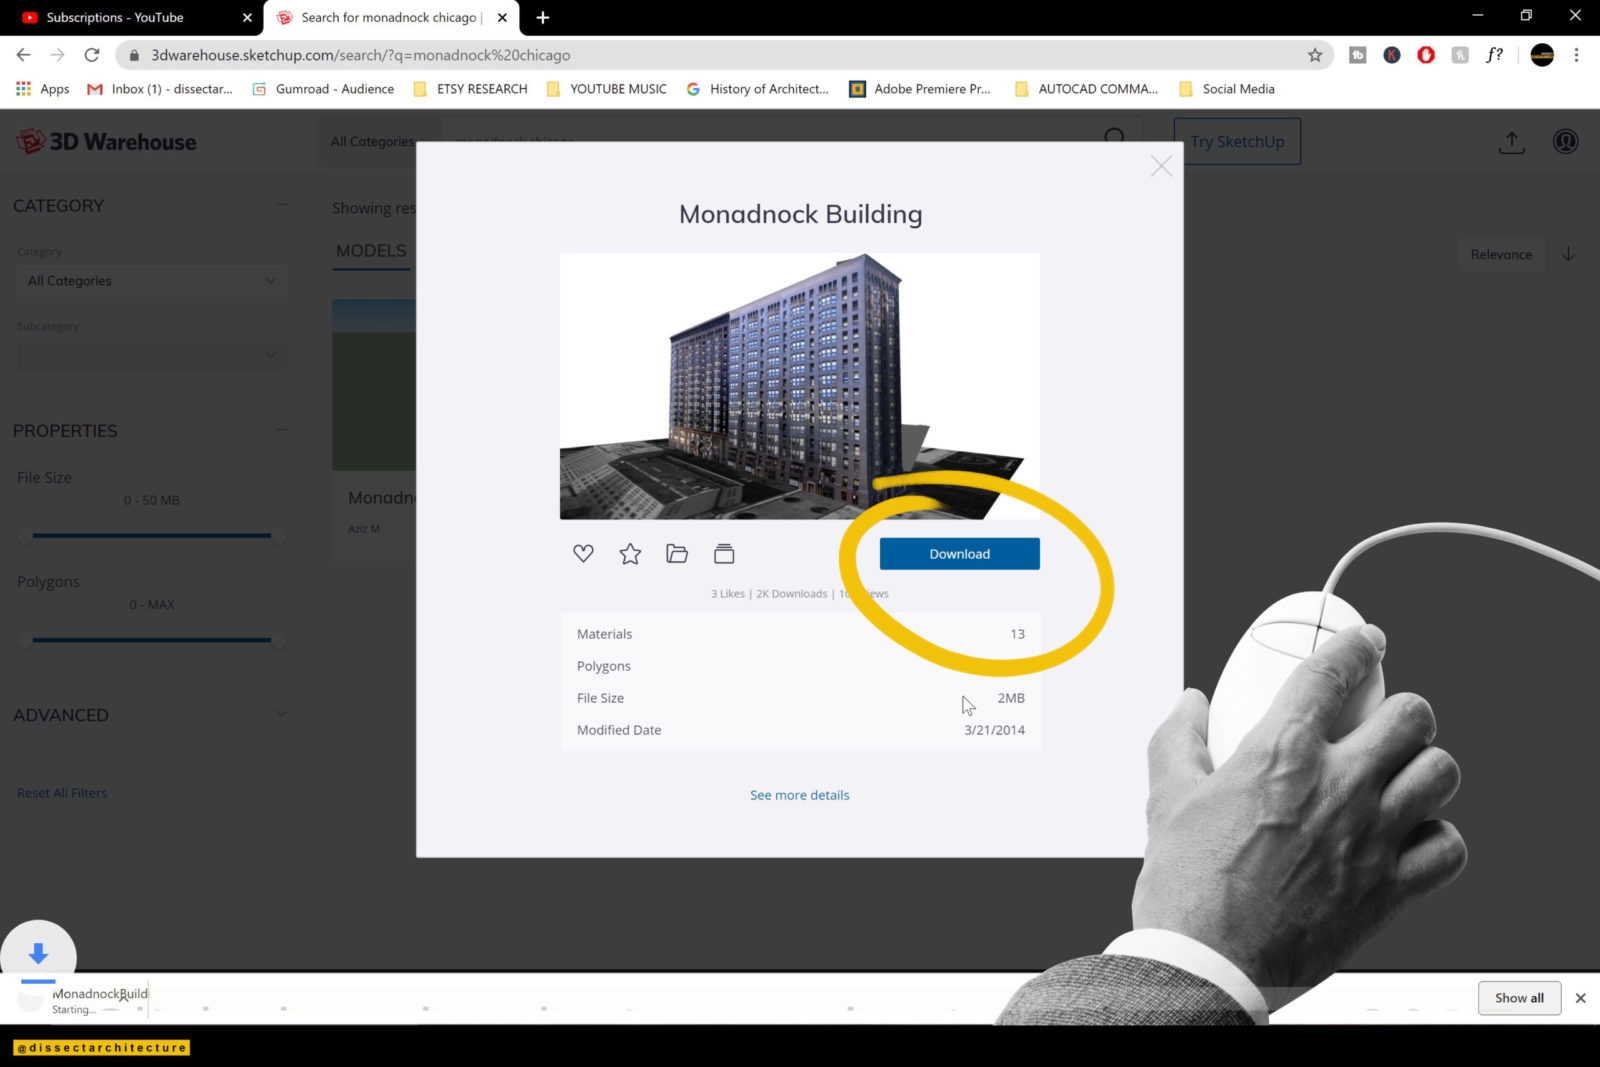
Go Google 3D Warehouse and in the search bar enter the name of the building you will use to create the diagram.
Google 3D Warehouse is a great resource for 3D models. I am downloading a model of the Monadnock Building located in Chicago, Illinois. I am downloading the file as a Sketchup 2017 file.
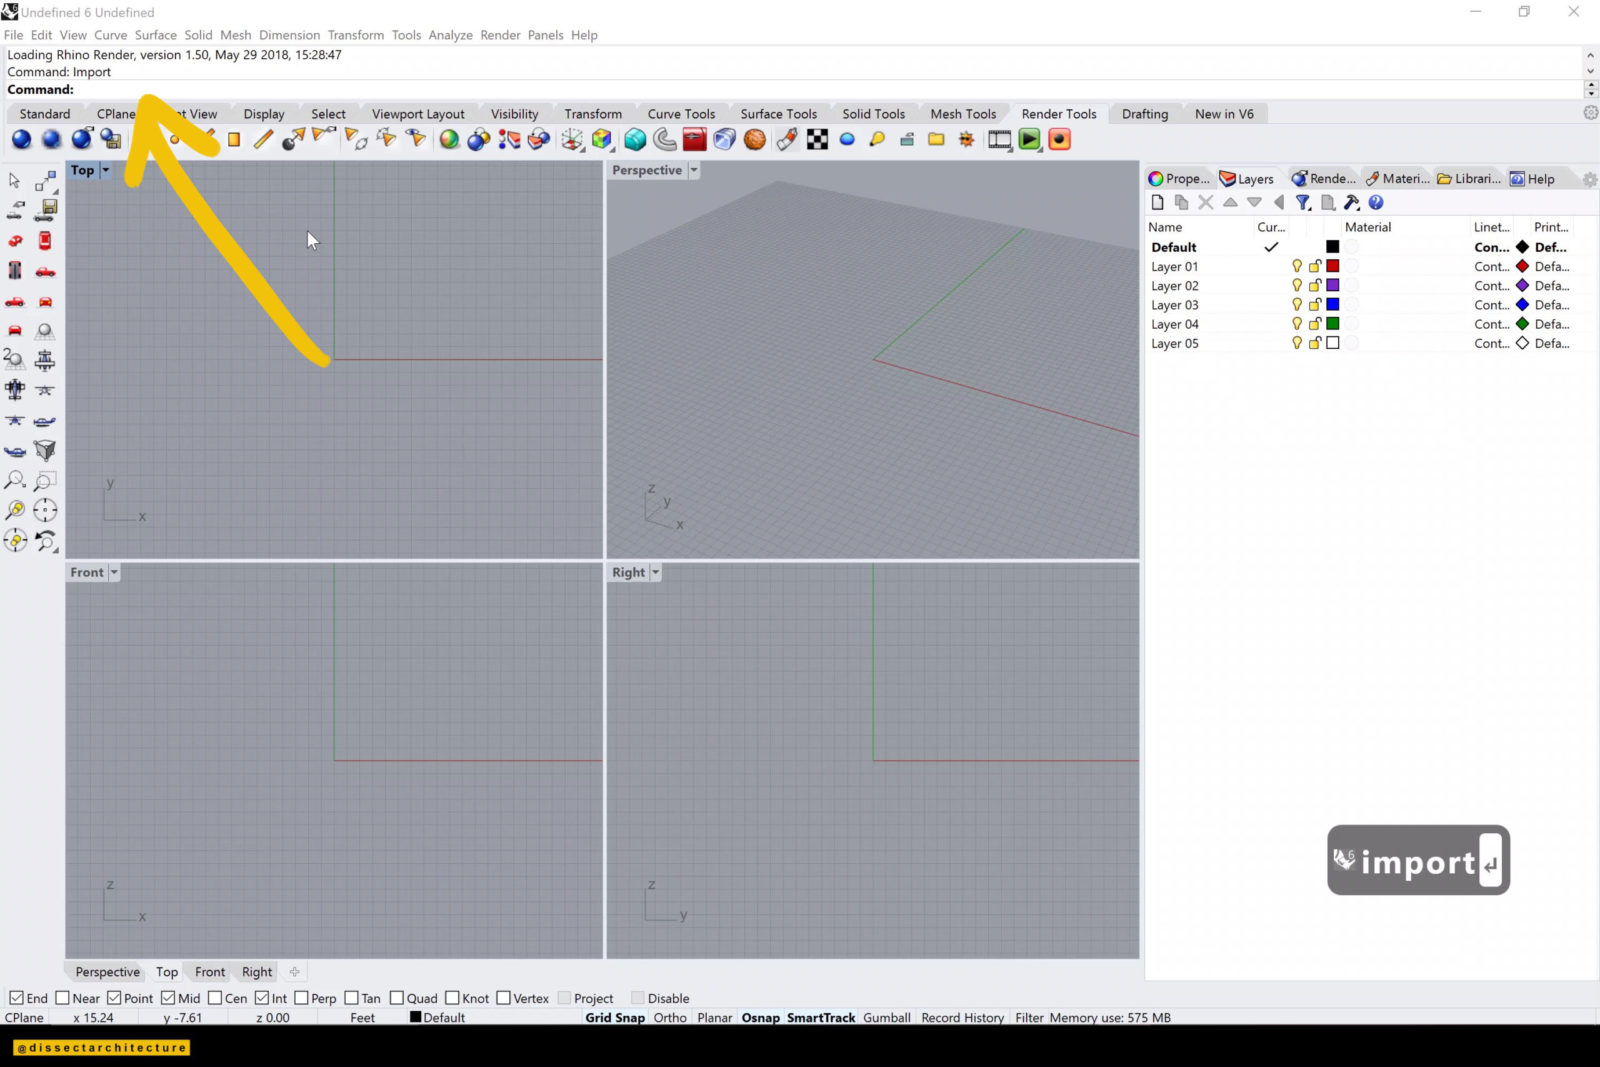
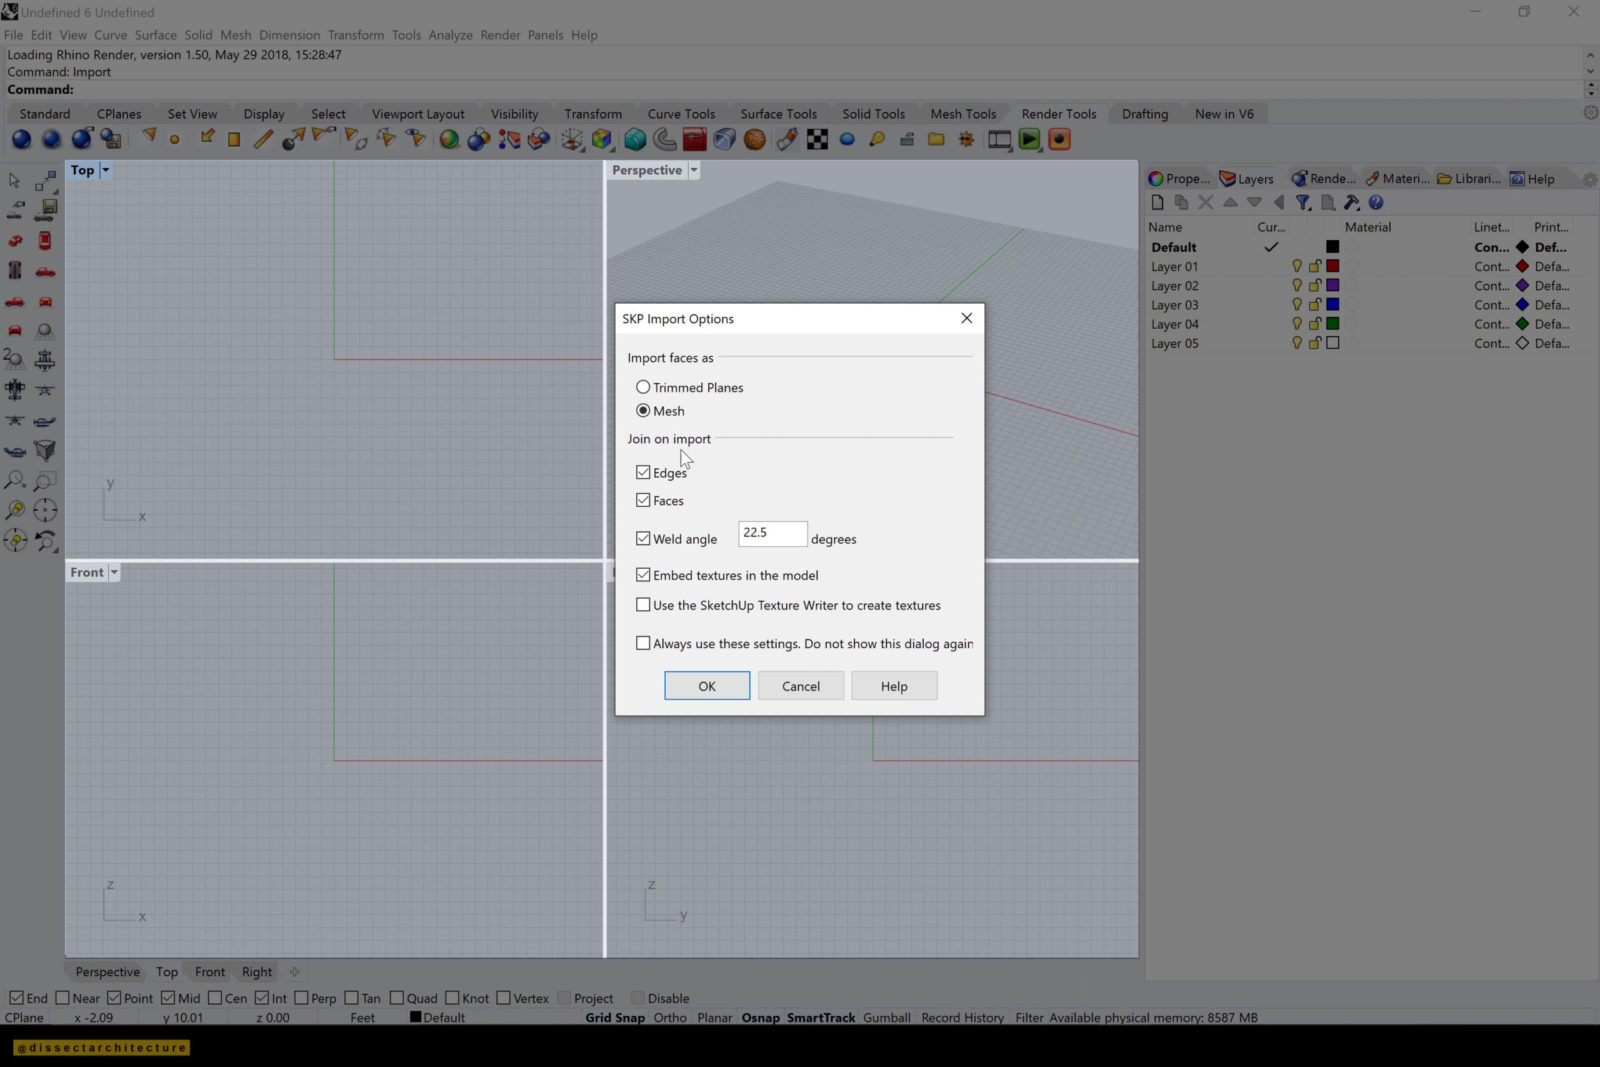
Step 02
Next open Rhinoceros 3D and import the file you just downloaded with the Import command. Select the option to import as a mesh.
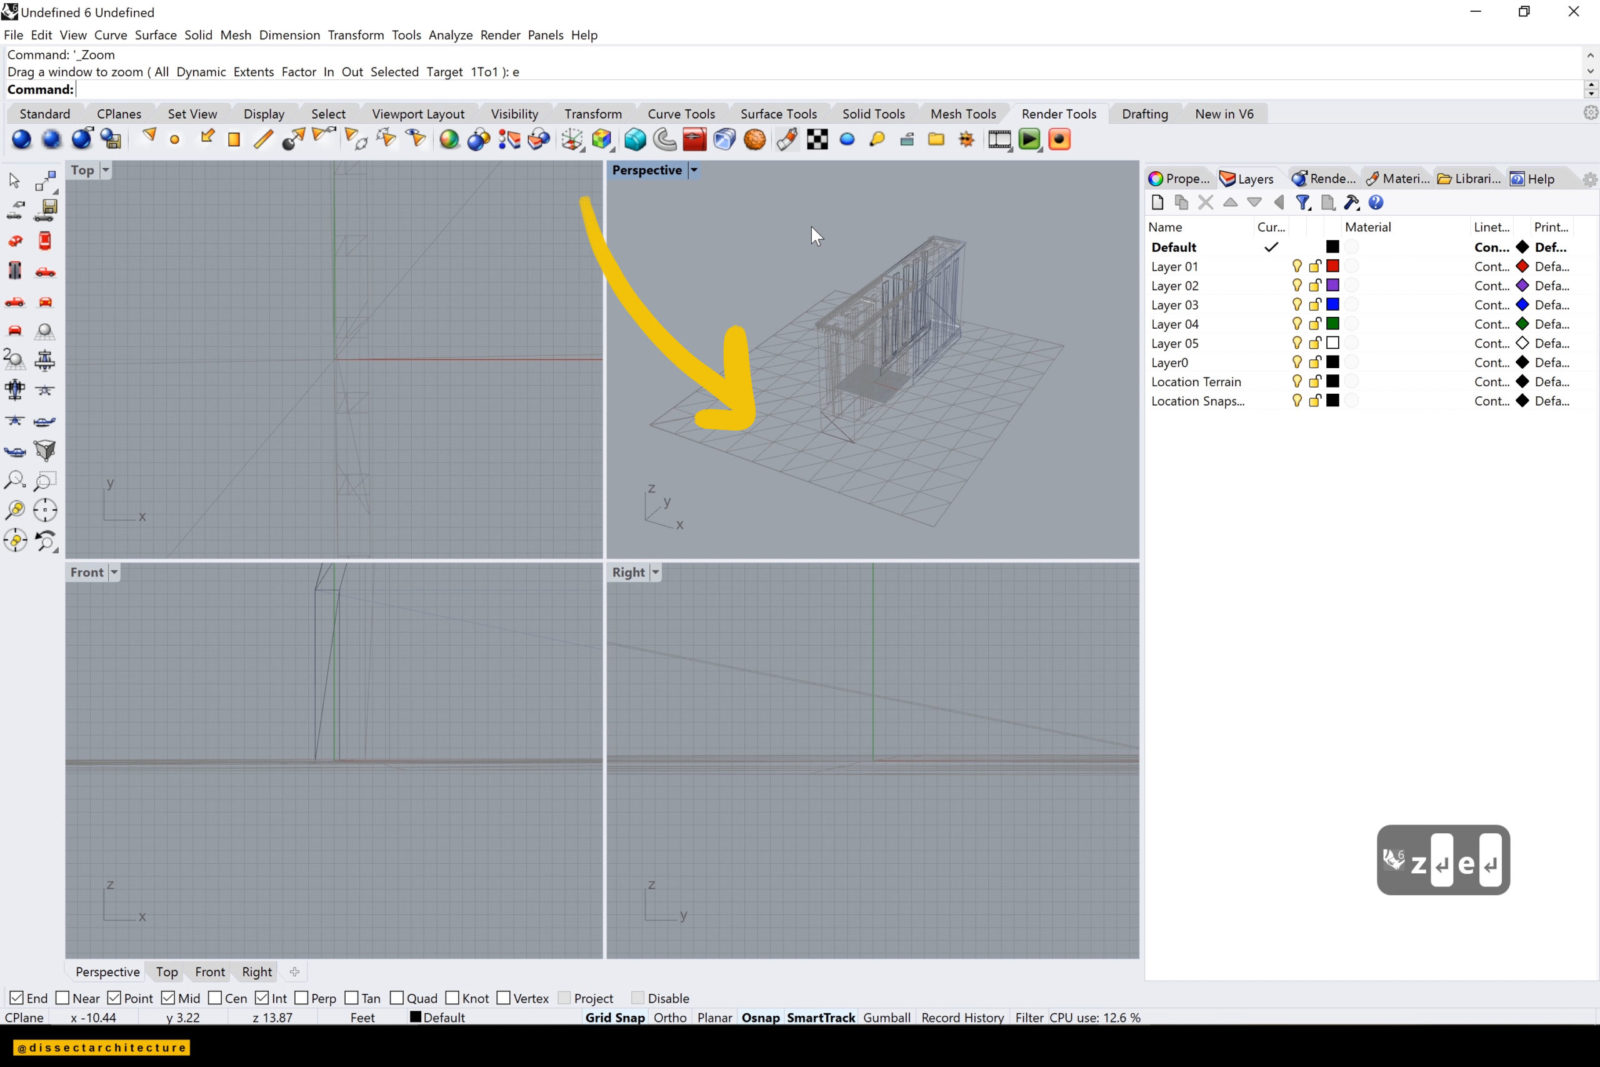
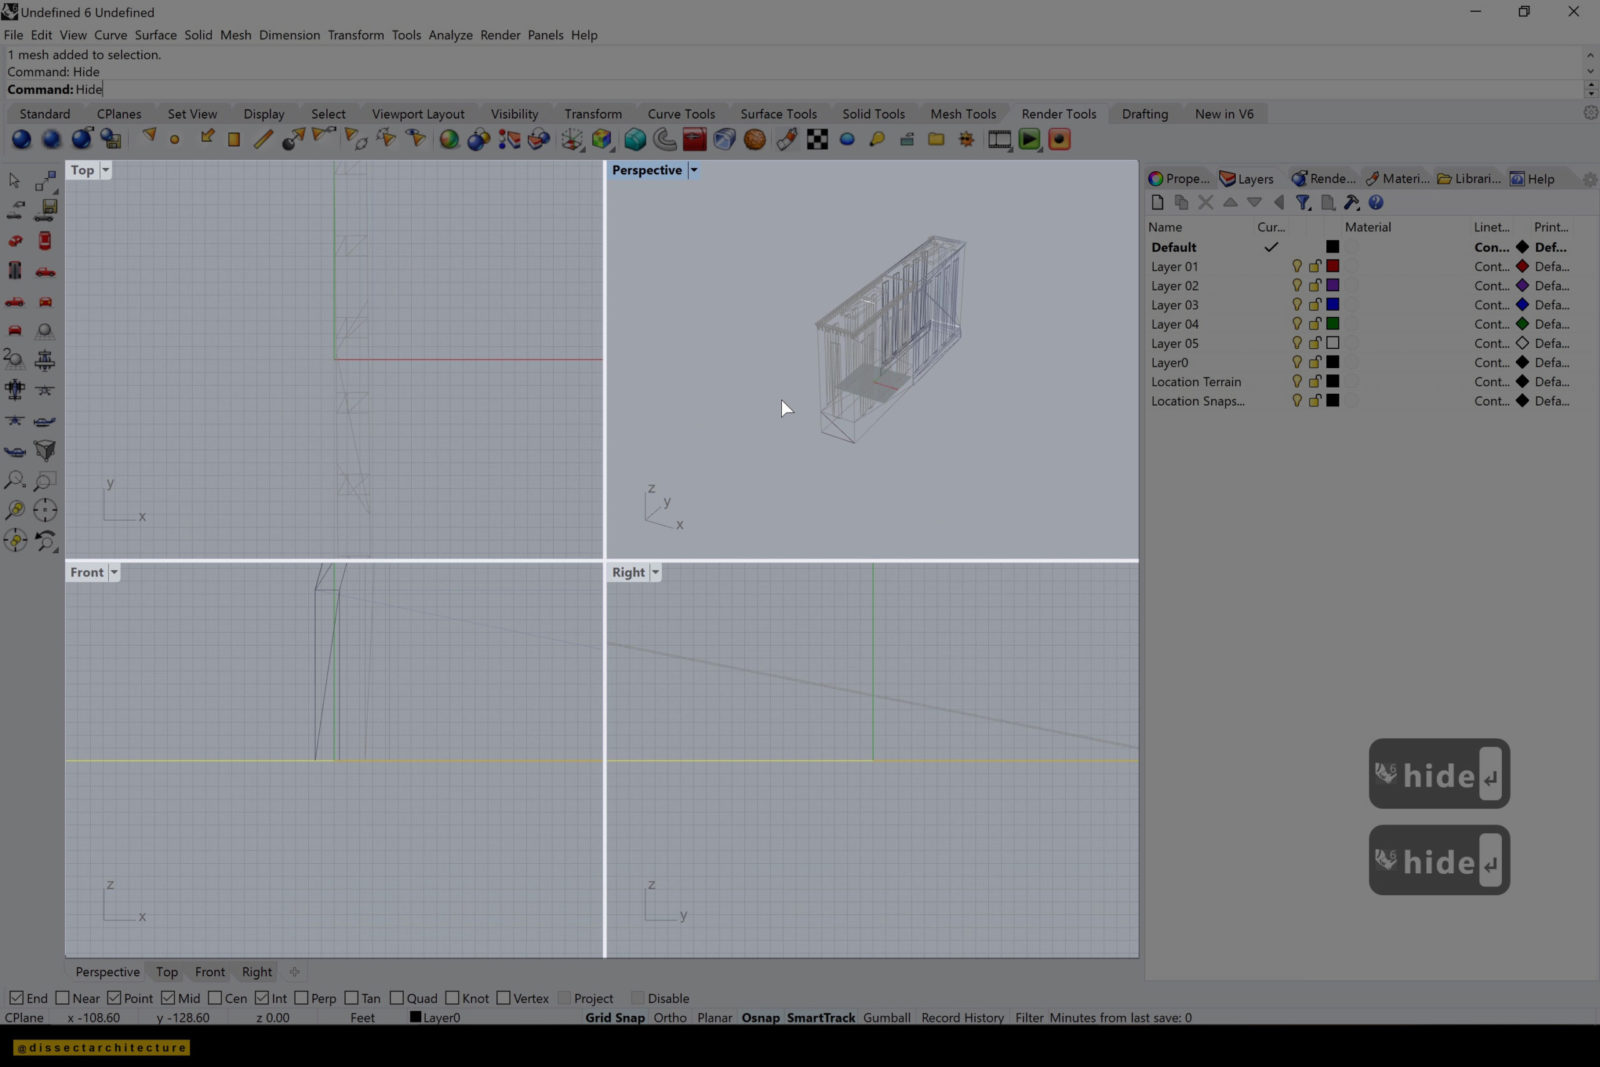
Step 03
Afterwards hide any visible terrain in your model with the Hide command. Once you change the view of your render to render you’ll notice that the model has the exterior already textures already applied to it.
Step 04
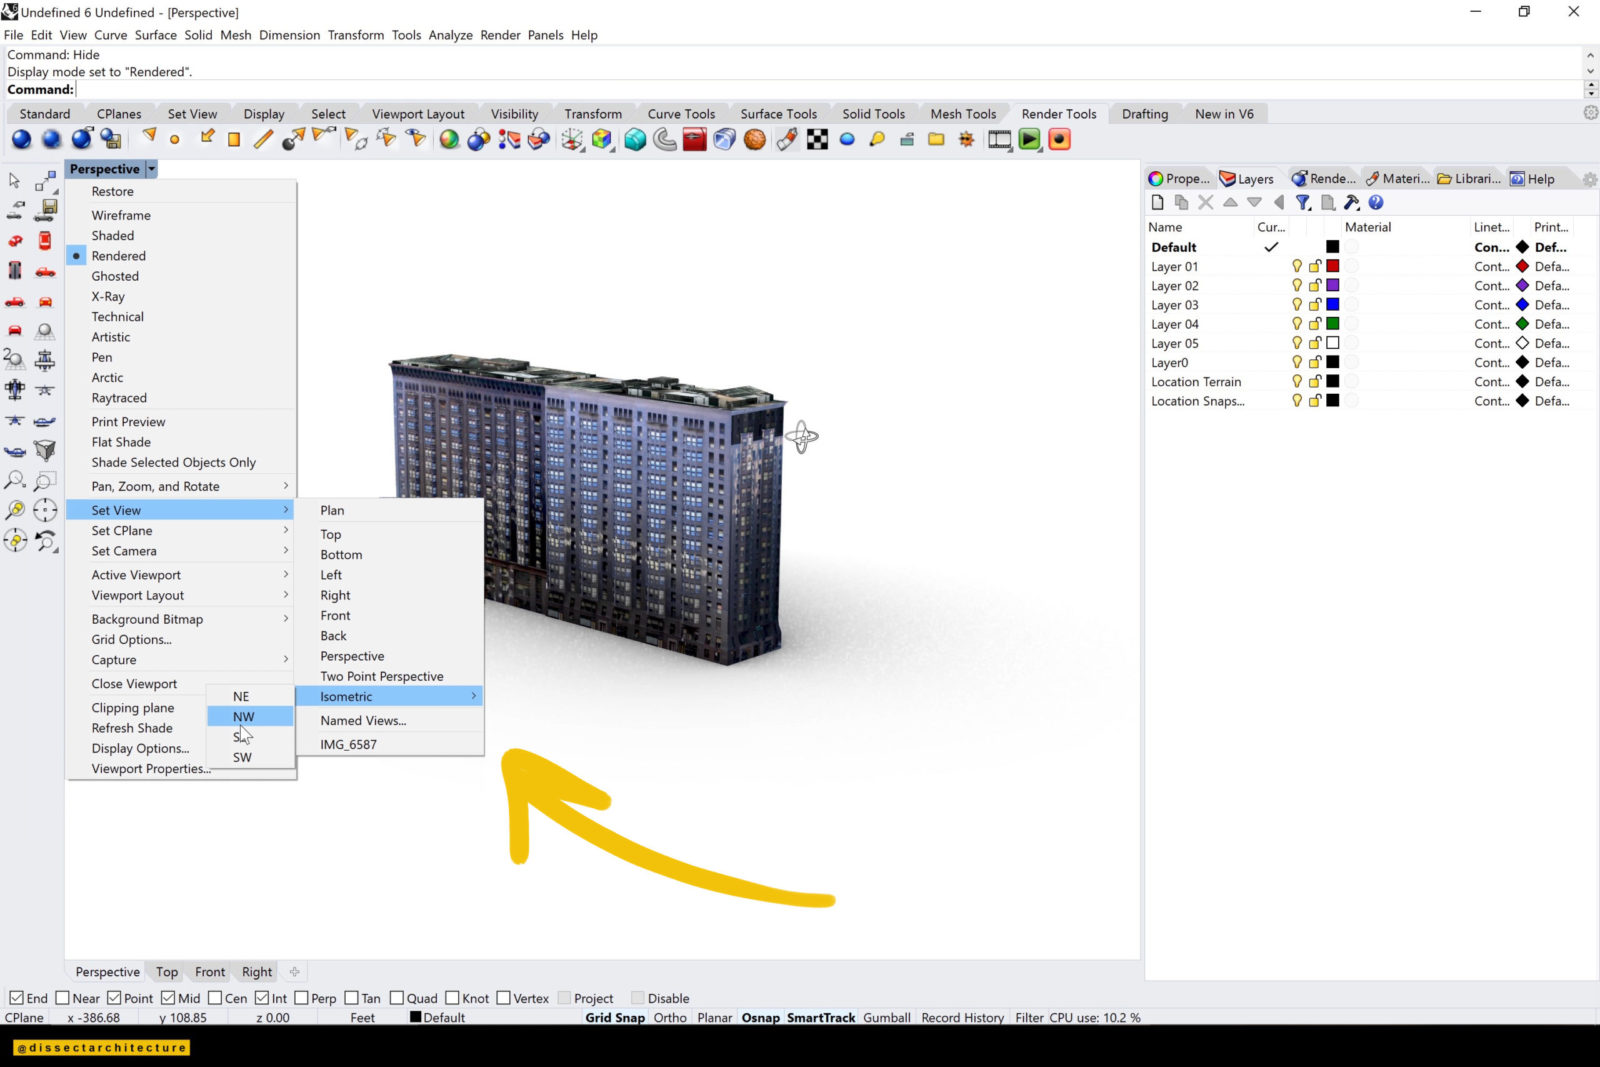
Change your view to Isometric view, this is the view we’ll use to render.
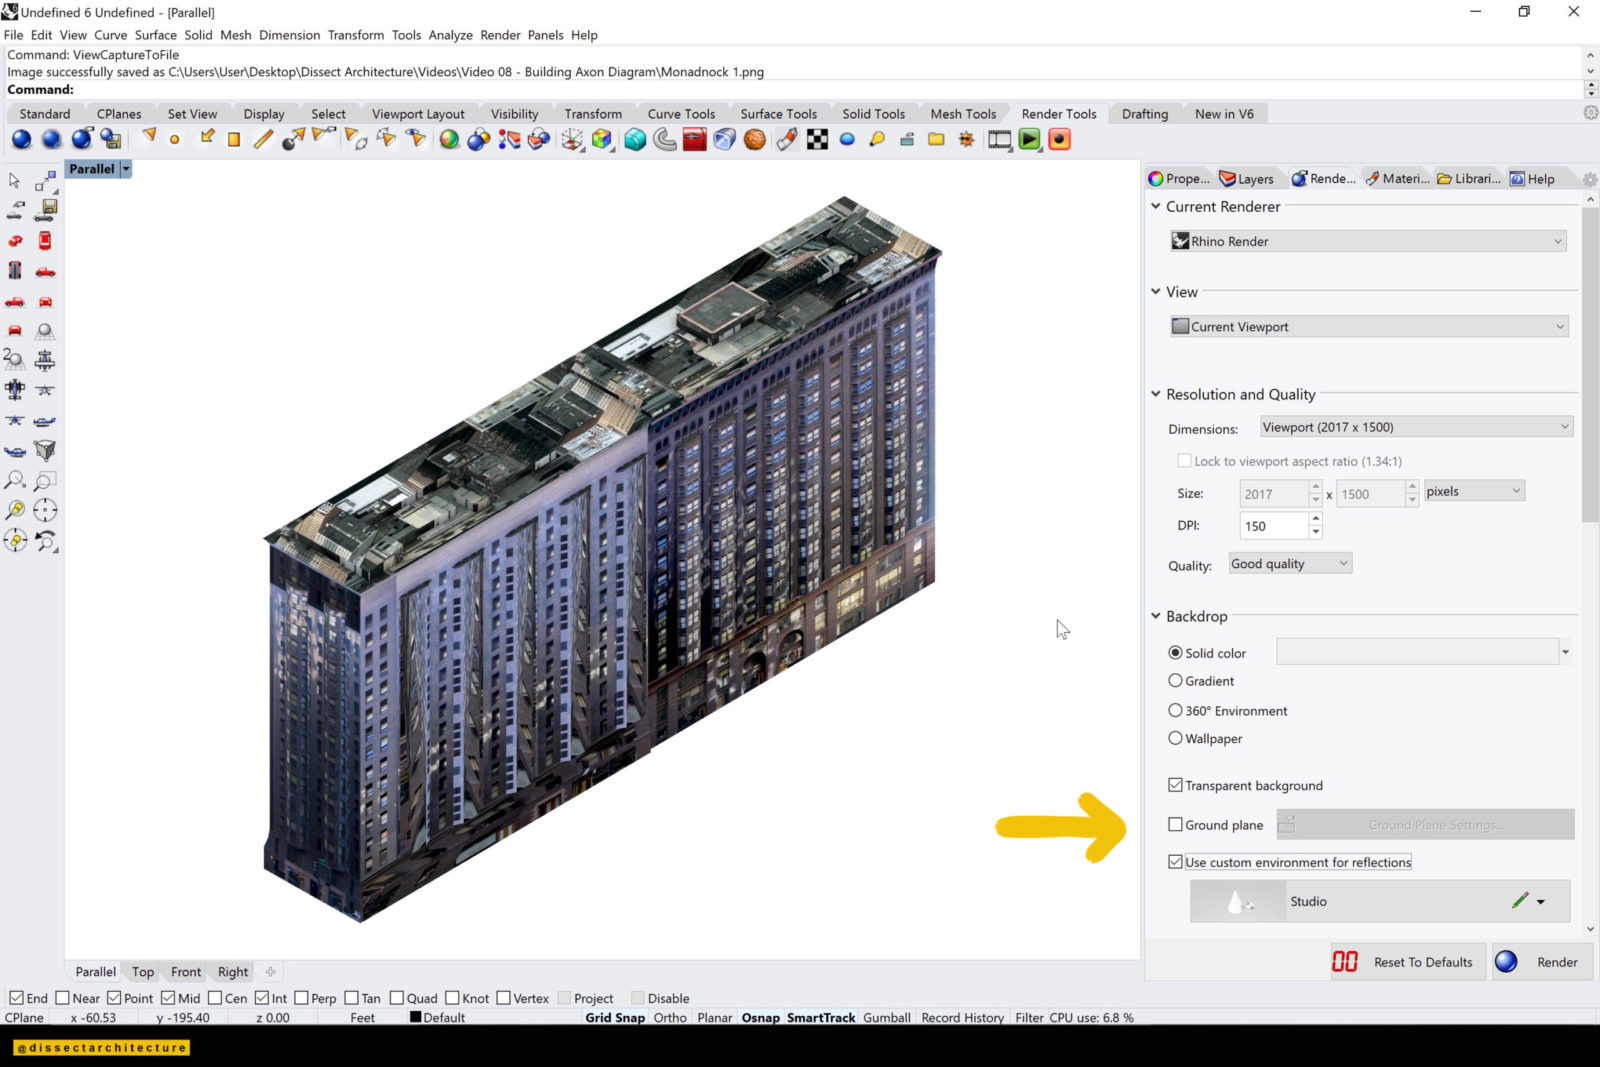
In your render settings, which you can either access from the Render Menu or Render Panel make sure to check that the transparent background option is turned off for the ground plane.
Step 05
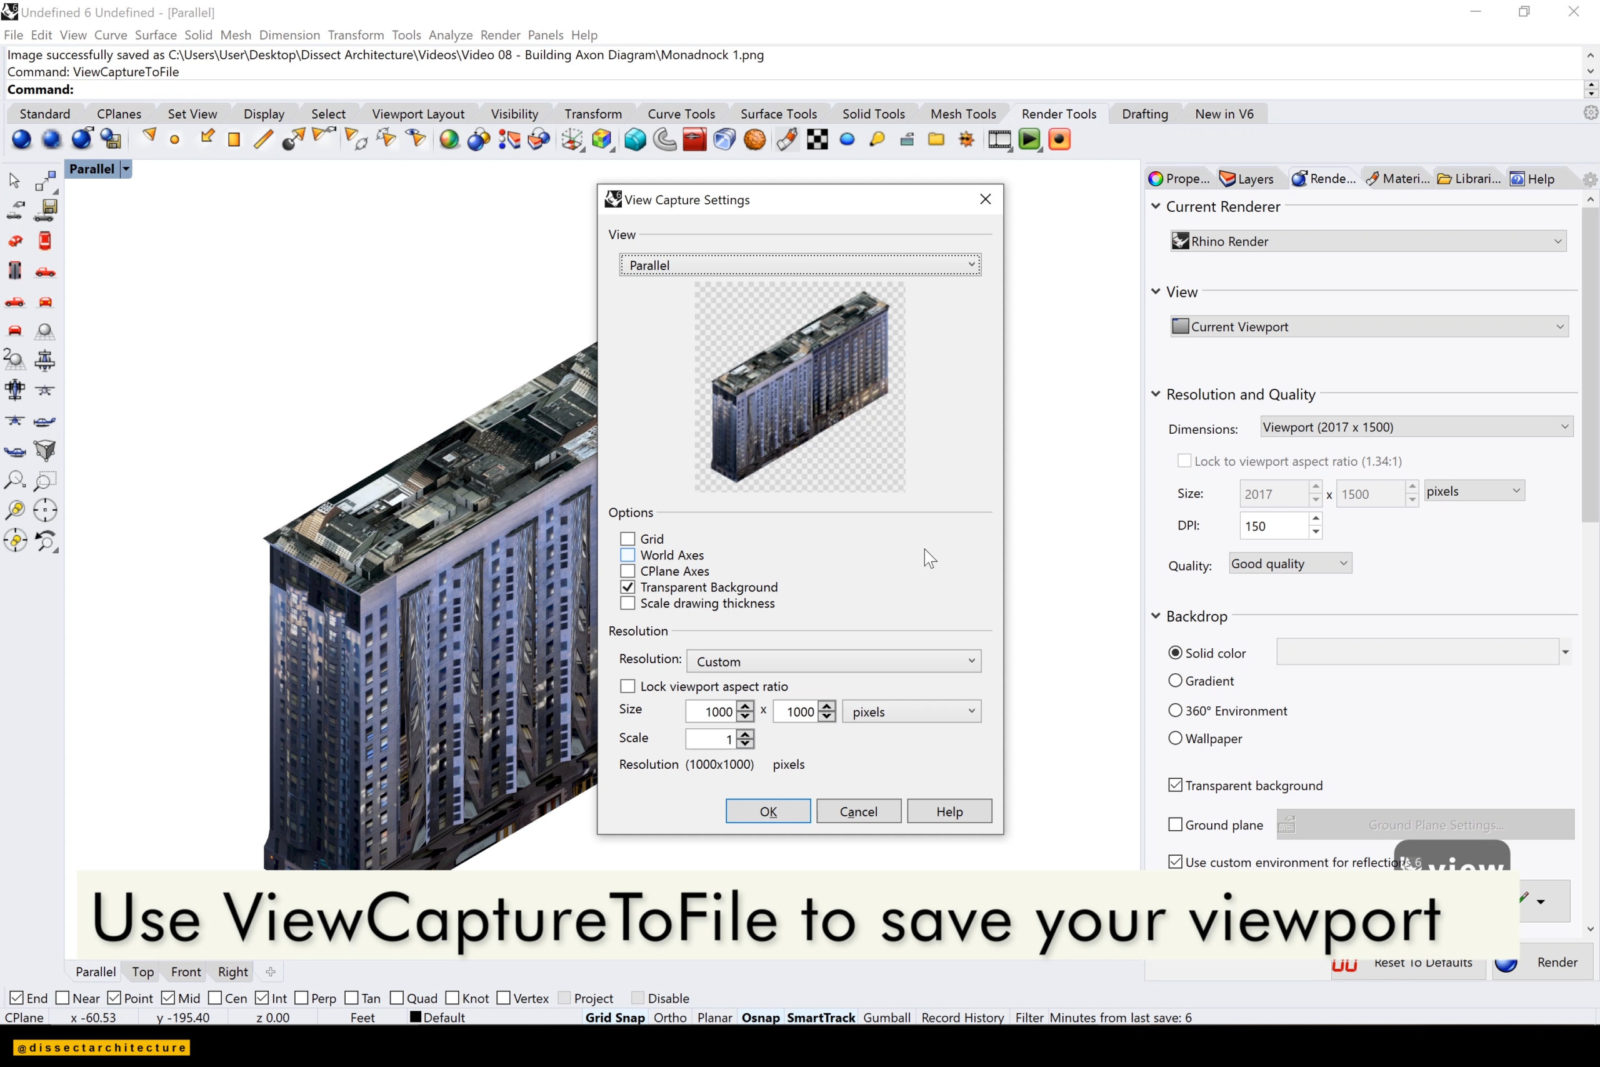
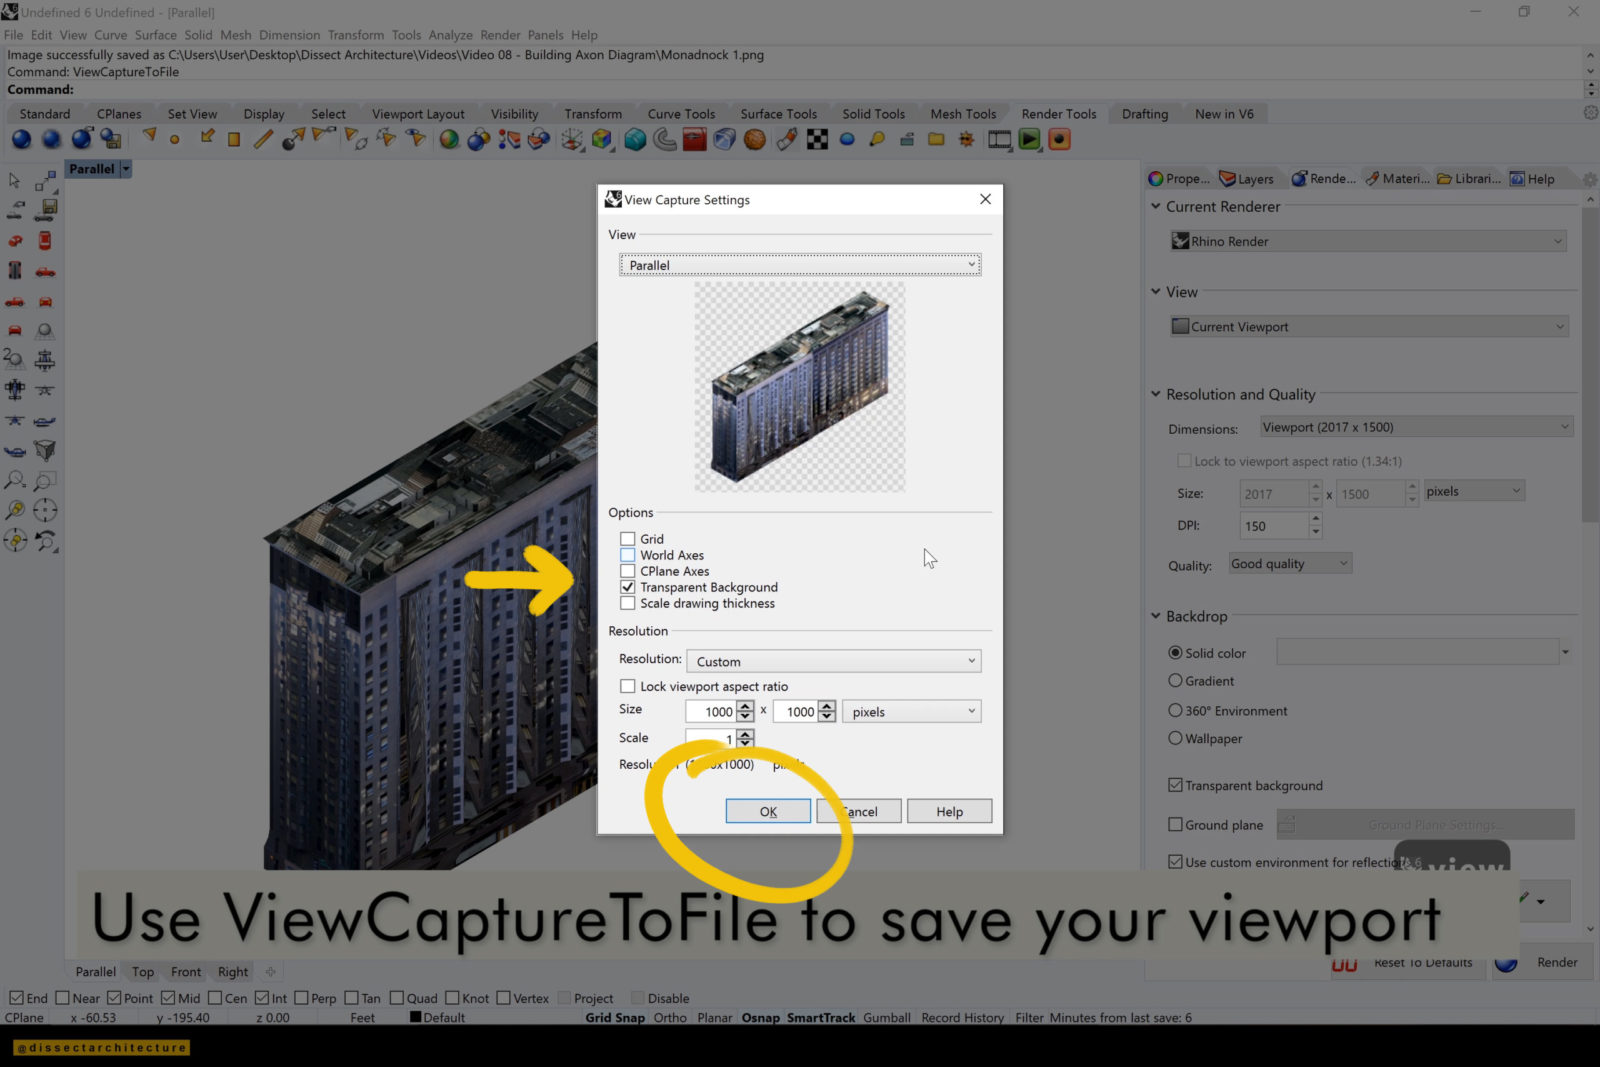
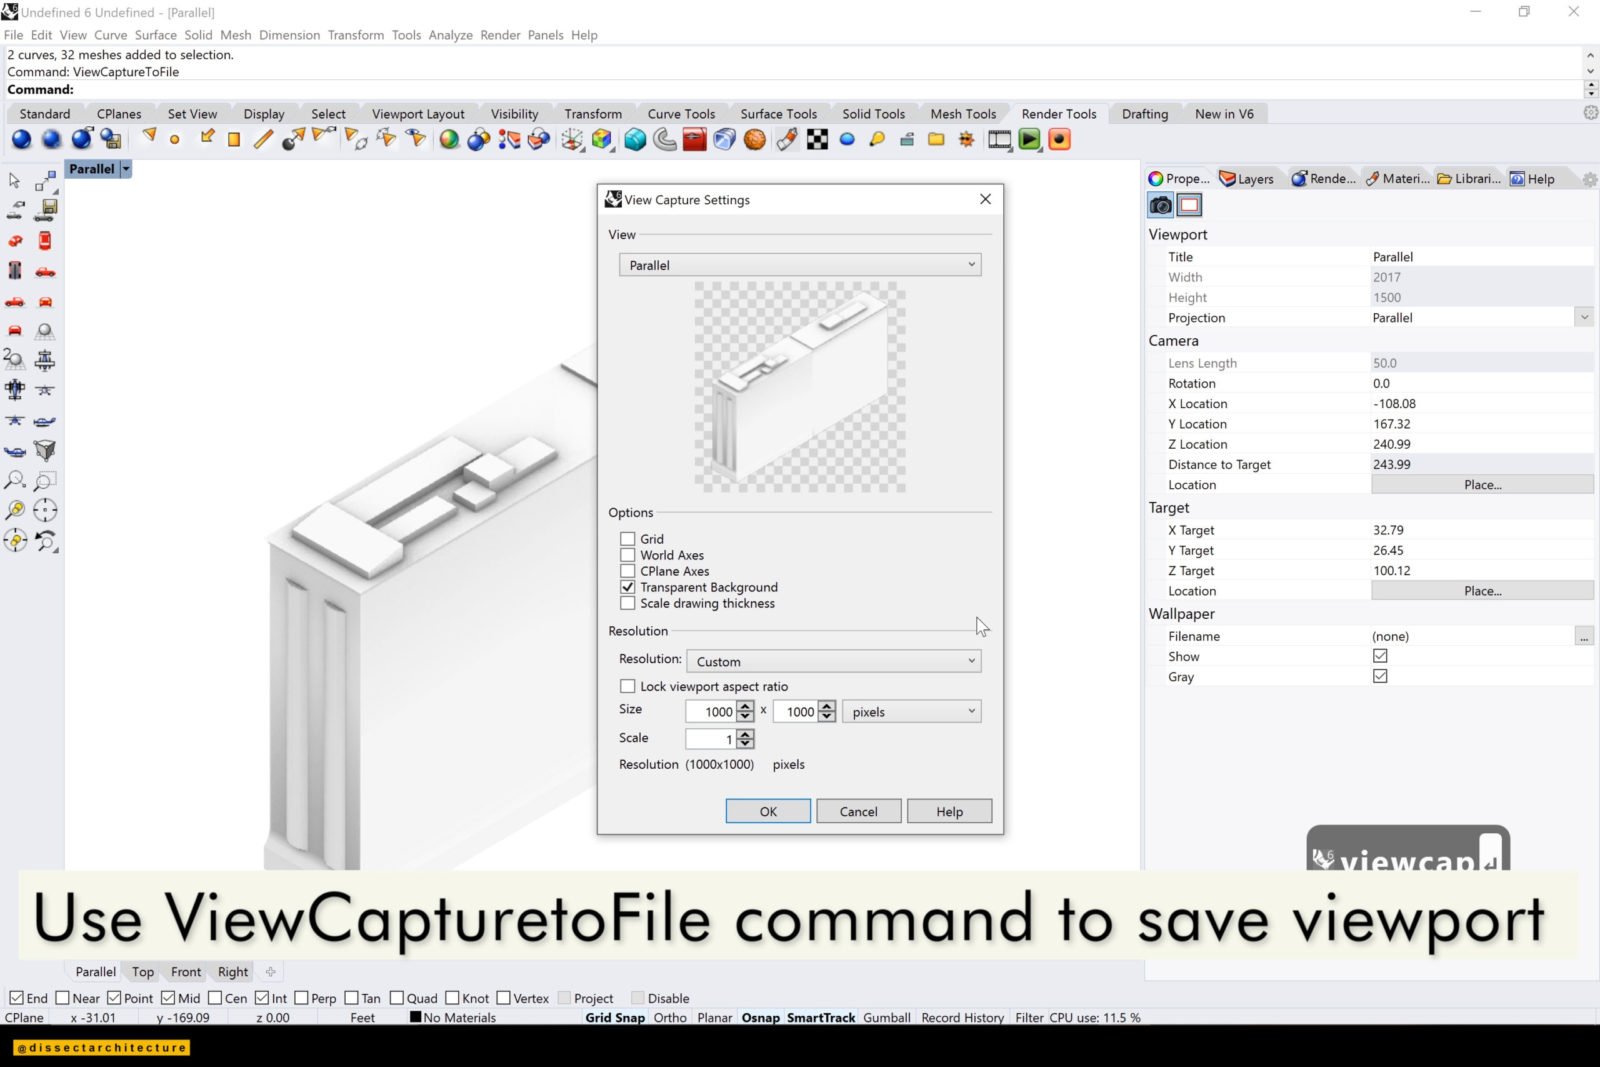
You can either then go ahead and render the view or use the ViewCapturetoFile command to save your viewport as it is.
If you use the ViewCapturetoFile command, you will see a pop up menu in which you can select to have a transparent background then click OK. Afterwards, the save file panel will appear and you can select a location where to save your viewport.
If you'd like to create a building diagram with no materiality :
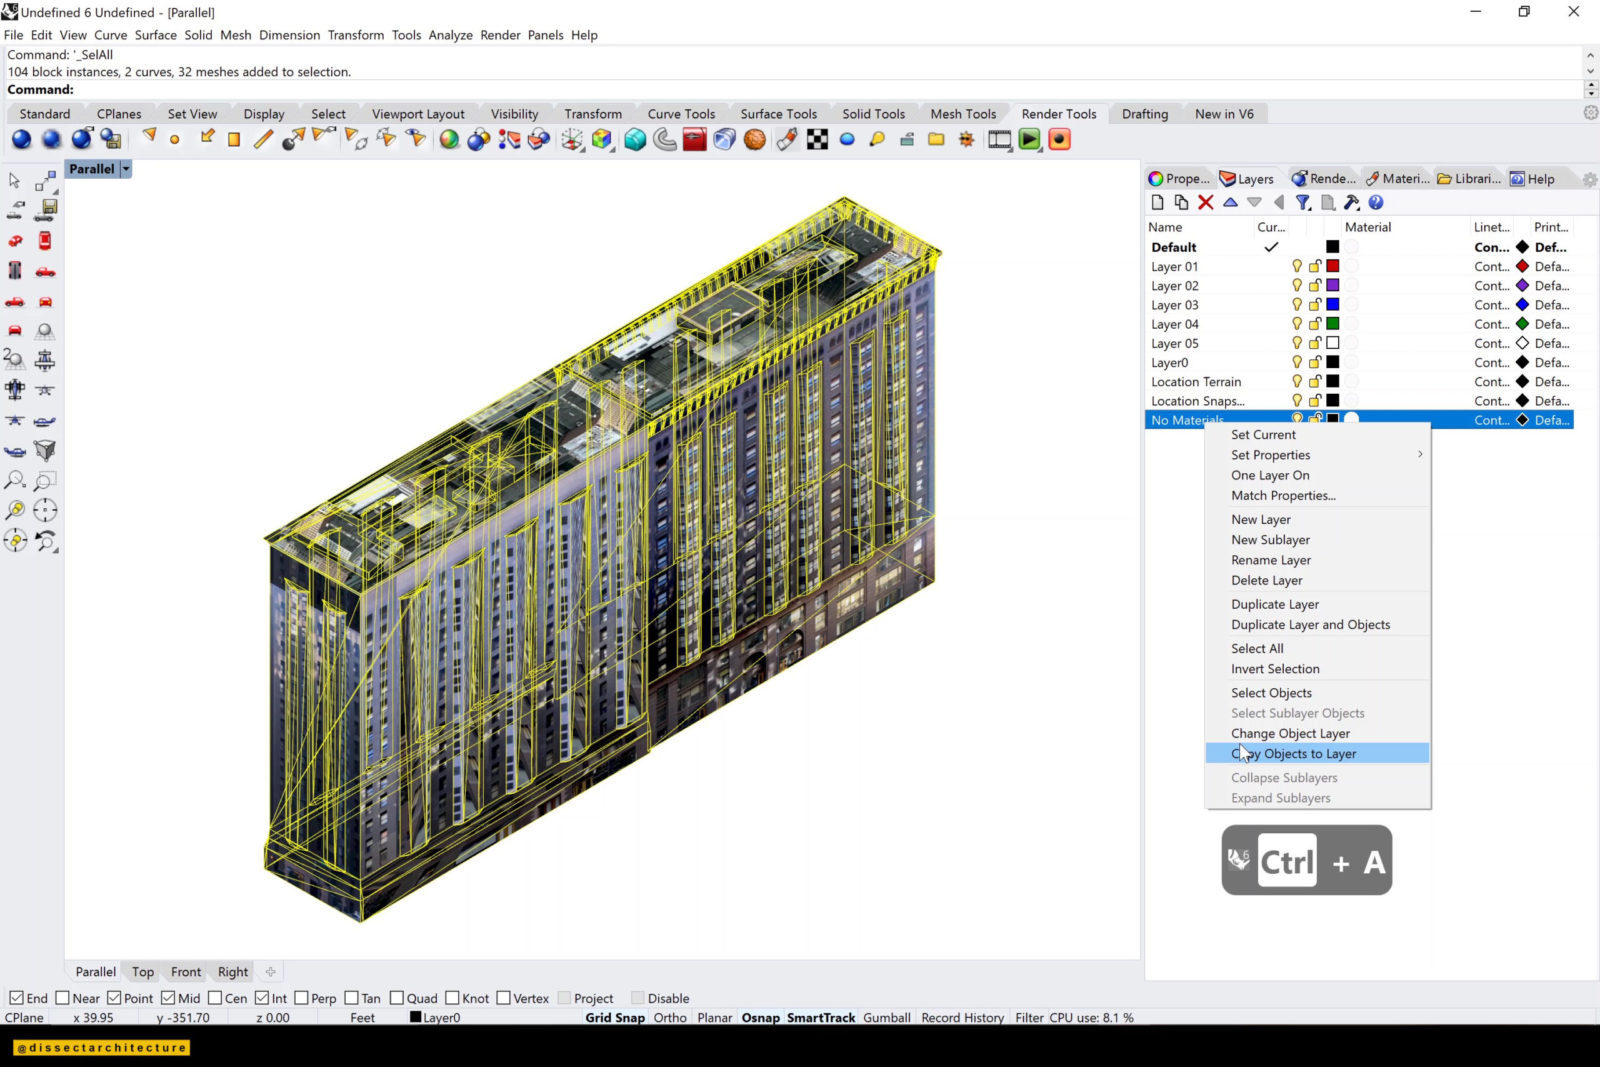
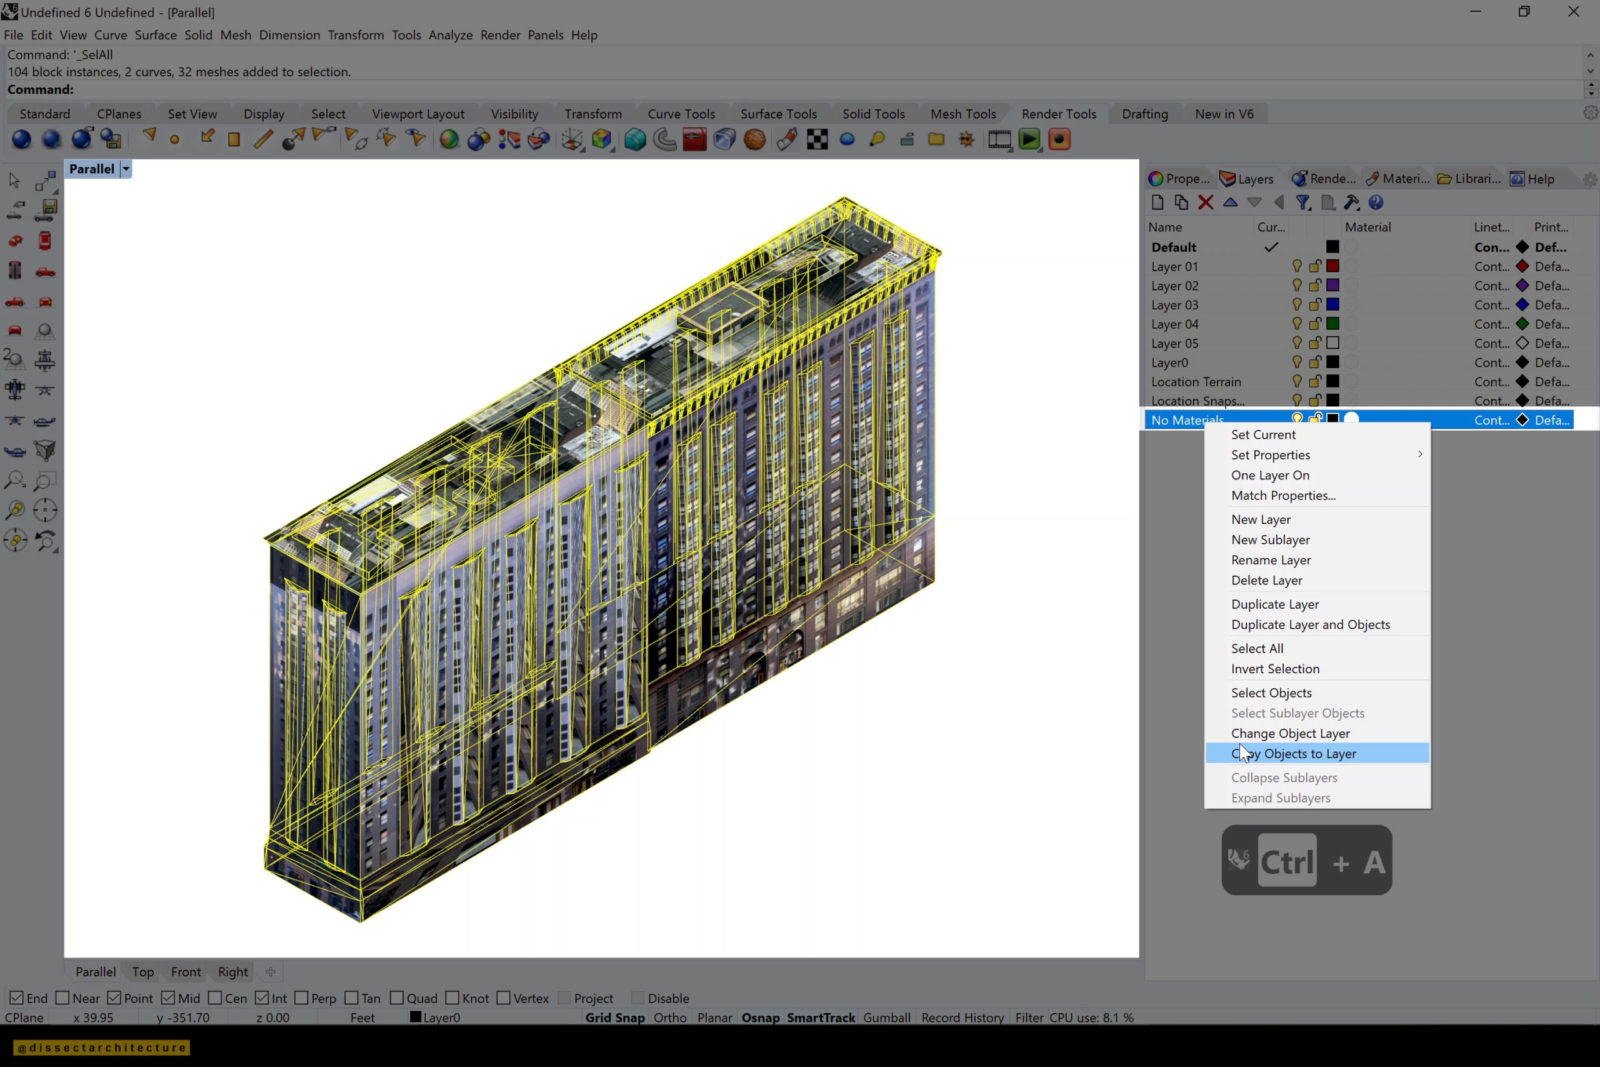
Step 06
Make a new layer, then use the keyboard shortcut, CTRL+A, to select the model and copy the objects into the new layer by right-clicking the new layer and selecting Copy Objects to Layer.
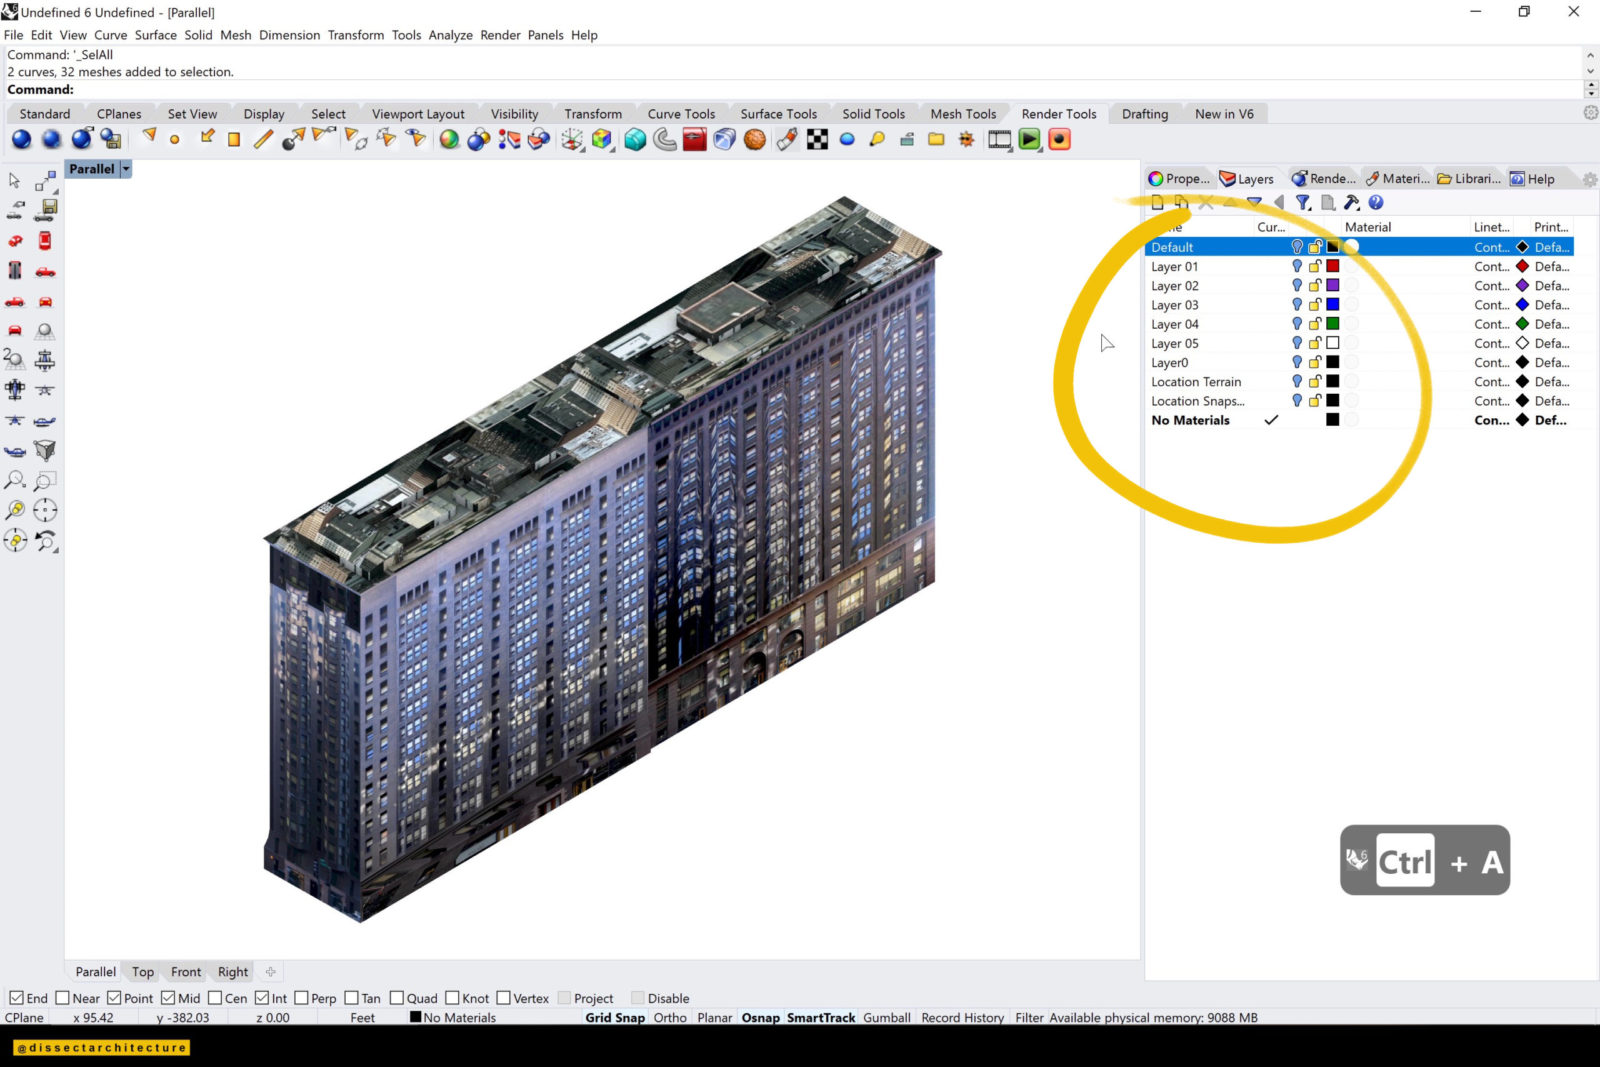
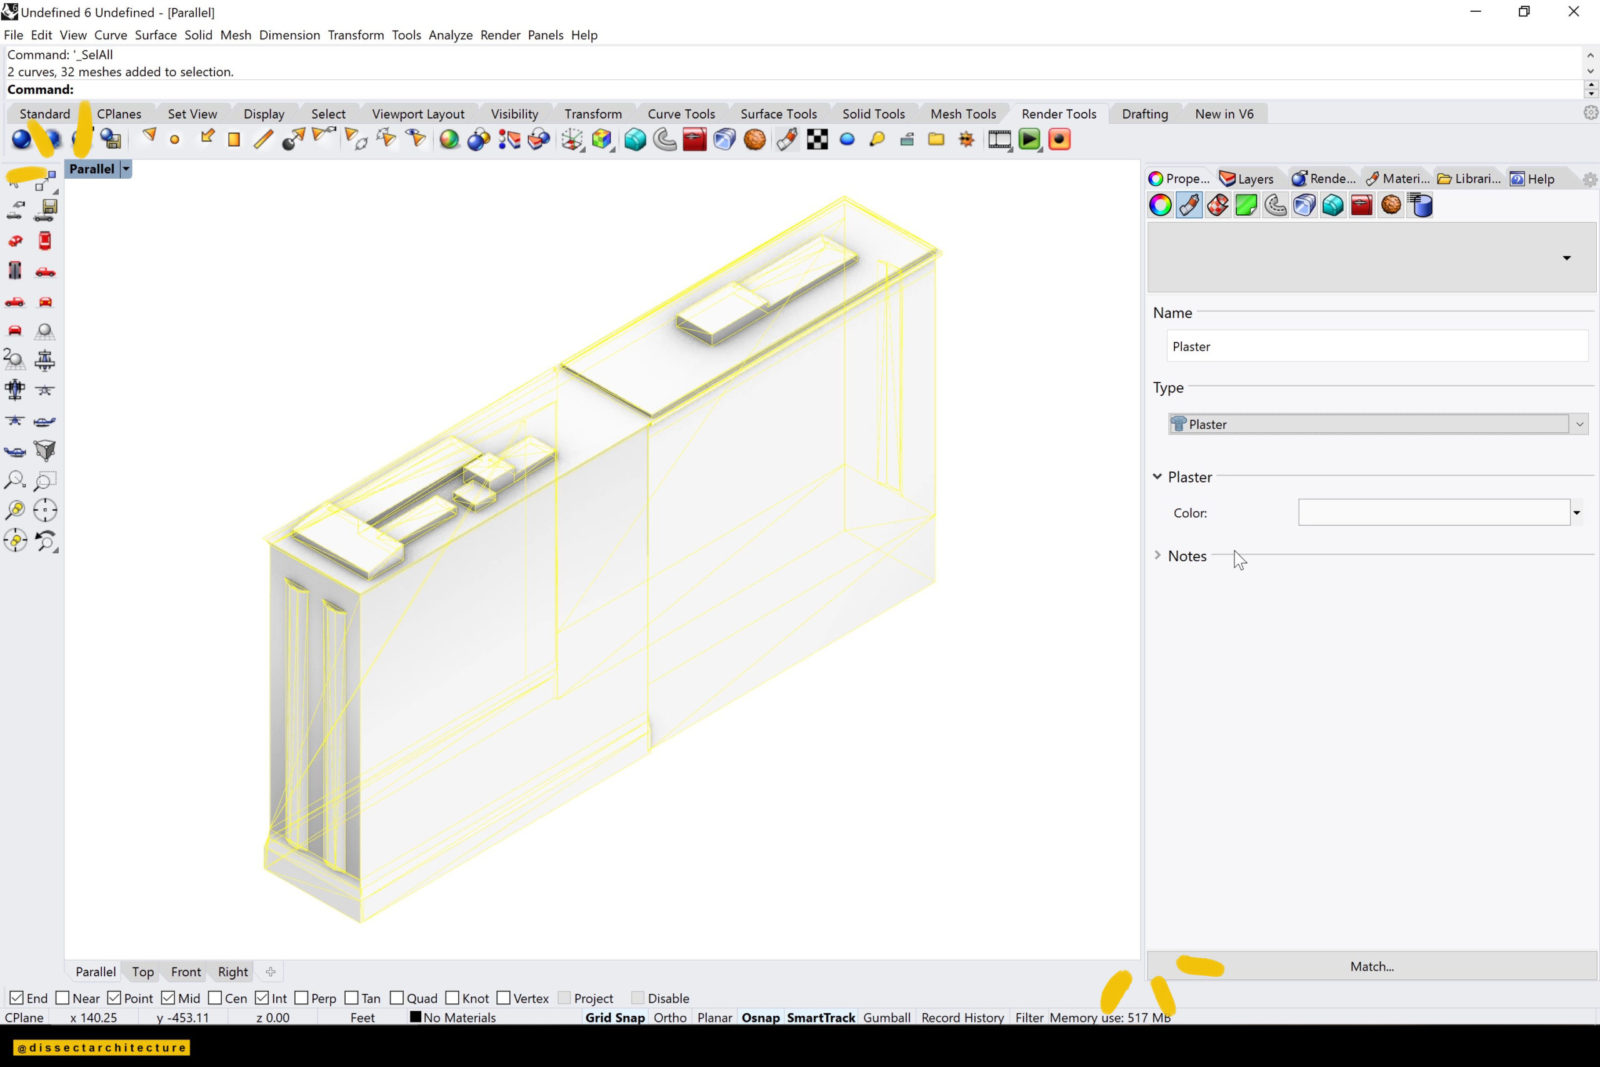
Step 07
Turn off all the other layers. Then once again select the the entire model and go to the Material Panel and under the Material Type select plaster. This will automatically change the color of your model to white.
Step 08
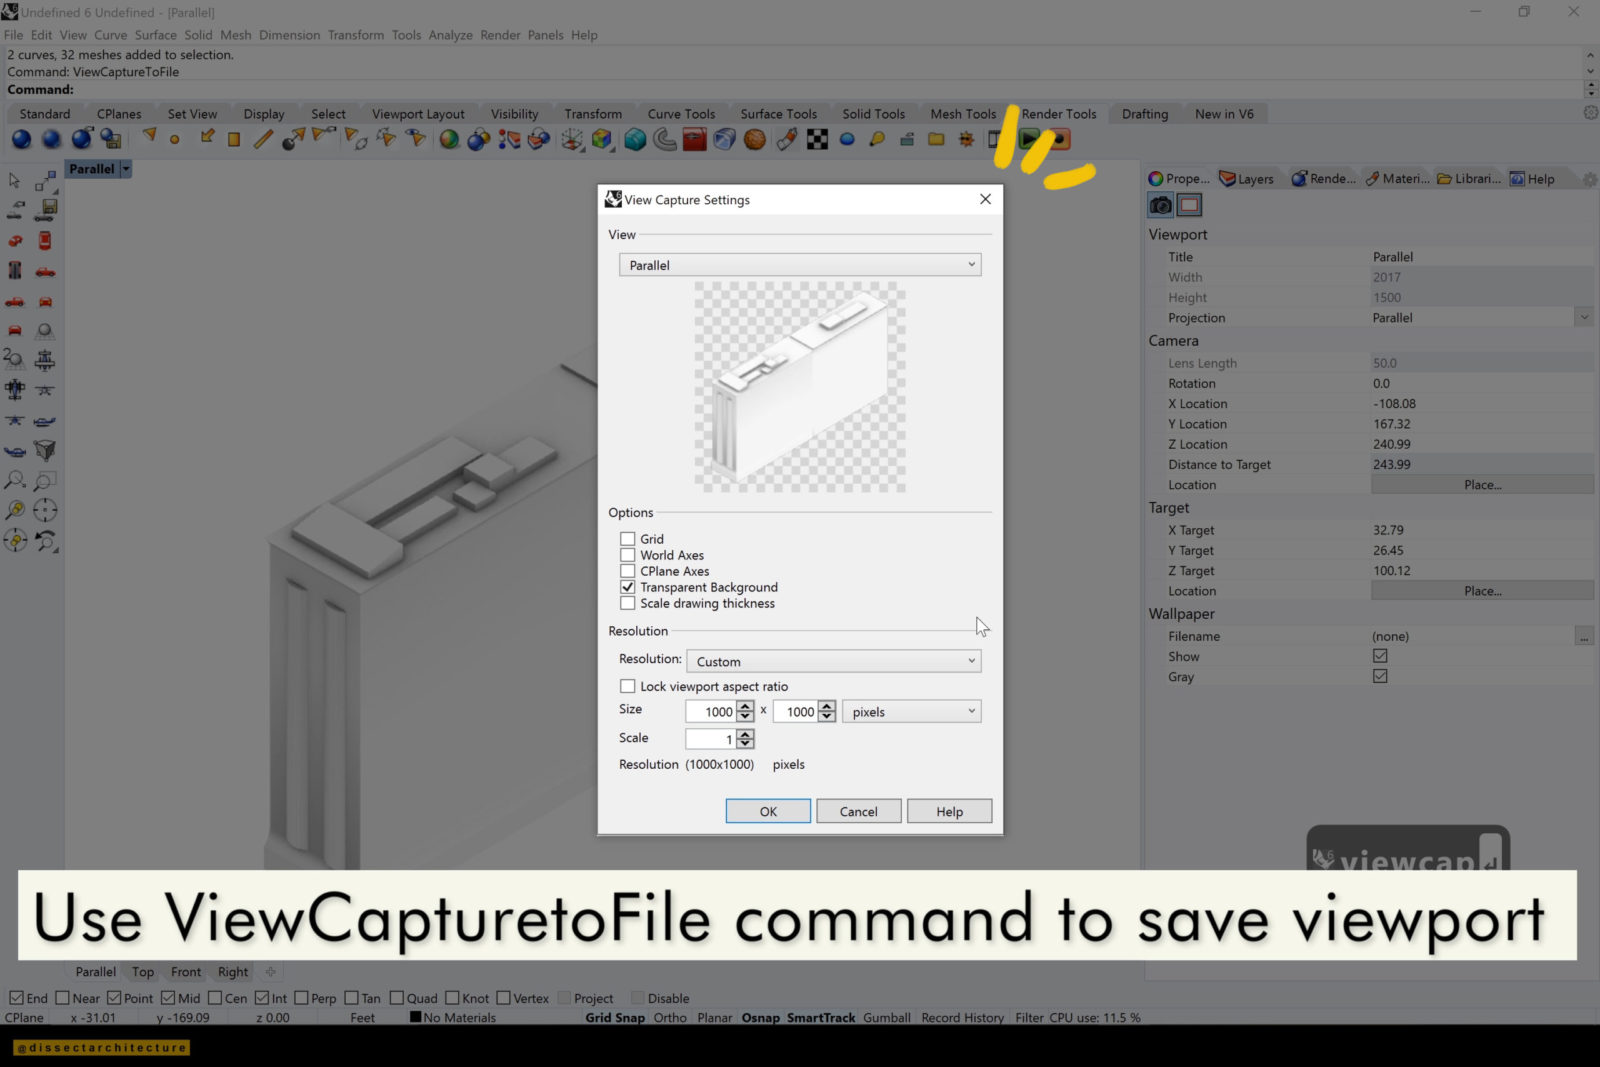
Again, use the ViewCapturetoFile command to save your viewport.
Step 09
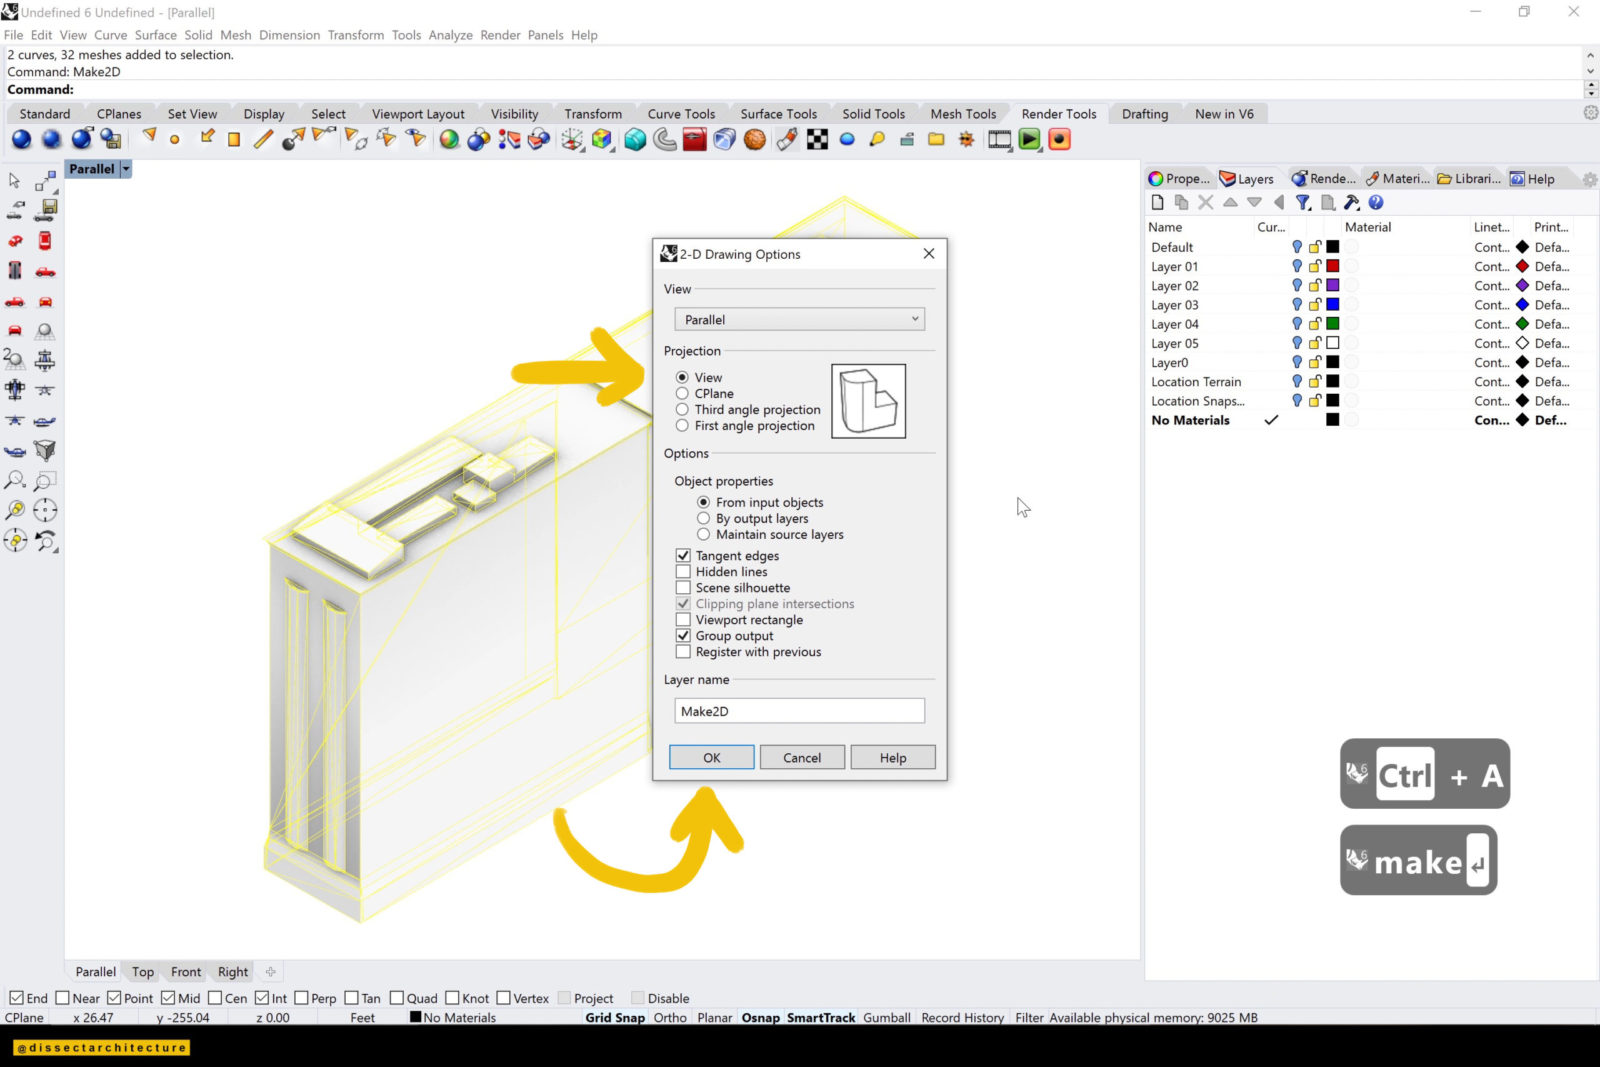
Keeping the same view in your viewport, select the model and type Make2D in the command line.
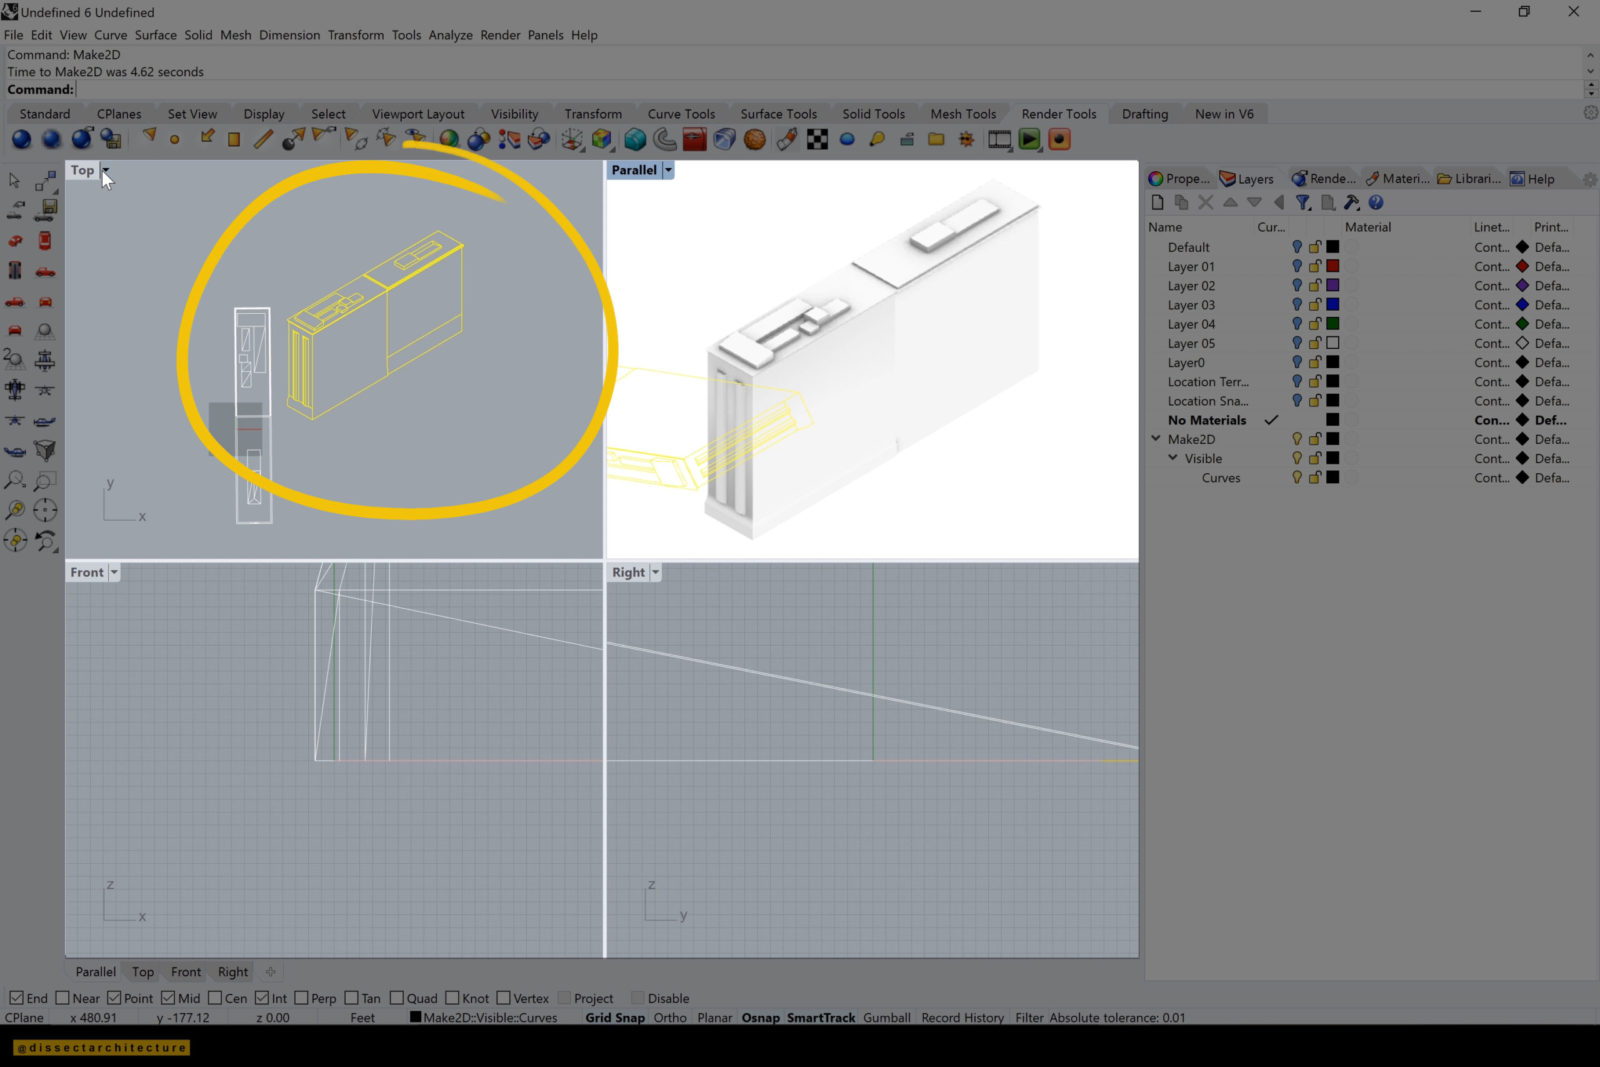
Select the option to create a projection of your current view. Click OK. You will see a new selection appear in your viewport. Go to the Top Viewport to fully see the drawing and place it in a location that doesn’t interfere with any other objects.
Step 10
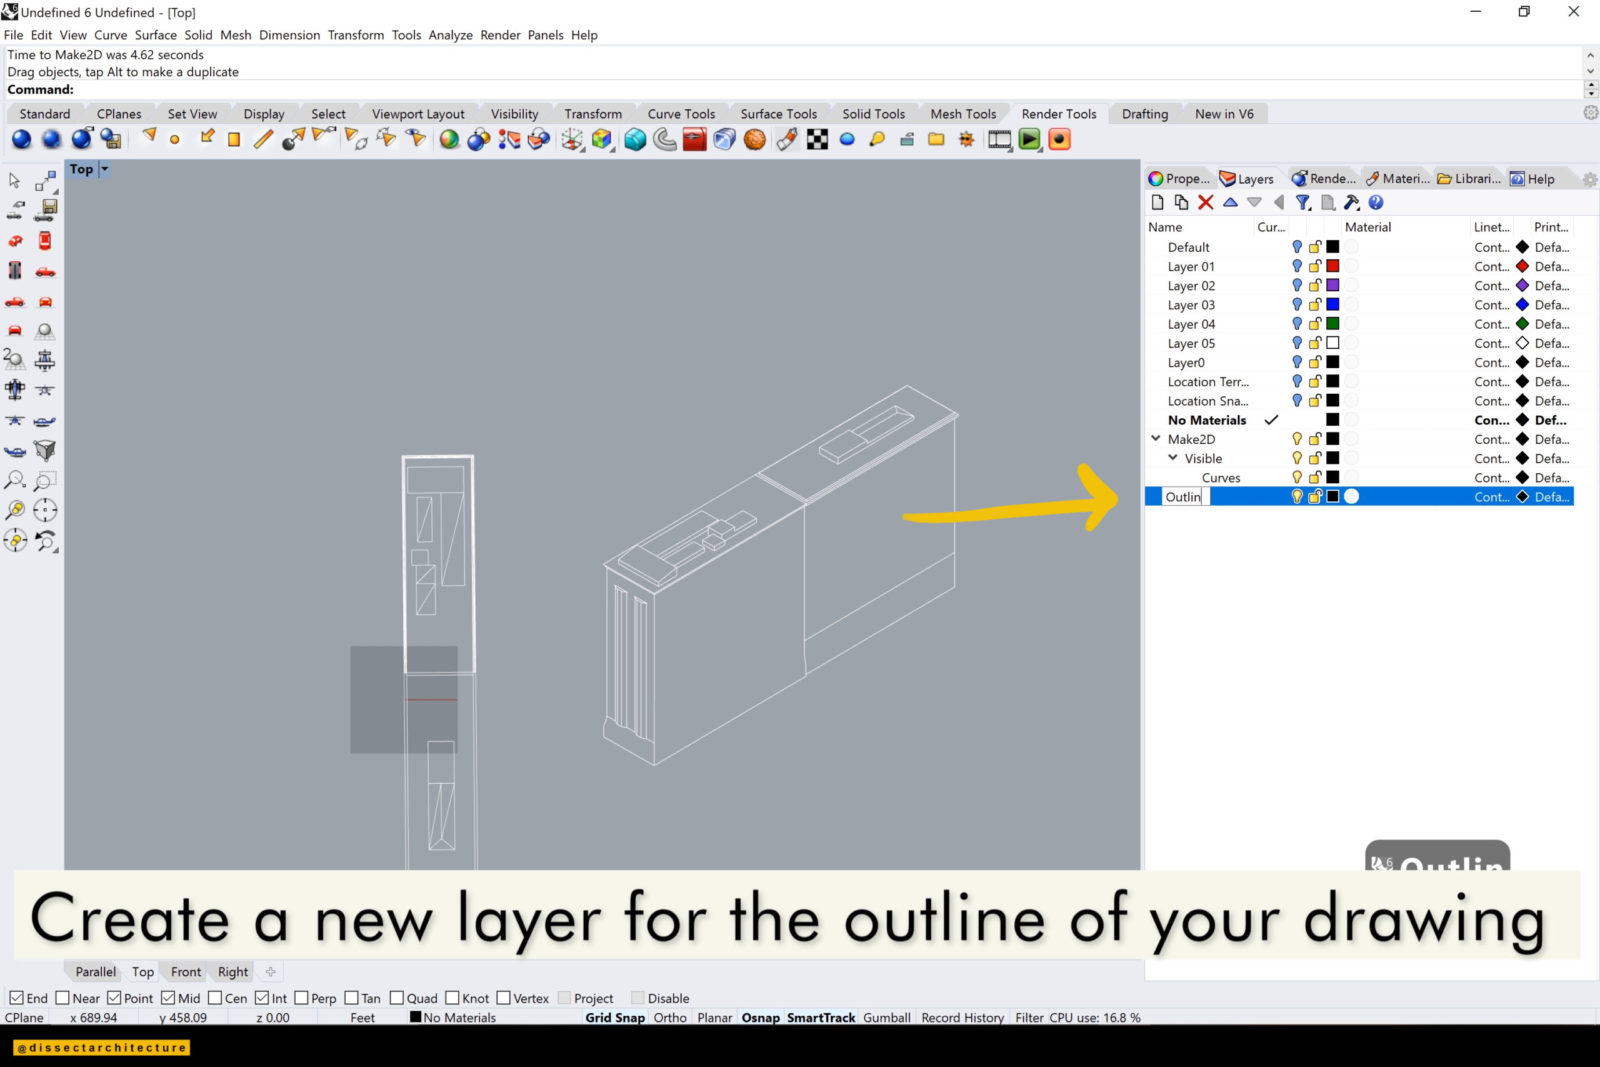
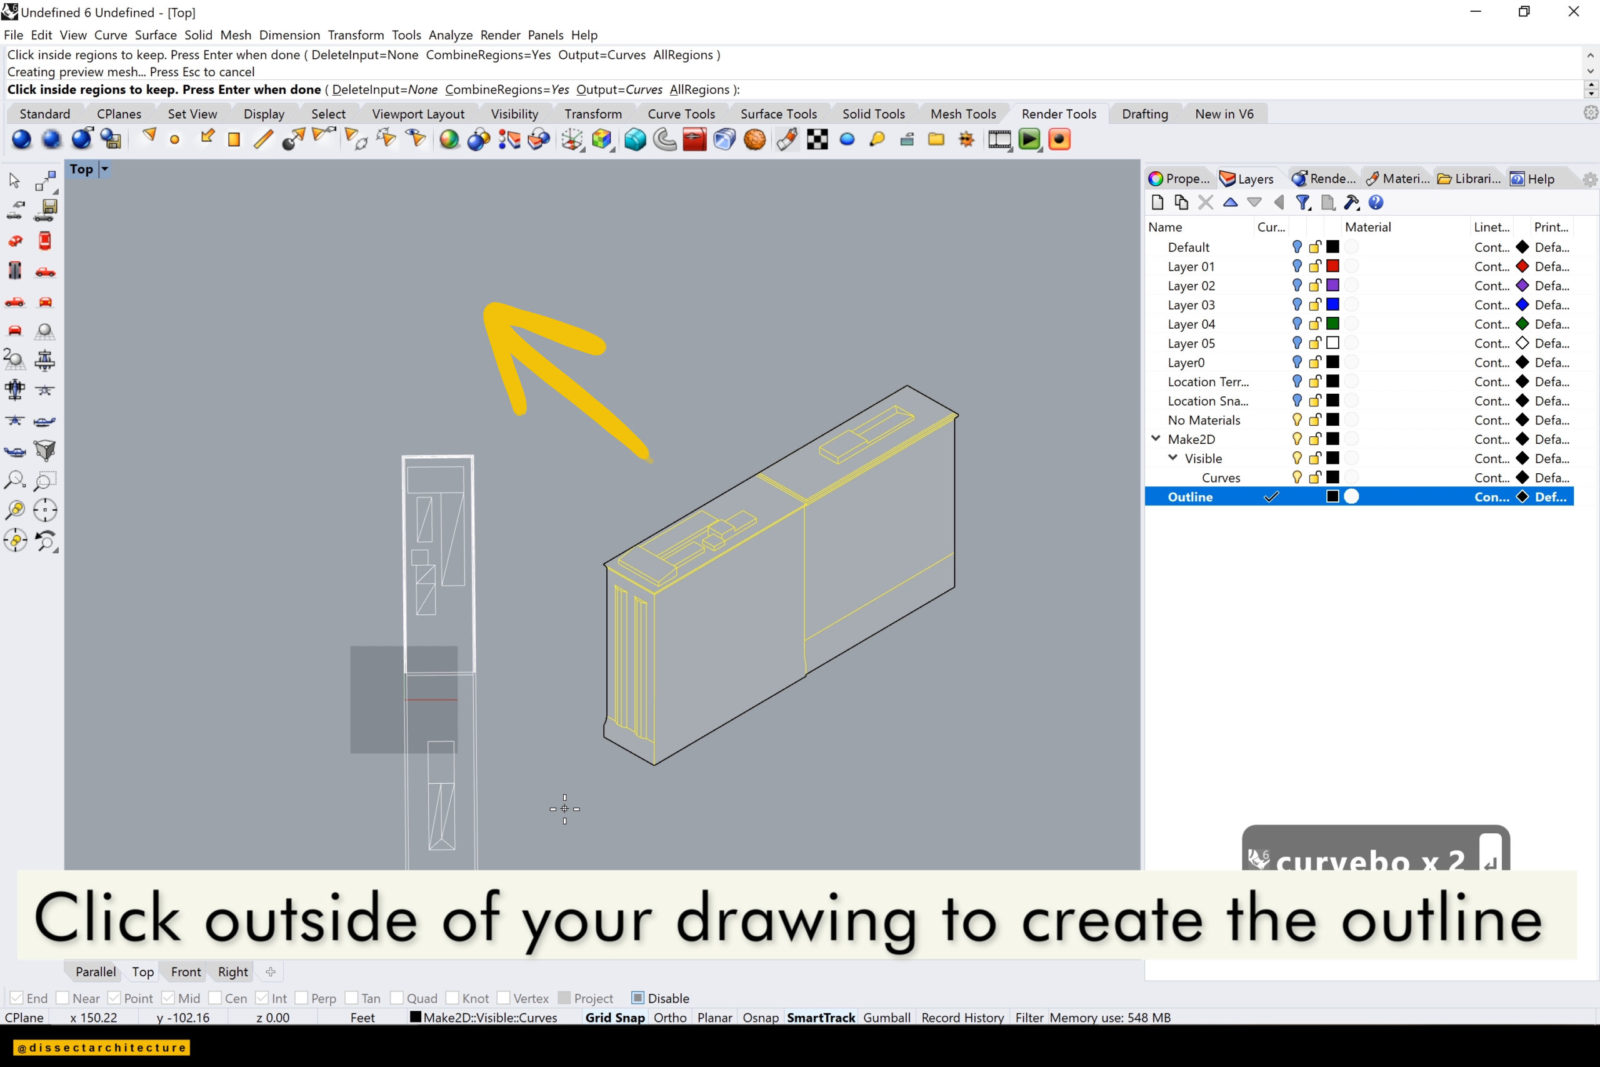
Now we will create an outline for your Make2D linework.
Create a new layer for this outline. Then select your Make2D linework and then type CrvBoolean in the command line. Click outside of your linework and this will automatically create an outline of your drawing.
Step 11
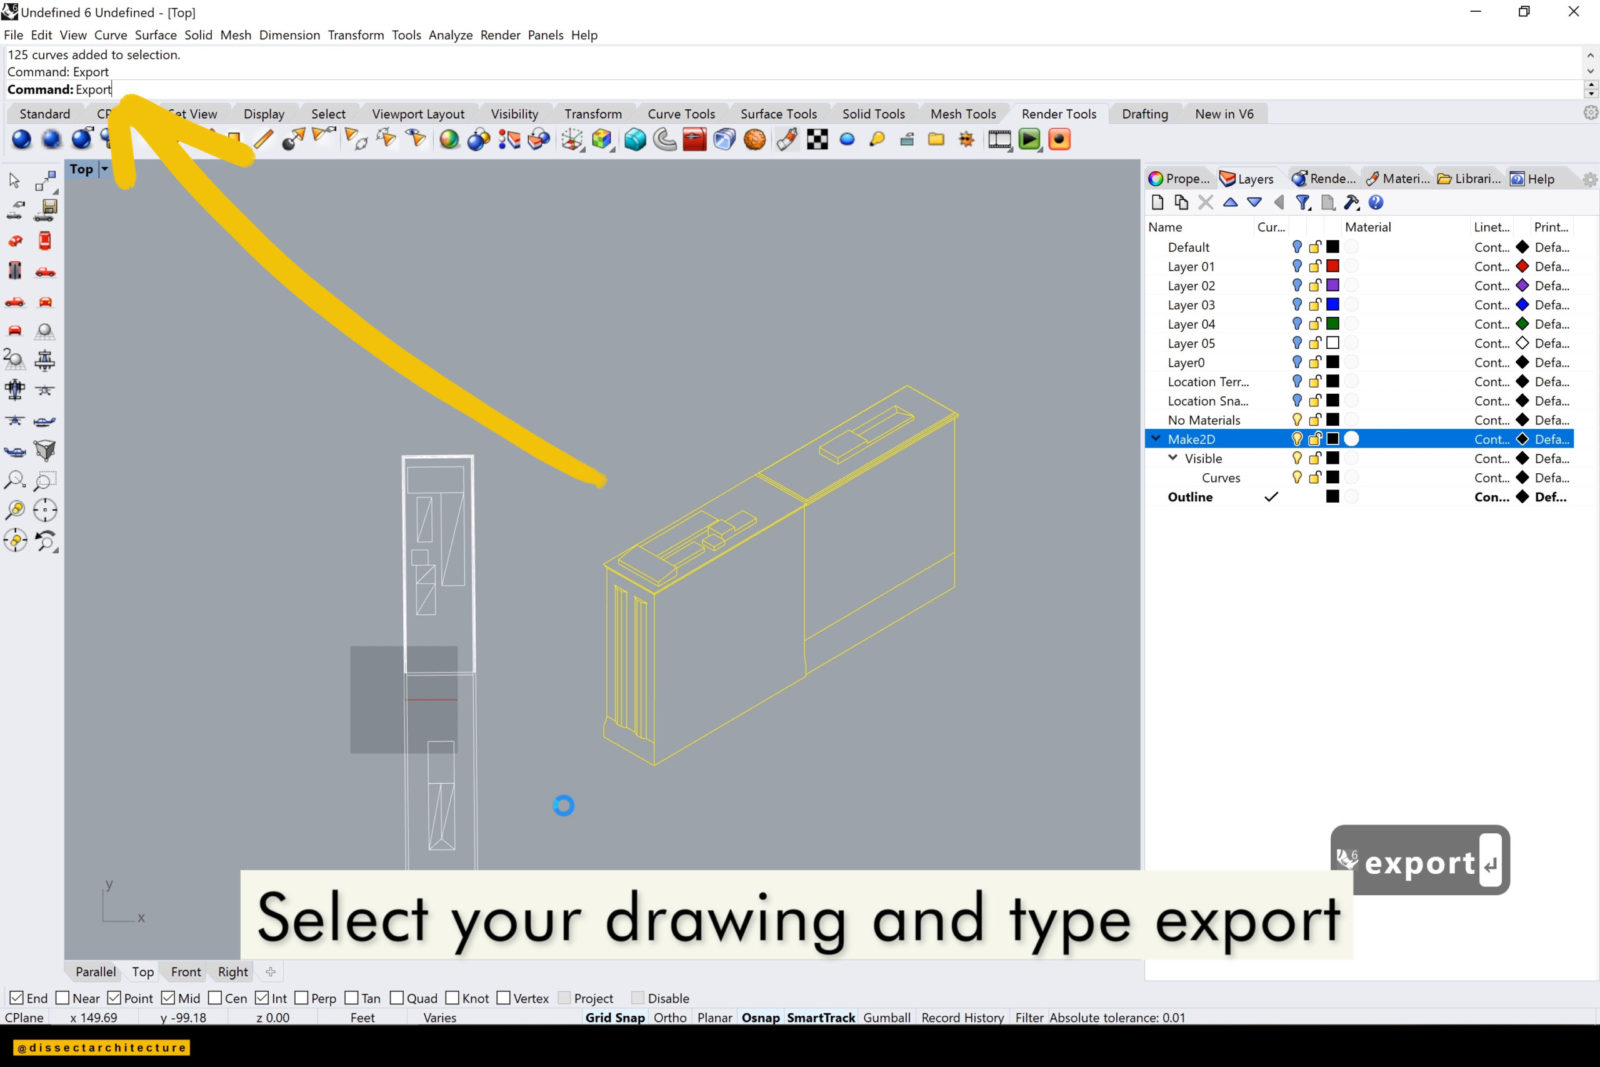
Select your entire drawing and type Export in the command line. The Save pop up menu will appear and you can select the location where your drawing should be saved.
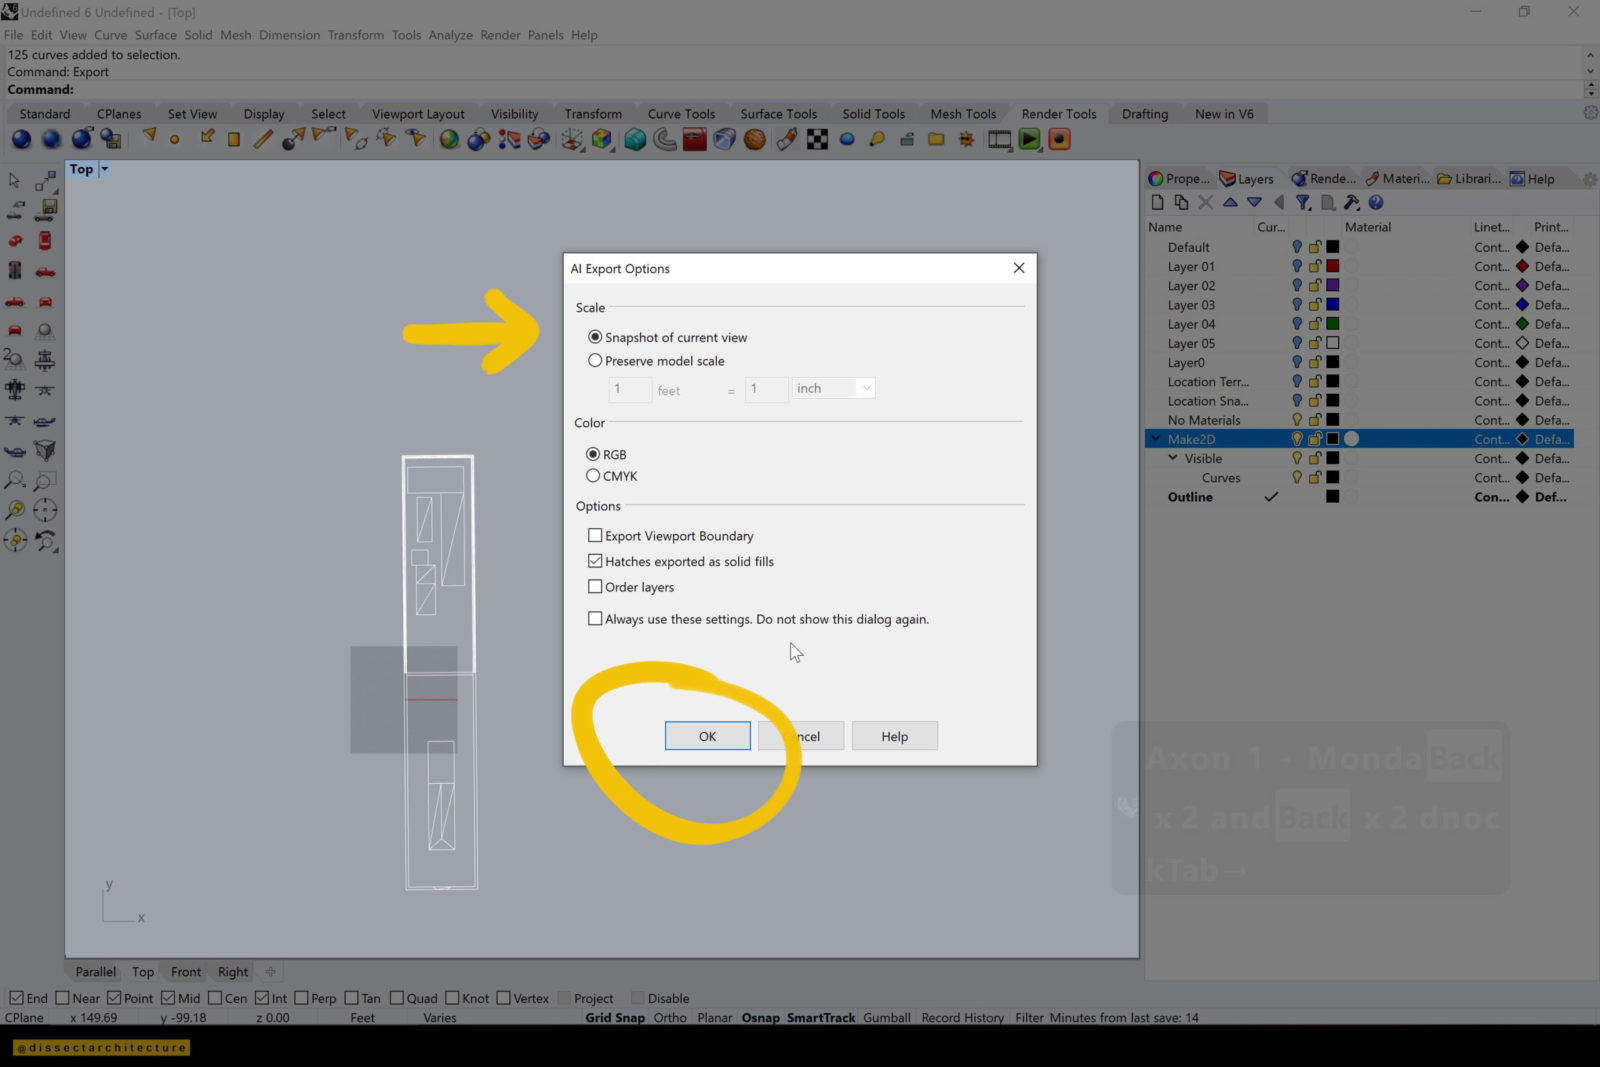
Select the option to save as an Illustrator File, with an .ai extension. Click Save after making all your selections. Within the AI Export Options Menu choose Snapshot of Current view and click OK.
Step 12
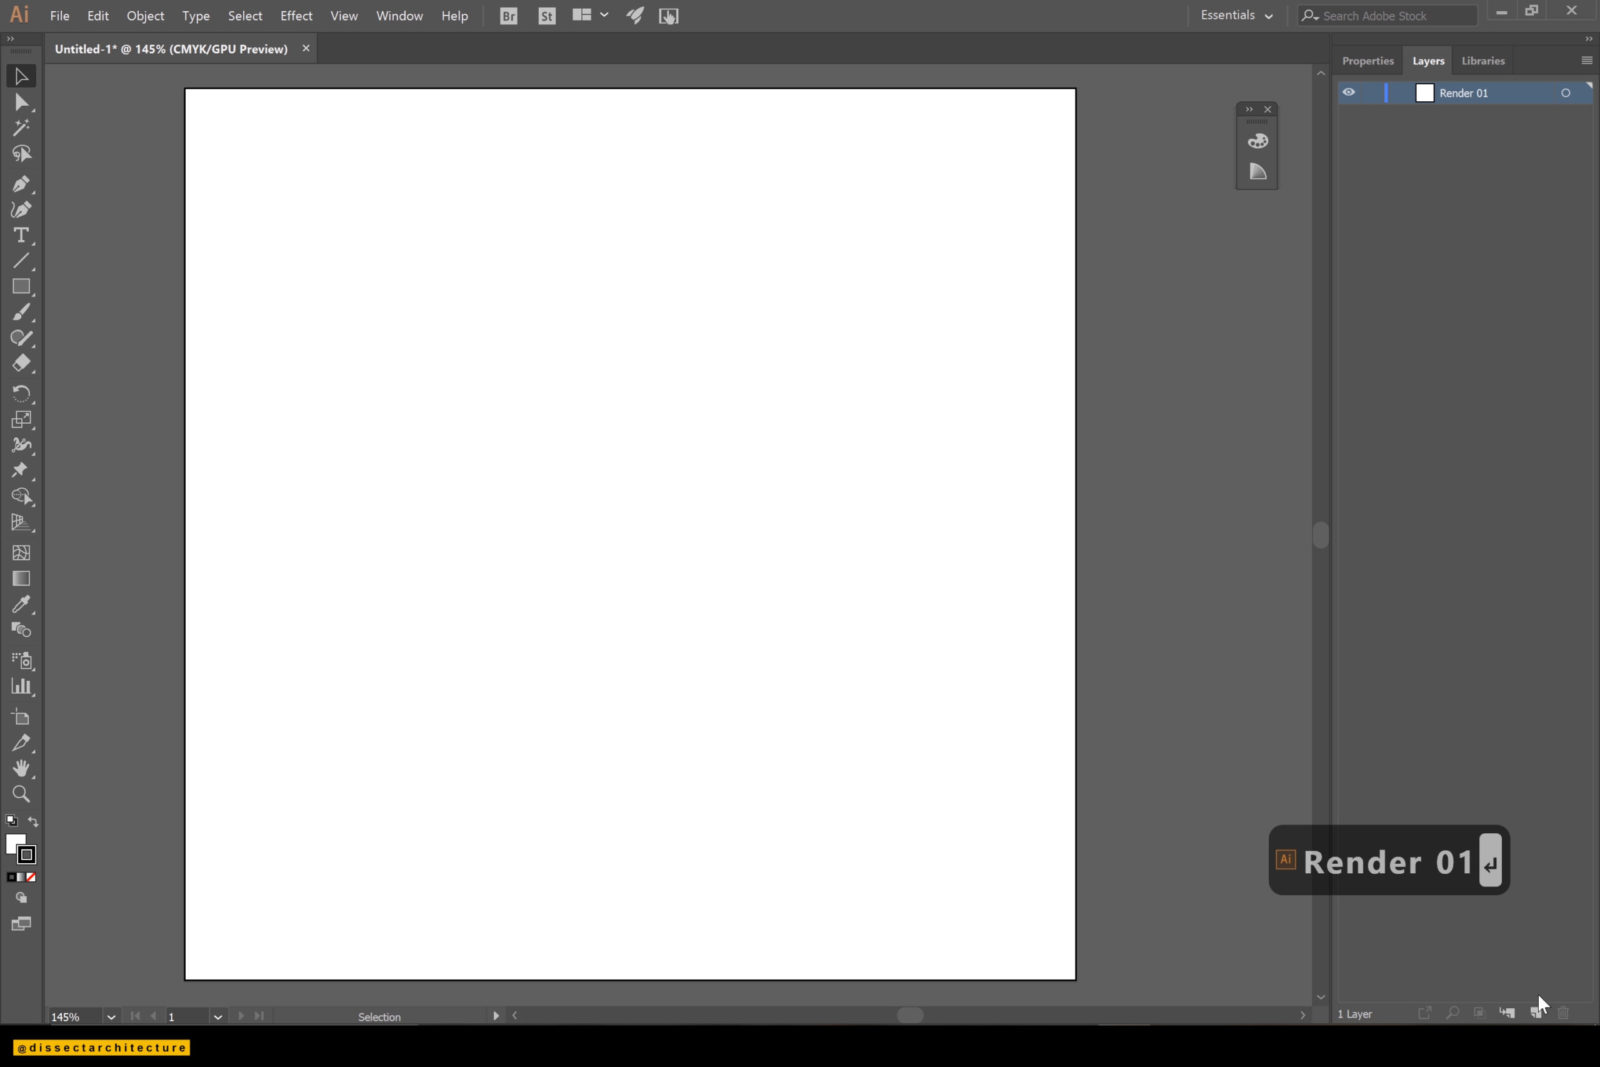
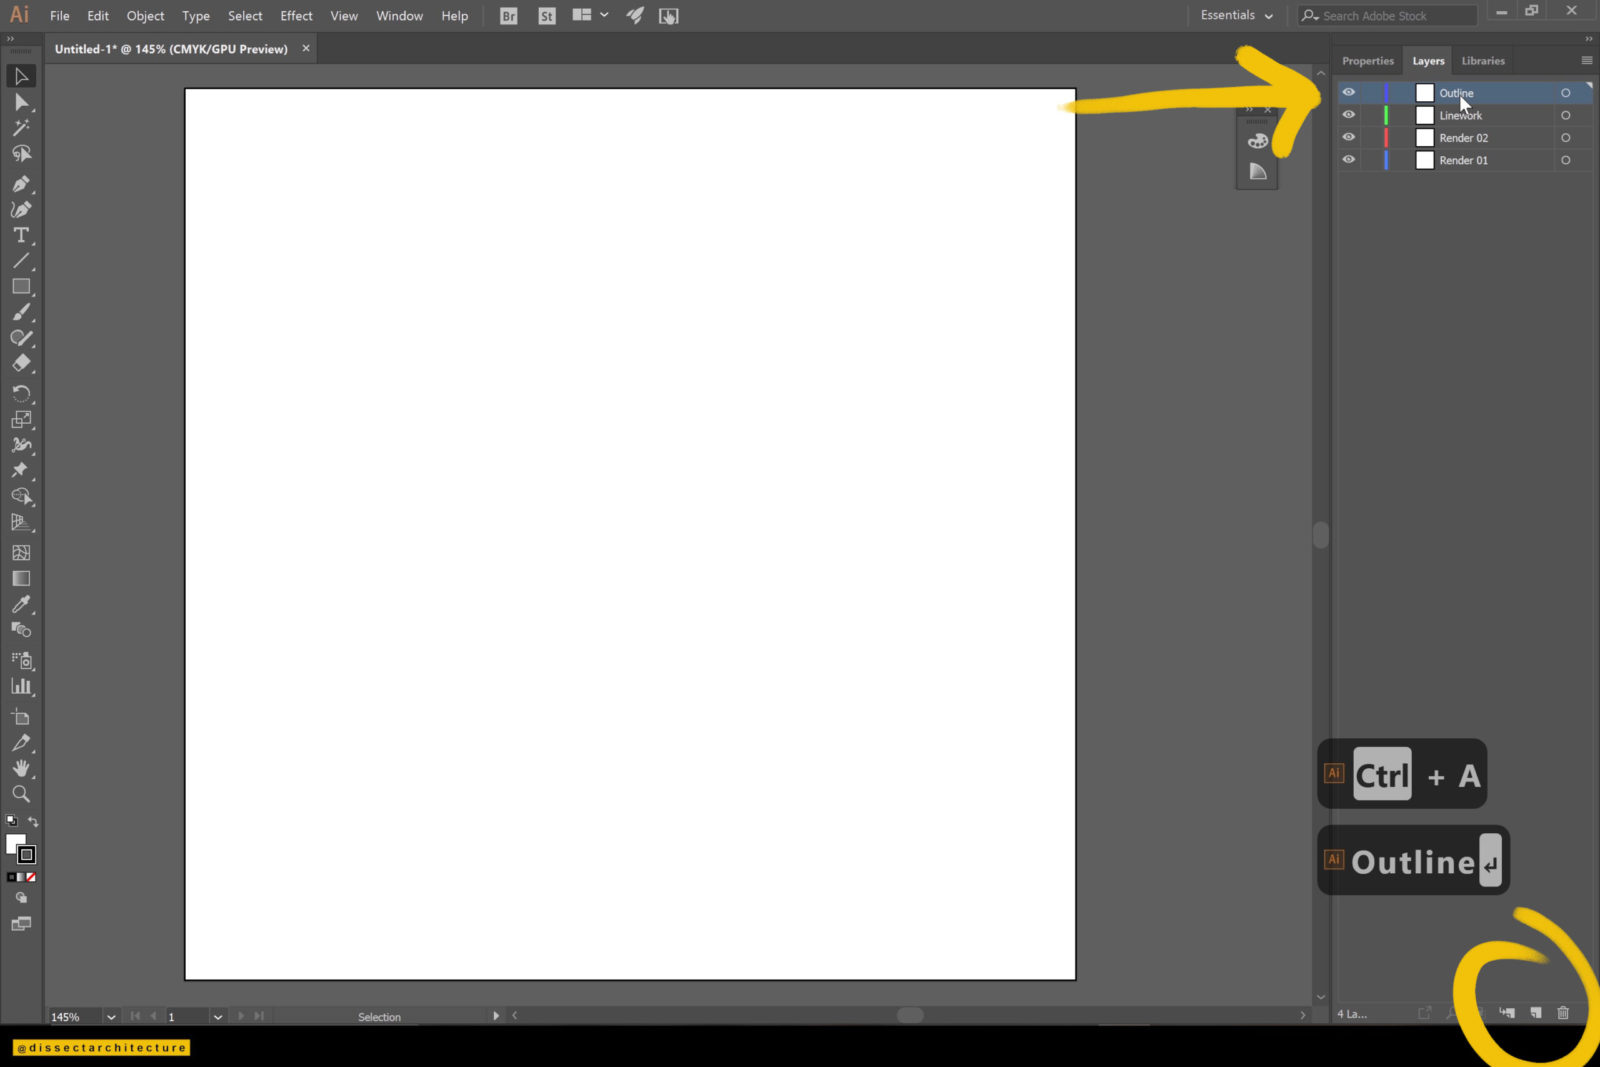
Now open Adobe Illustrator. and set up your layers.
I am adding layers named Render 01, Render 02, Linework, and Outline.
Step 13
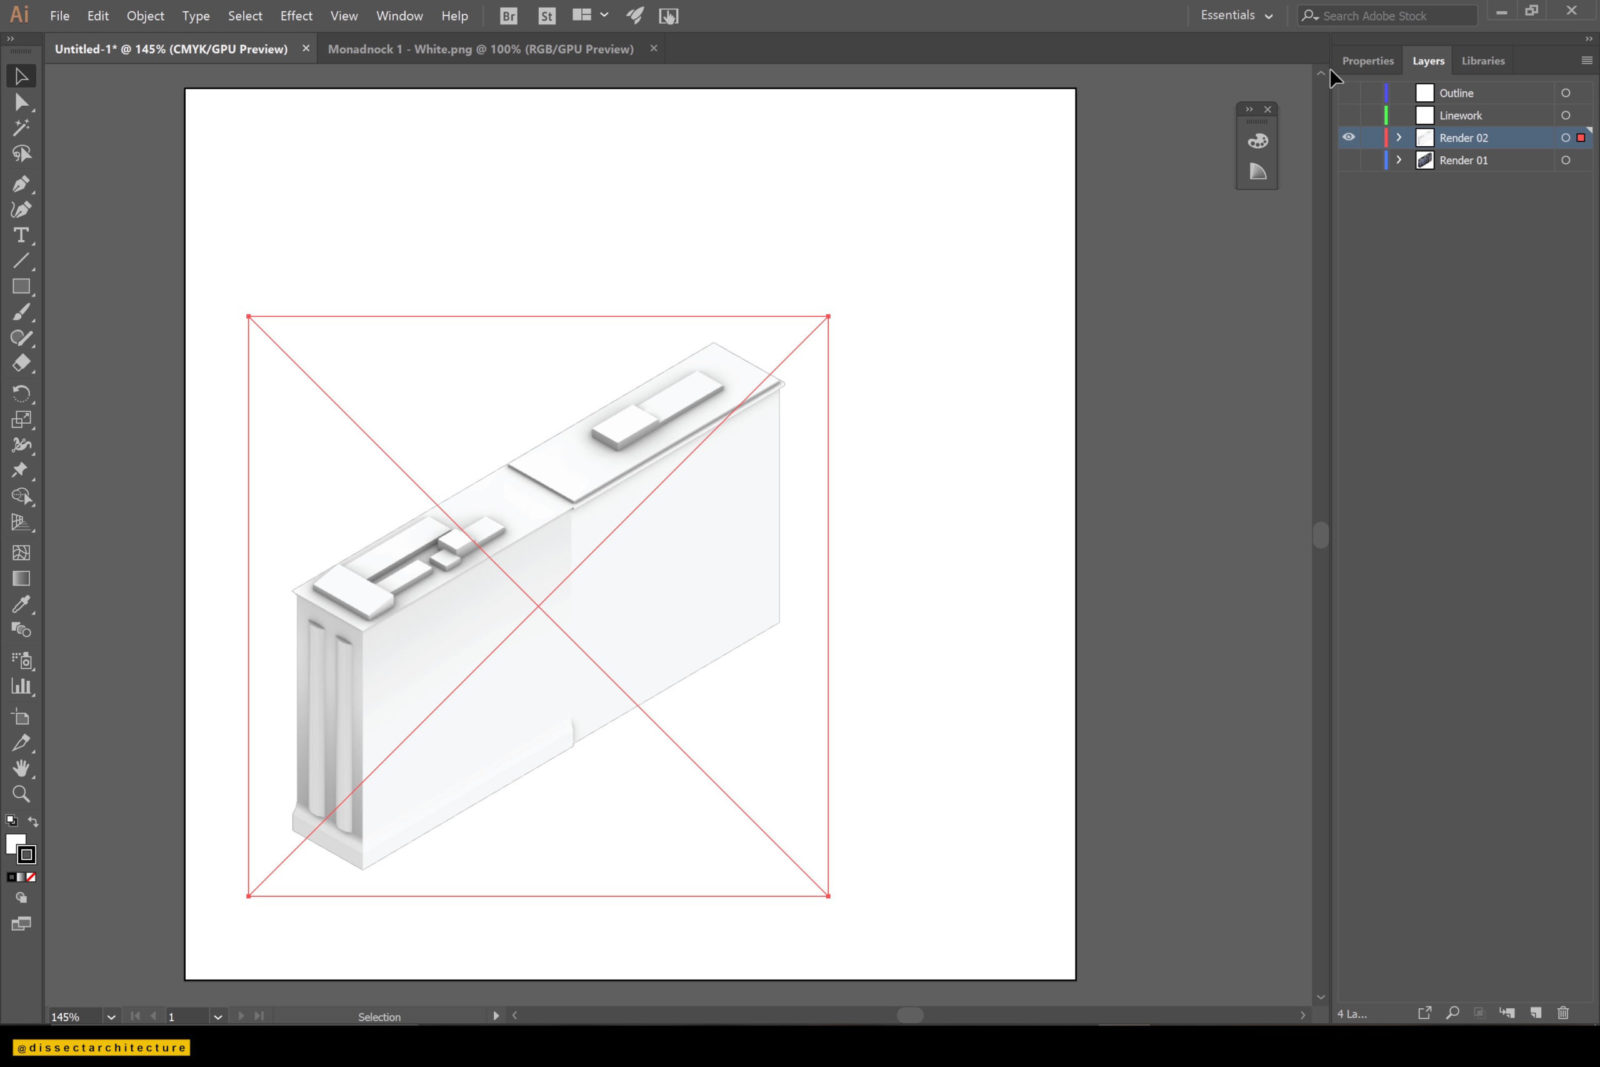
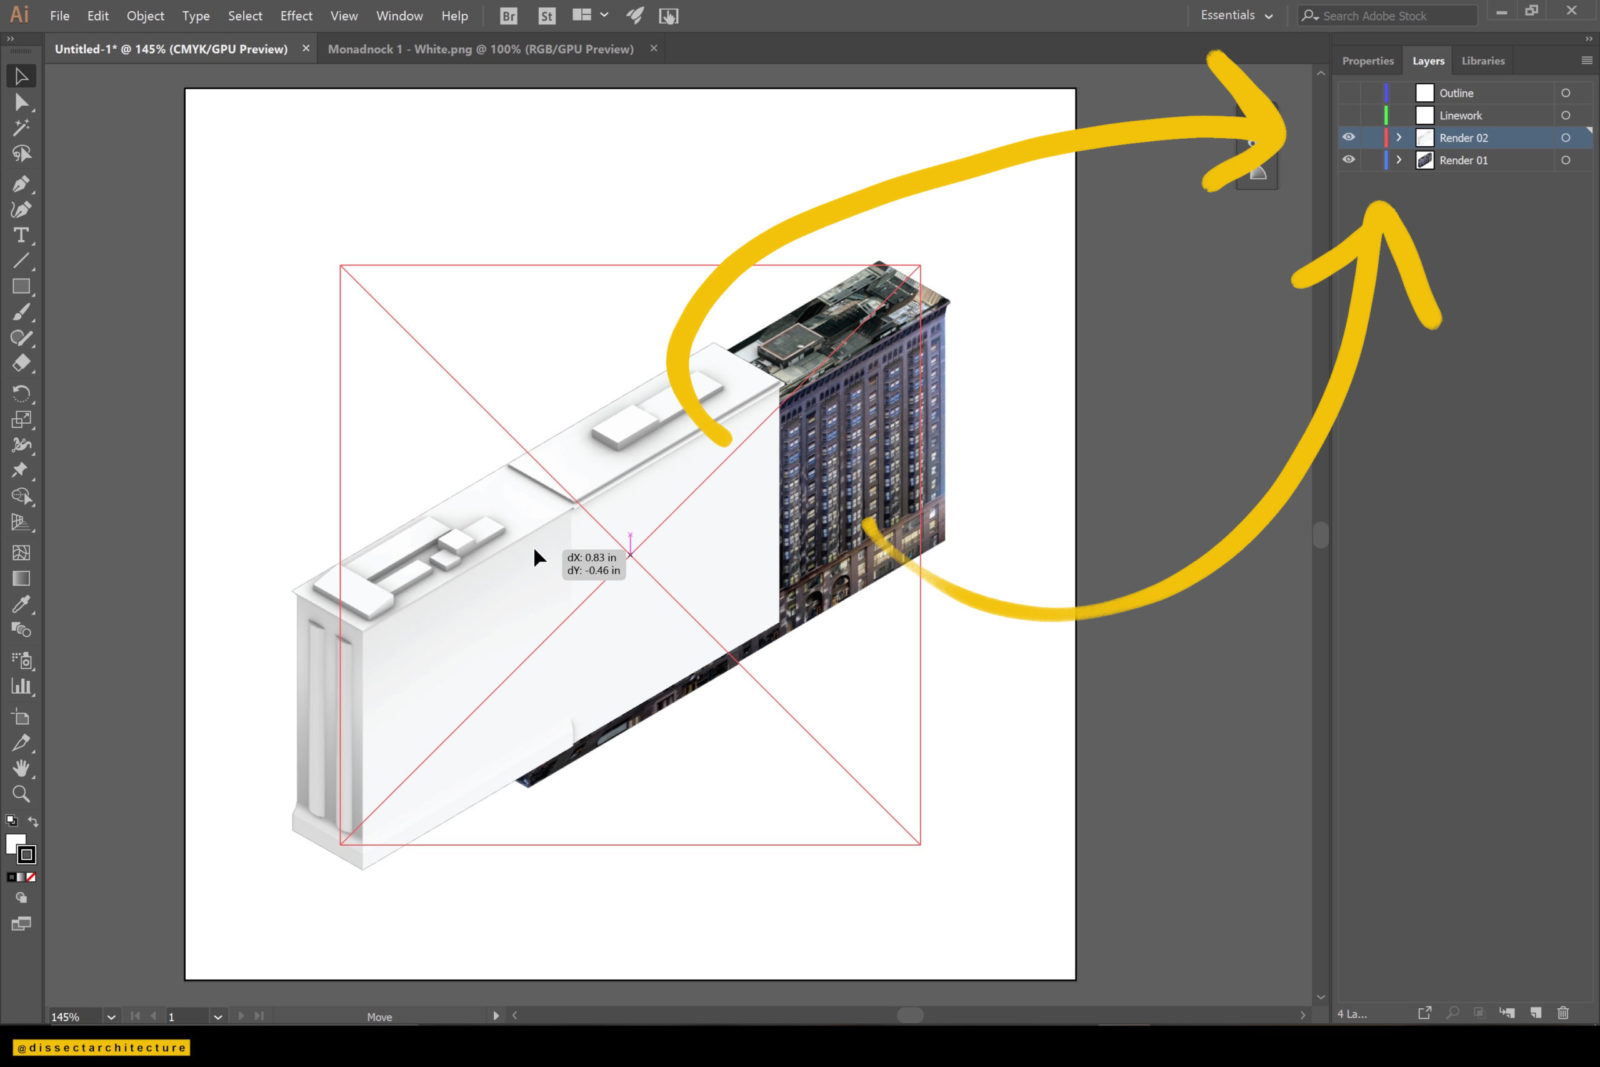
Open your computer’s File Manager and find your saved Viewport renders and drag them onto the Illustrator document.
Be sure to place each render in its own layer and place one above the other in the artboard.
Step 14
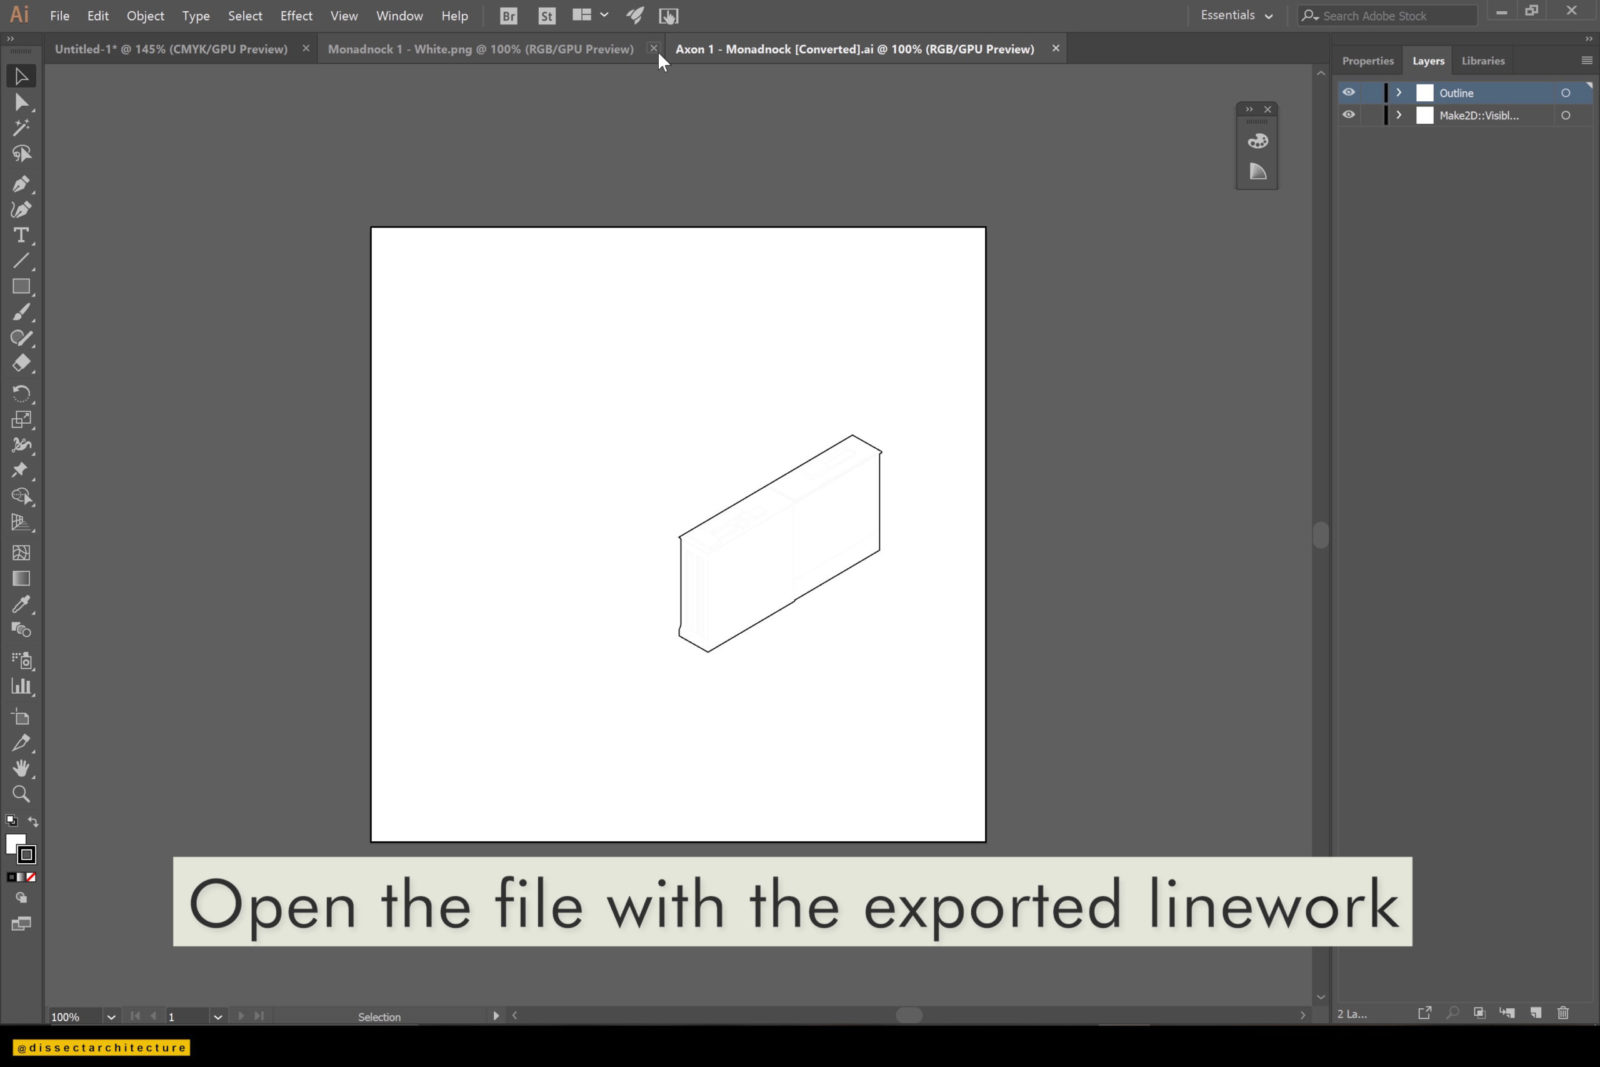
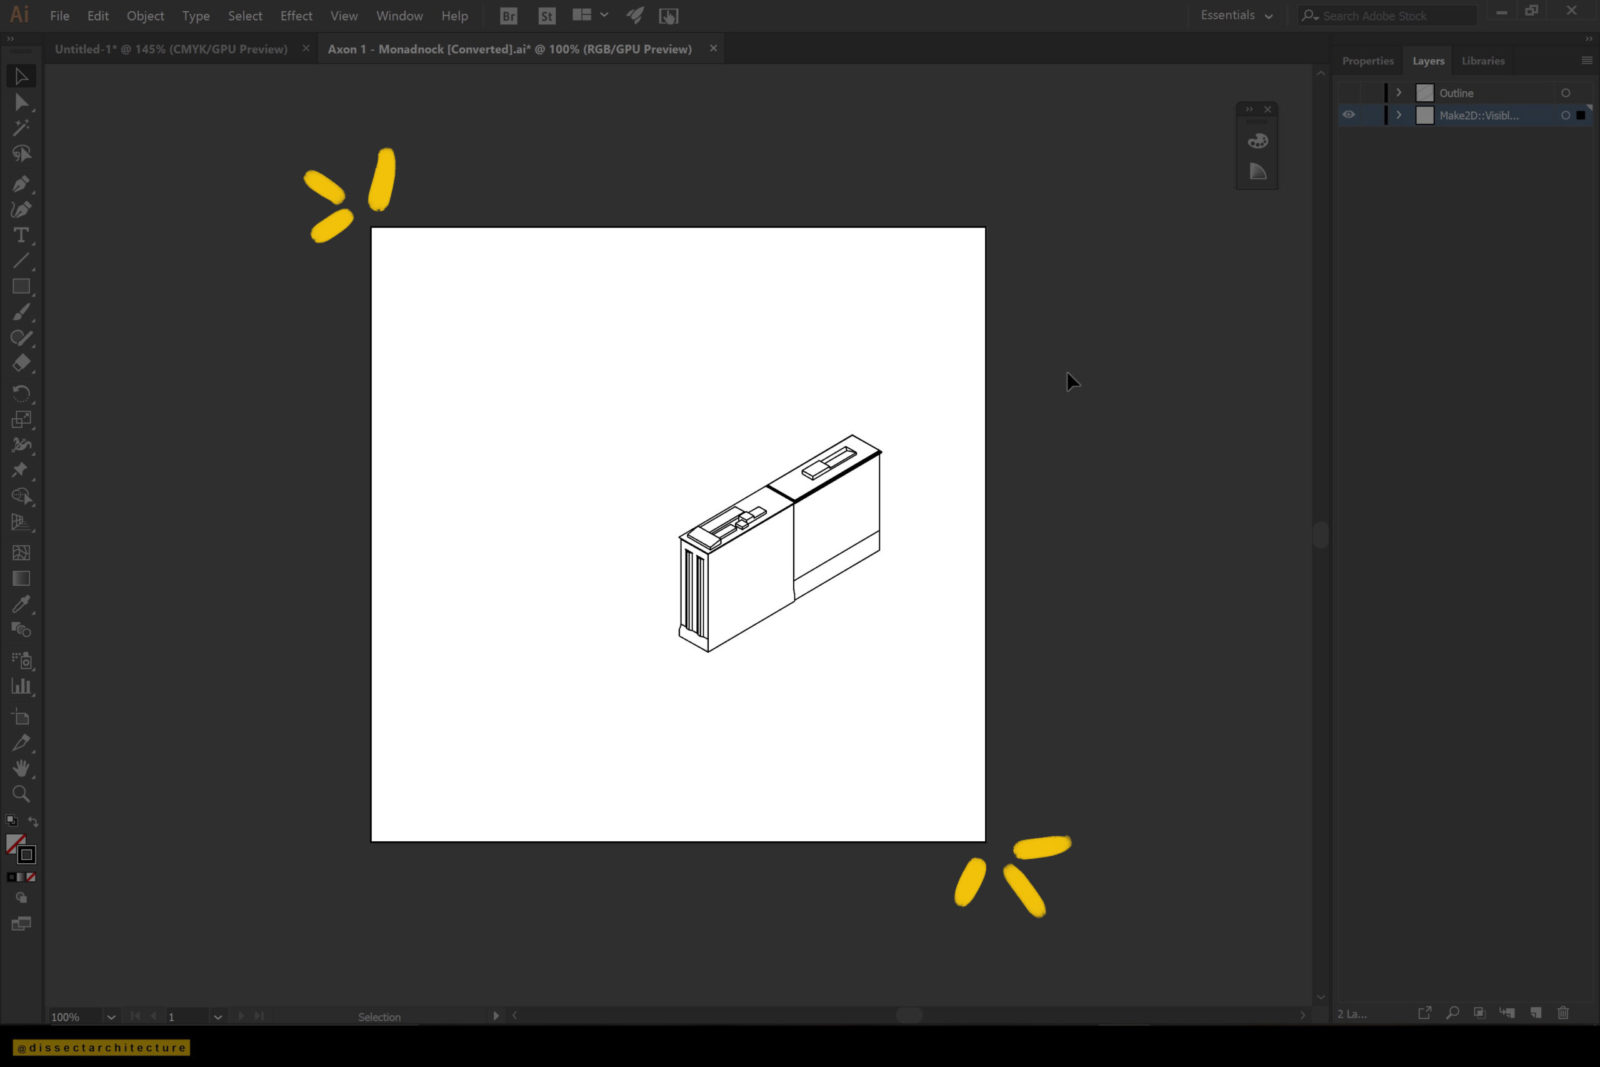
Open the exported AI file with the linework. You may have to change its color so it is visible
Select the linework and copy and paste it onto the file with the renders.
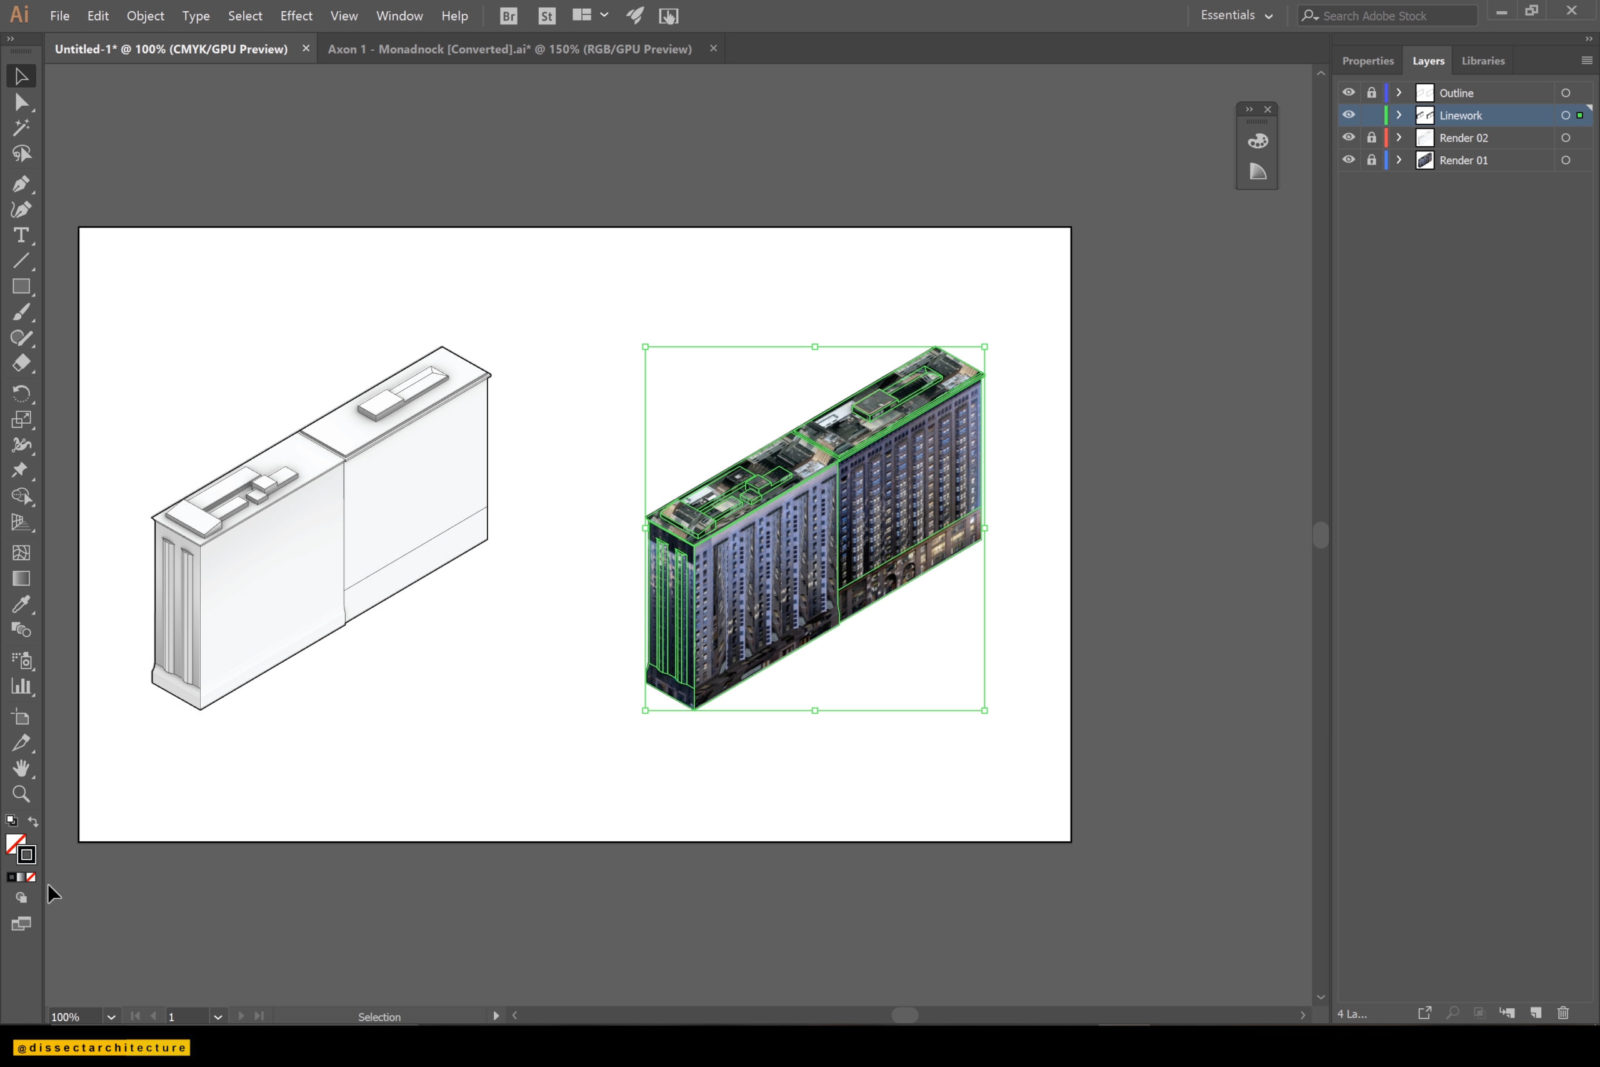
Step 15
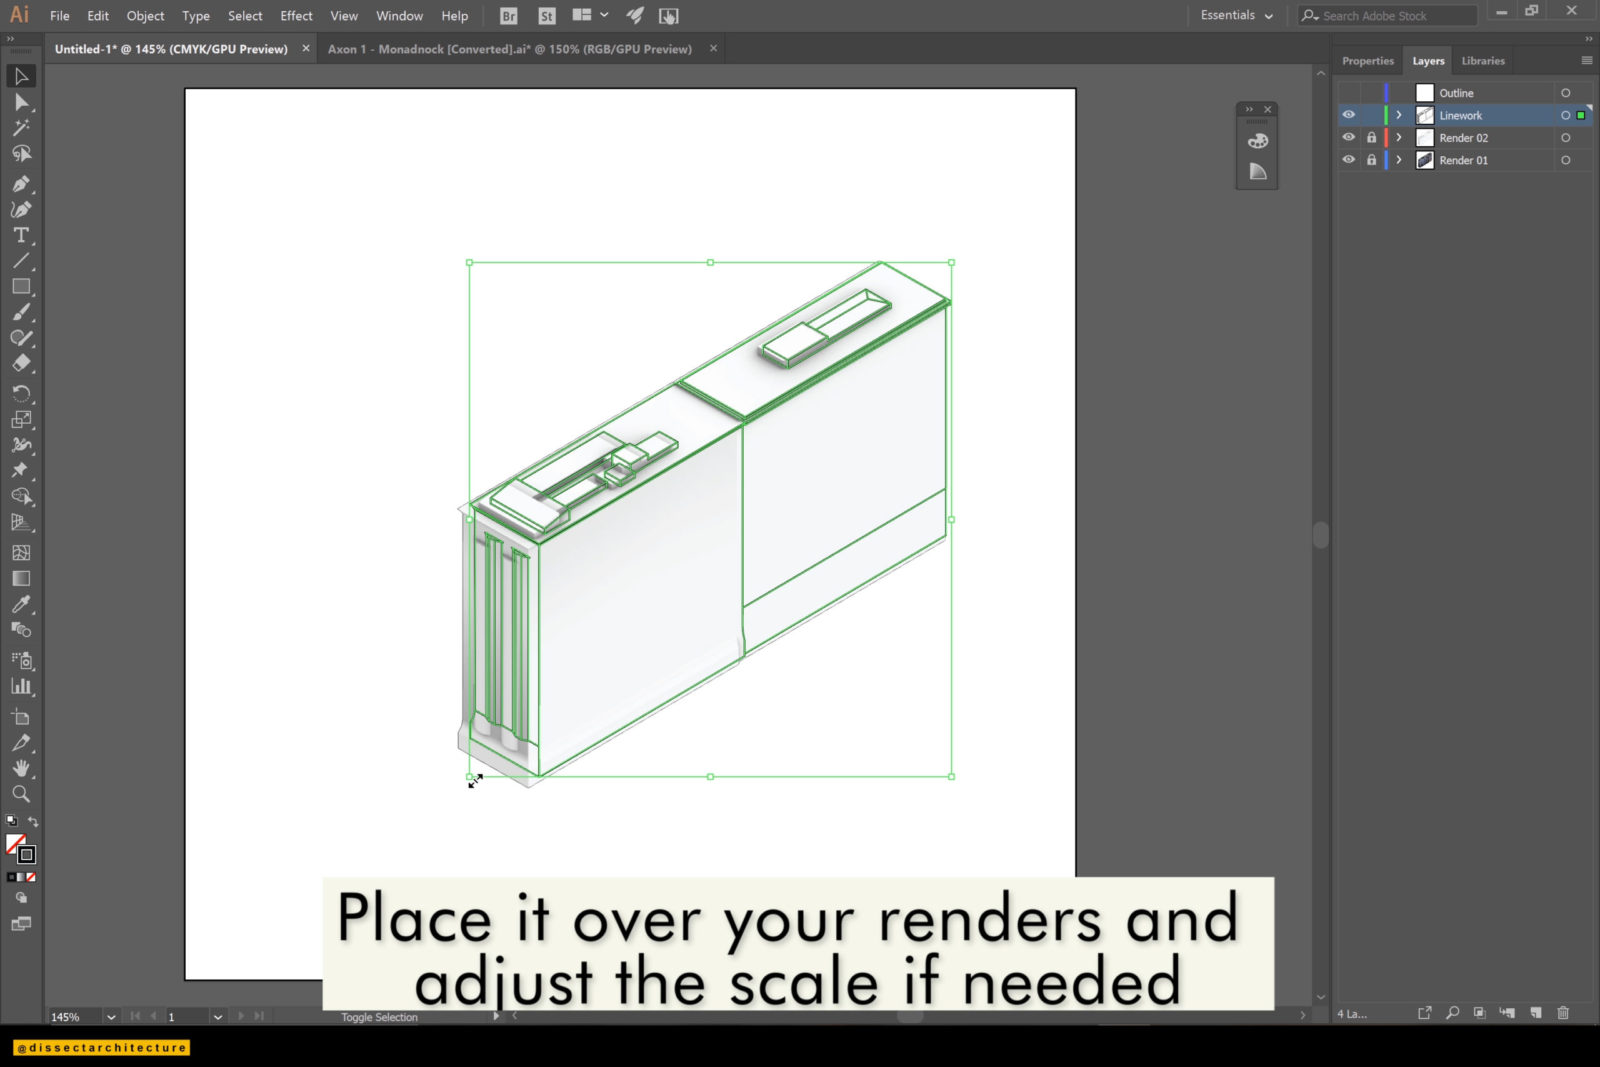
Now place it over your renders and then select the outline, place it in its own layer and turn it off.
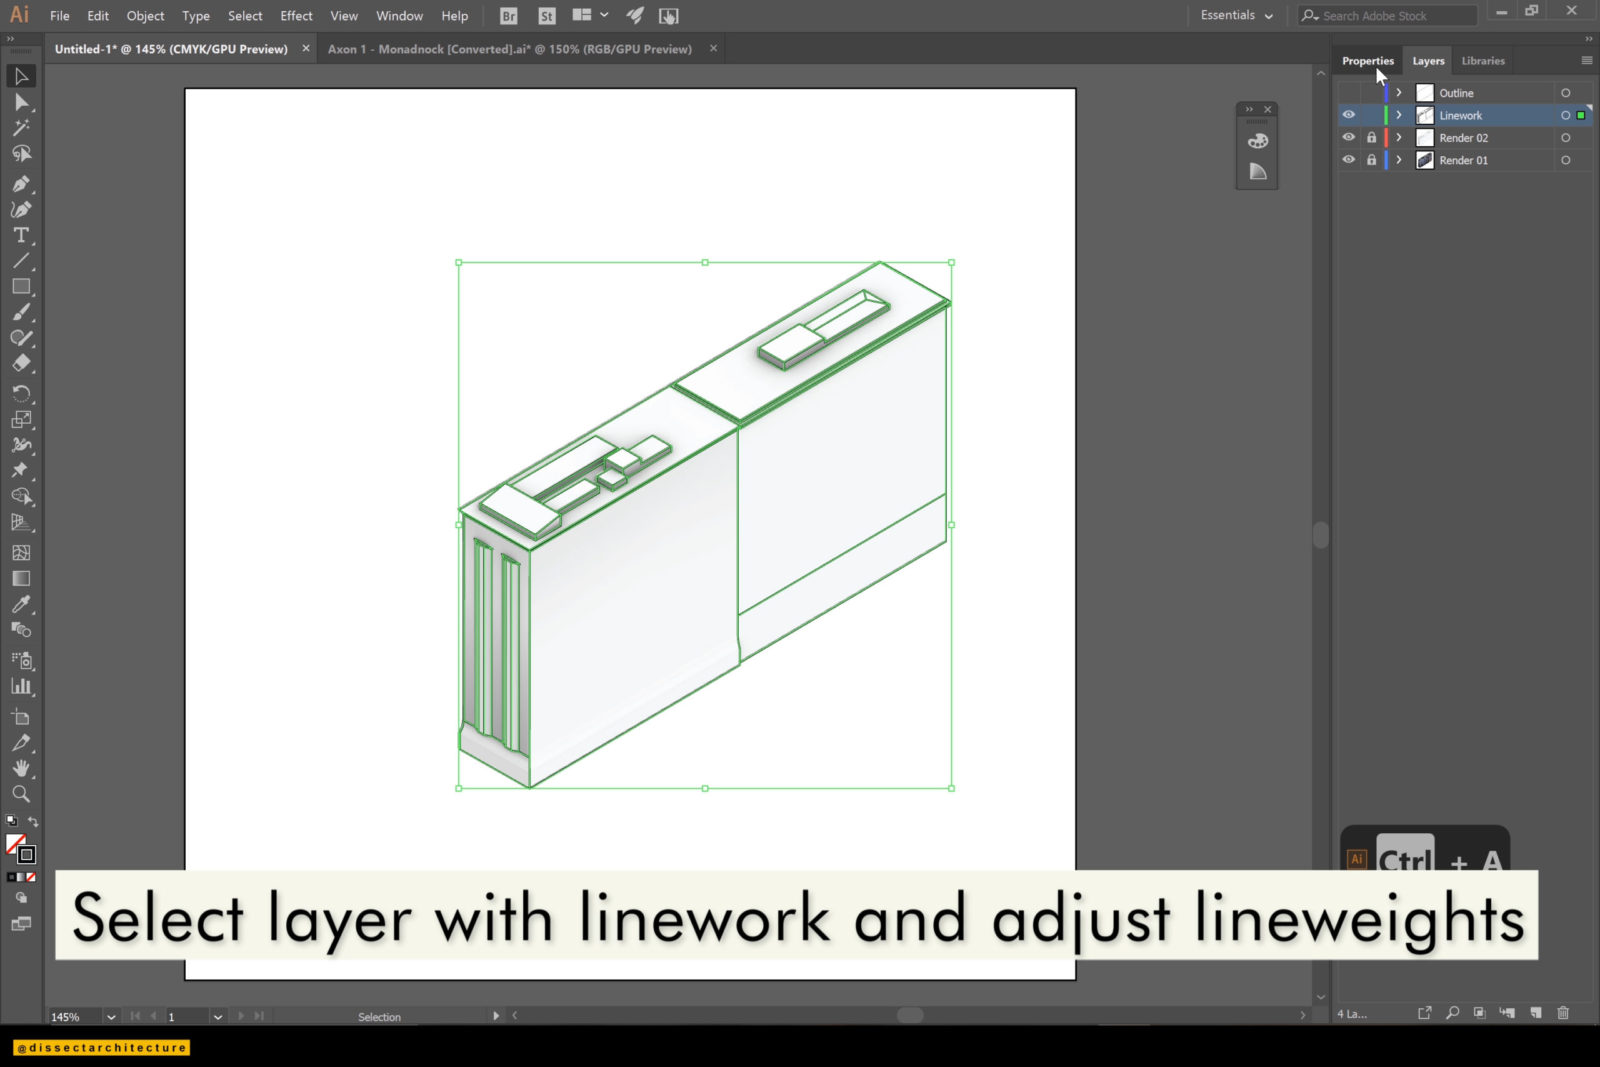
Step 16
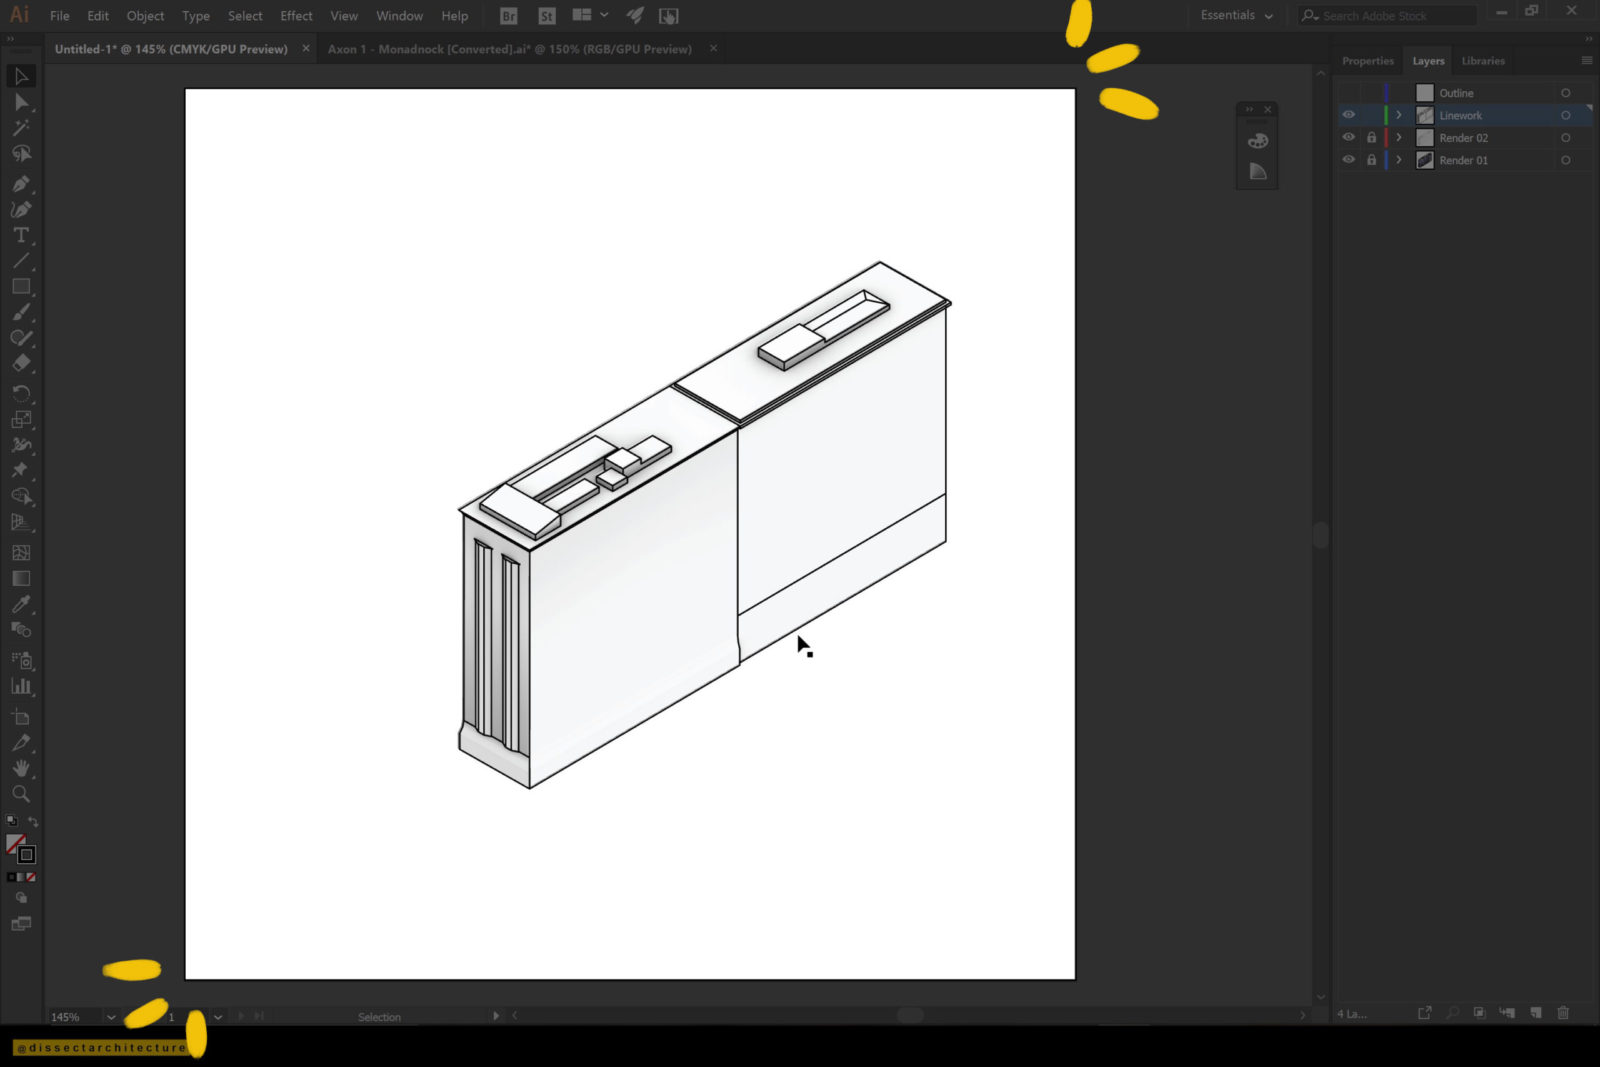
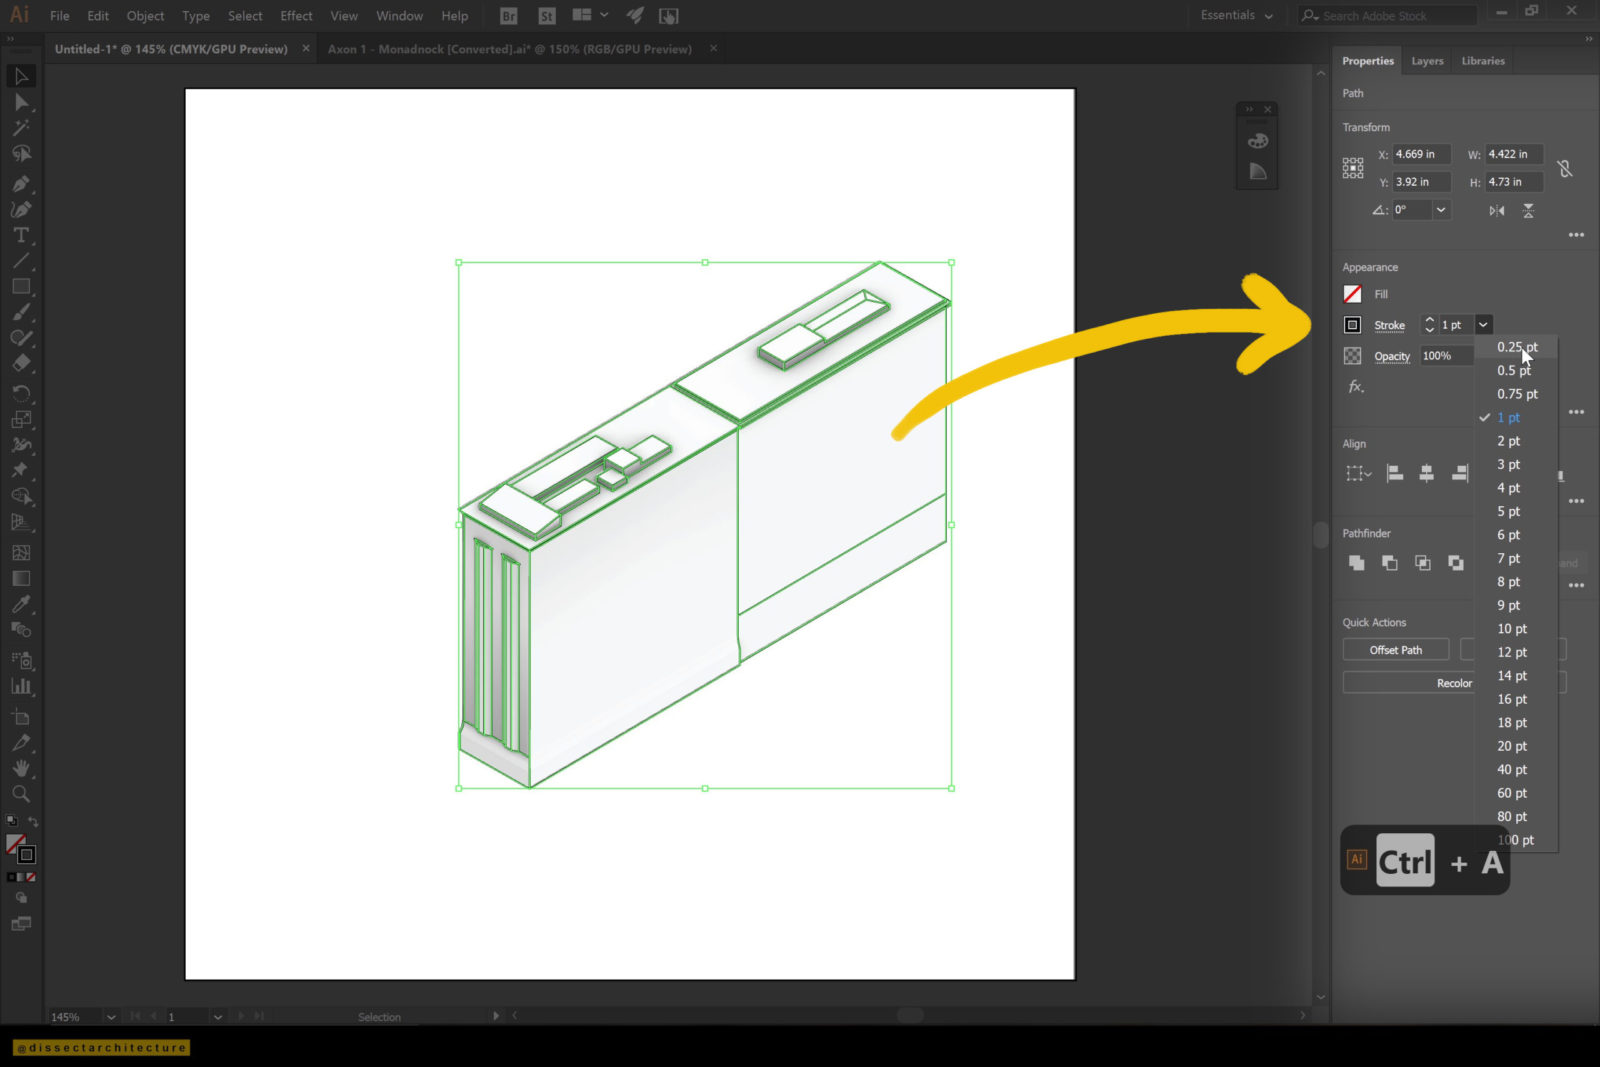
Afterwards select all the linework and adjust the lineweights.
I have adjusted the linework to have a 0.25 lineweight.
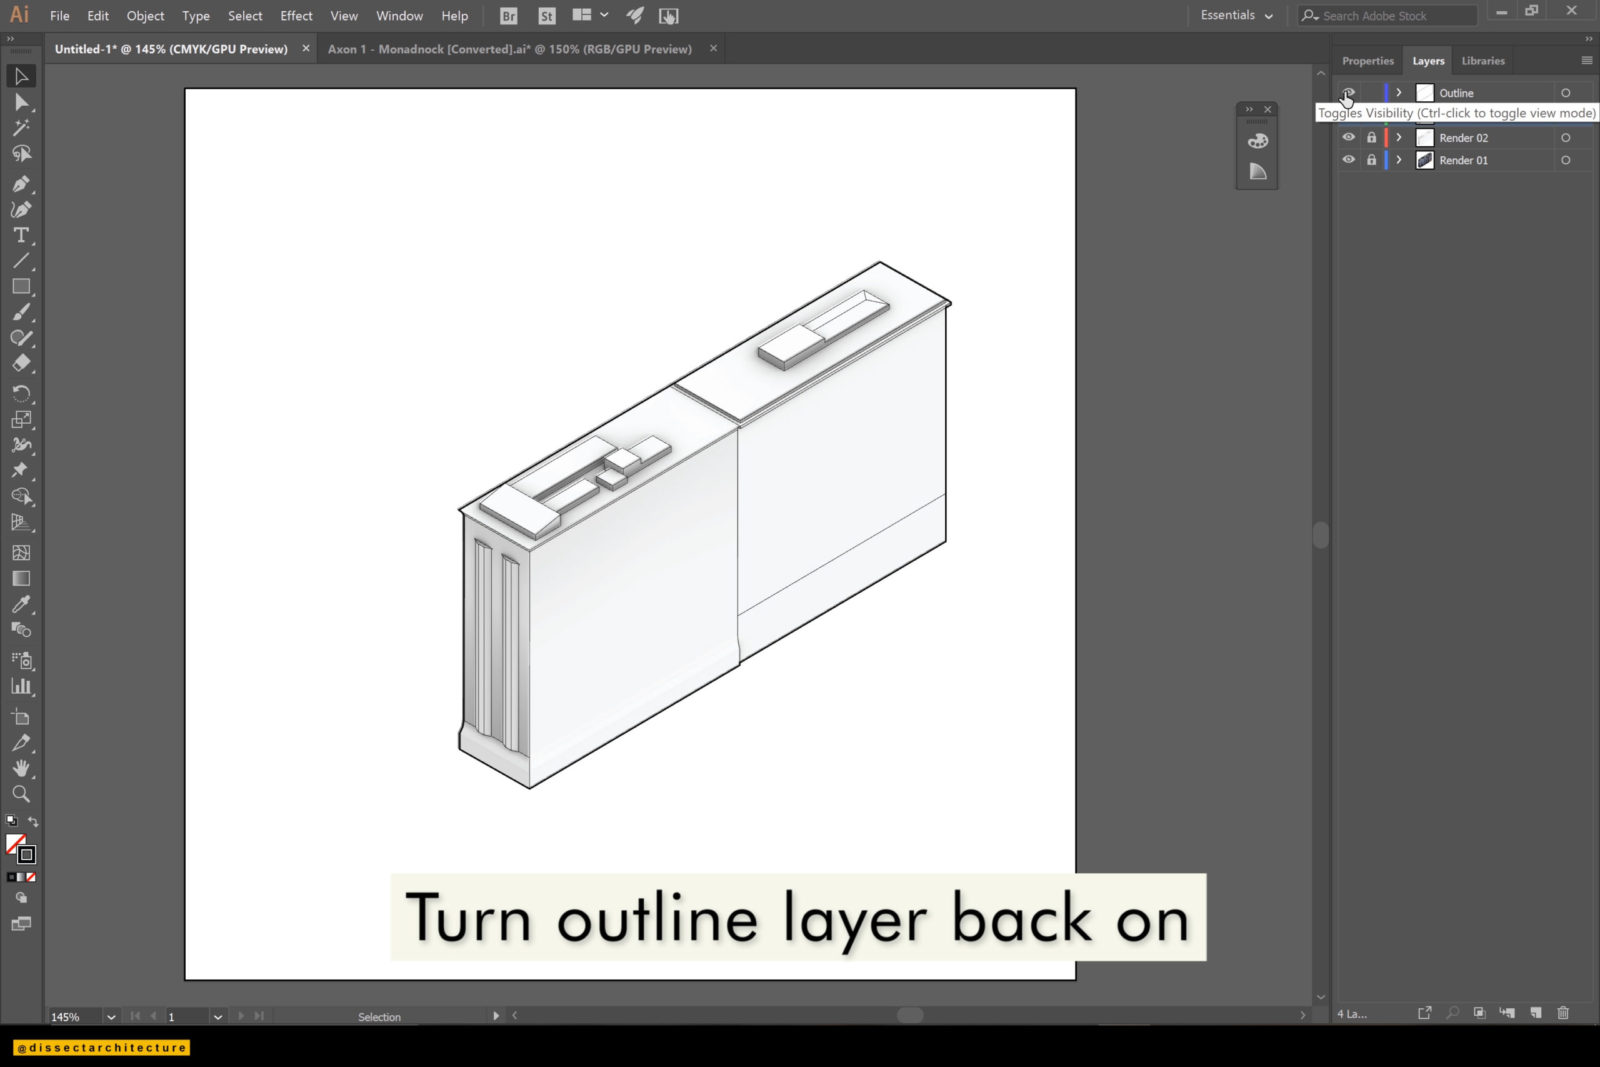
Step 17
Then turn the outline layer back on. Make sure make the outline linework a heavier lineweight.
You will can now turn off either of your renders files and save the one you’d like.
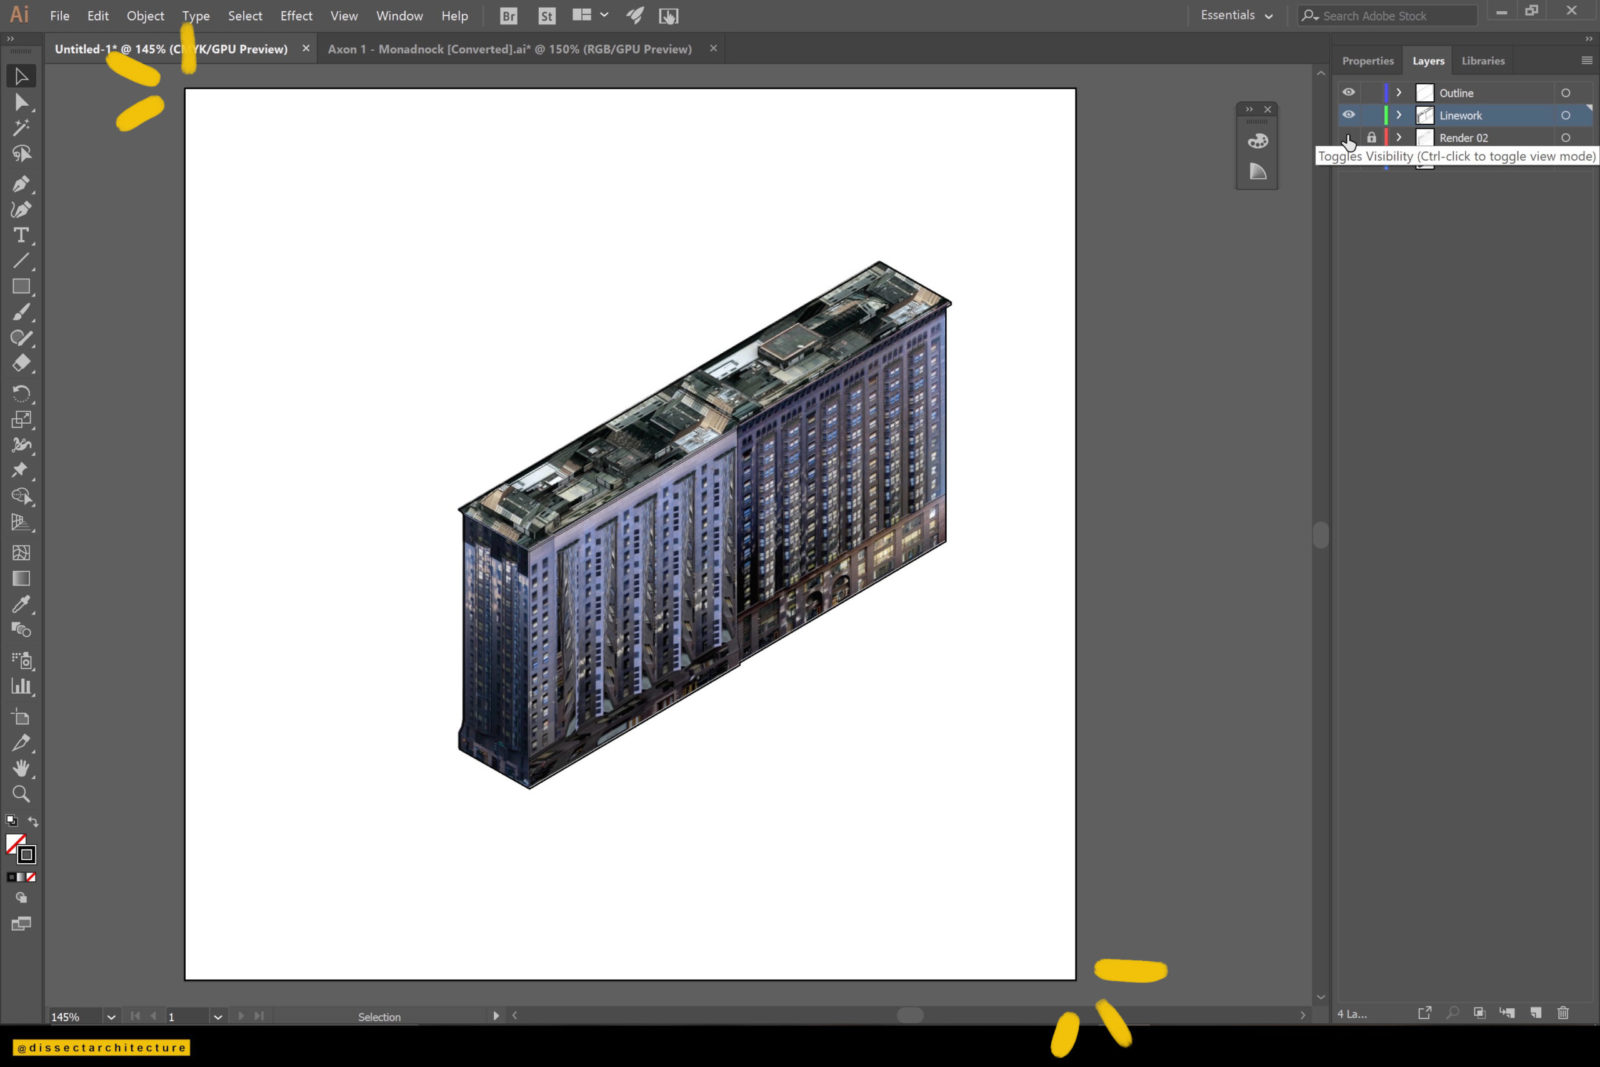
If you'd like to display both renders:
Step 18
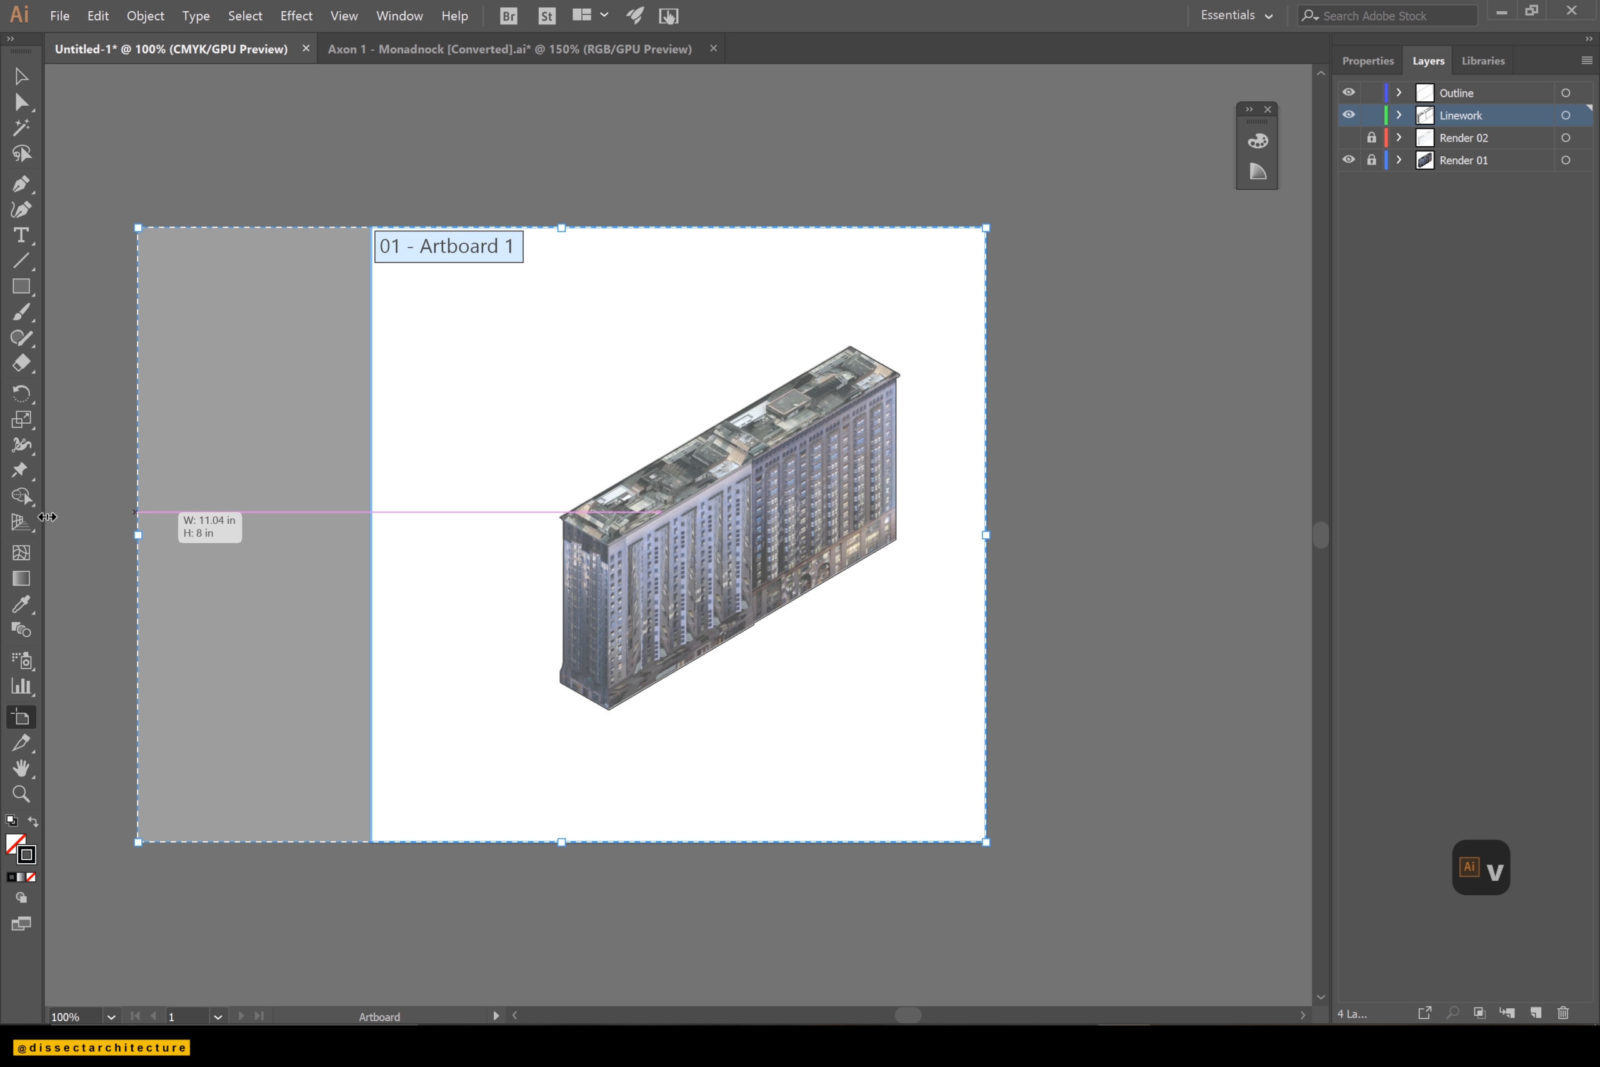
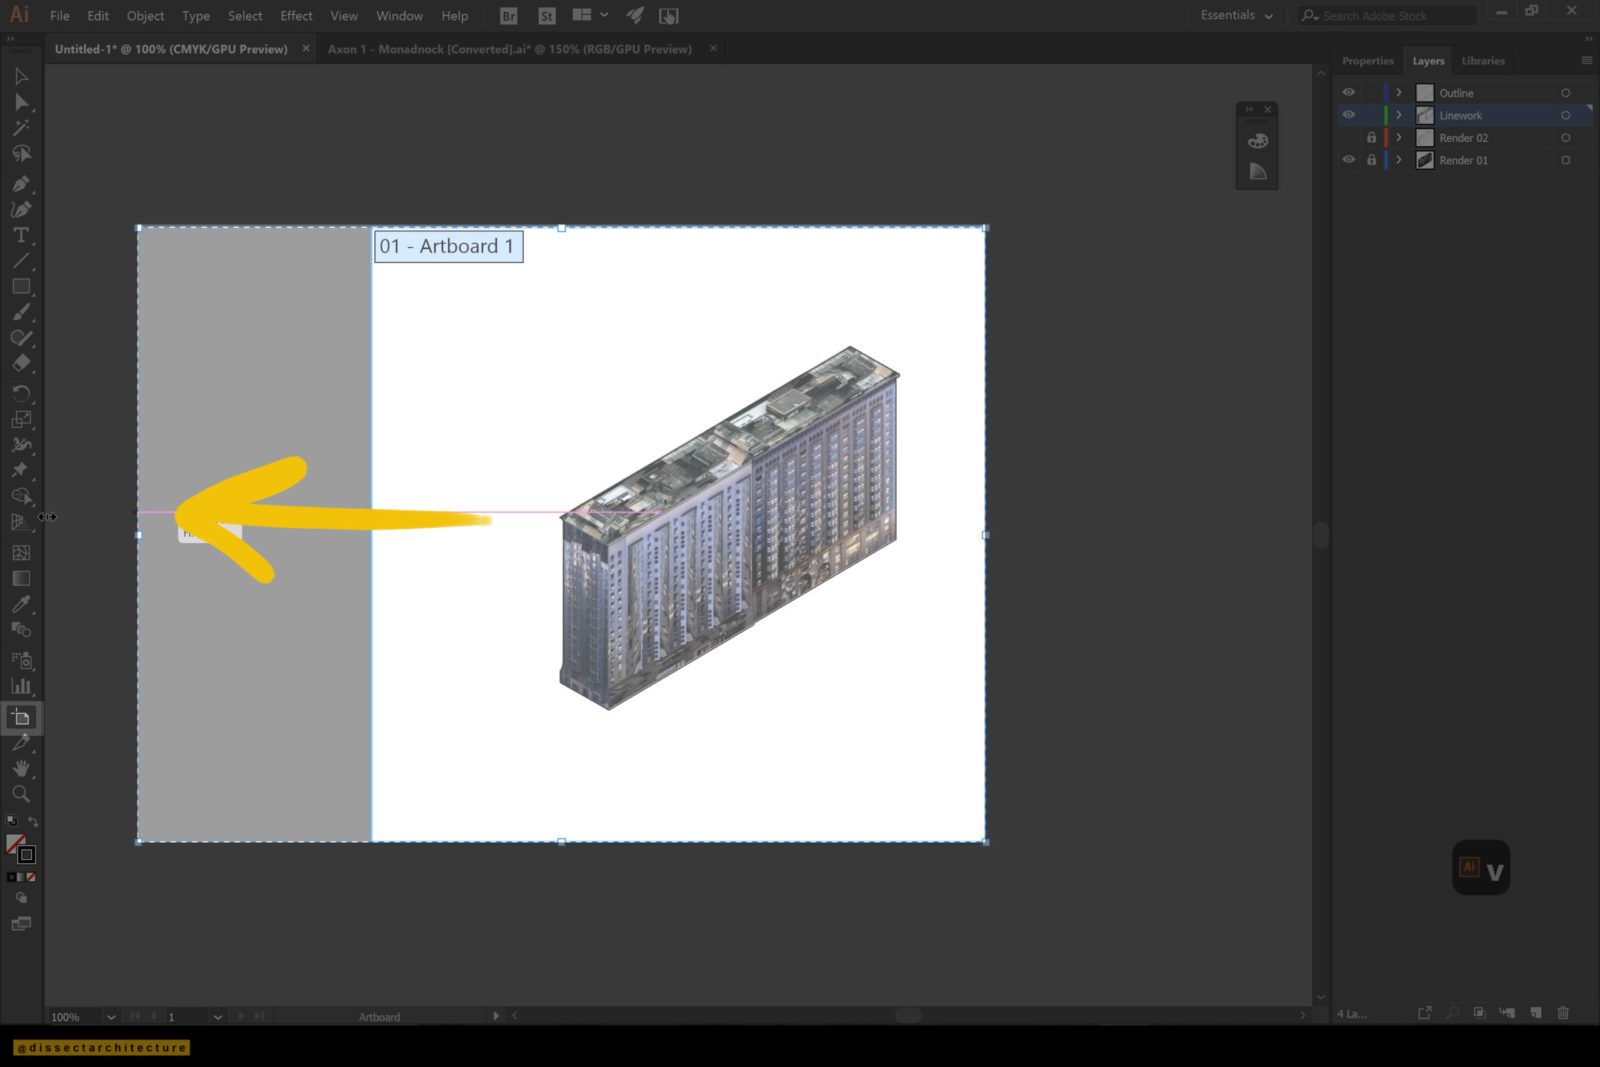
Use the Artboard Tool to extend the width of the artboard.
Step 19
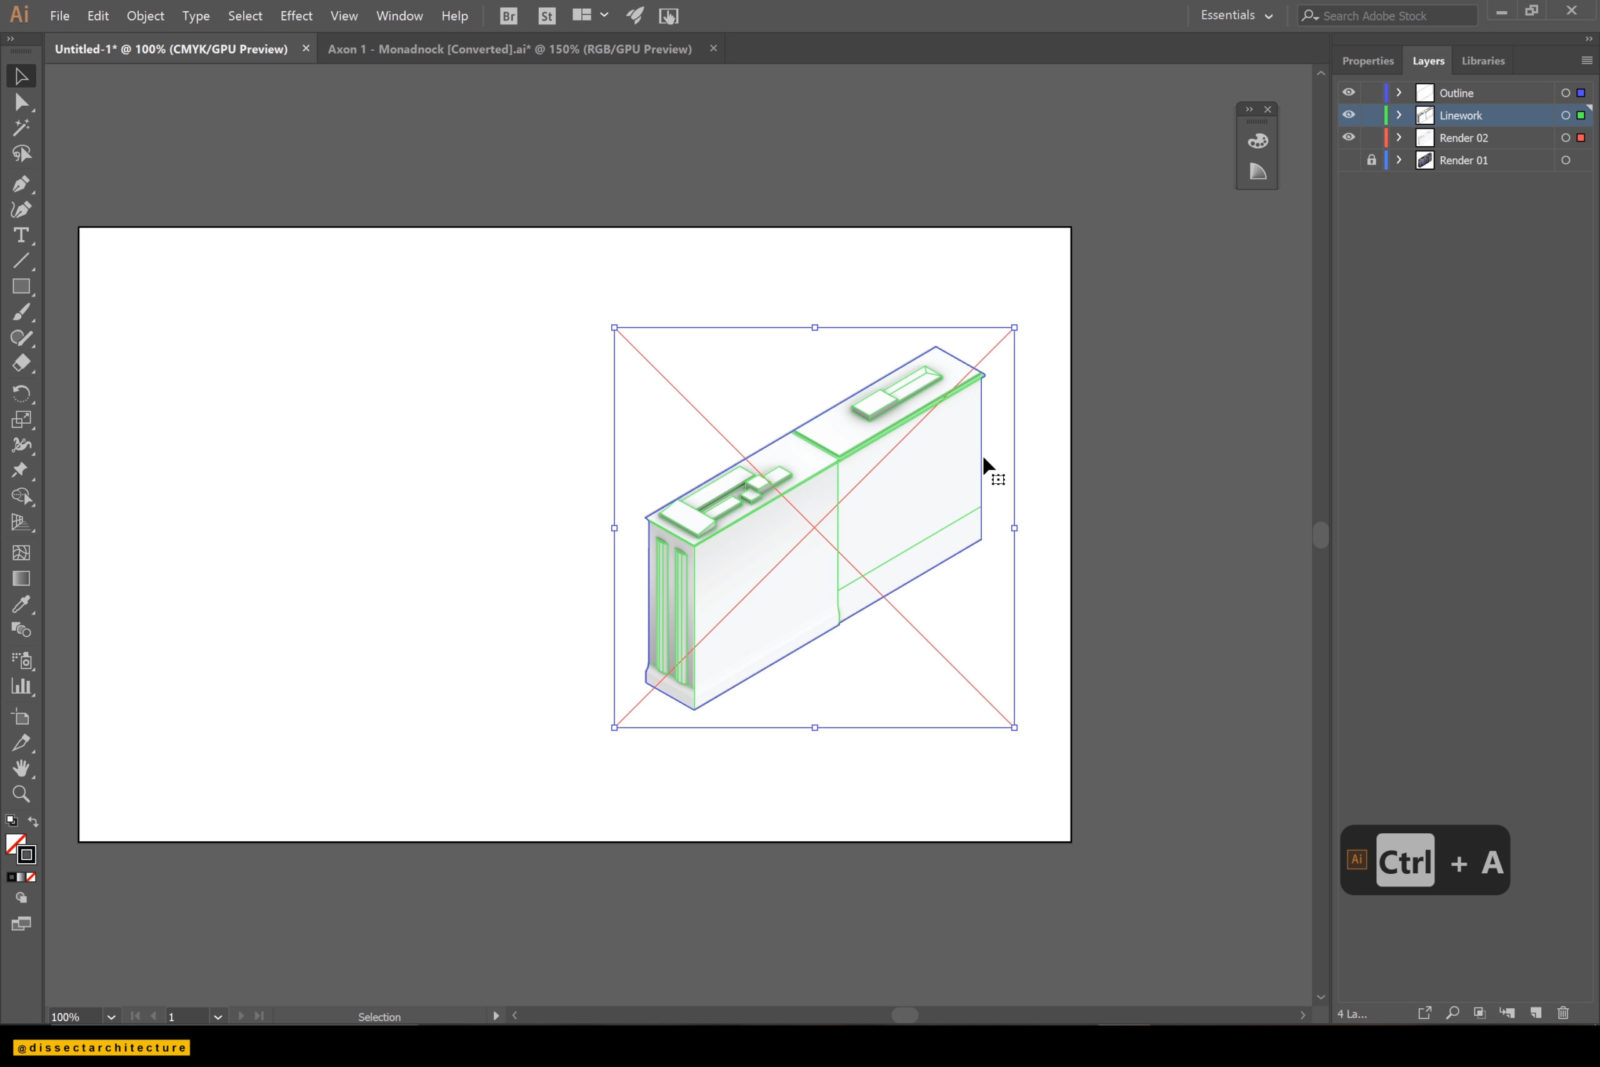
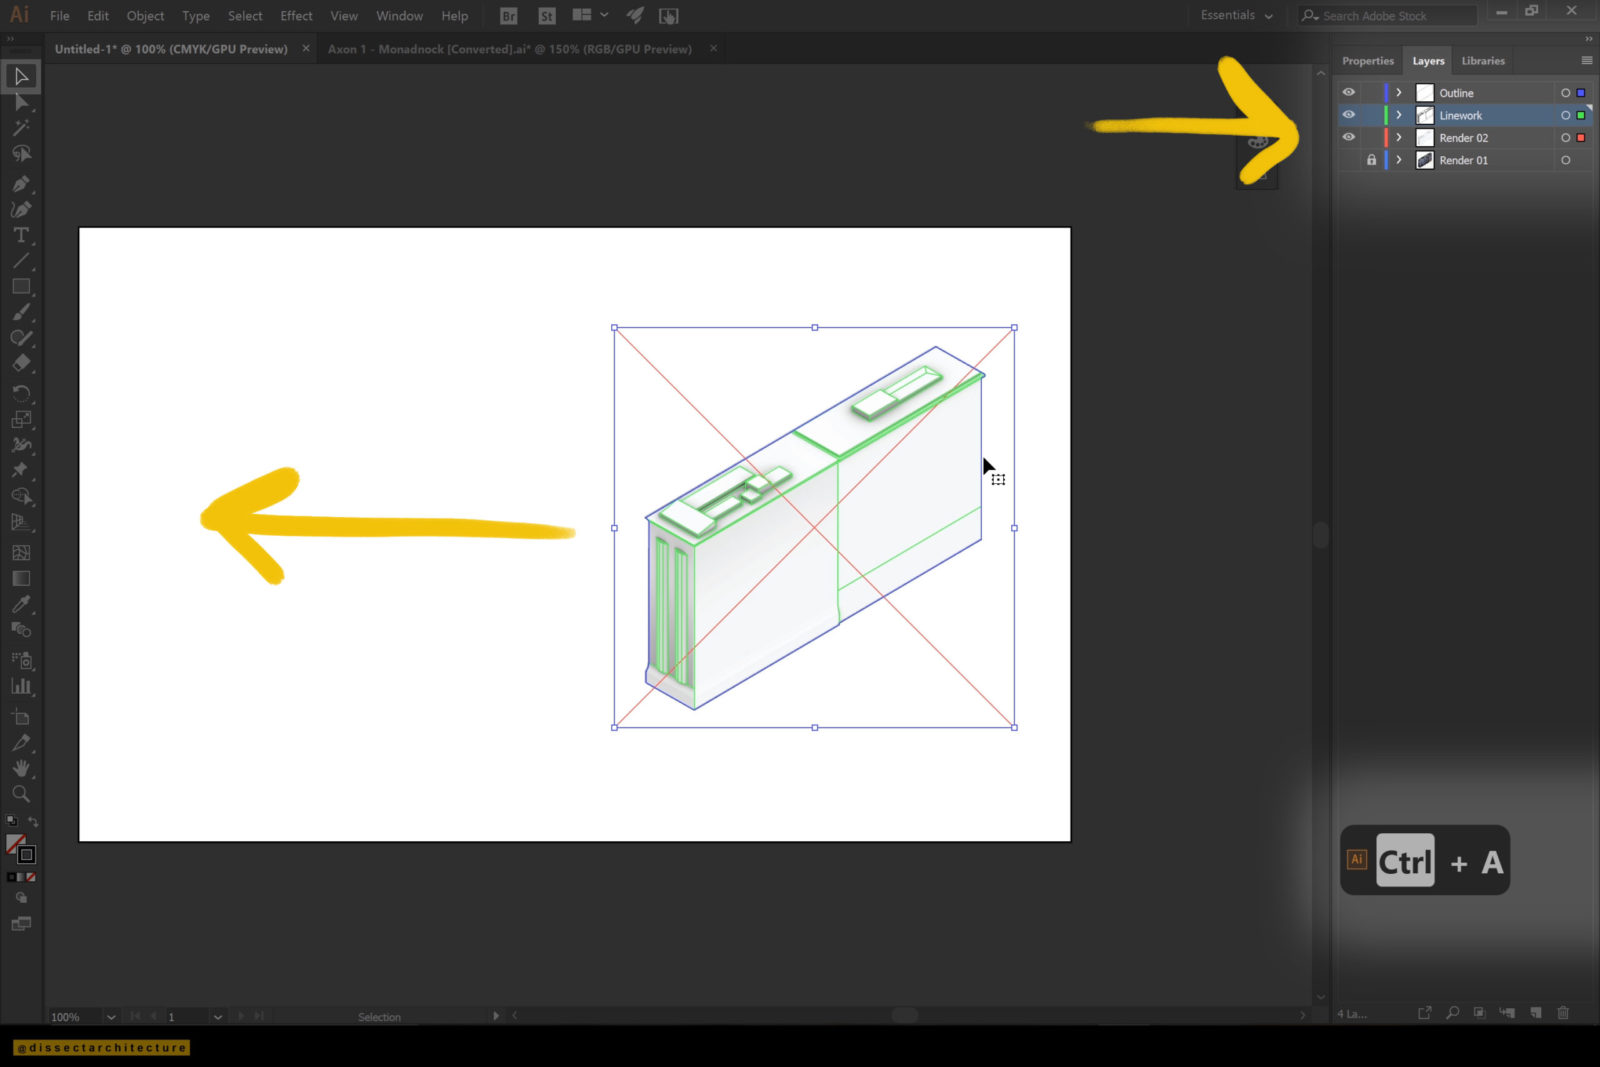
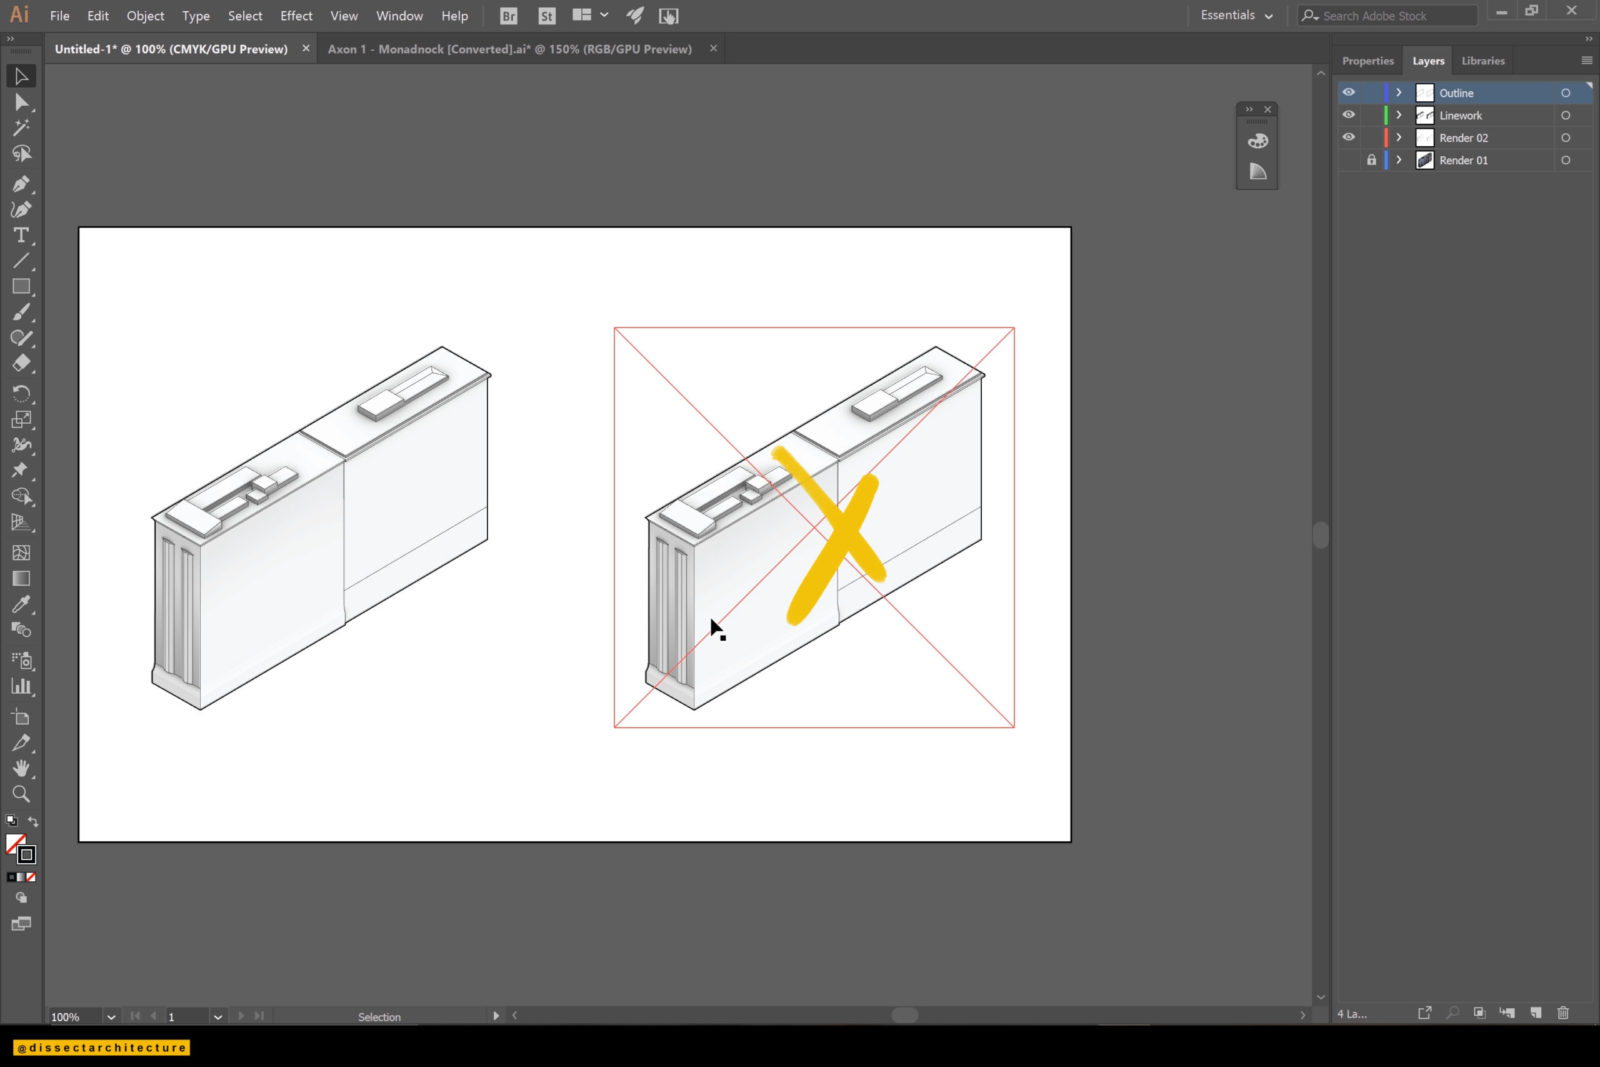
Turn off one of the render layers and lock it. Then select all the other layers by using the CTRL+A shortcut and holding the Alt Key drag the selection to one side.
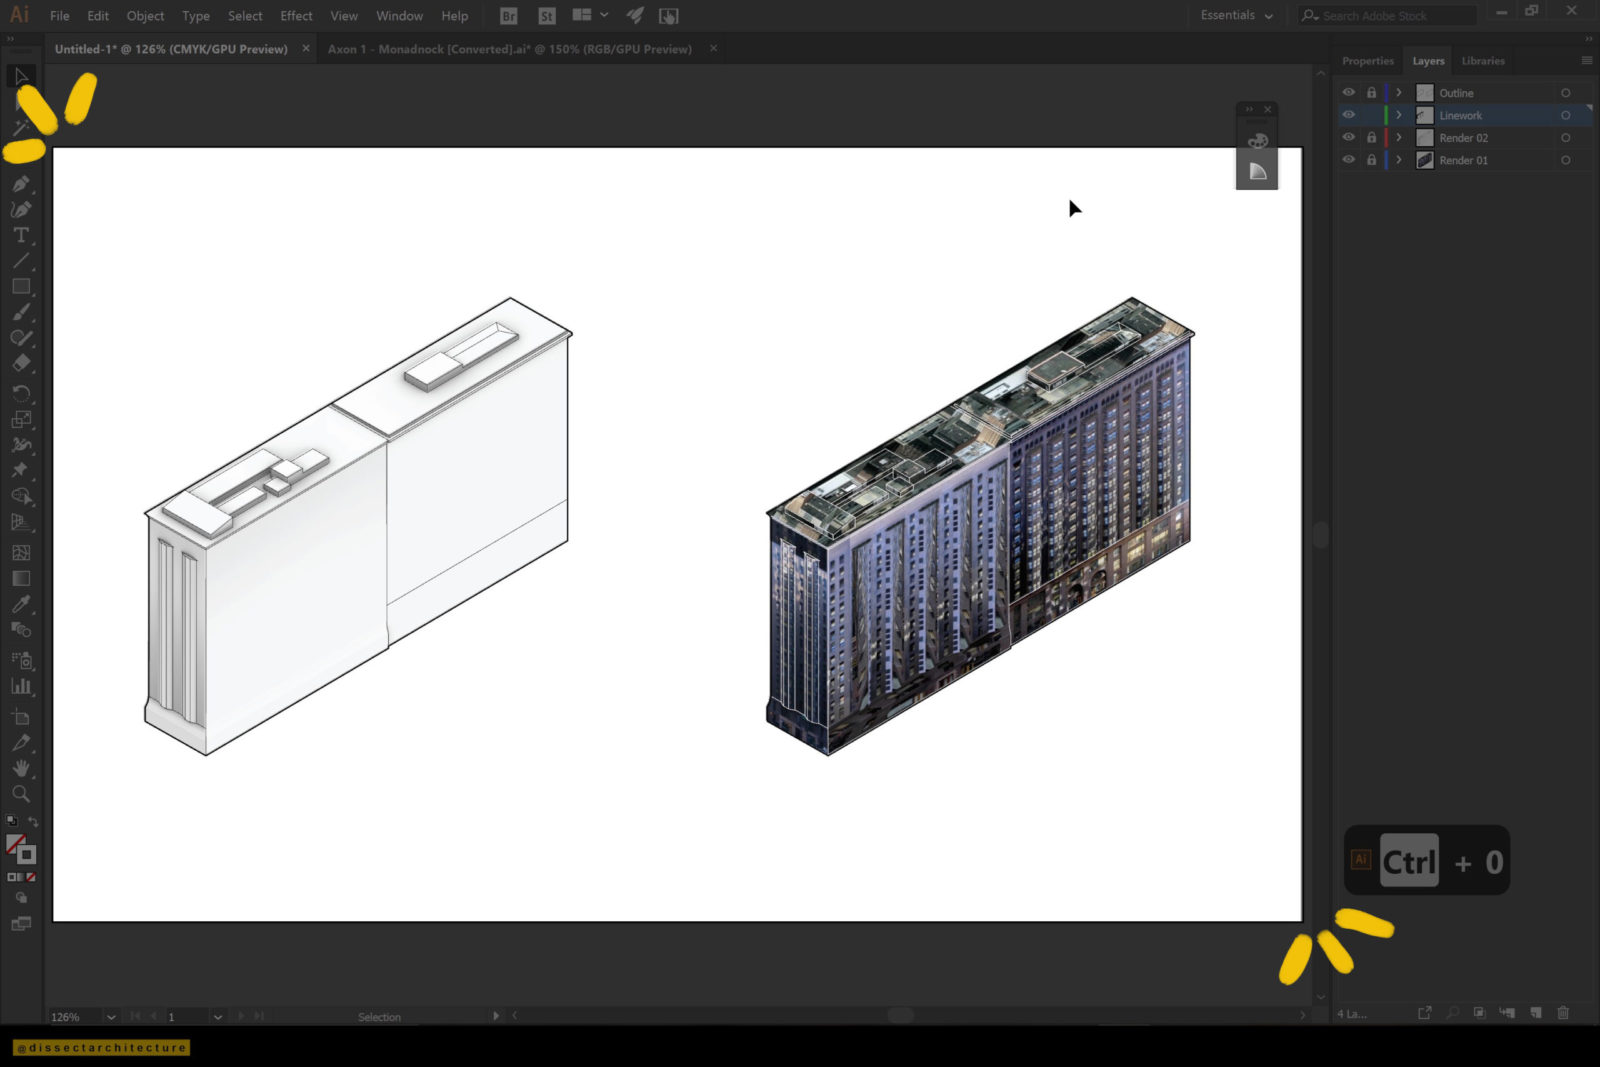
Step 20
Then delete the duplicate of the render and turn the layer with the other render back on.
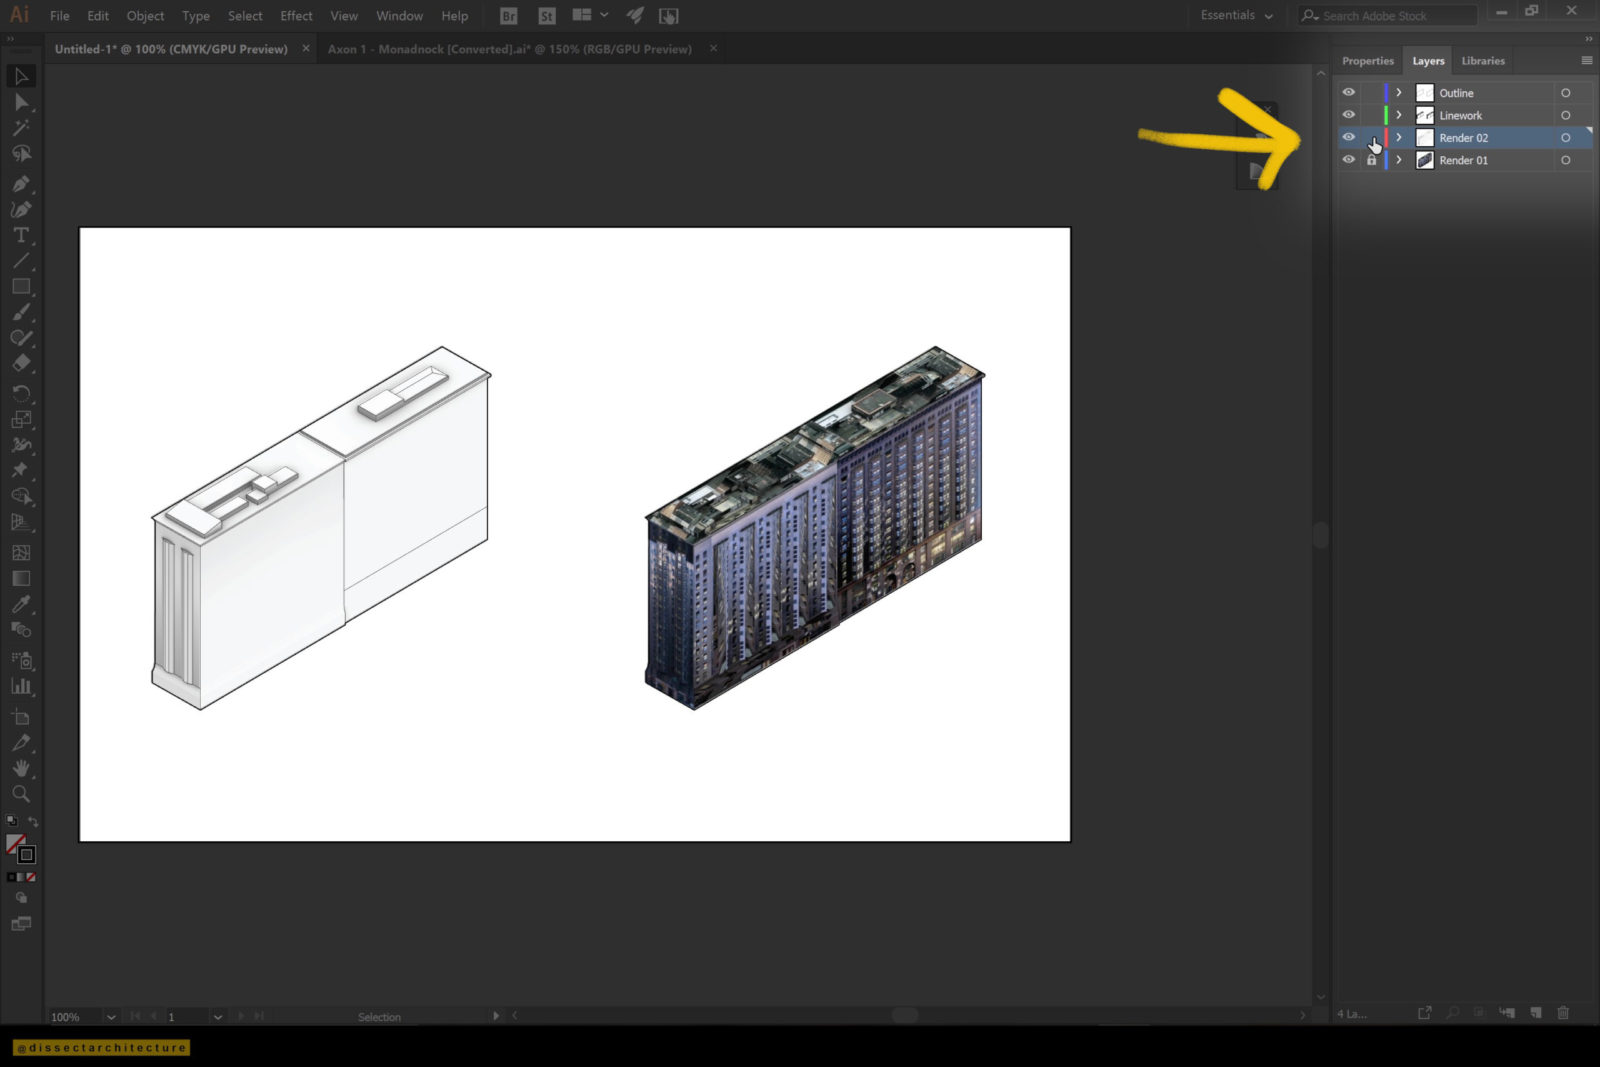
Step 21
Make any adjustment of the linework. I am changing the color to white. Save your file and you are done.