How to Create a Brush in Photoshop
Objective:
Learn how to create a brush in Photoshop through a simple process to quickly populate your drawings! The process of depicting how to create a brush in Photoshop is simple and quick.
You can create a custom brush in Photoshop from an image or a silhouette.
Software Used:
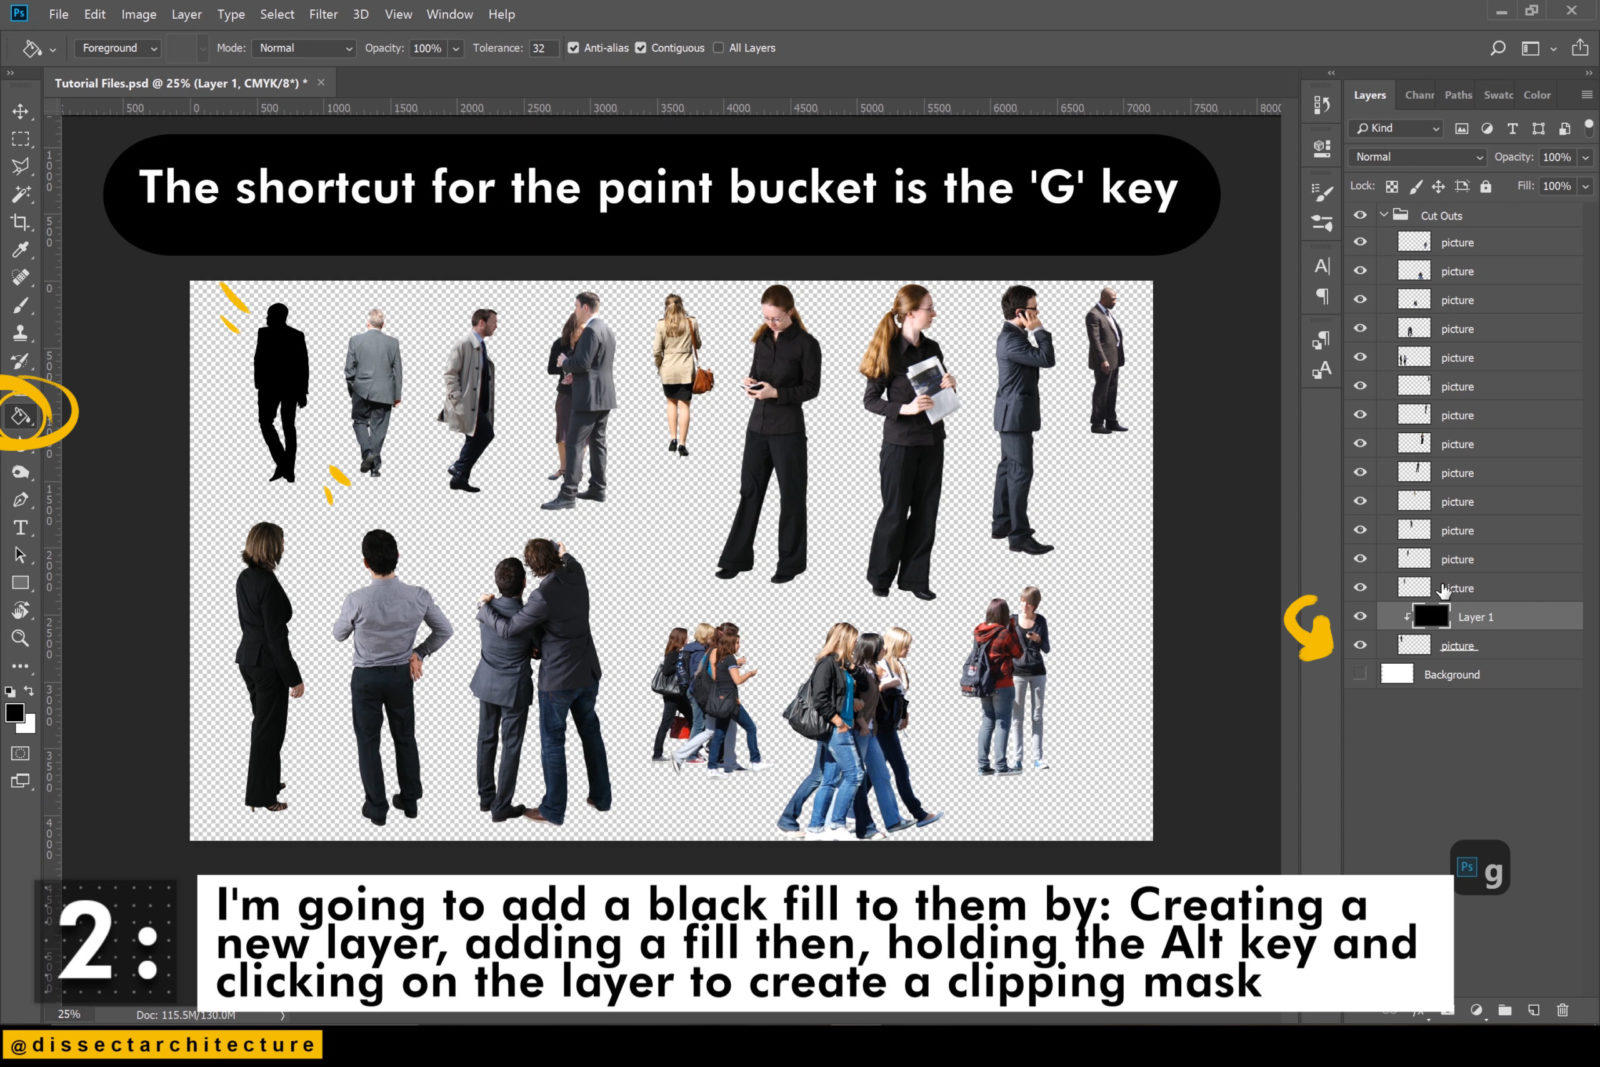
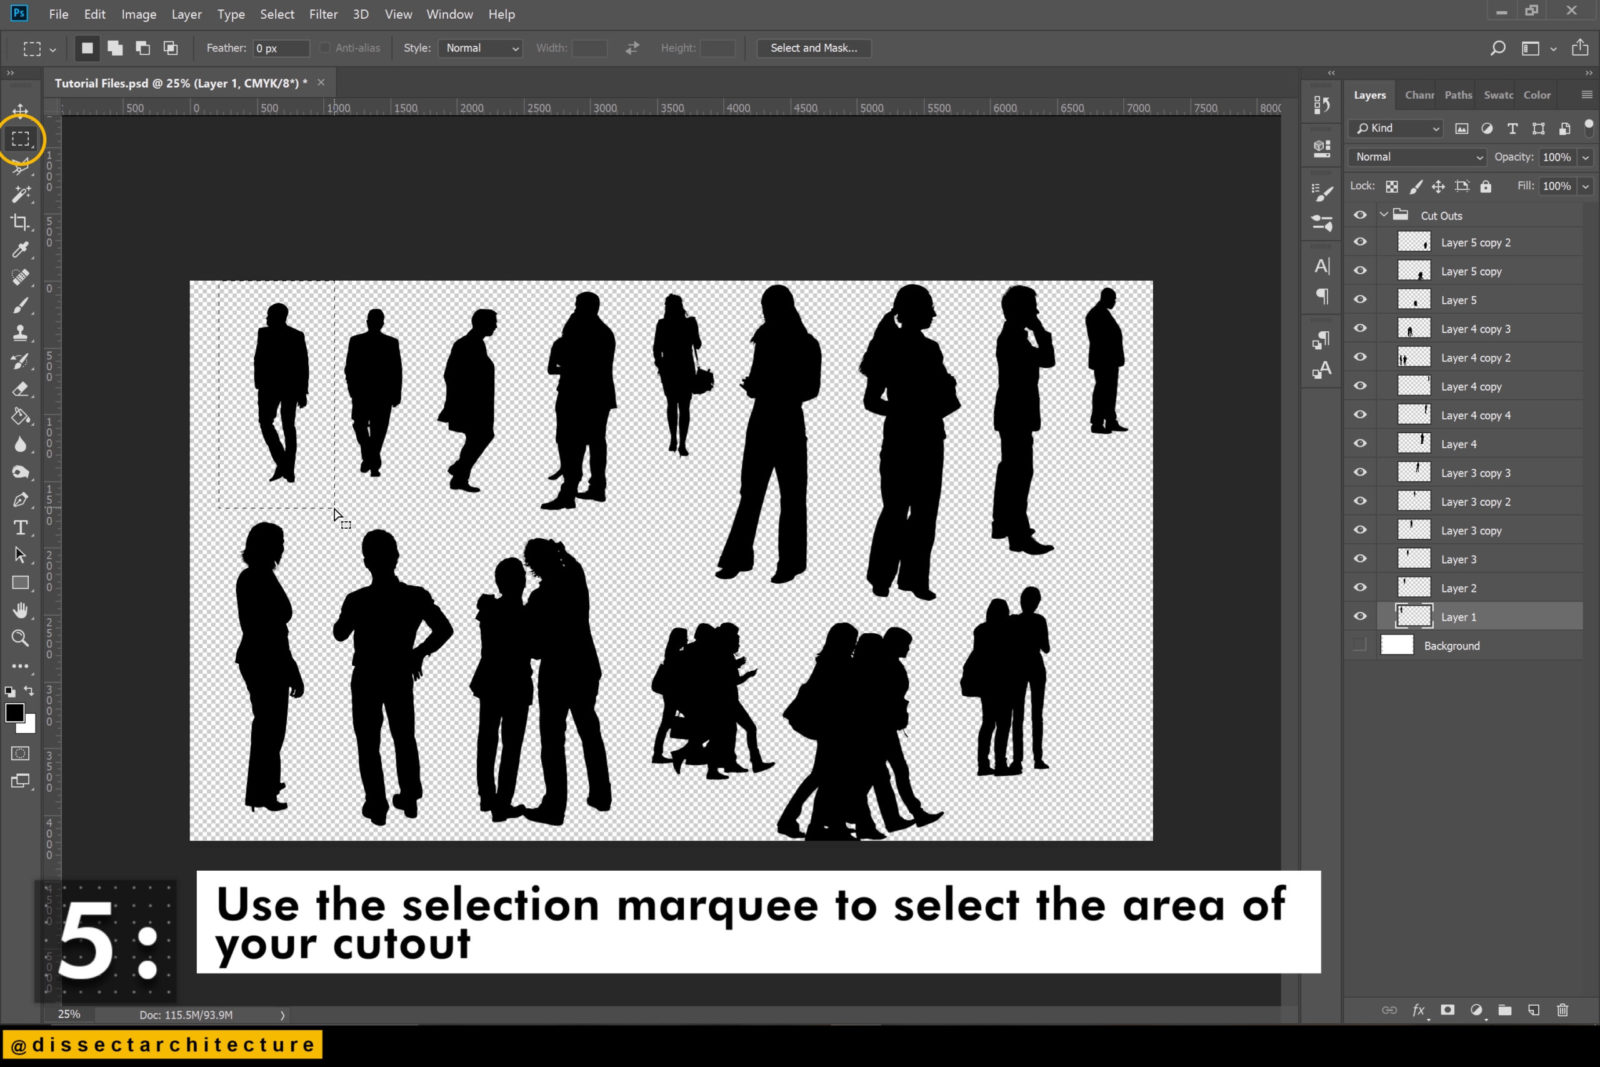
Step 01
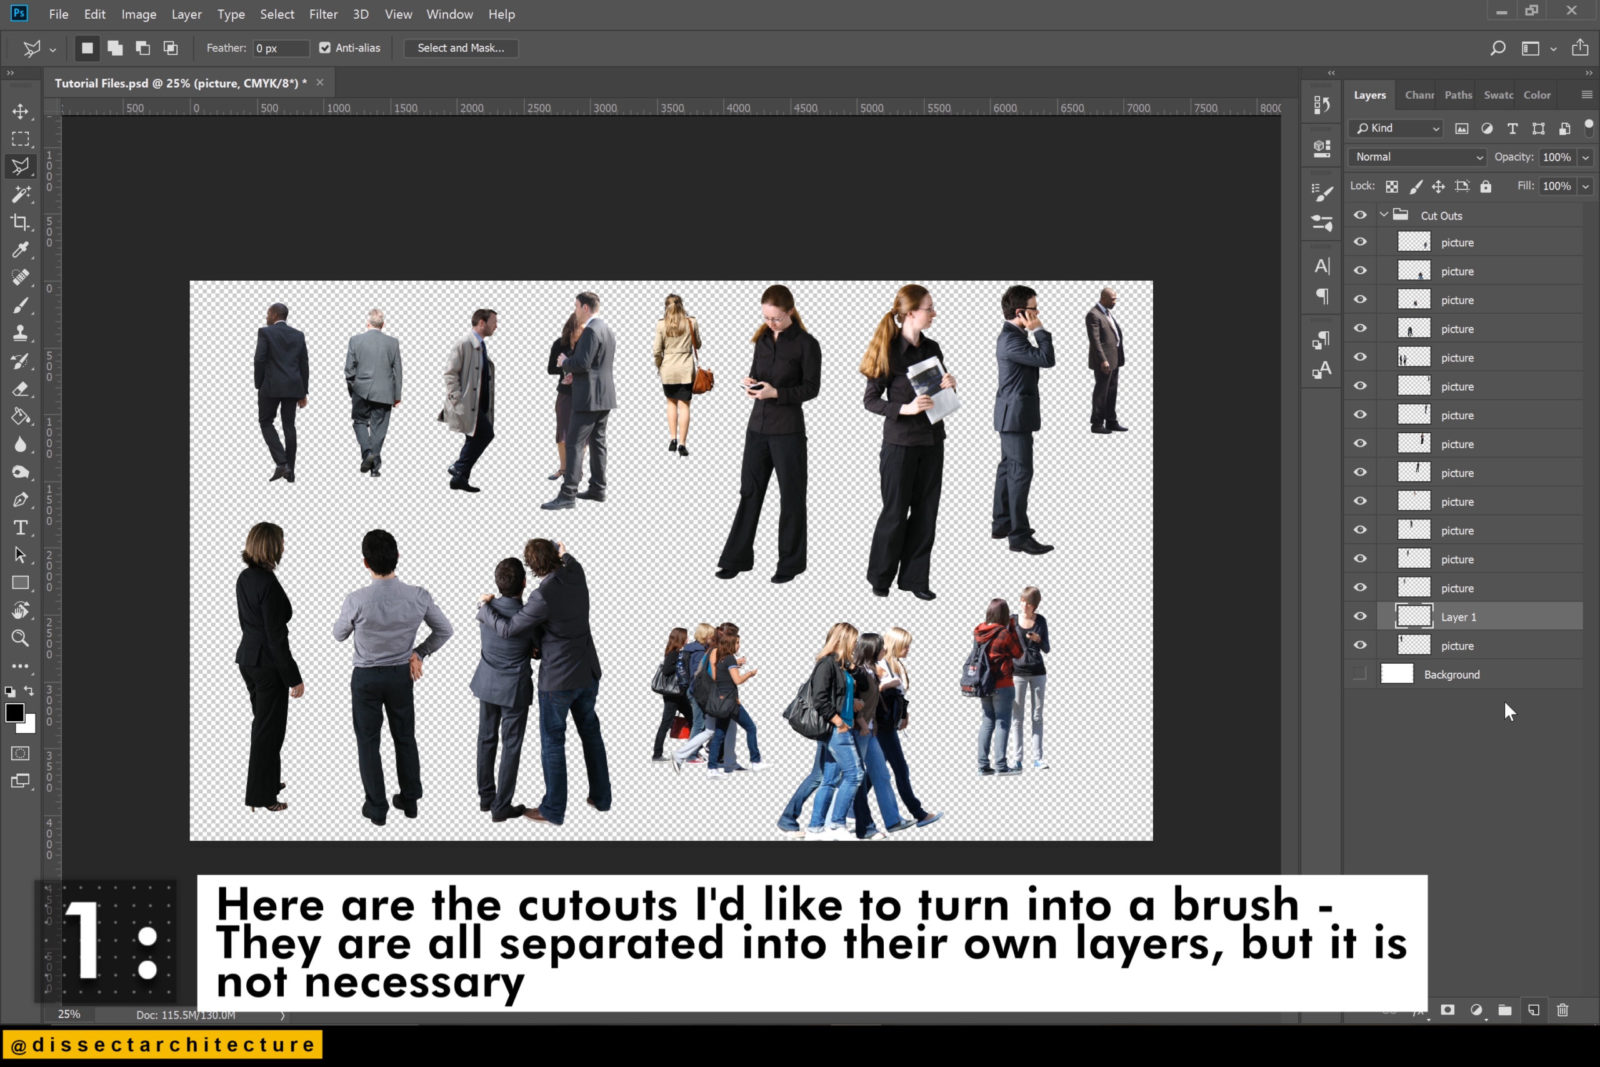
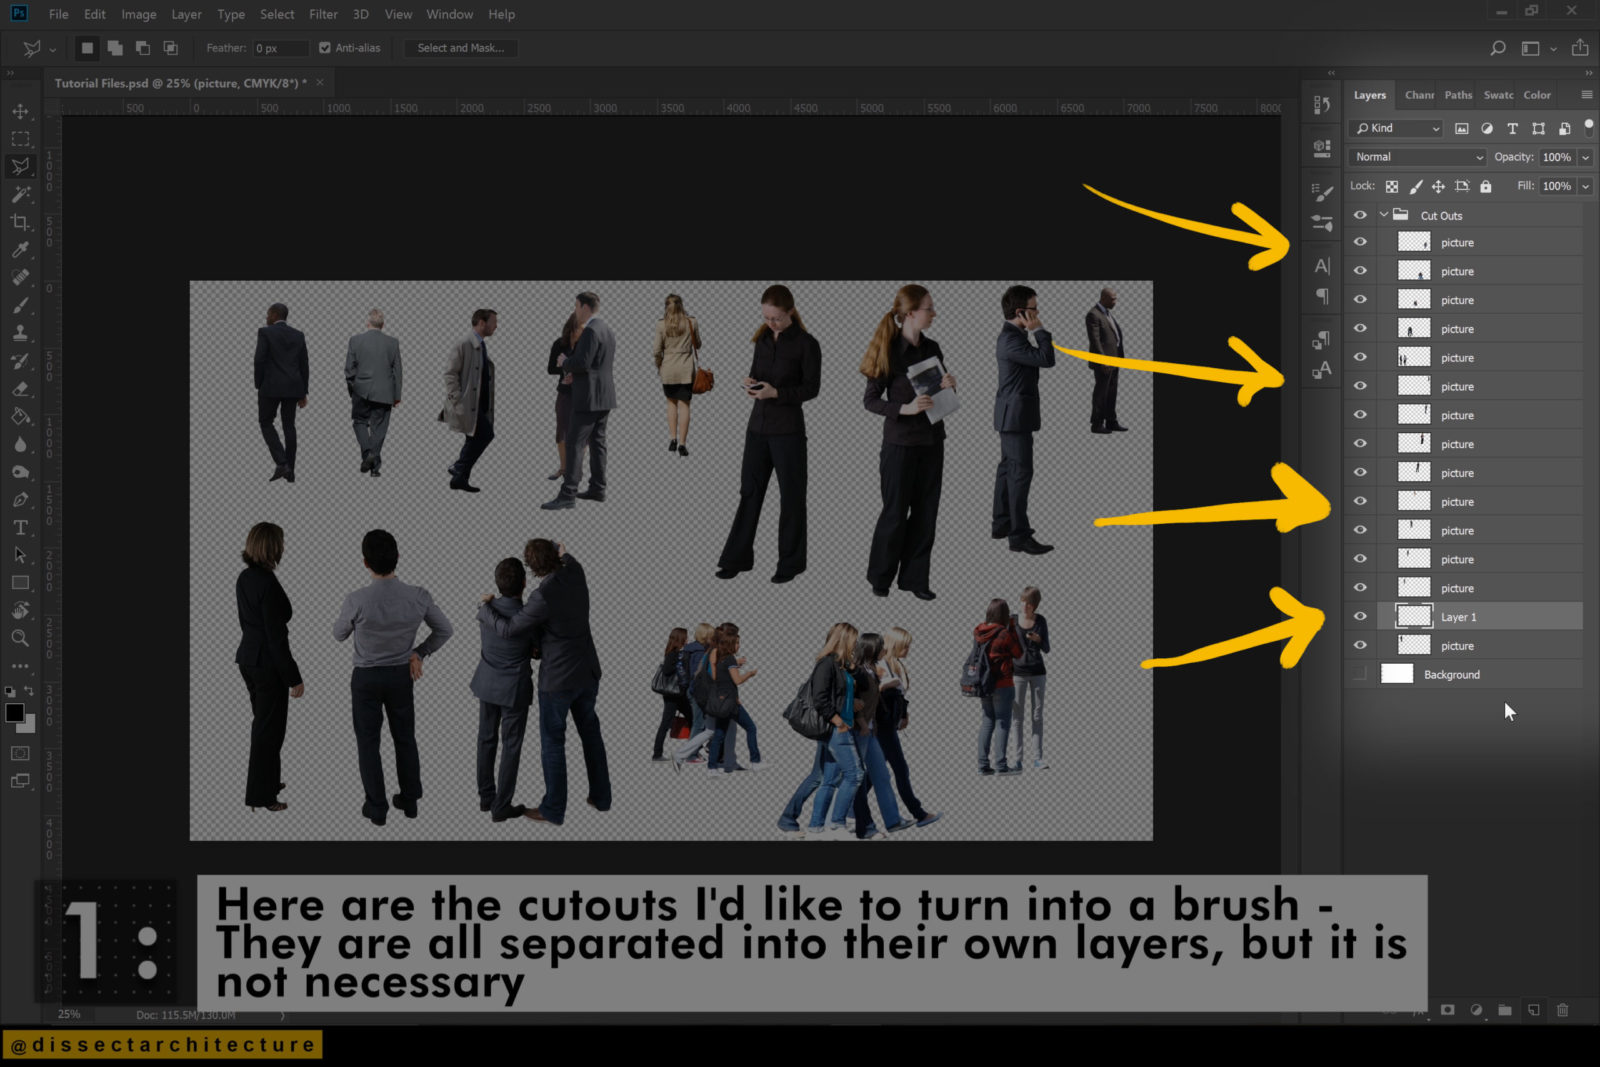
Here are the cutouts I’d like to turn into a brush.
They are all separated into their own layers, but it is not necessary
Step 02
I’m going to add a black fill to them with the Paint Bucket Tool by creating a new layer, then holding the ALT key, and clicking on the layer to create a clipping mask.

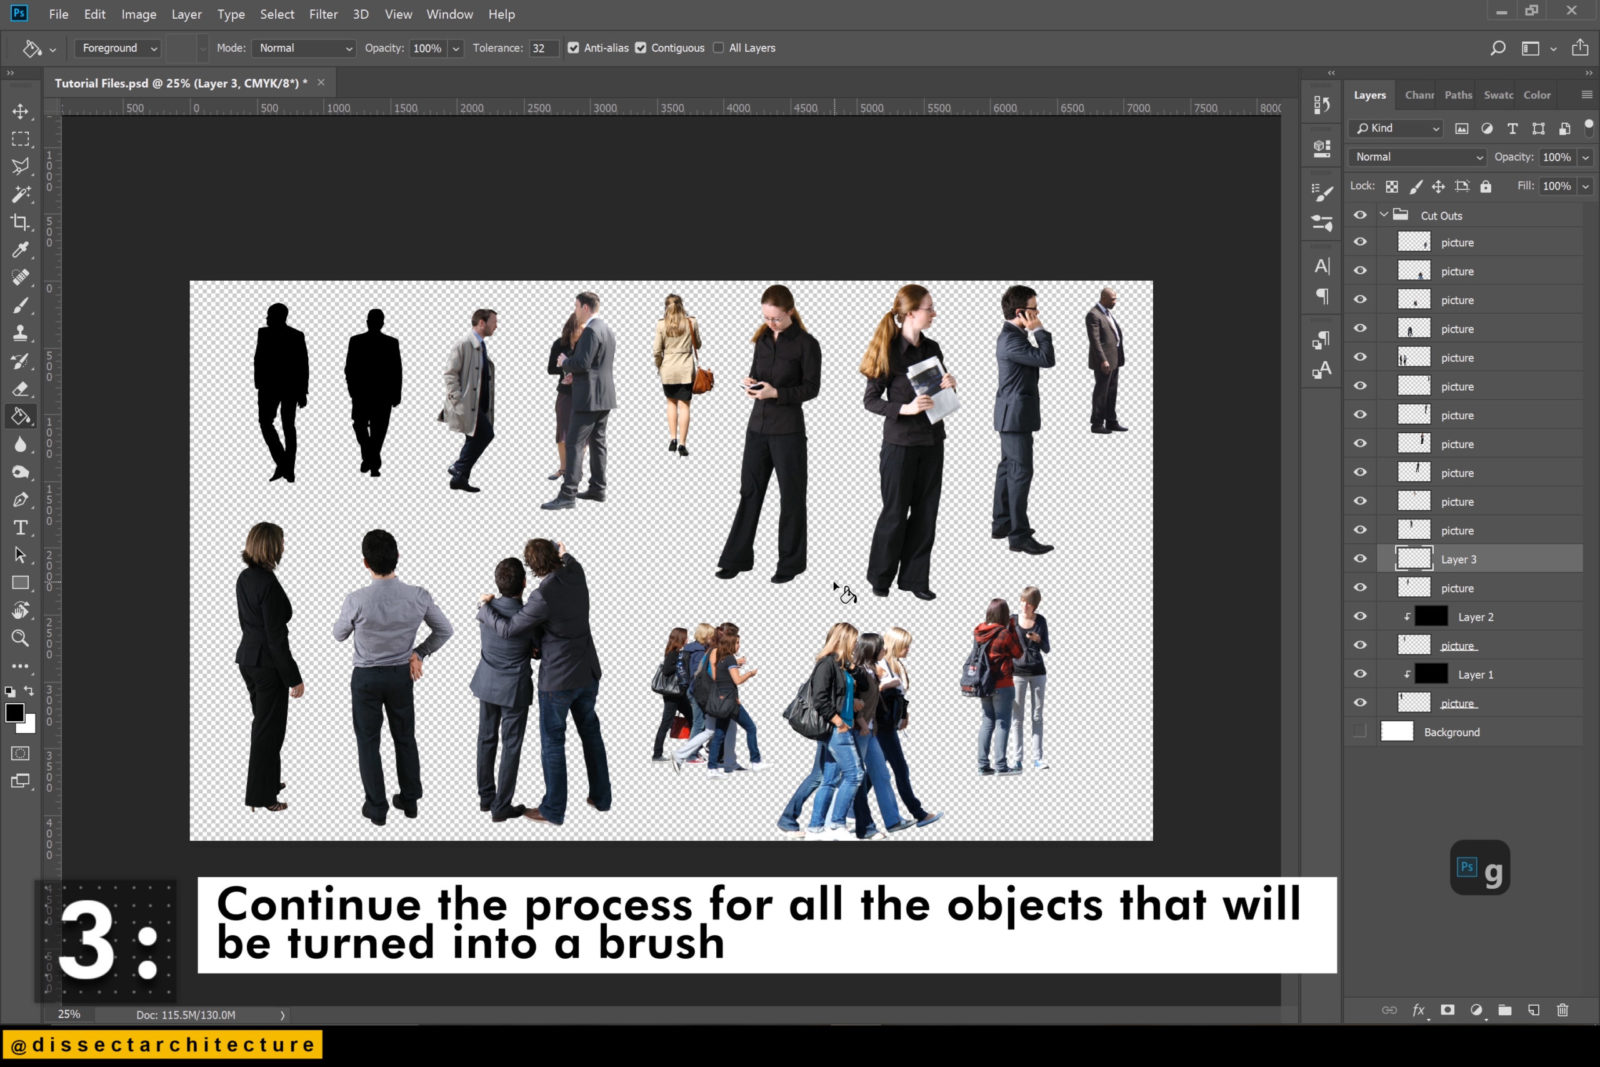
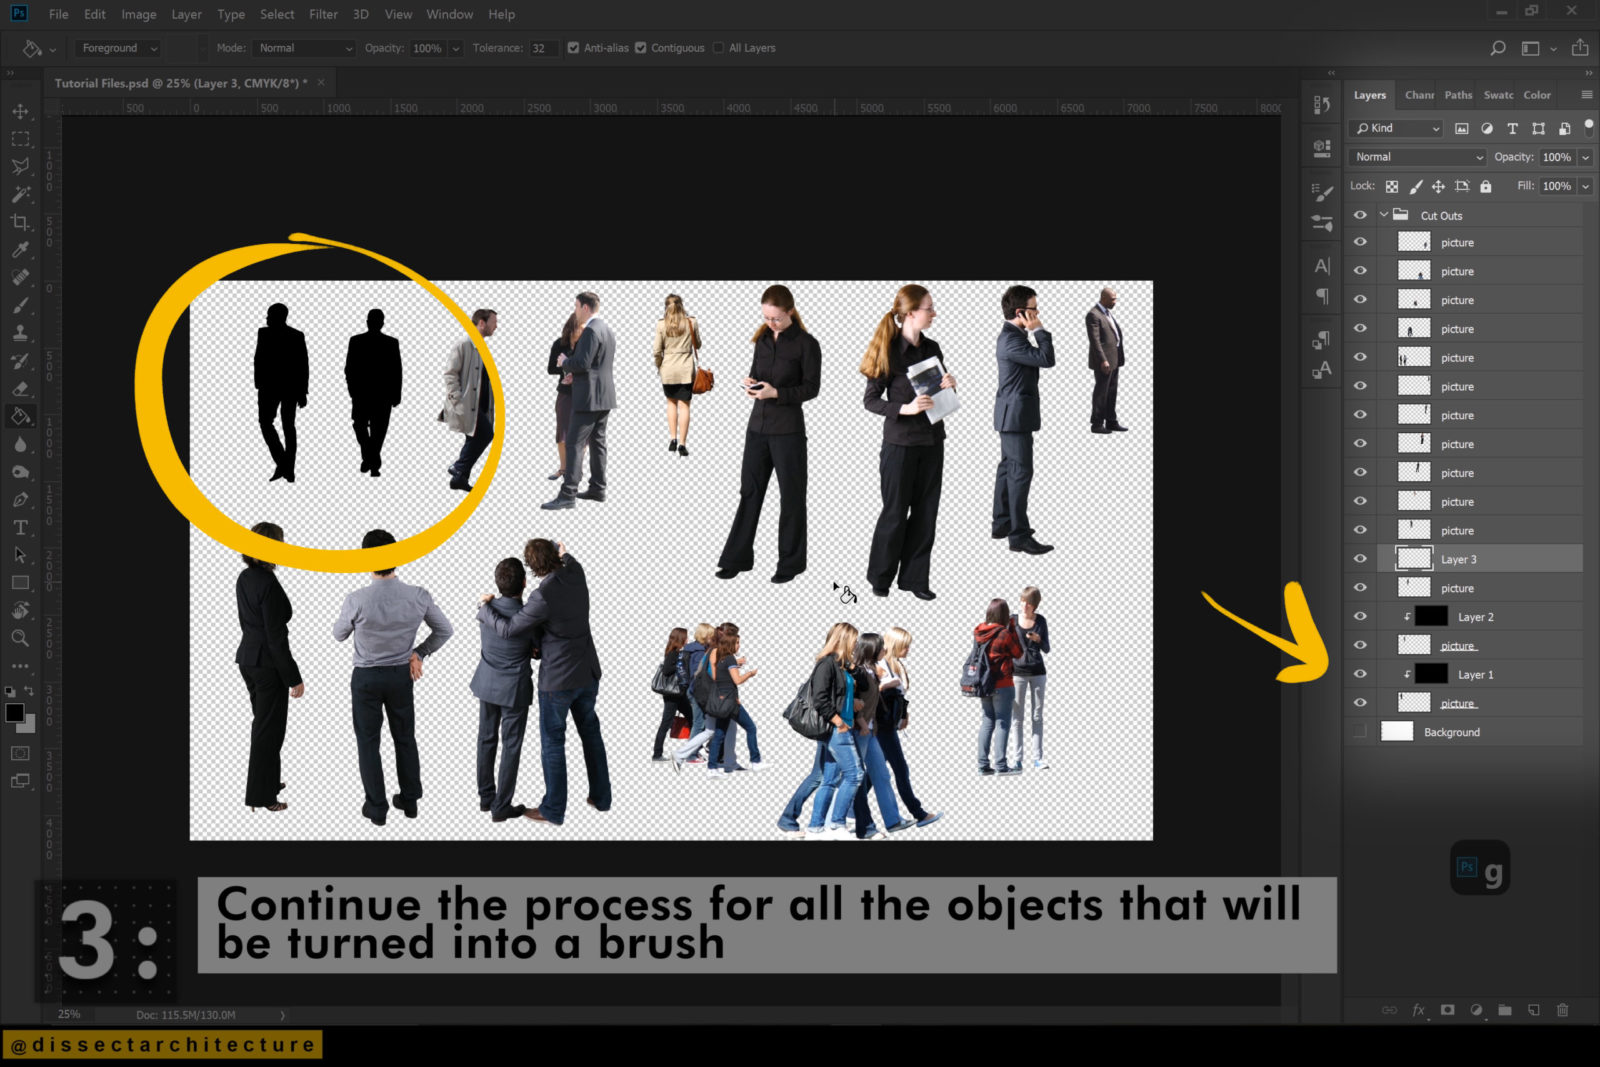
Step 03
Continue the process for all the objects that will be turned into a brush.
Quick Tip: Use the CTRL+J to quickly duplicate a layer.
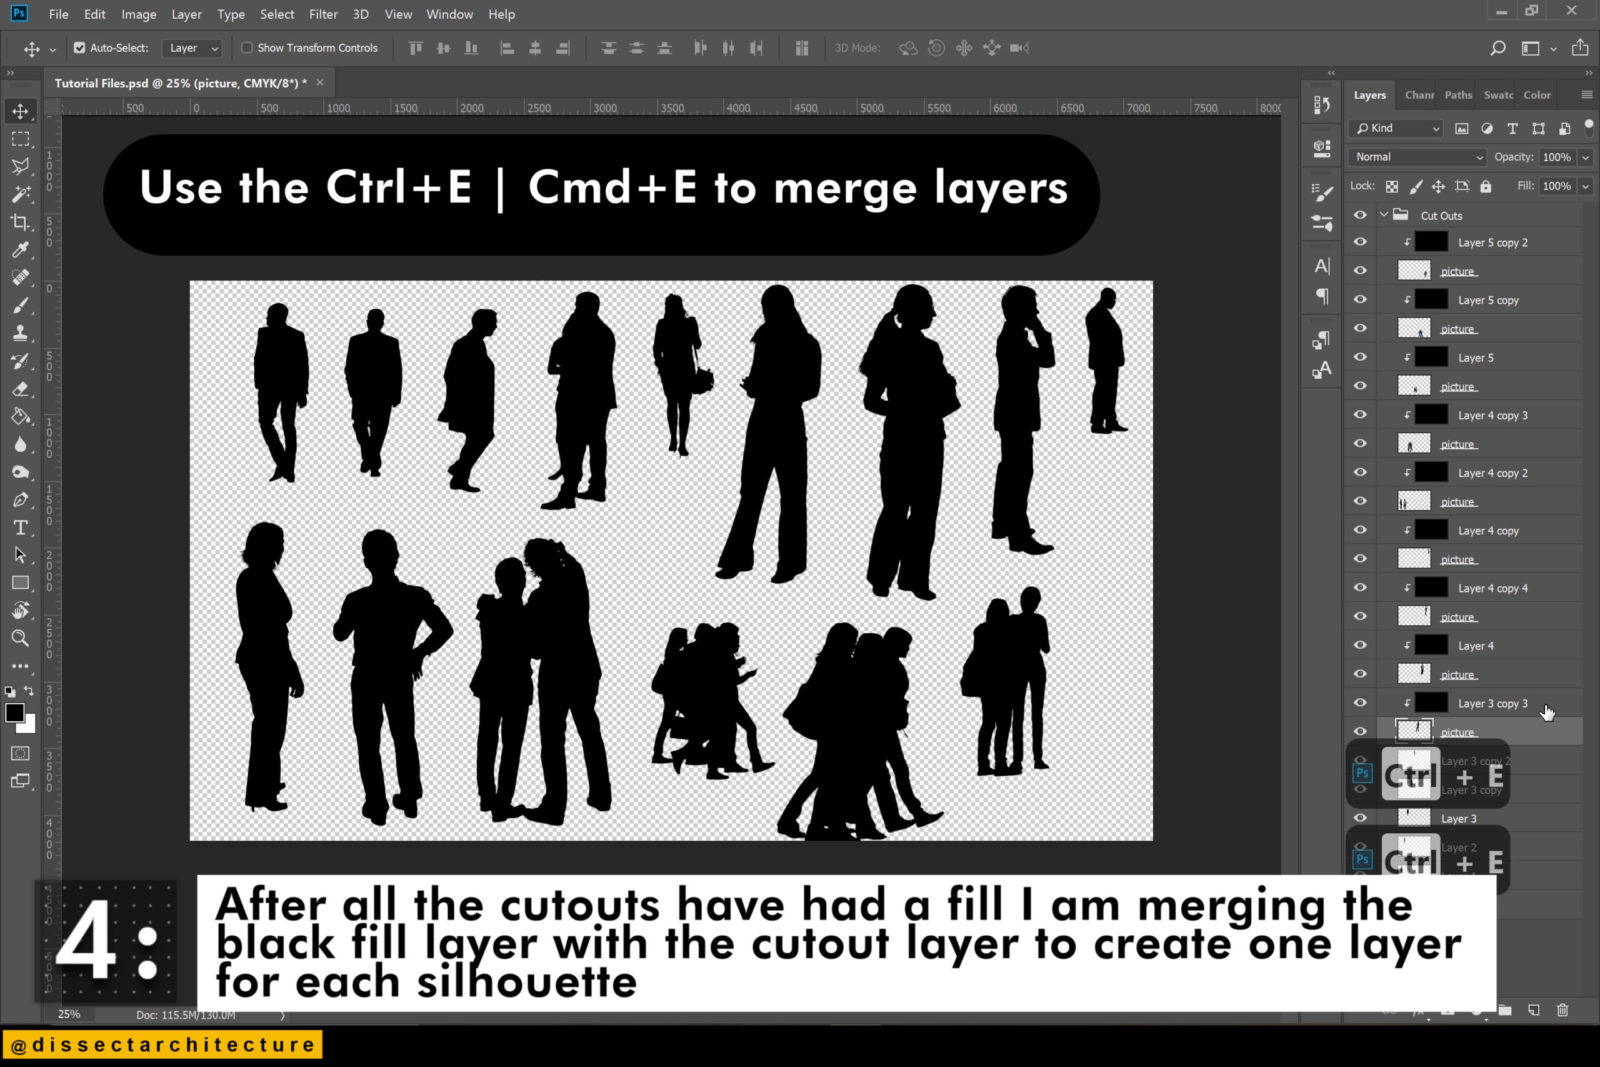
Step 04
After all the cutouts have had a fill added, merge the black fill layers with the original cutout layers to become one layer.

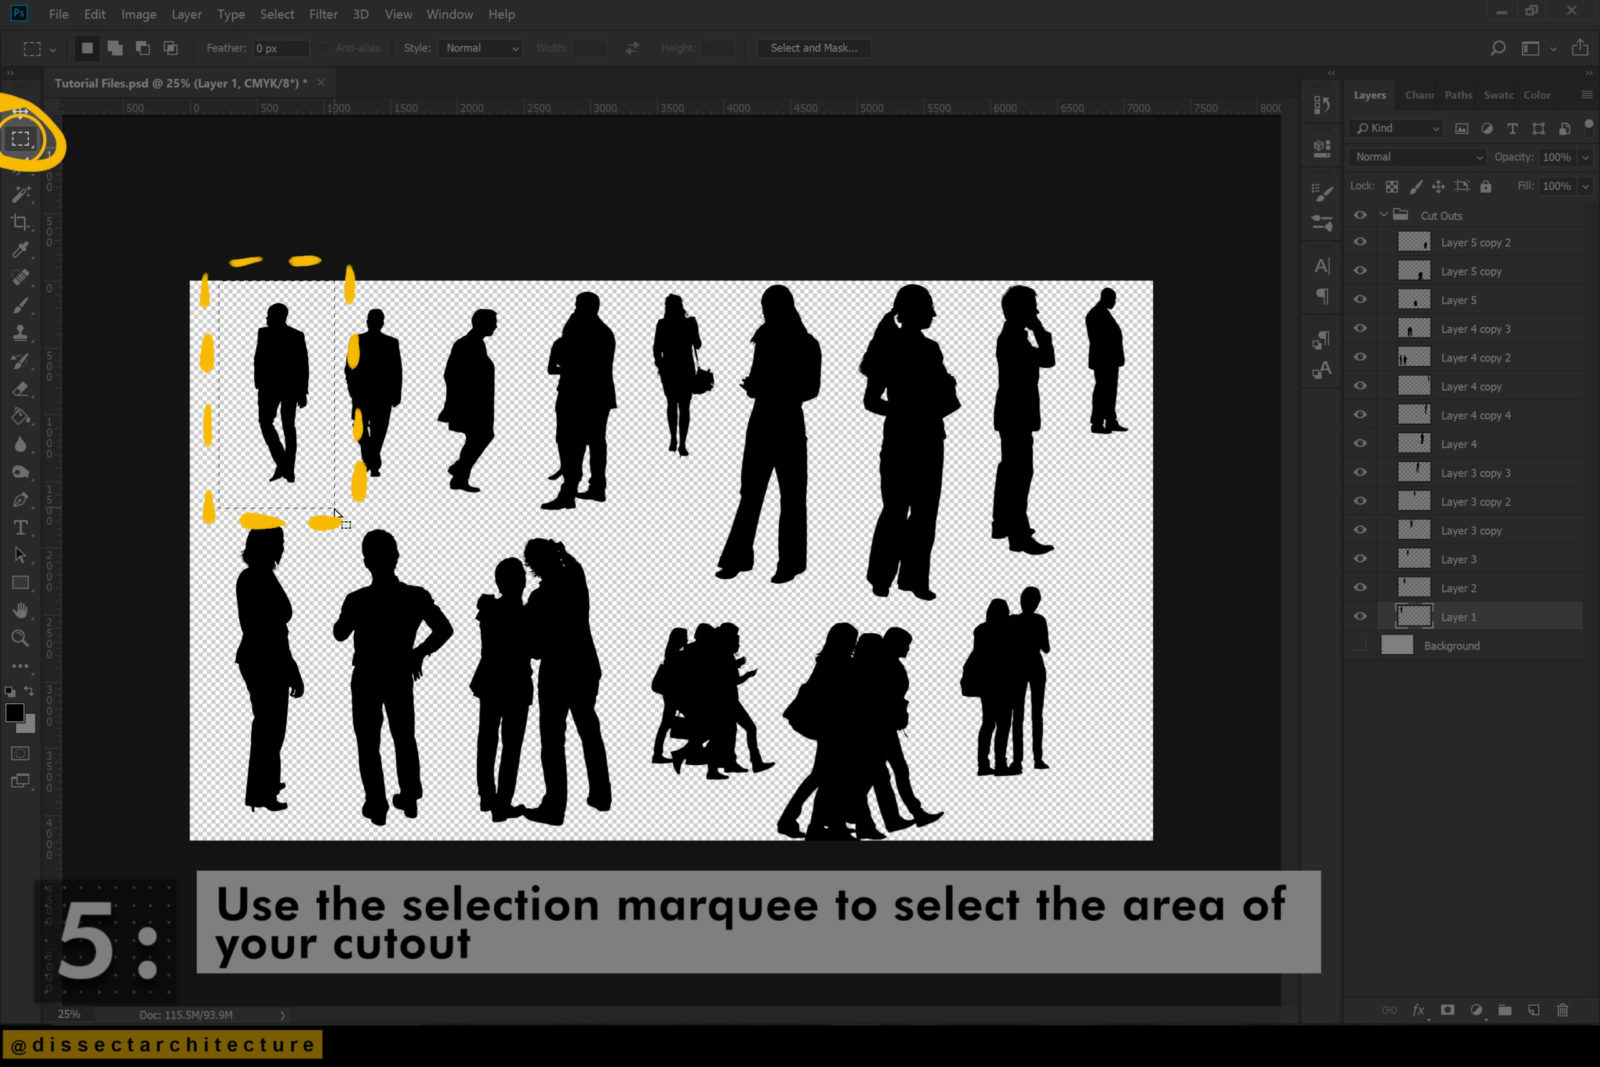
Step 05
Use the Selection Marquee Tool to select the area of your cutout.
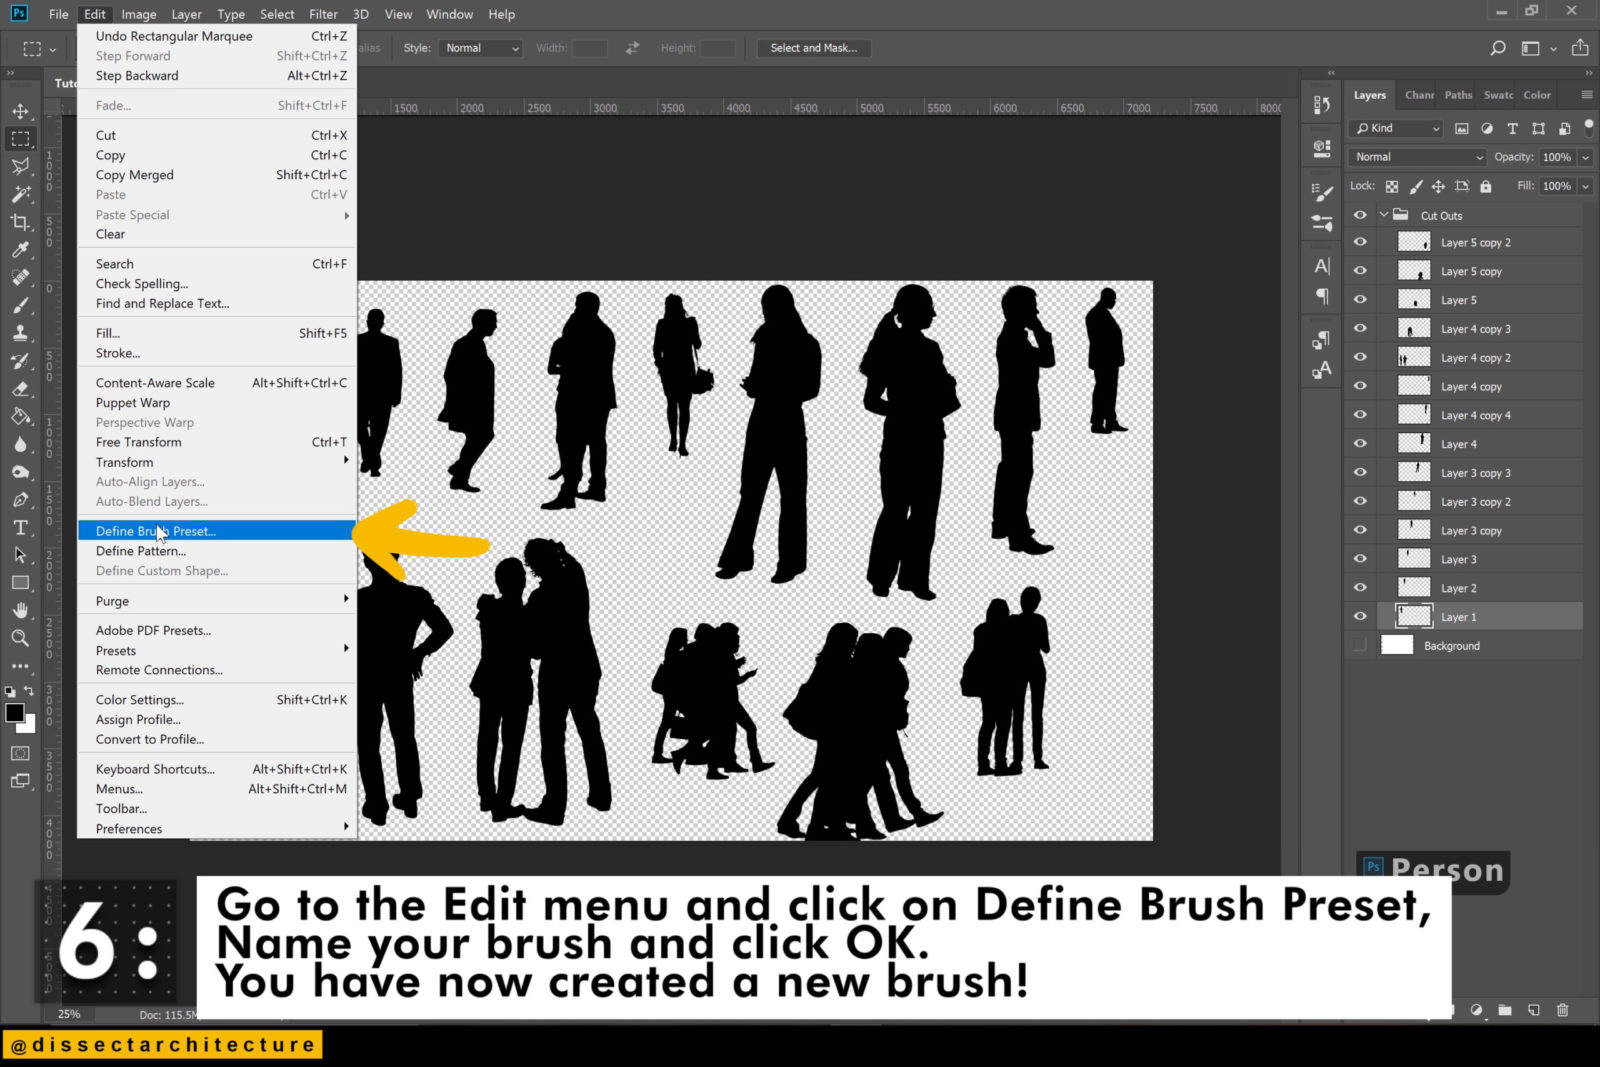
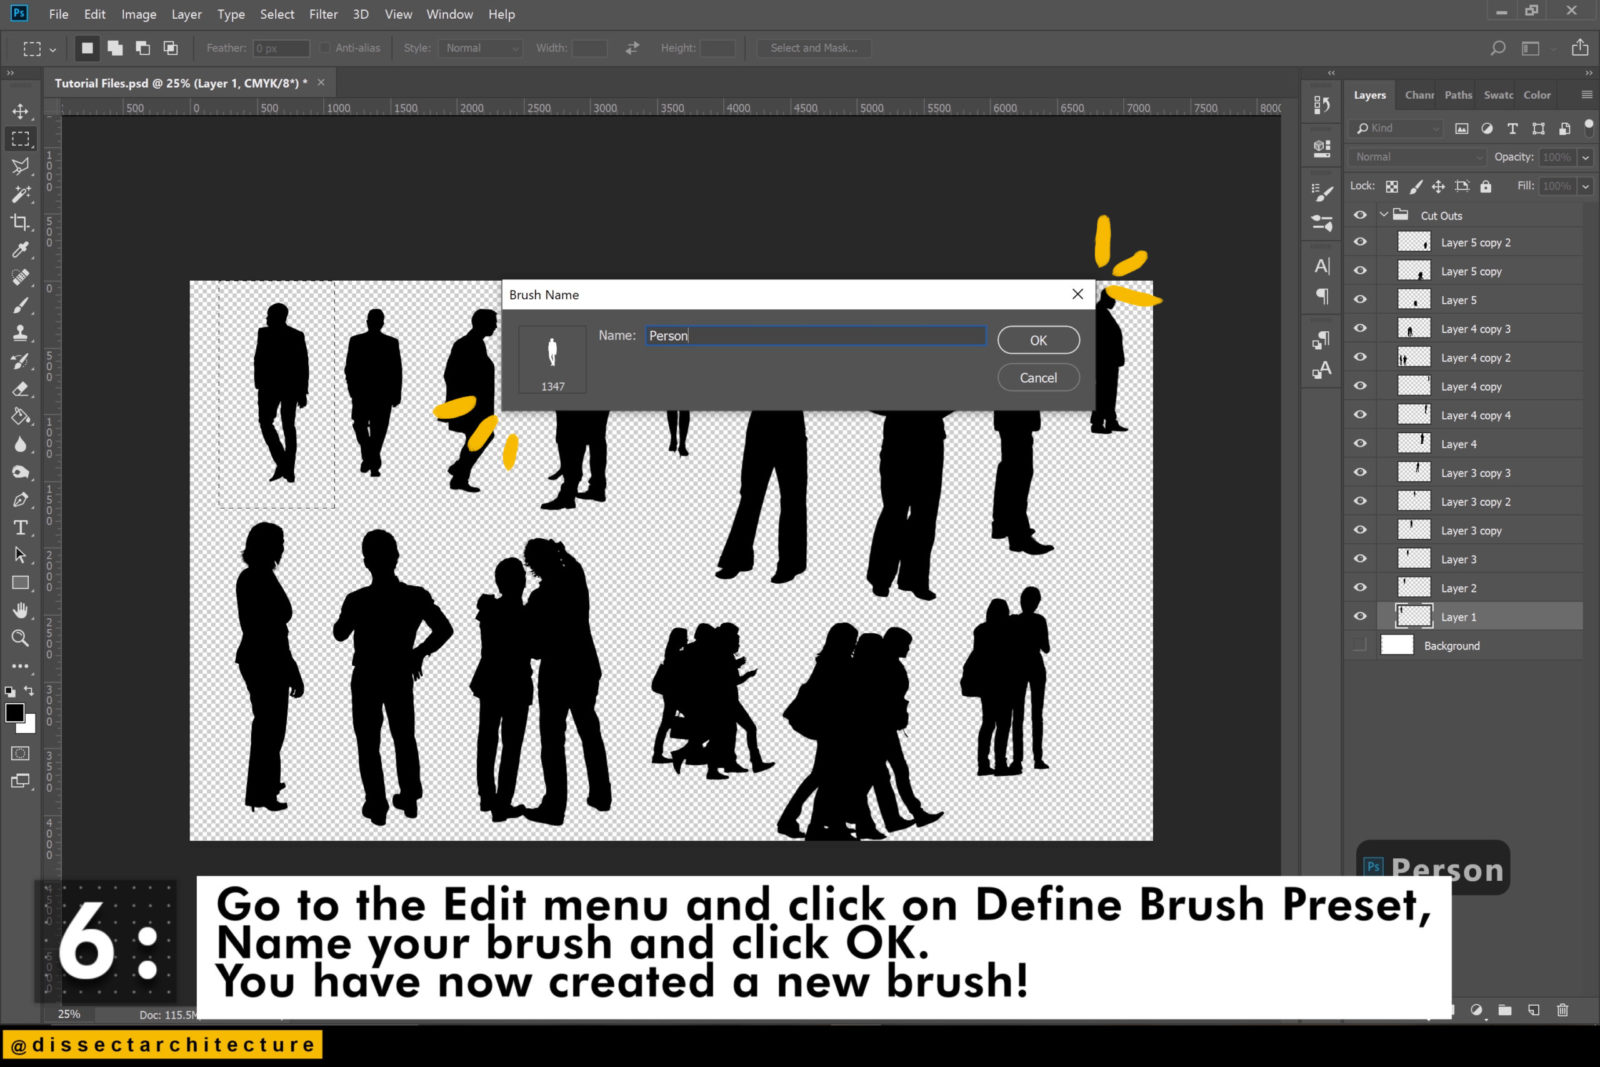
Step 06
Go to the Edit Menu and click on Define Brush Preset. In the pop-up menu name your brush and click OK.
You have now created a new brush!
Step 07
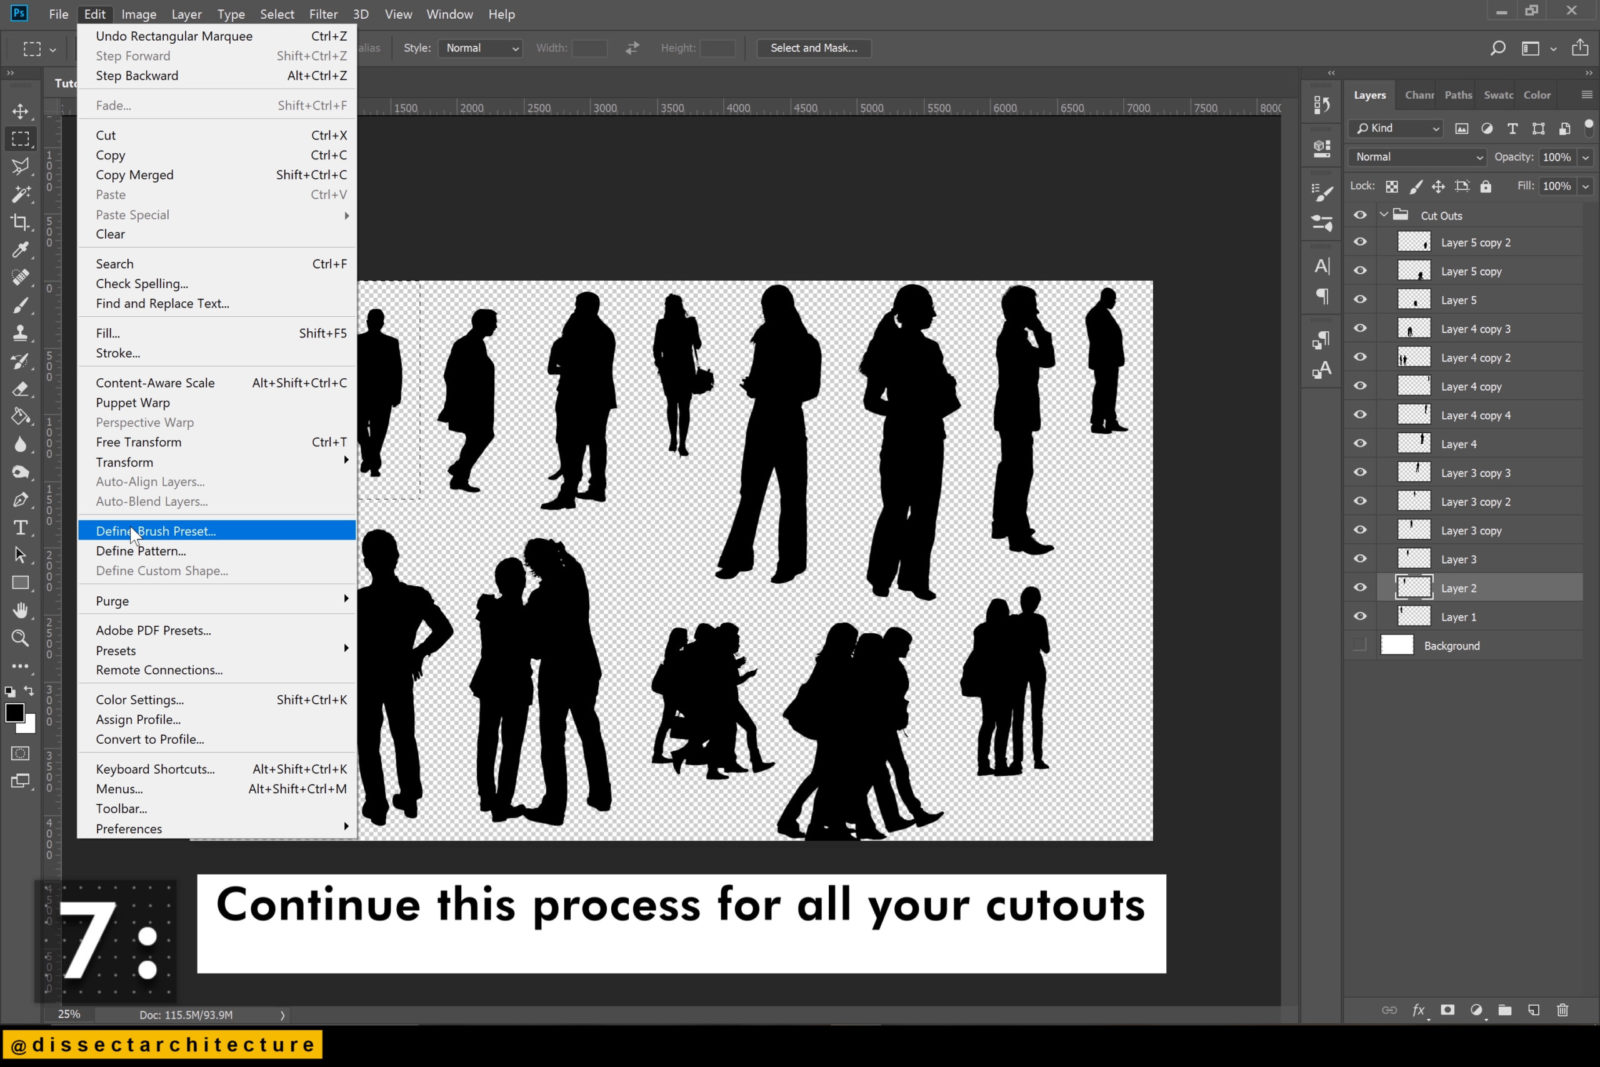
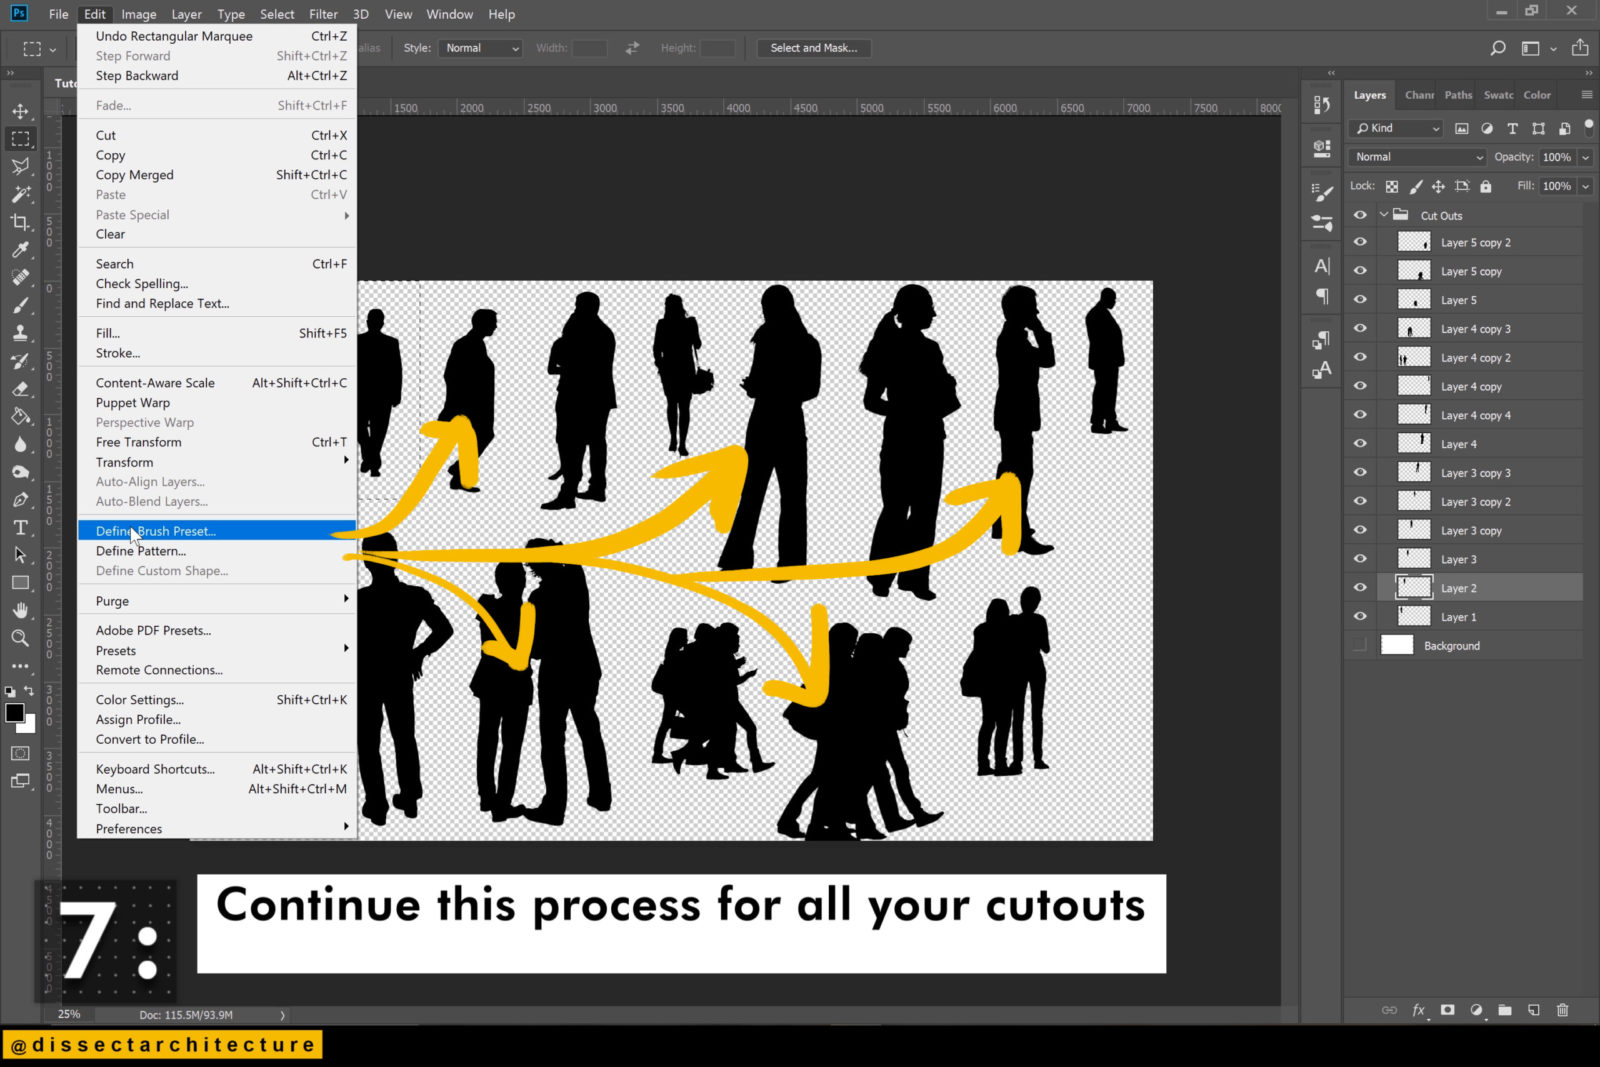
Continue this process for all your cutouts
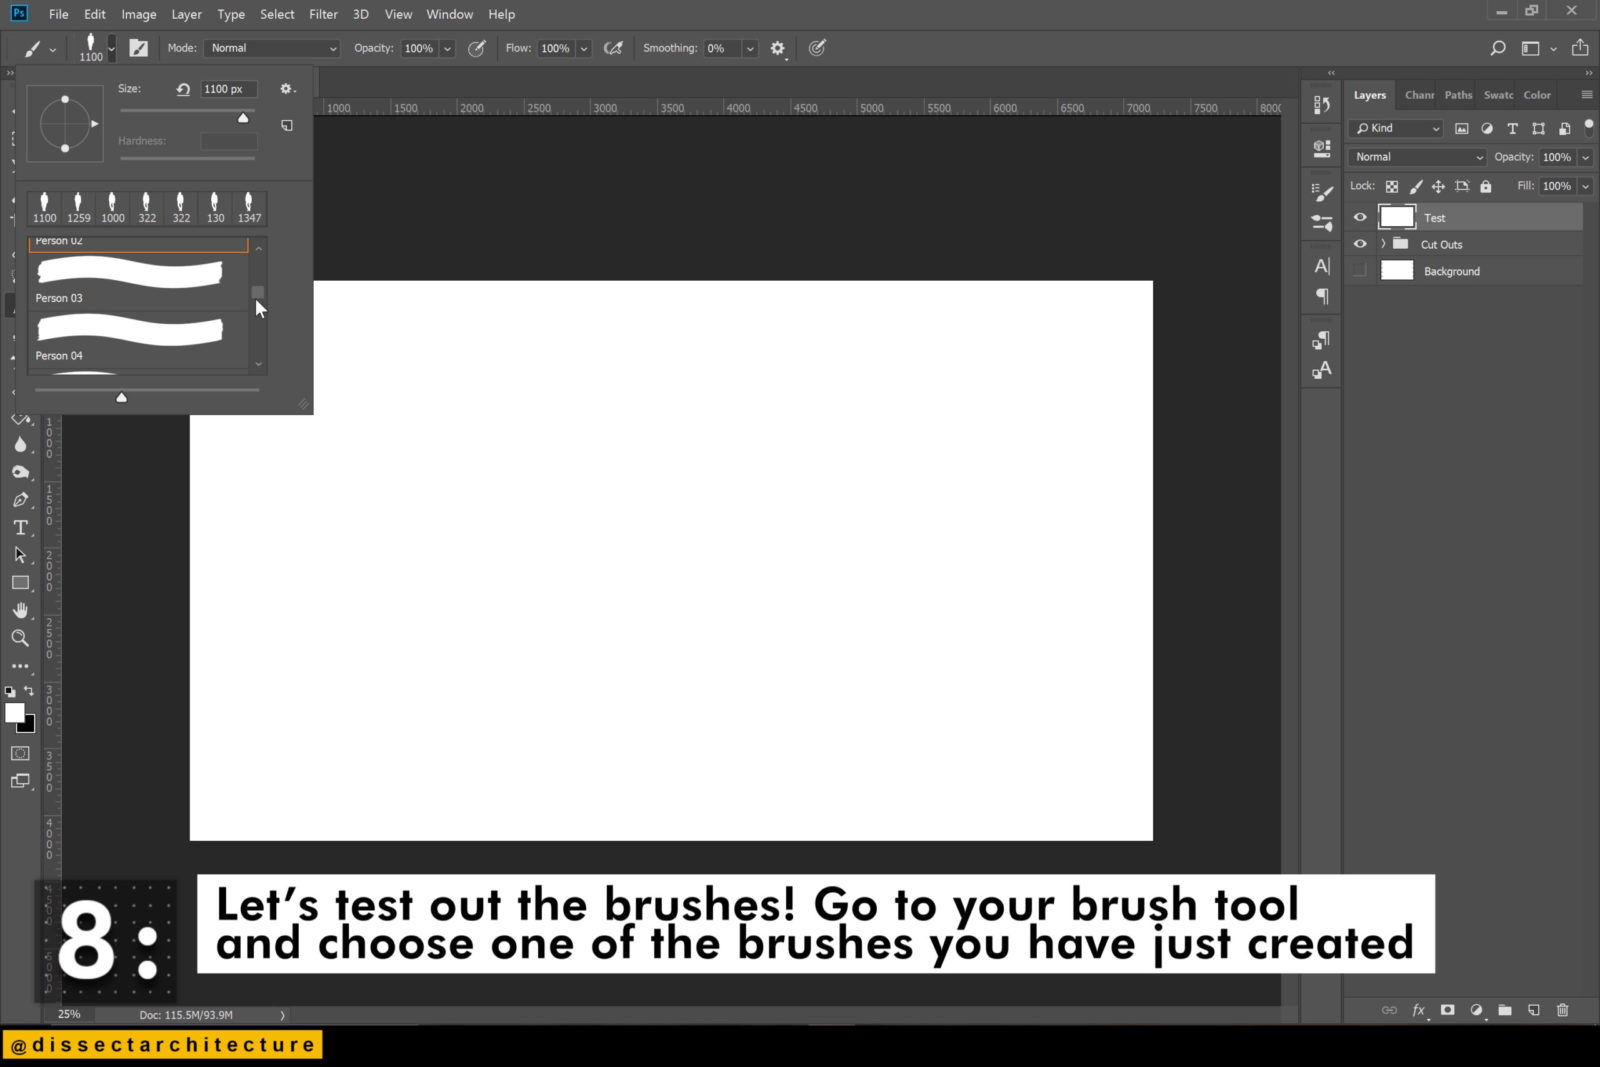
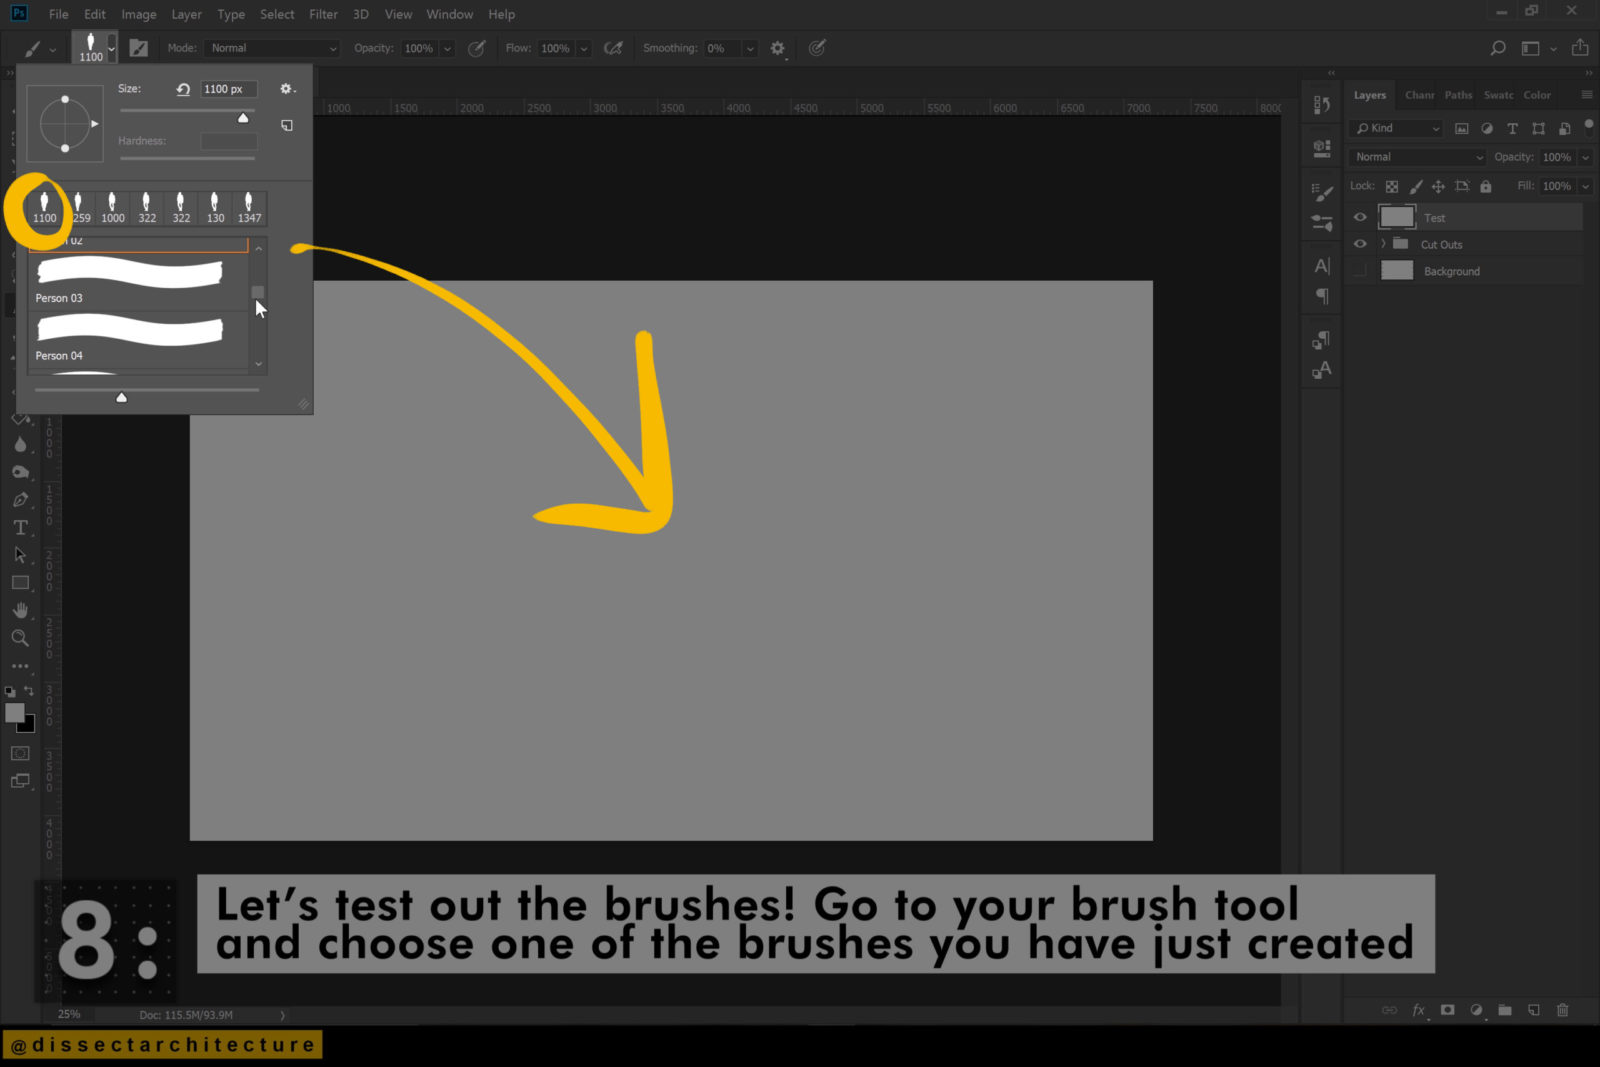
Step 08
Let’s test out the brushes now!
Go to your Brush Tool menu and choose one of the brushes you have just created.
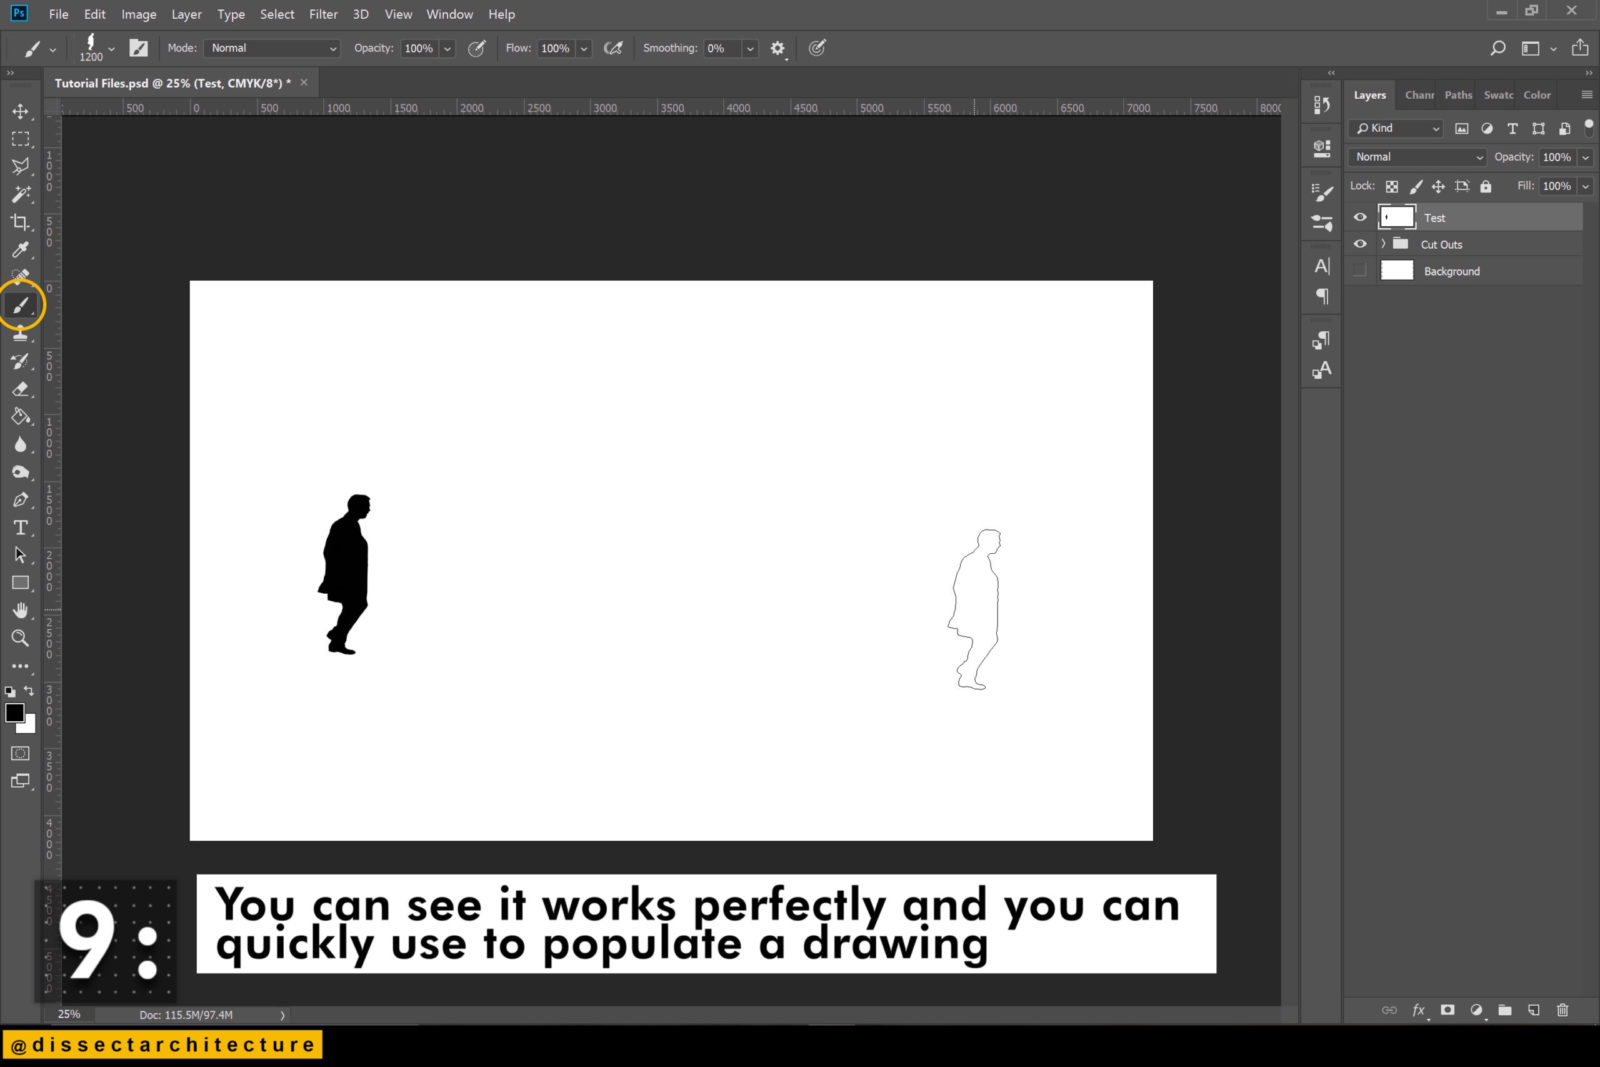
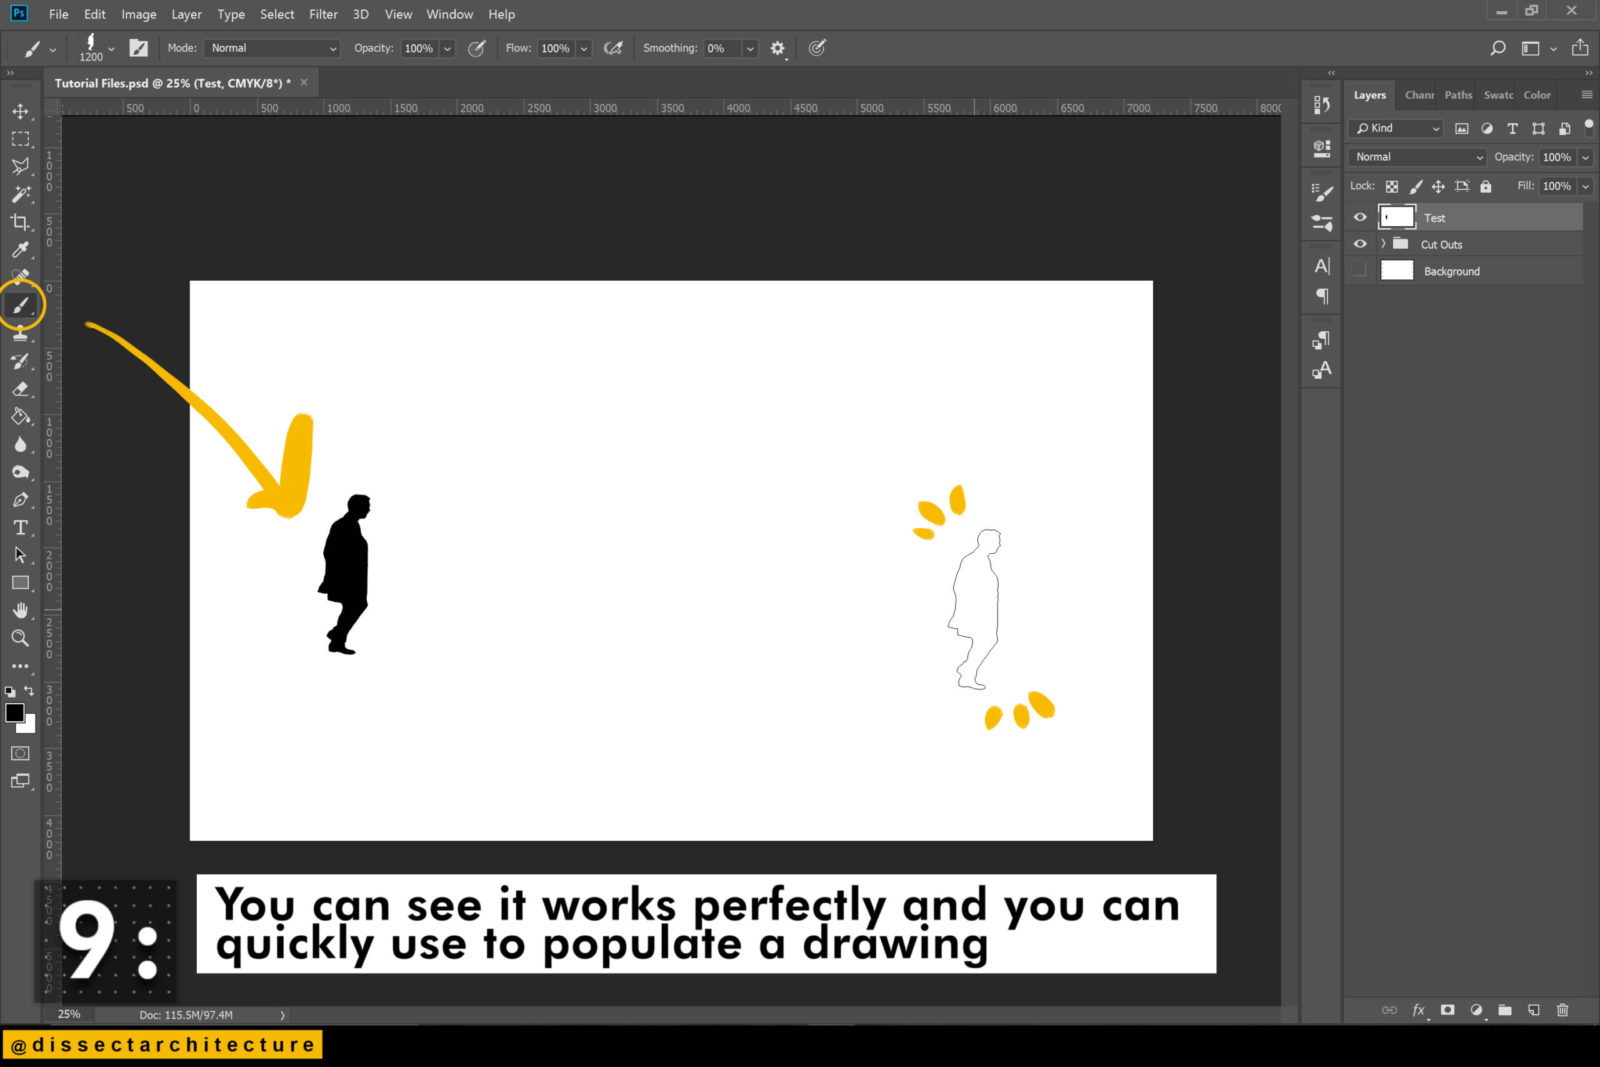
Step 09
You can see it works perfectly and you can quickly use it to populate your drawing.
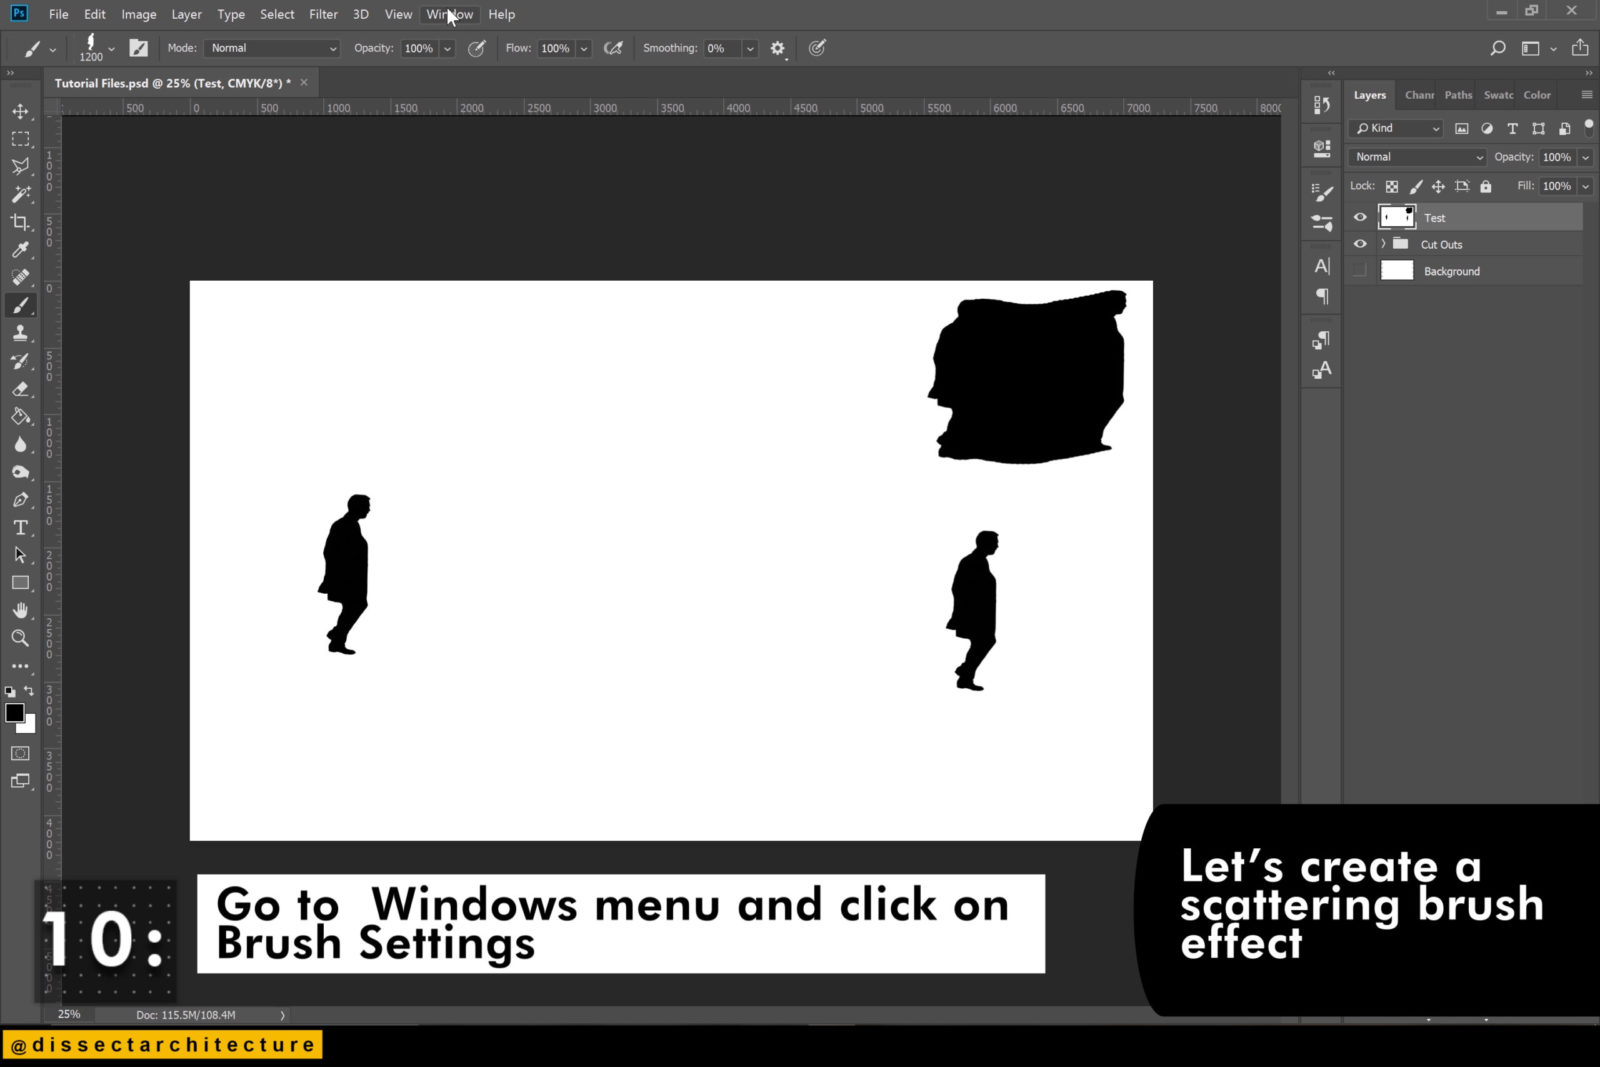
Step 10
Go to the Window Menu and click on Brush Settings.
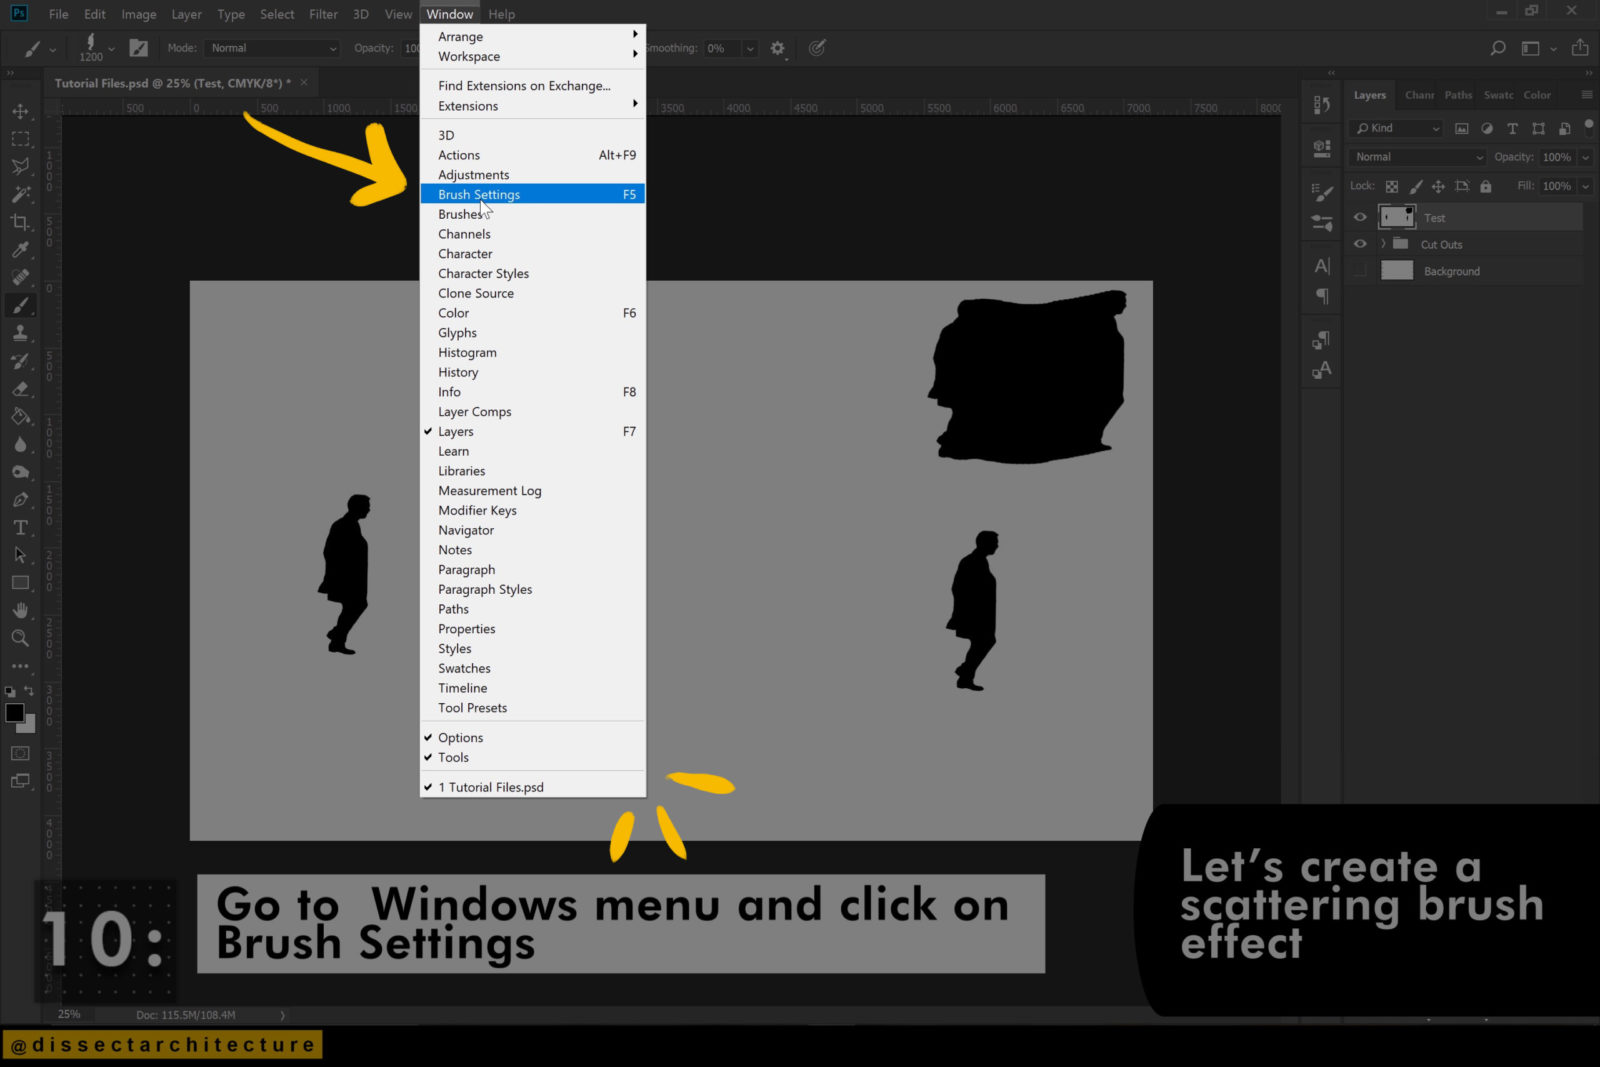
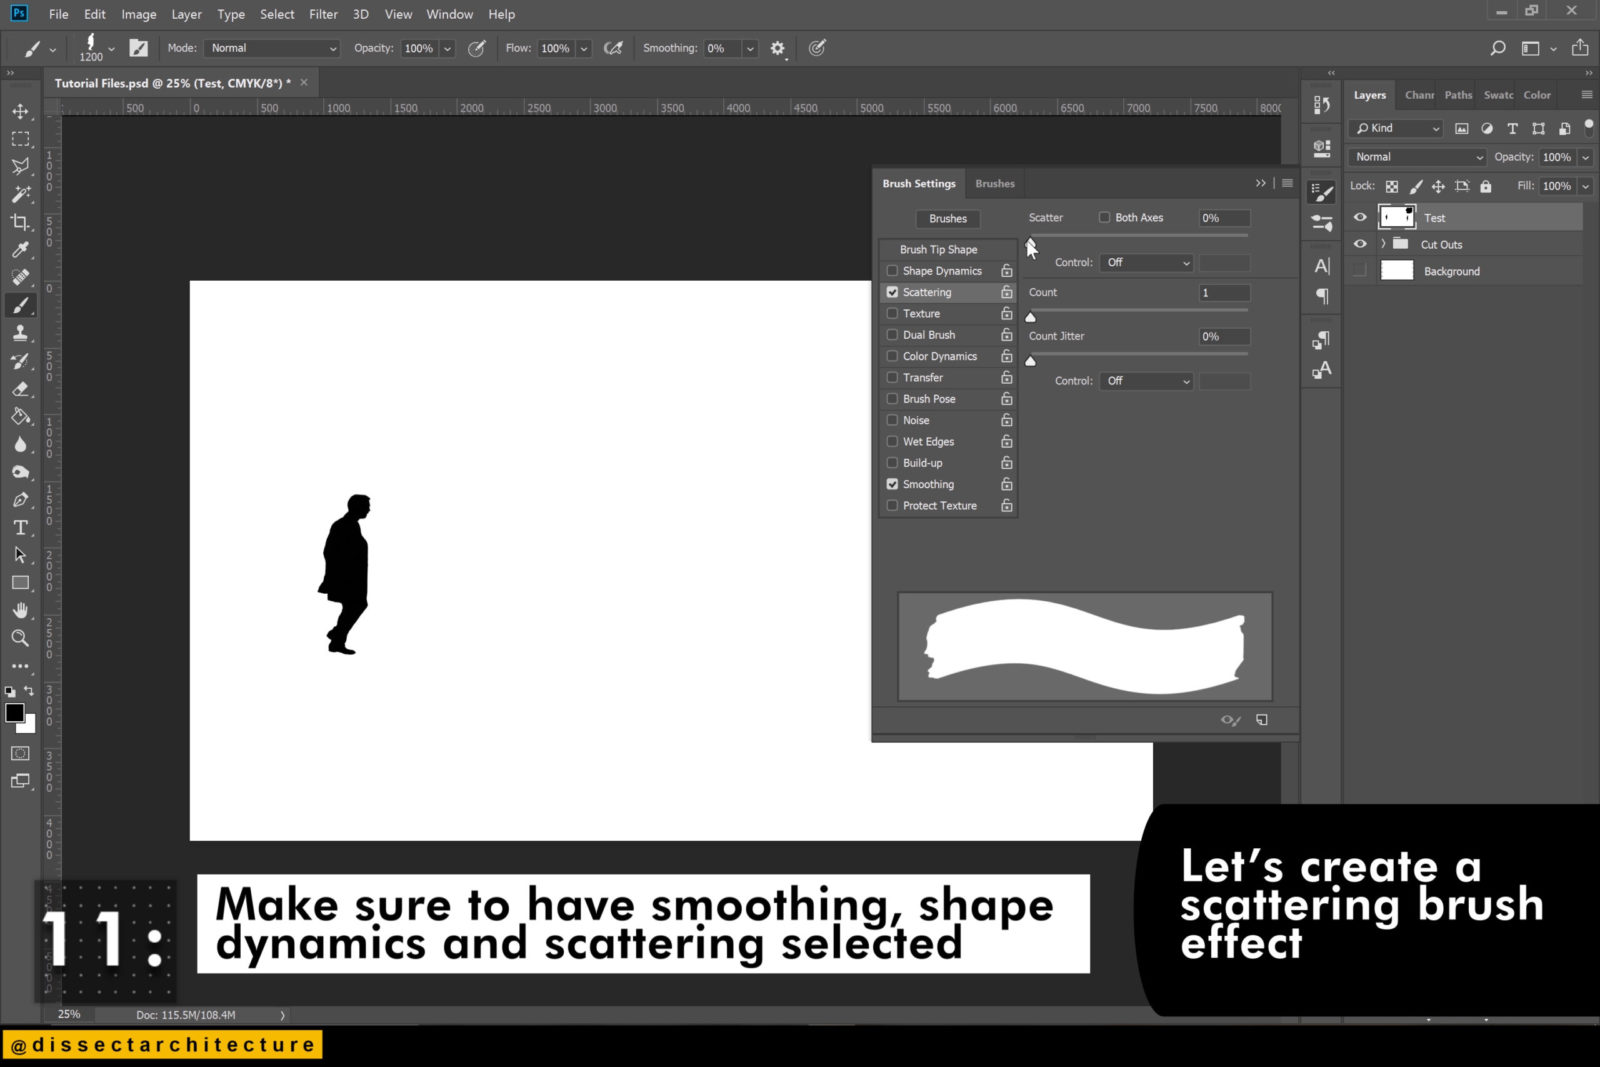
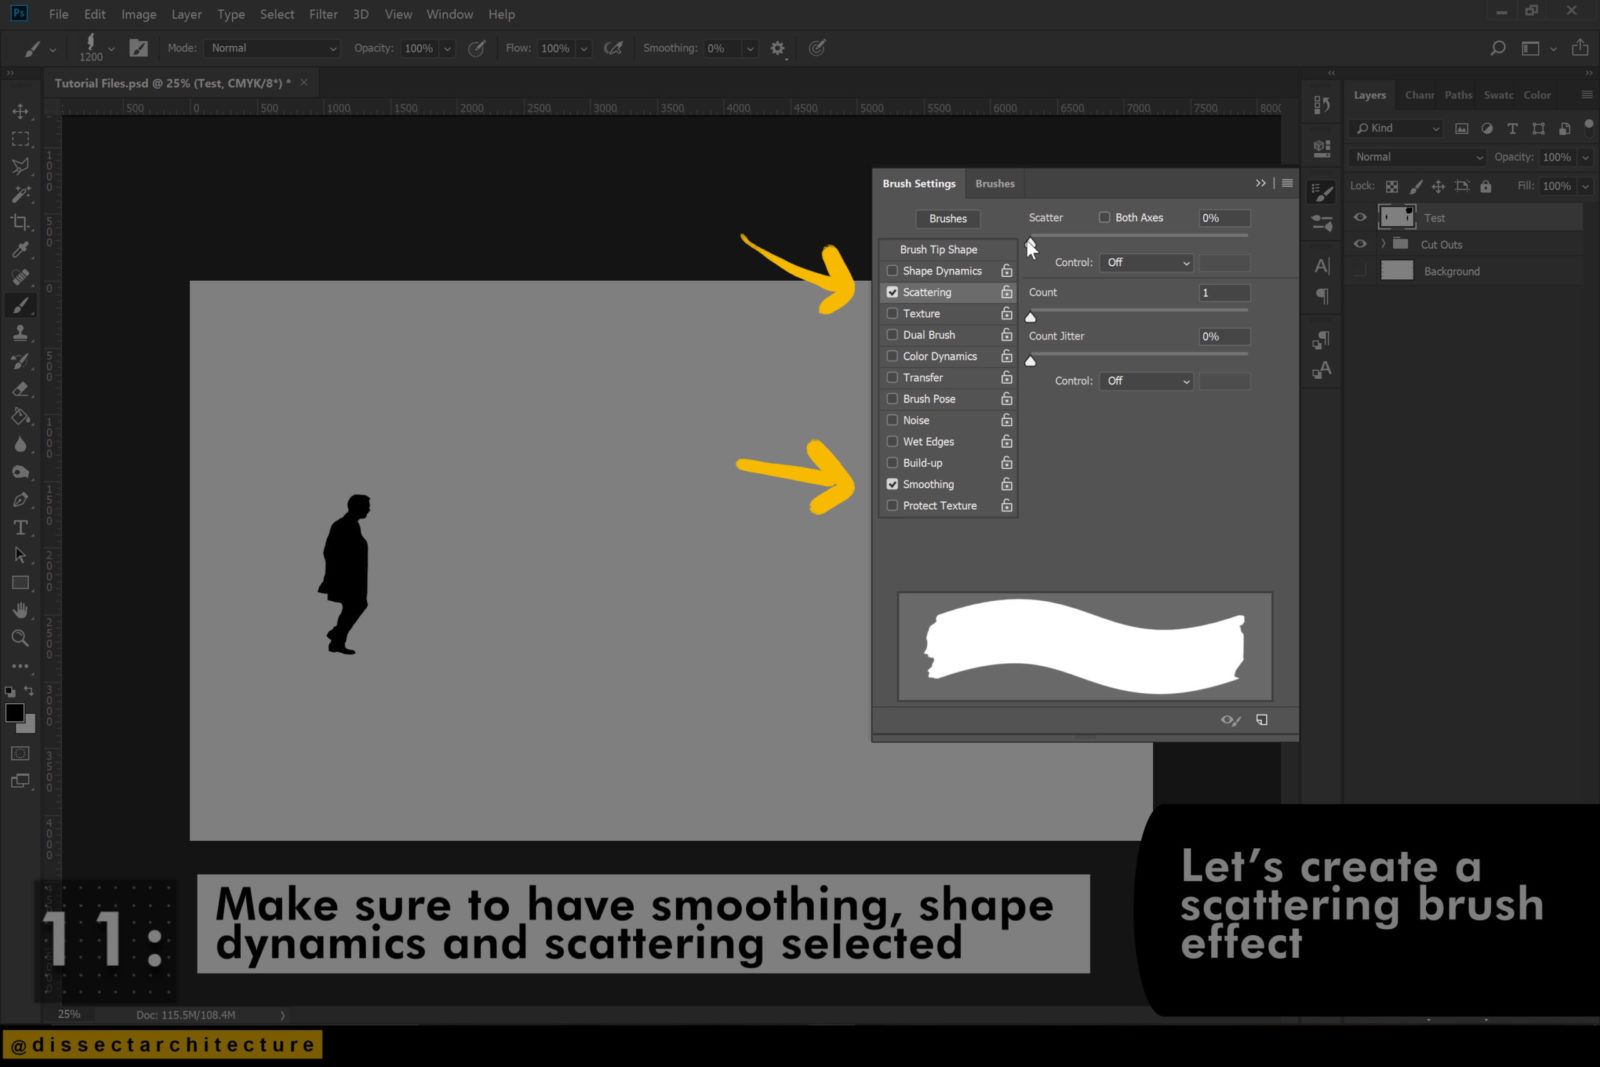
Step 11
Let’s create a scattering brush effect.
Make sure to have Smoothing, Shape Dynamic and Scattering selected.
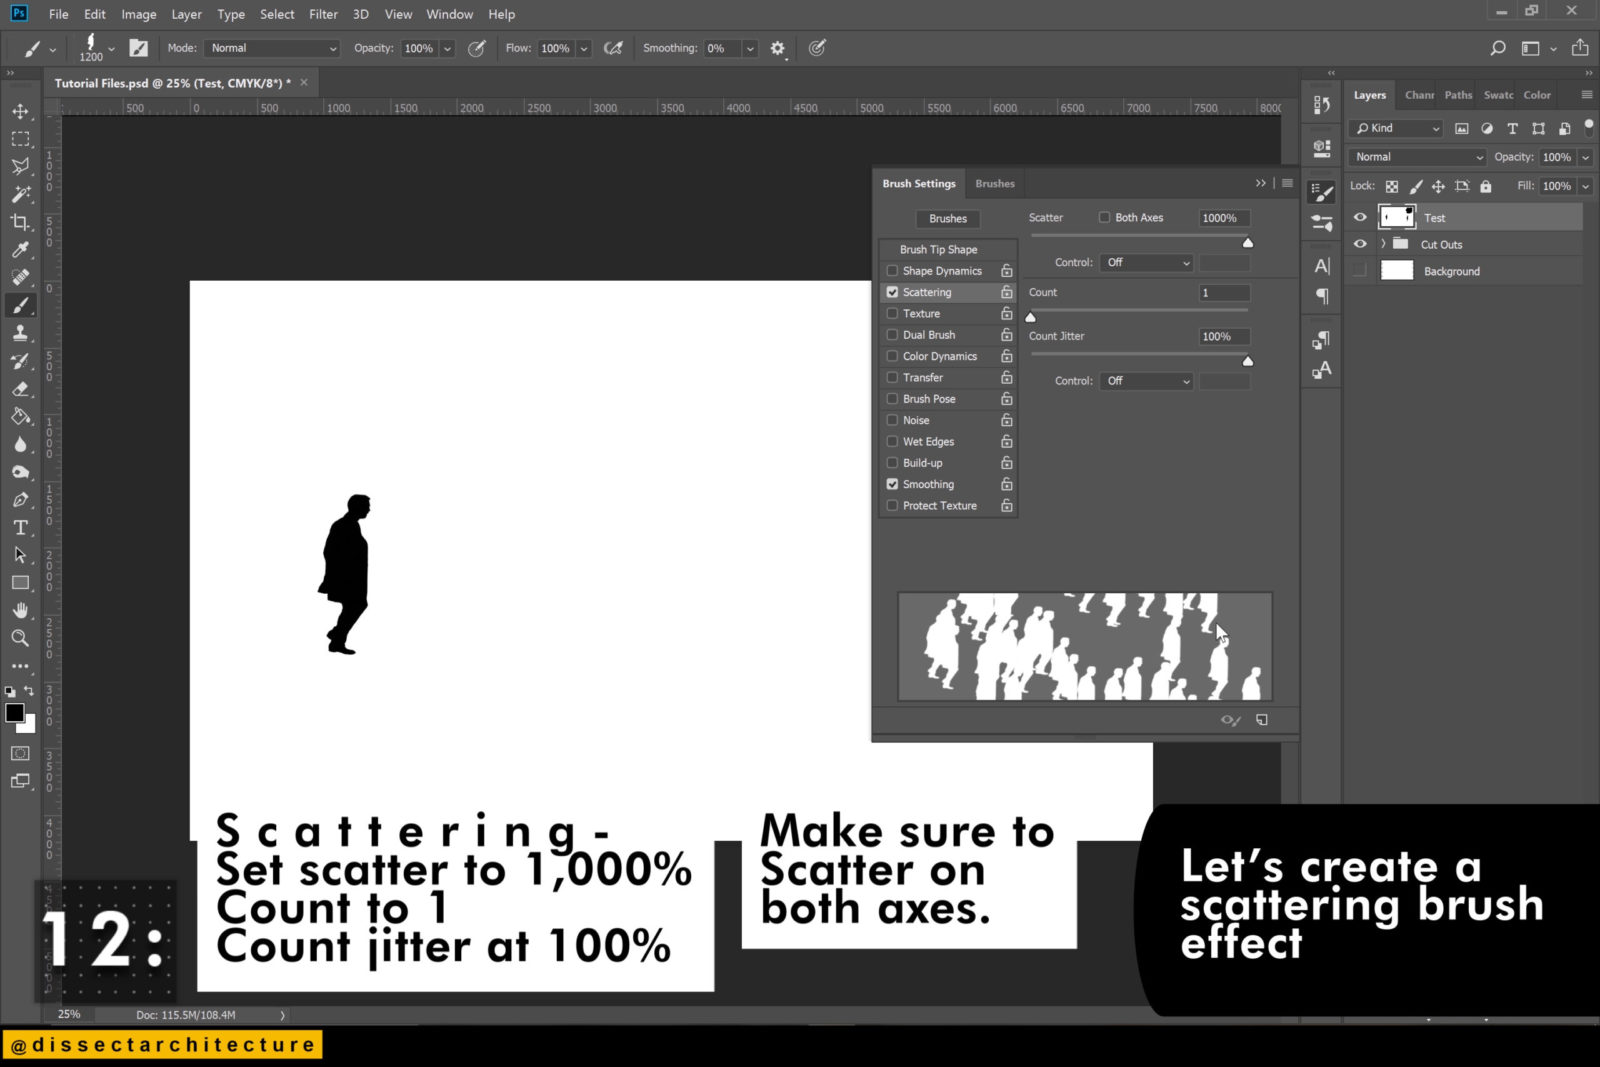
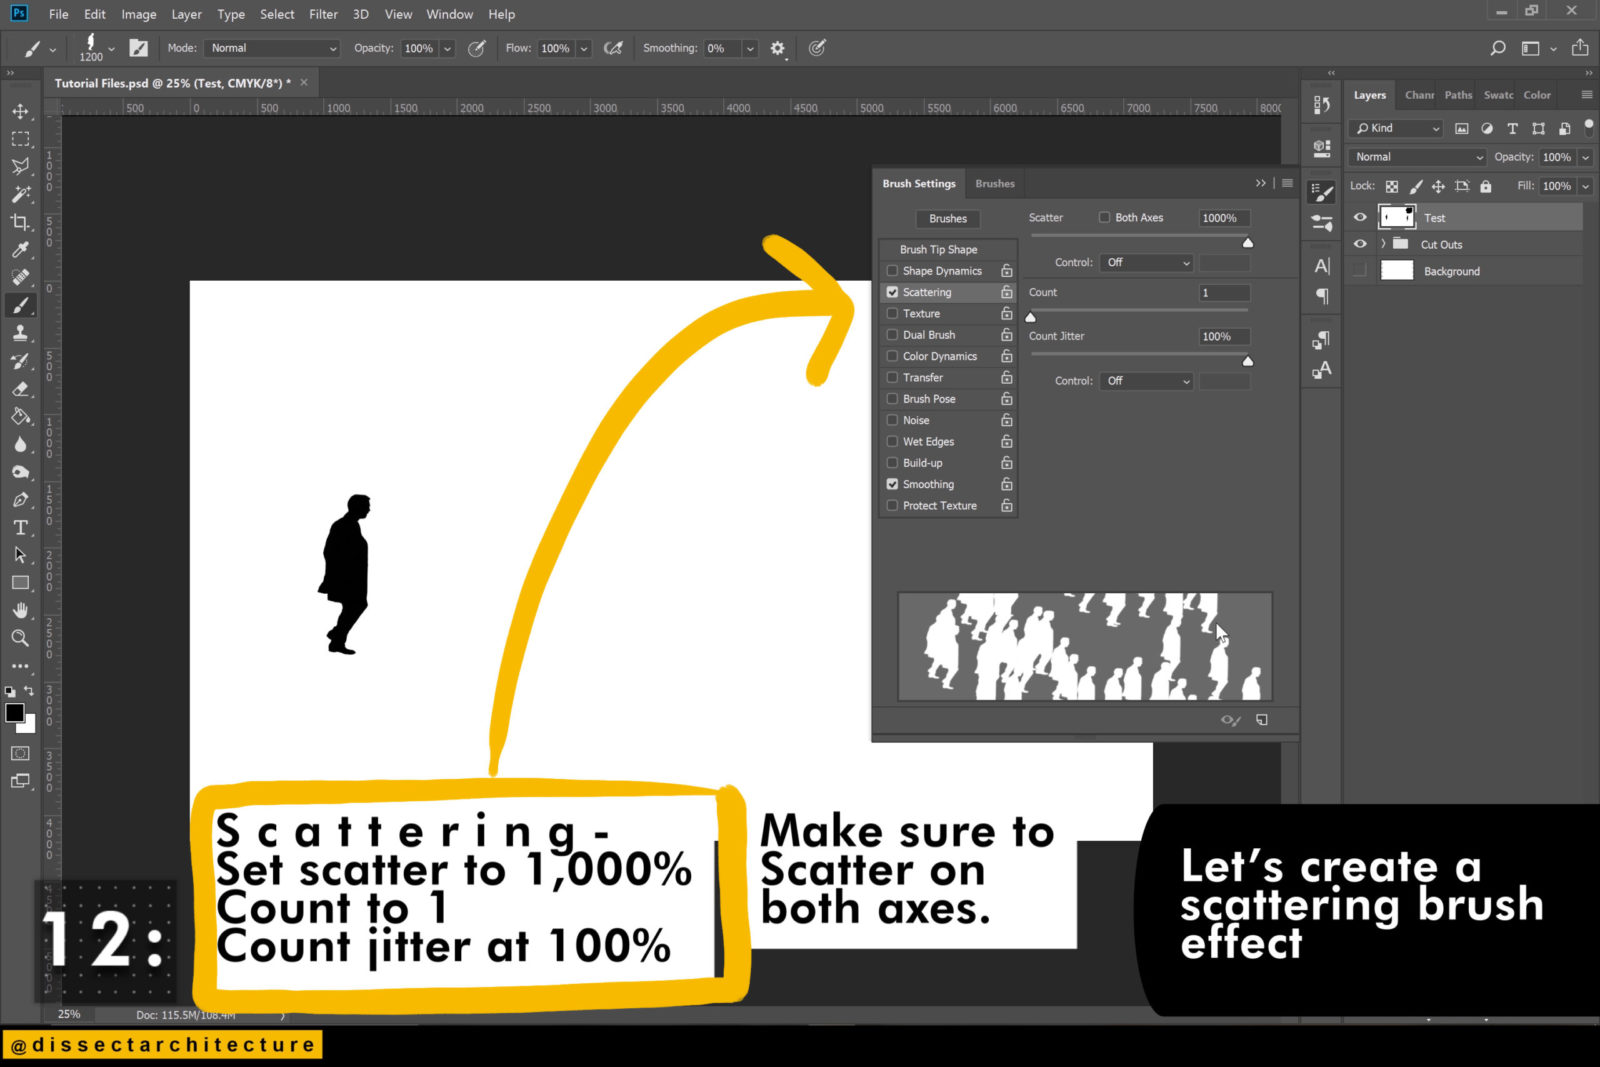
Step 12
These are the settings I used –
Scattering – Set the scatter to 1,000%, Count to 1, and Count Jitter to 100%. Make sure to set the scatter to both axes.
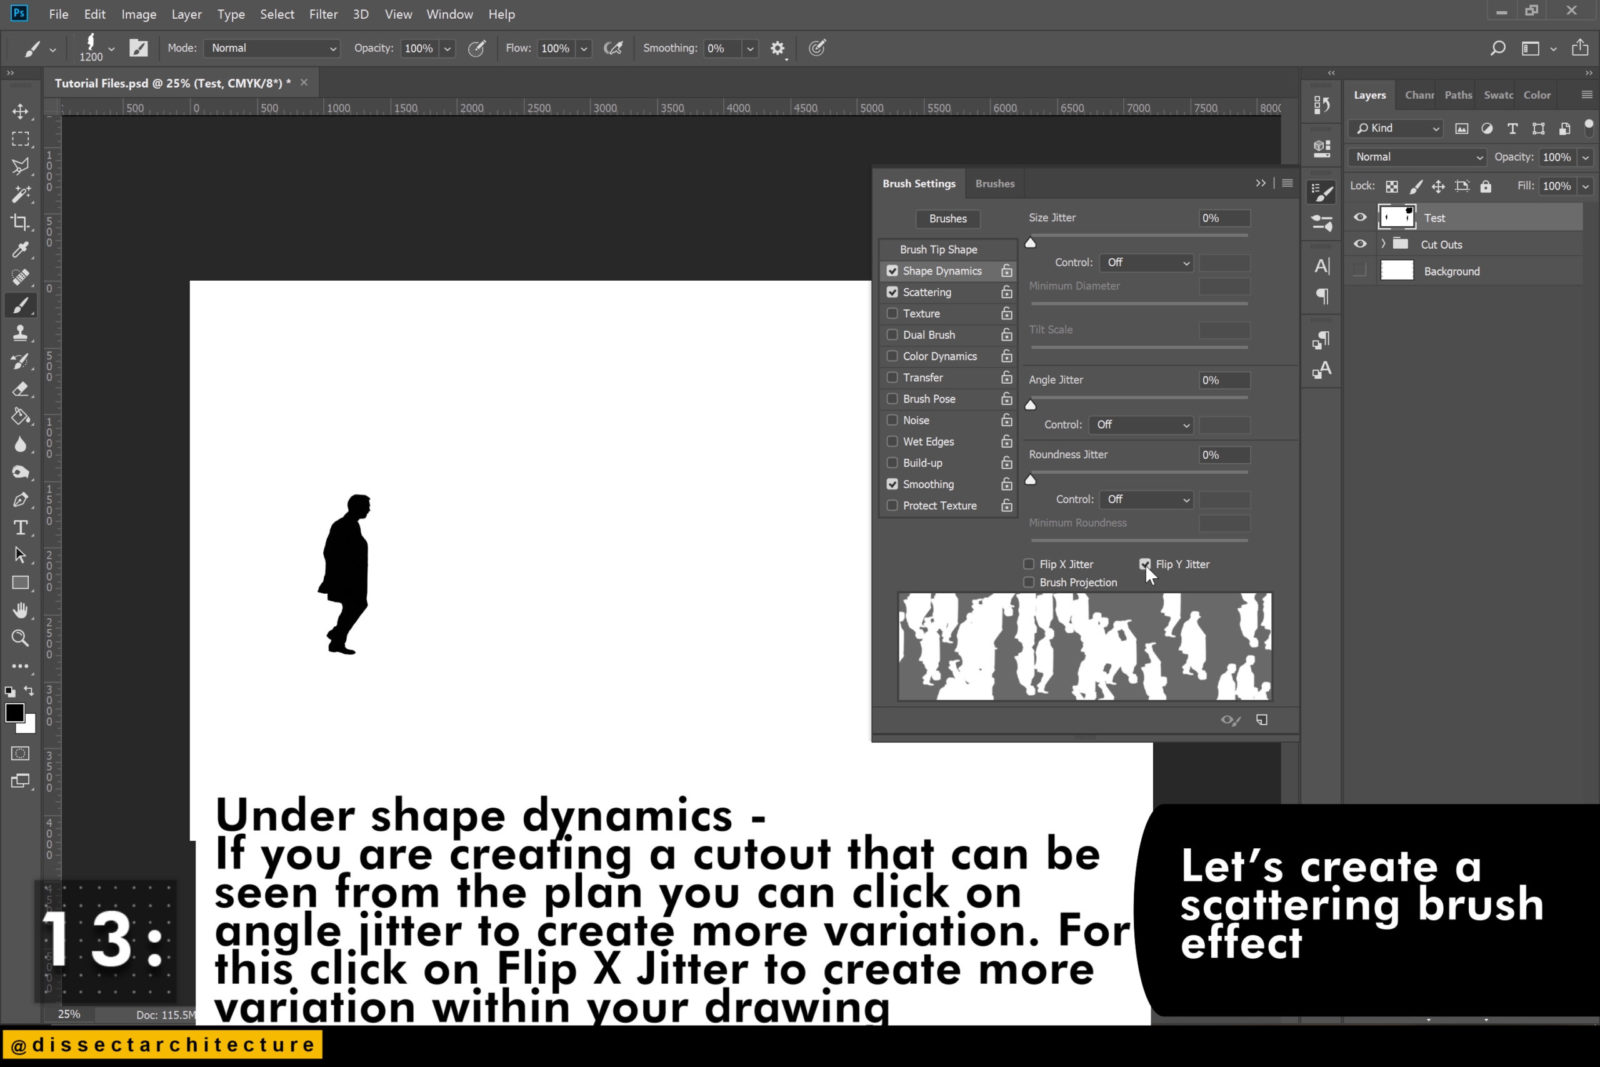
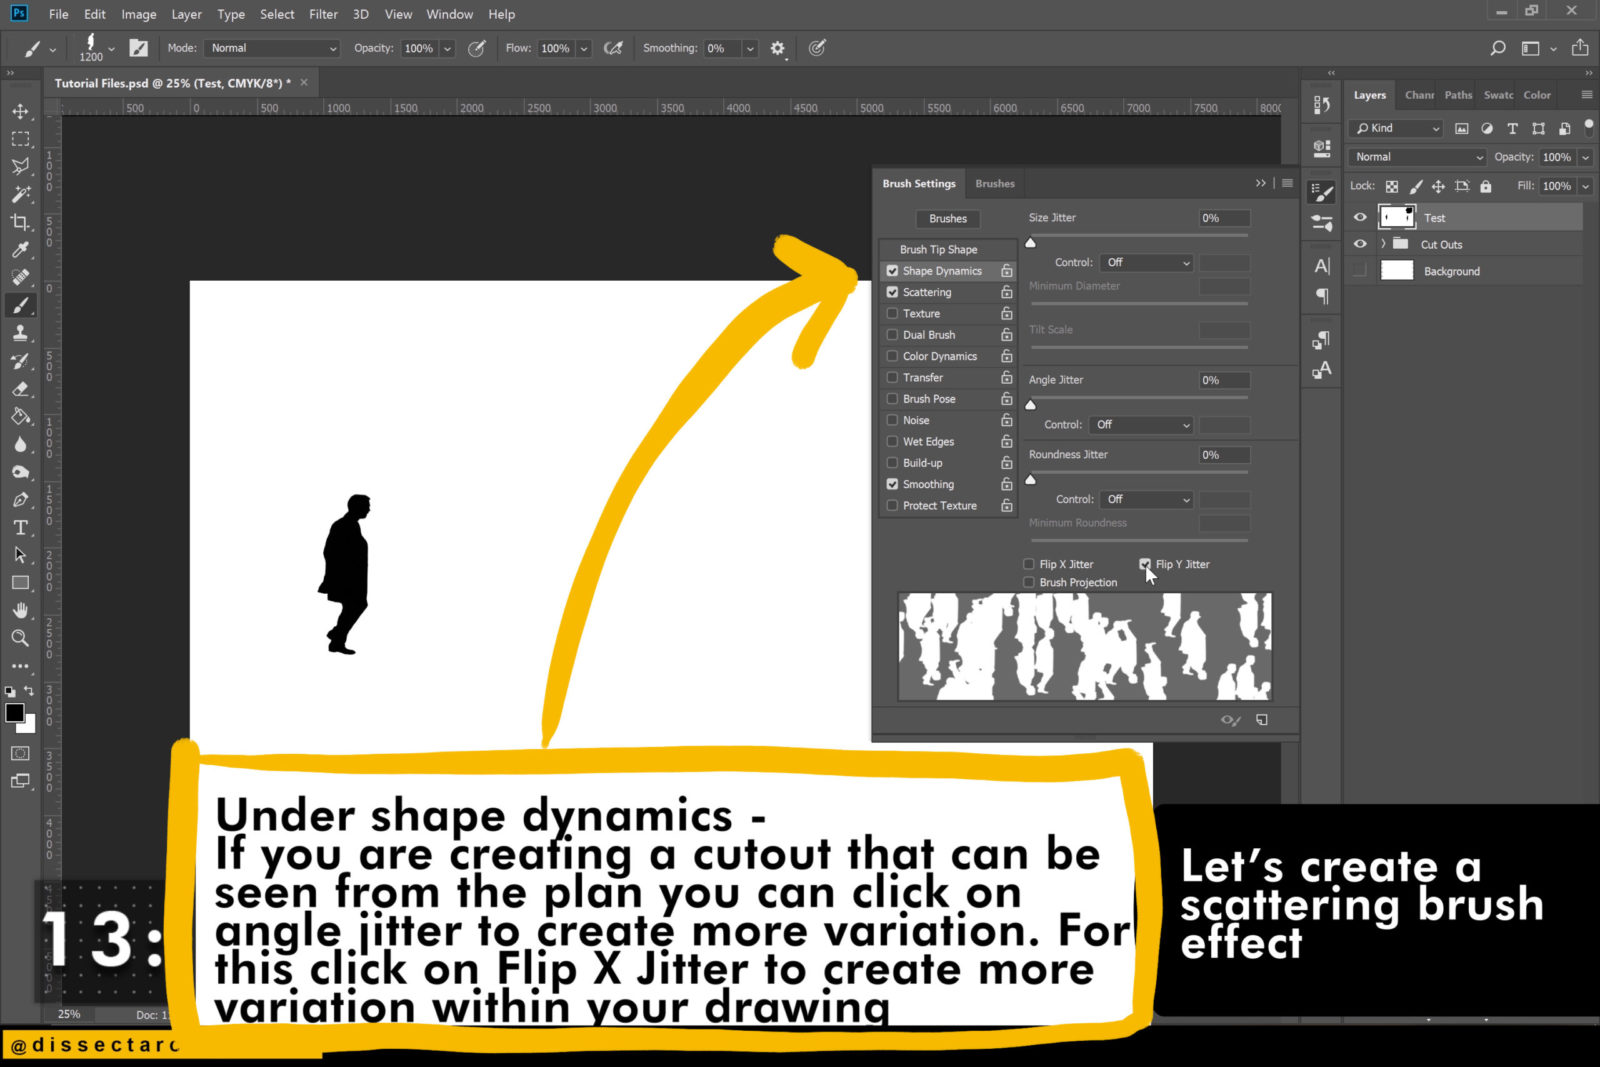
Step 13
Under Shape Dynamics – If you are creating a cutout that can be seen from the plan.
You can click on angle jitter to create more variation. For this click on Flip X Jitter to create more variation within your drawing.
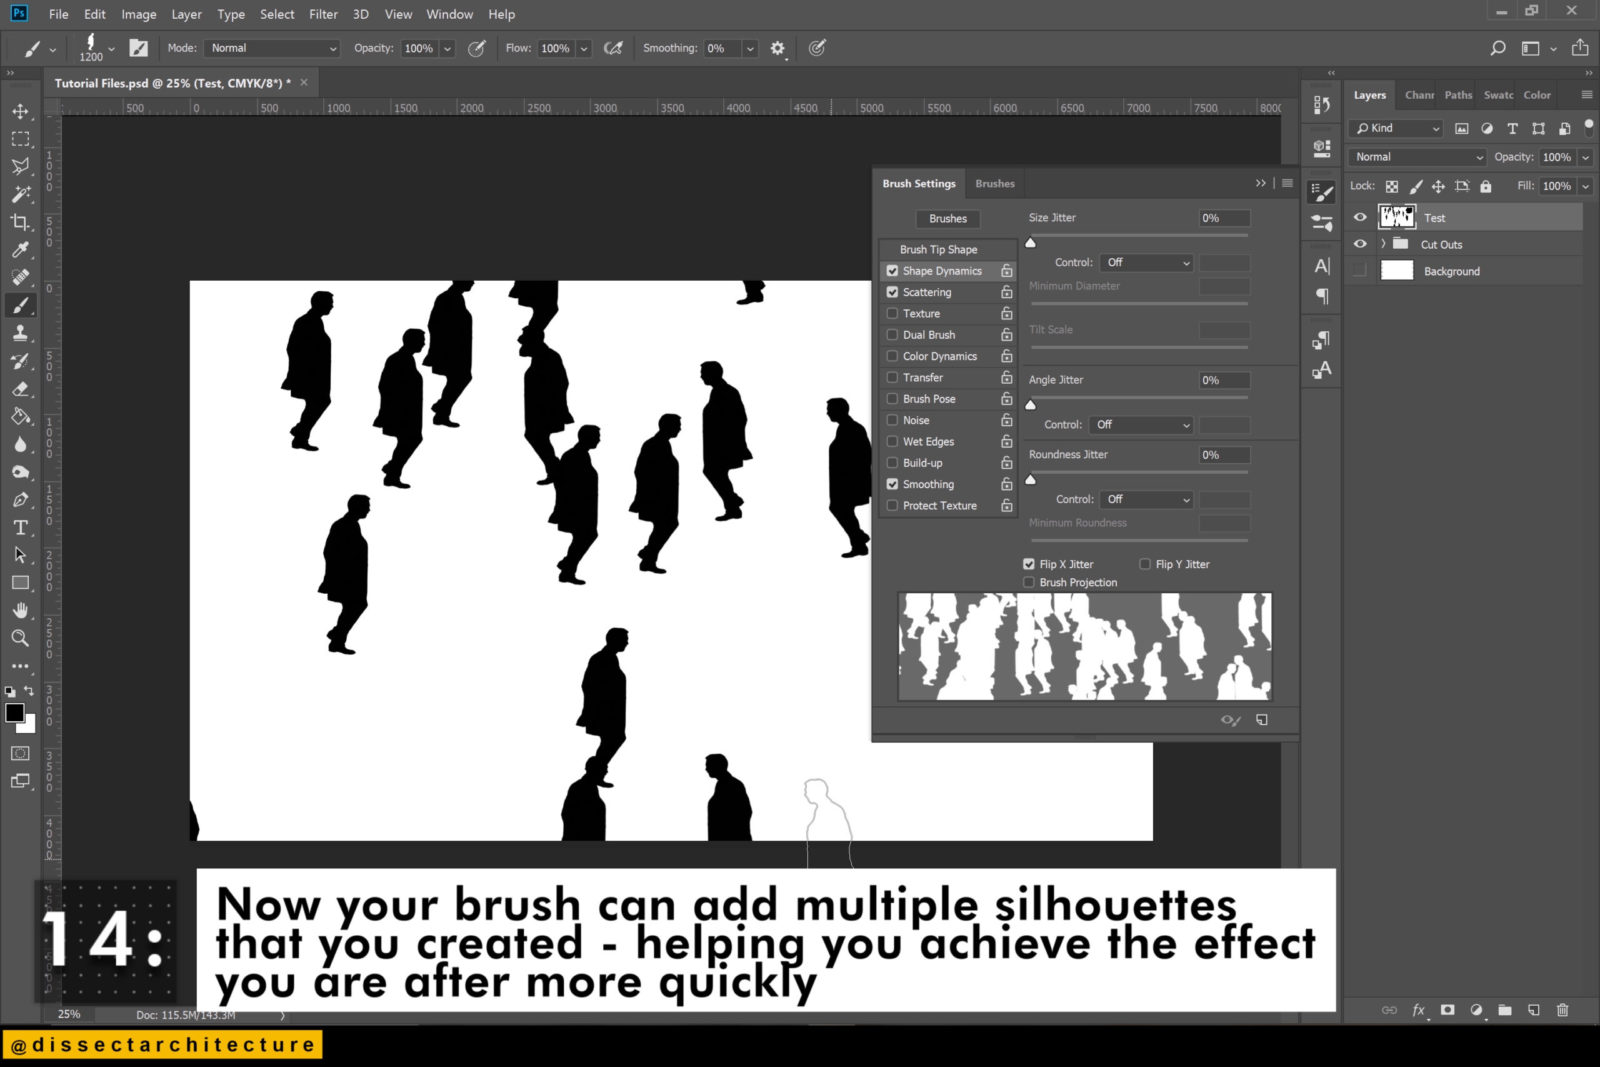
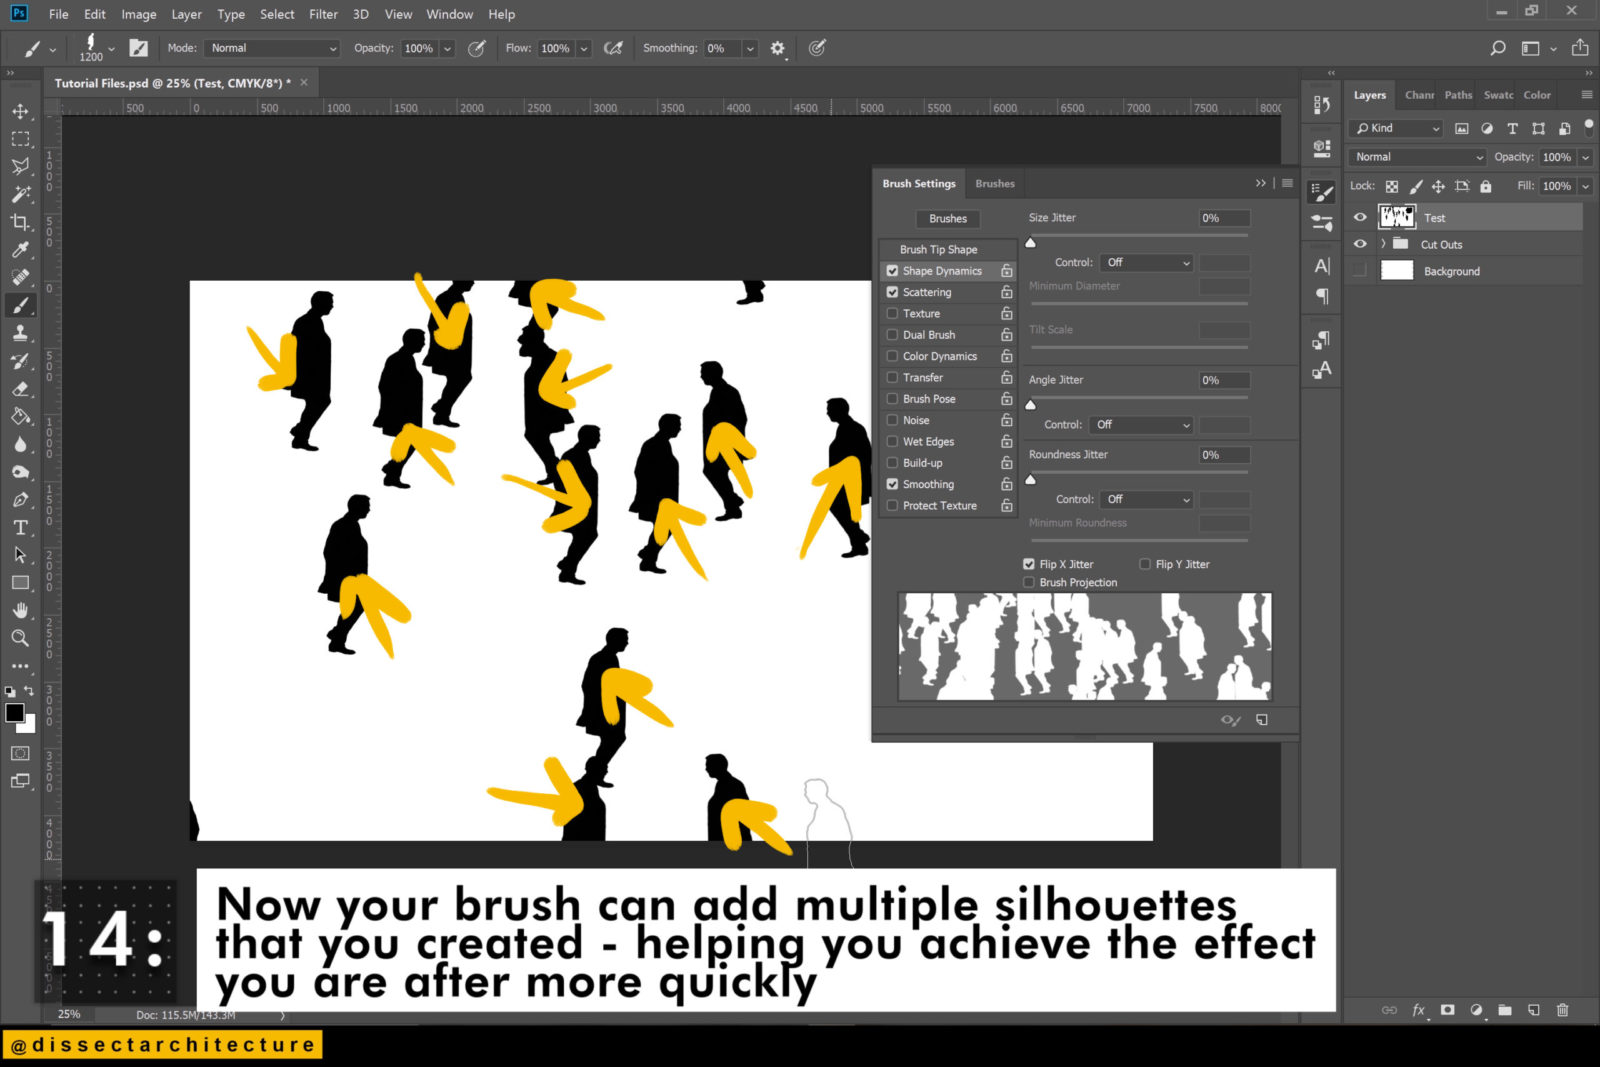
Step 14
Now your brush can add multiple silhouette that you created, helping you achieve the effect you are after more quickly.
Step 15
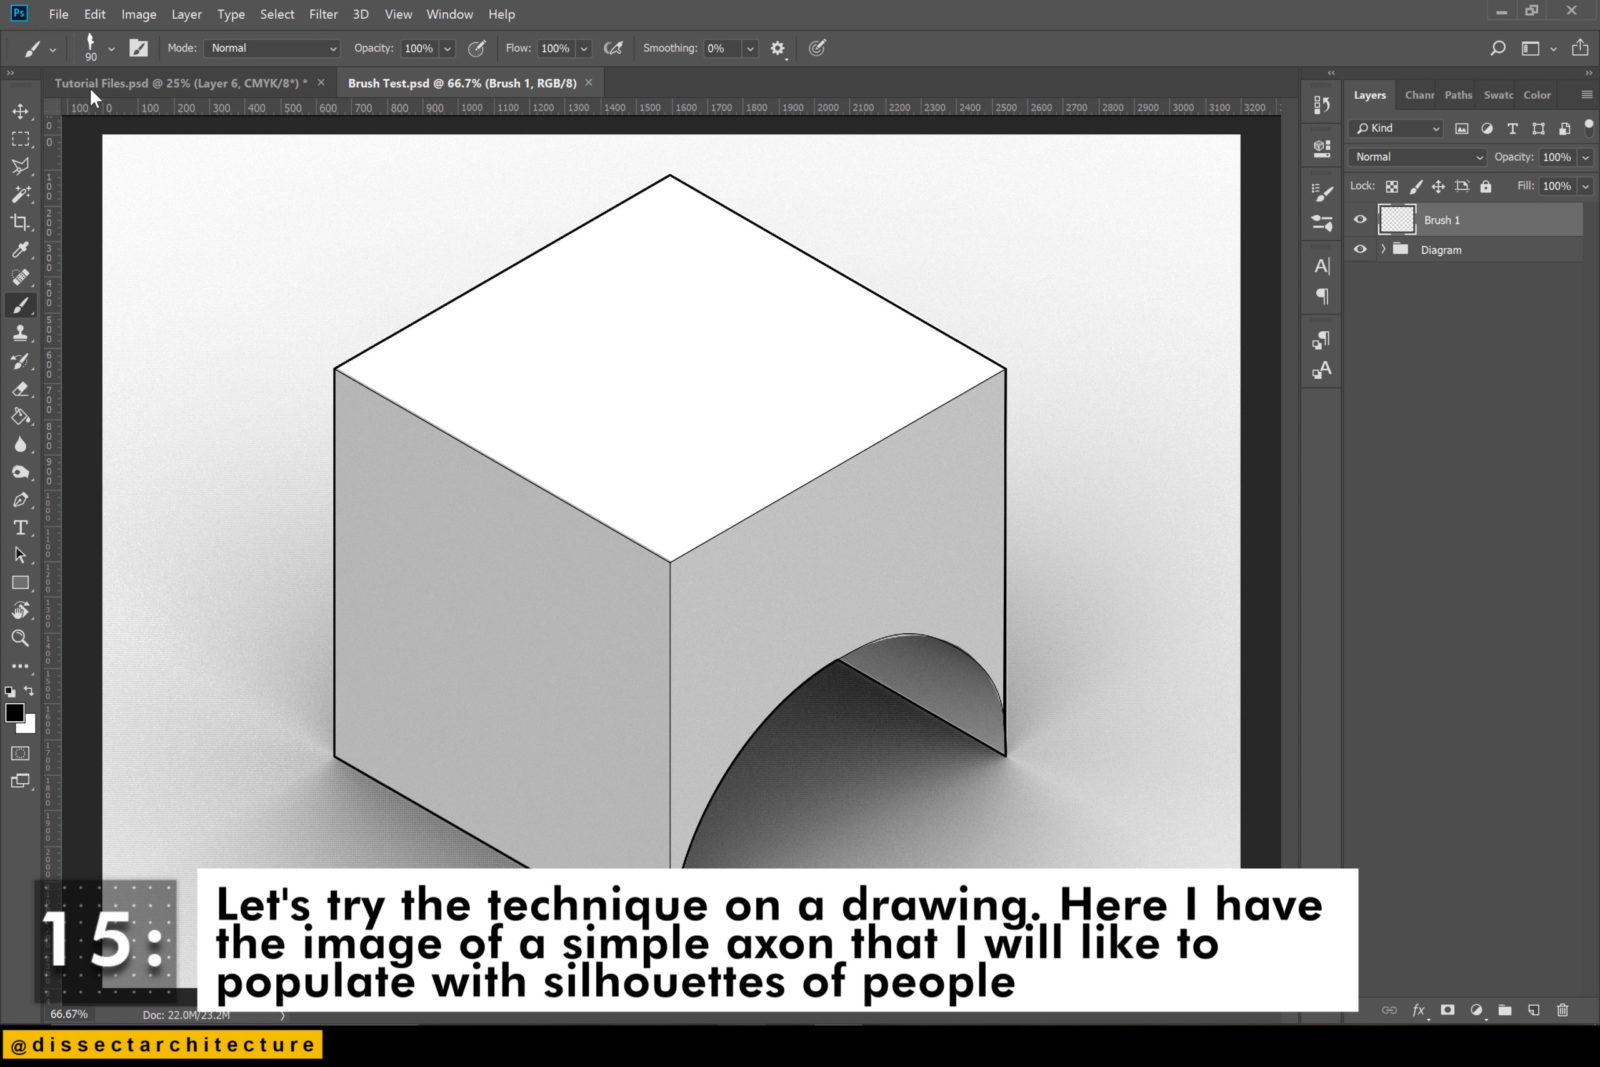
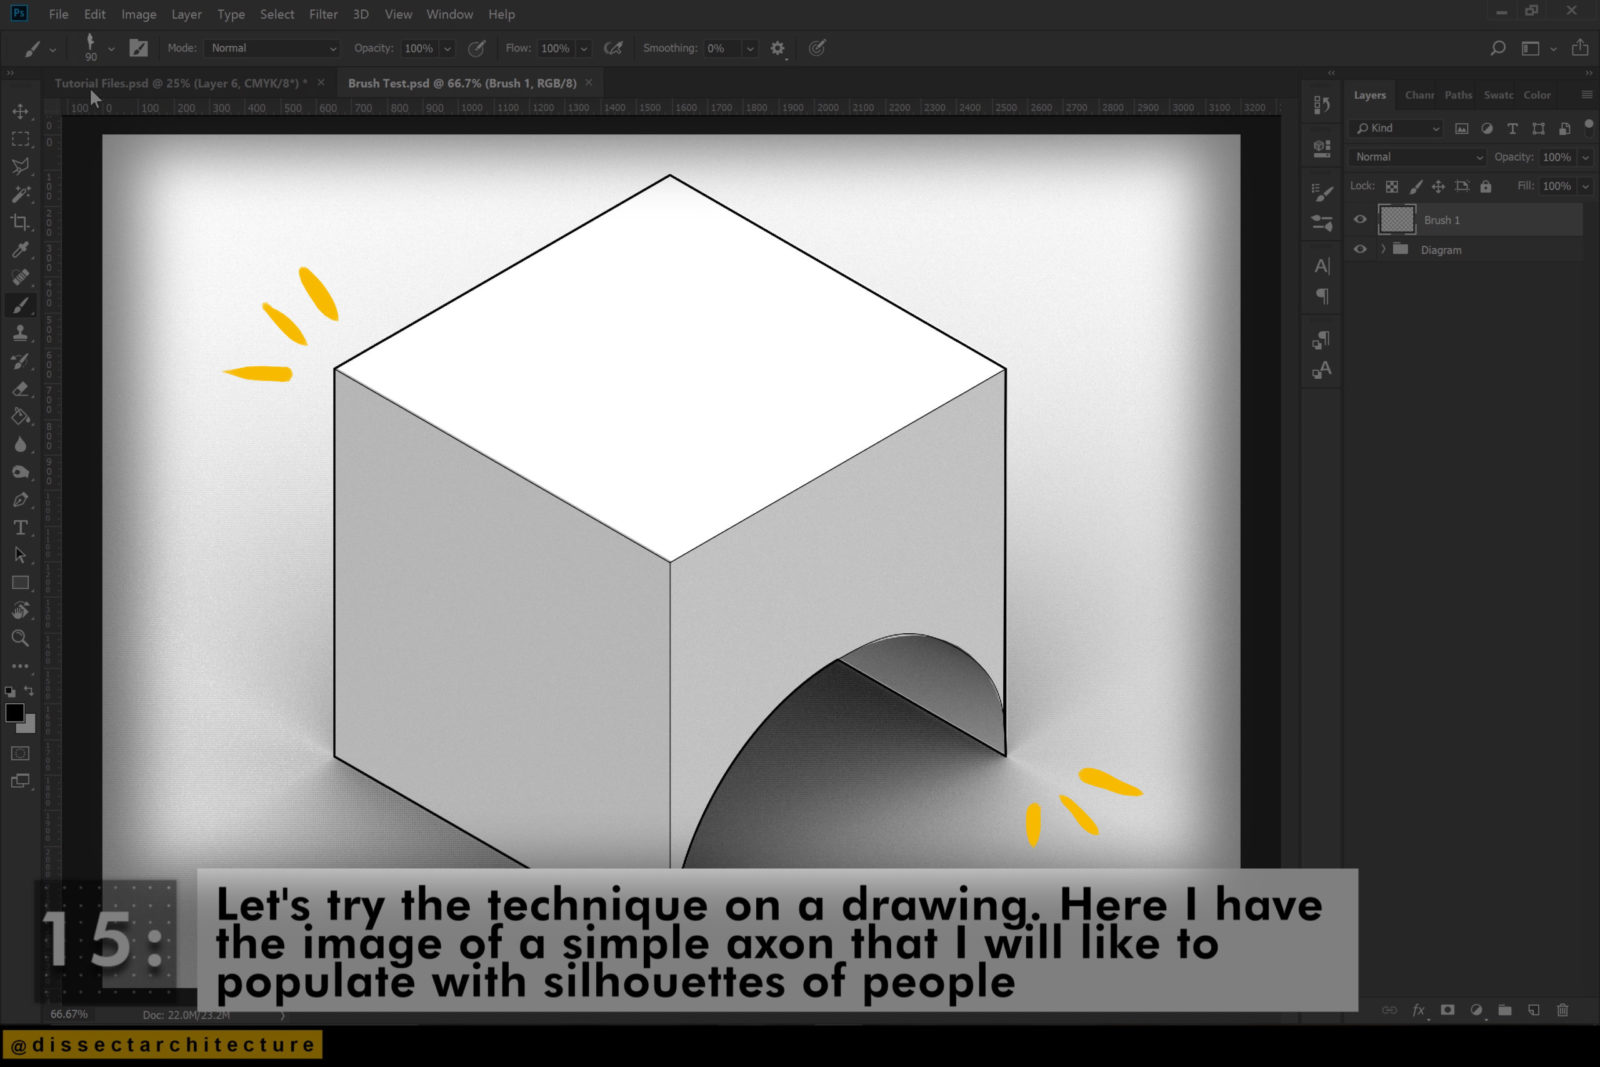
Let’s try the technique on a drawing.
Here I have the image of a simple axon that I will like to populate with the silhouettes of people.
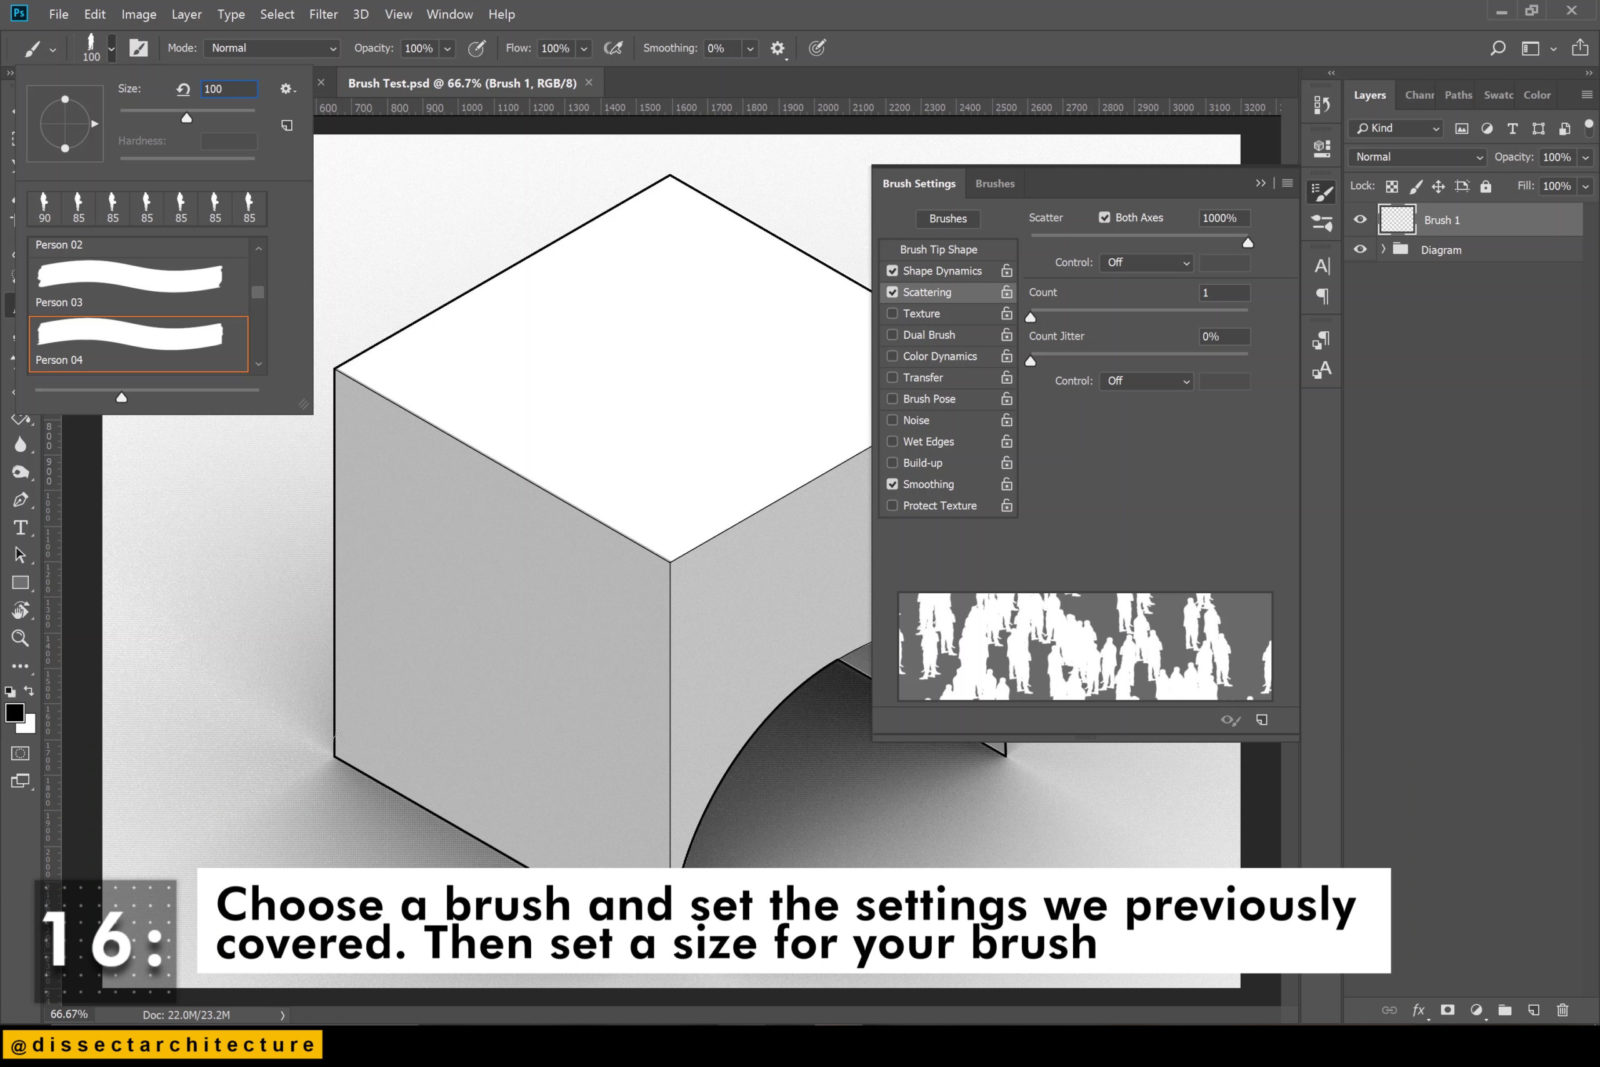
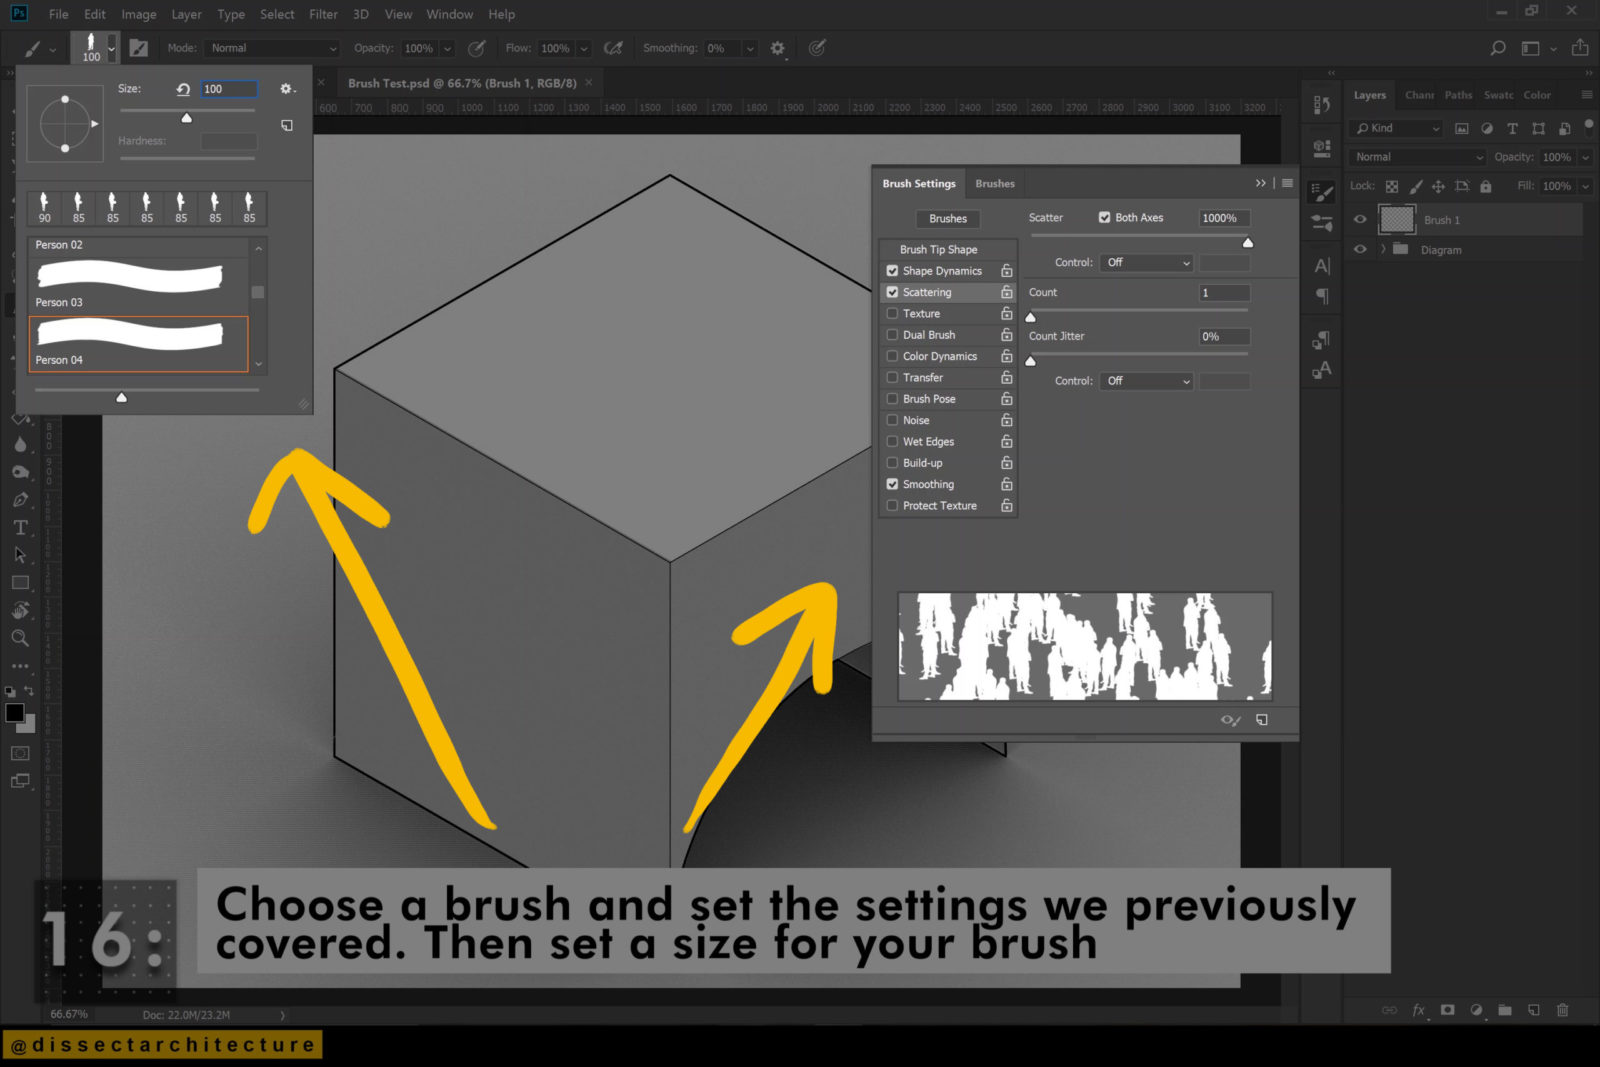
Step 16
Choose a brush and set the settings we previously covered. Then set a size for your brush.
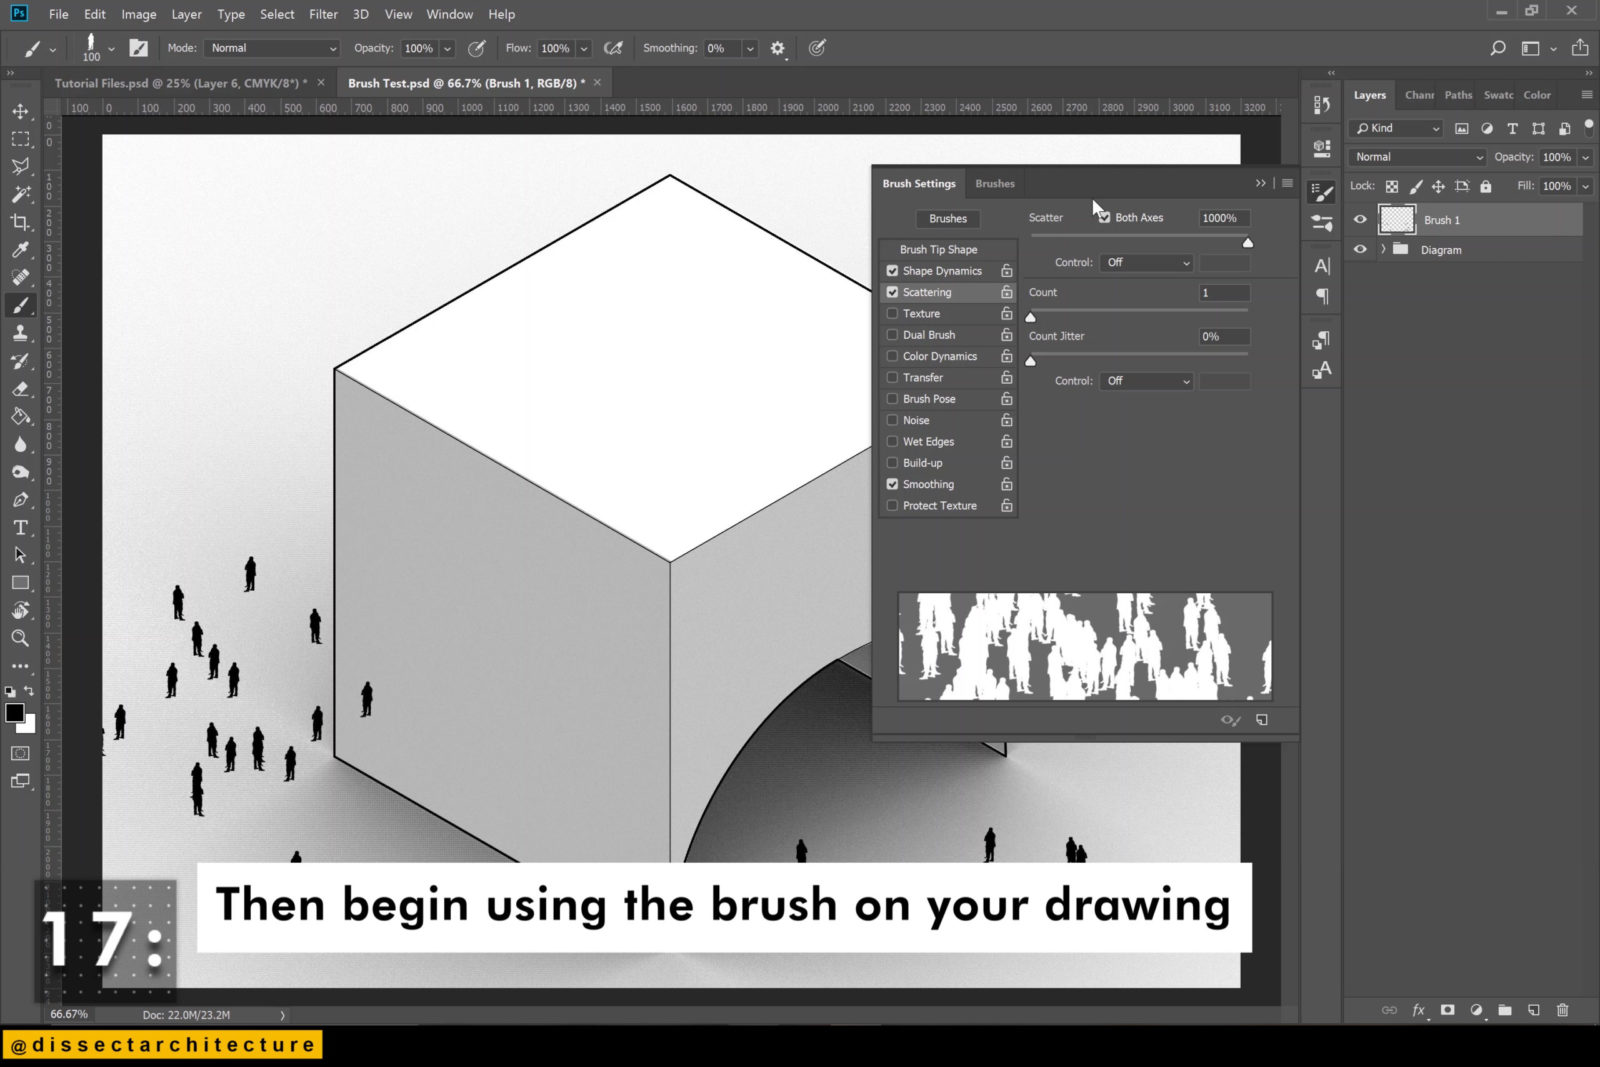
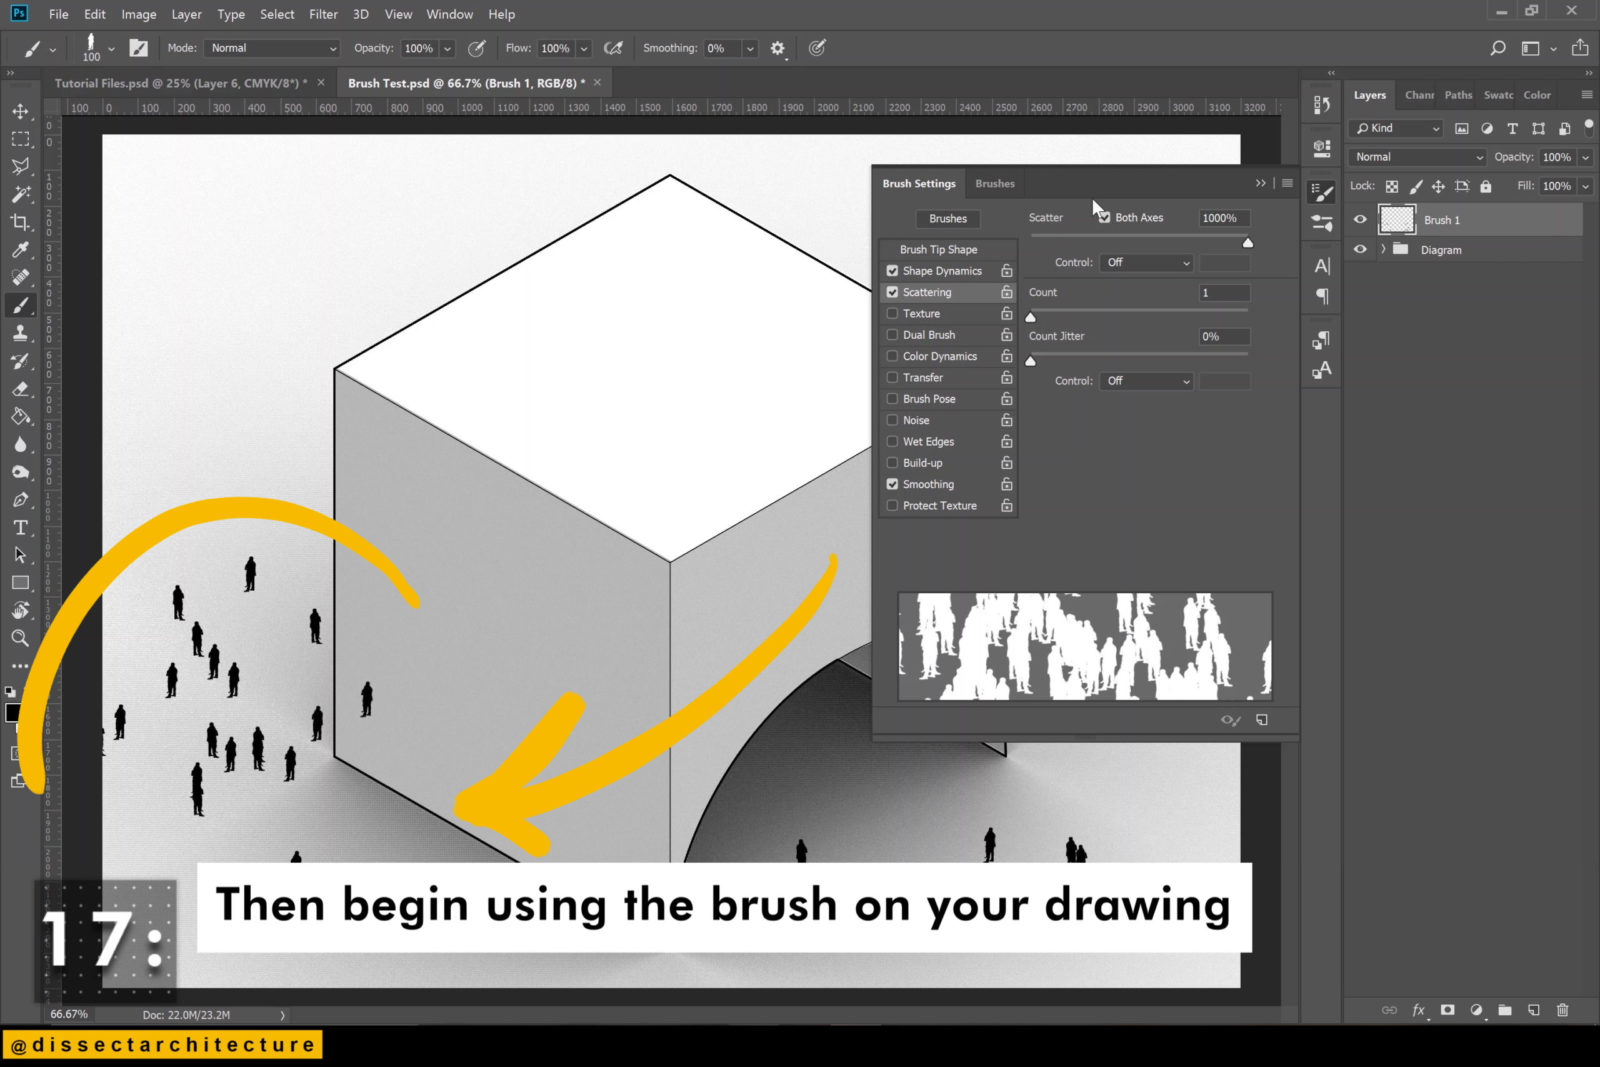
Step 17
Begin using the brush on your drawing.
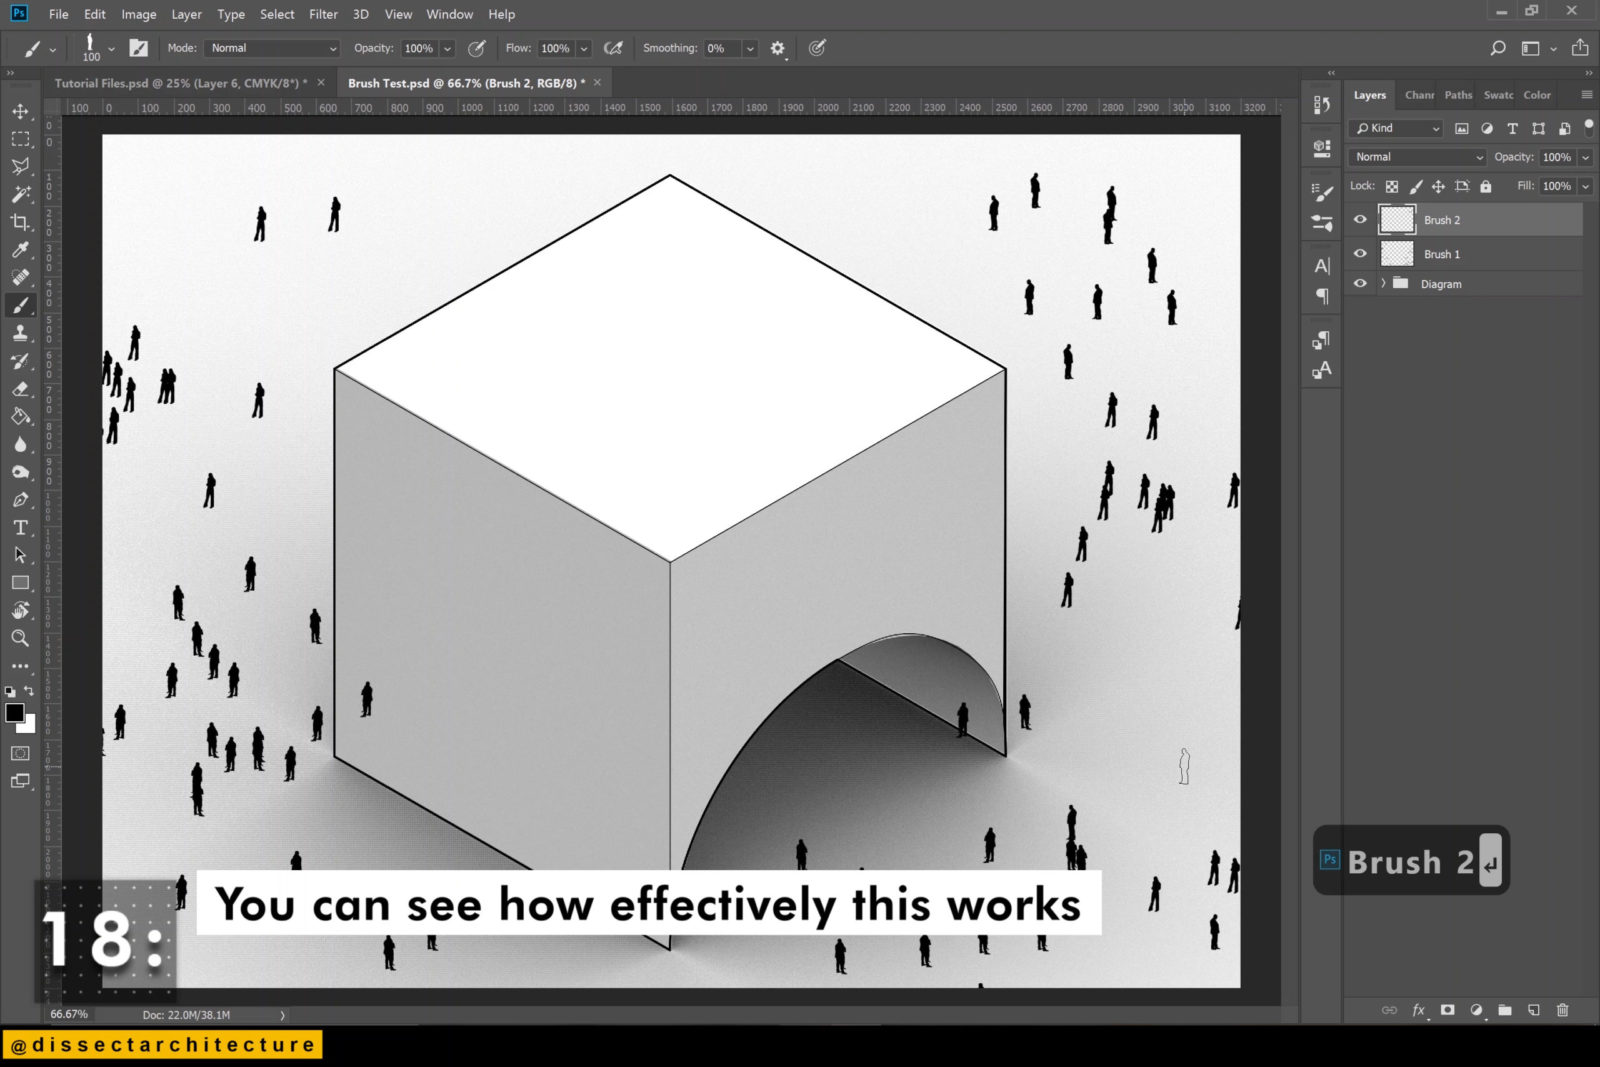
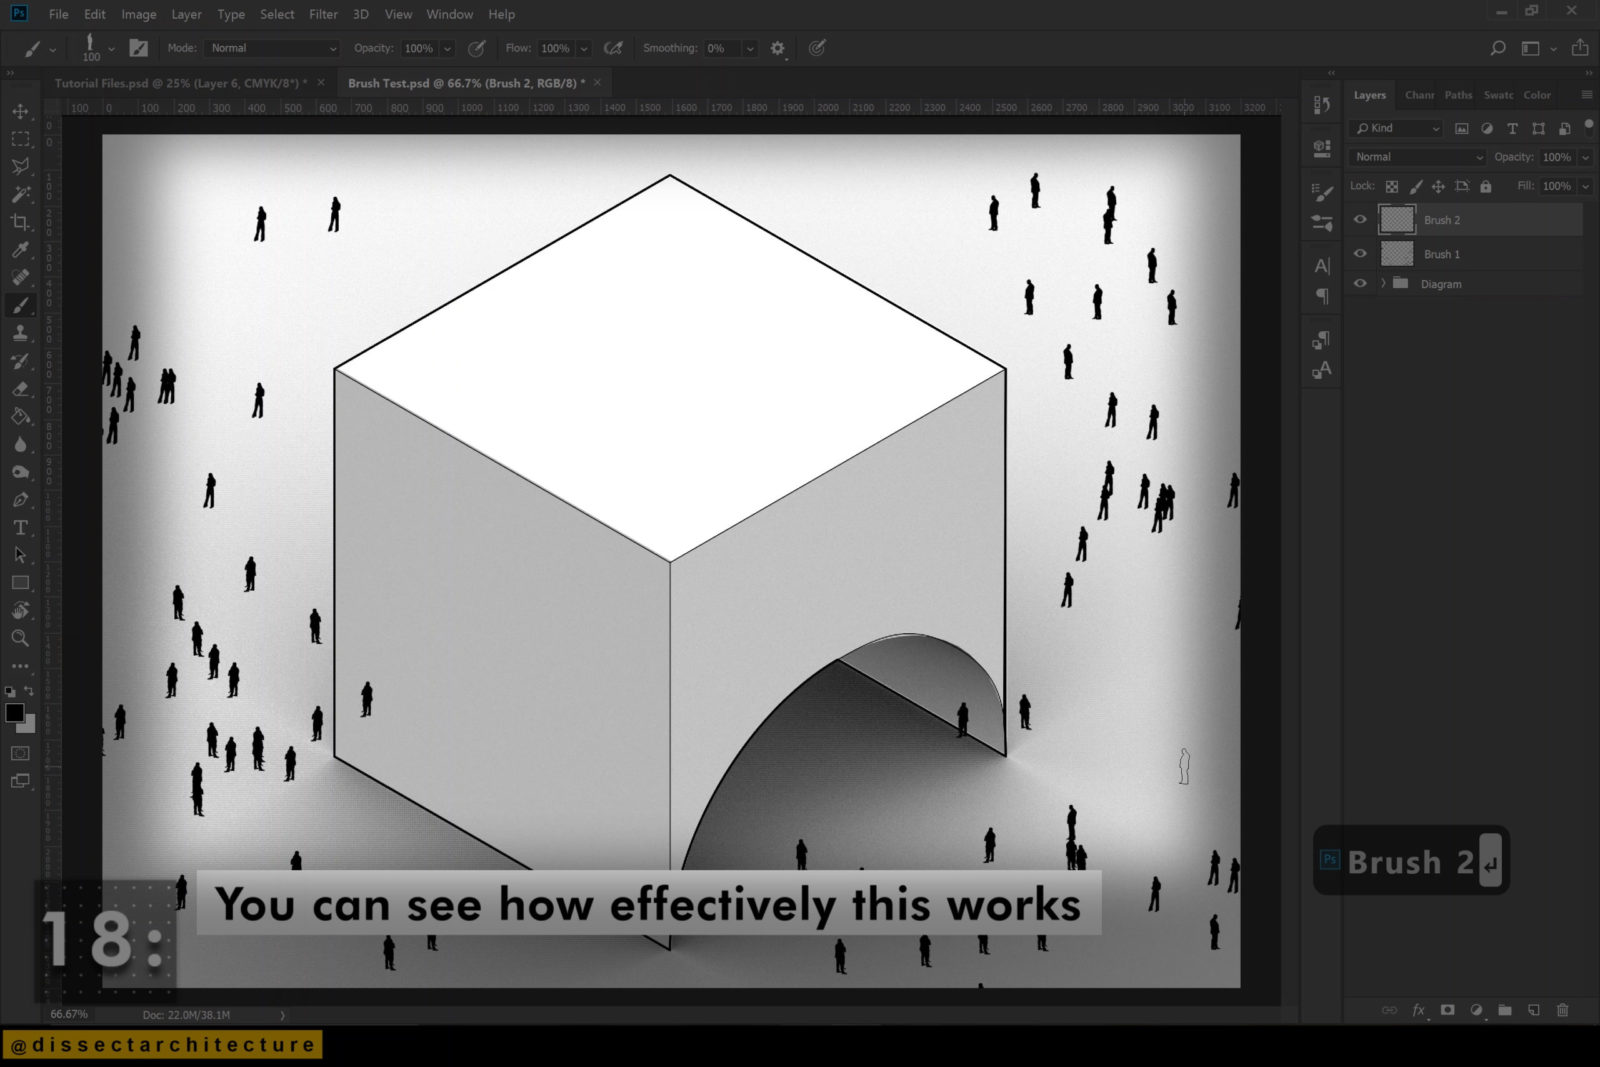
Step 18
You can see how effectively this works.
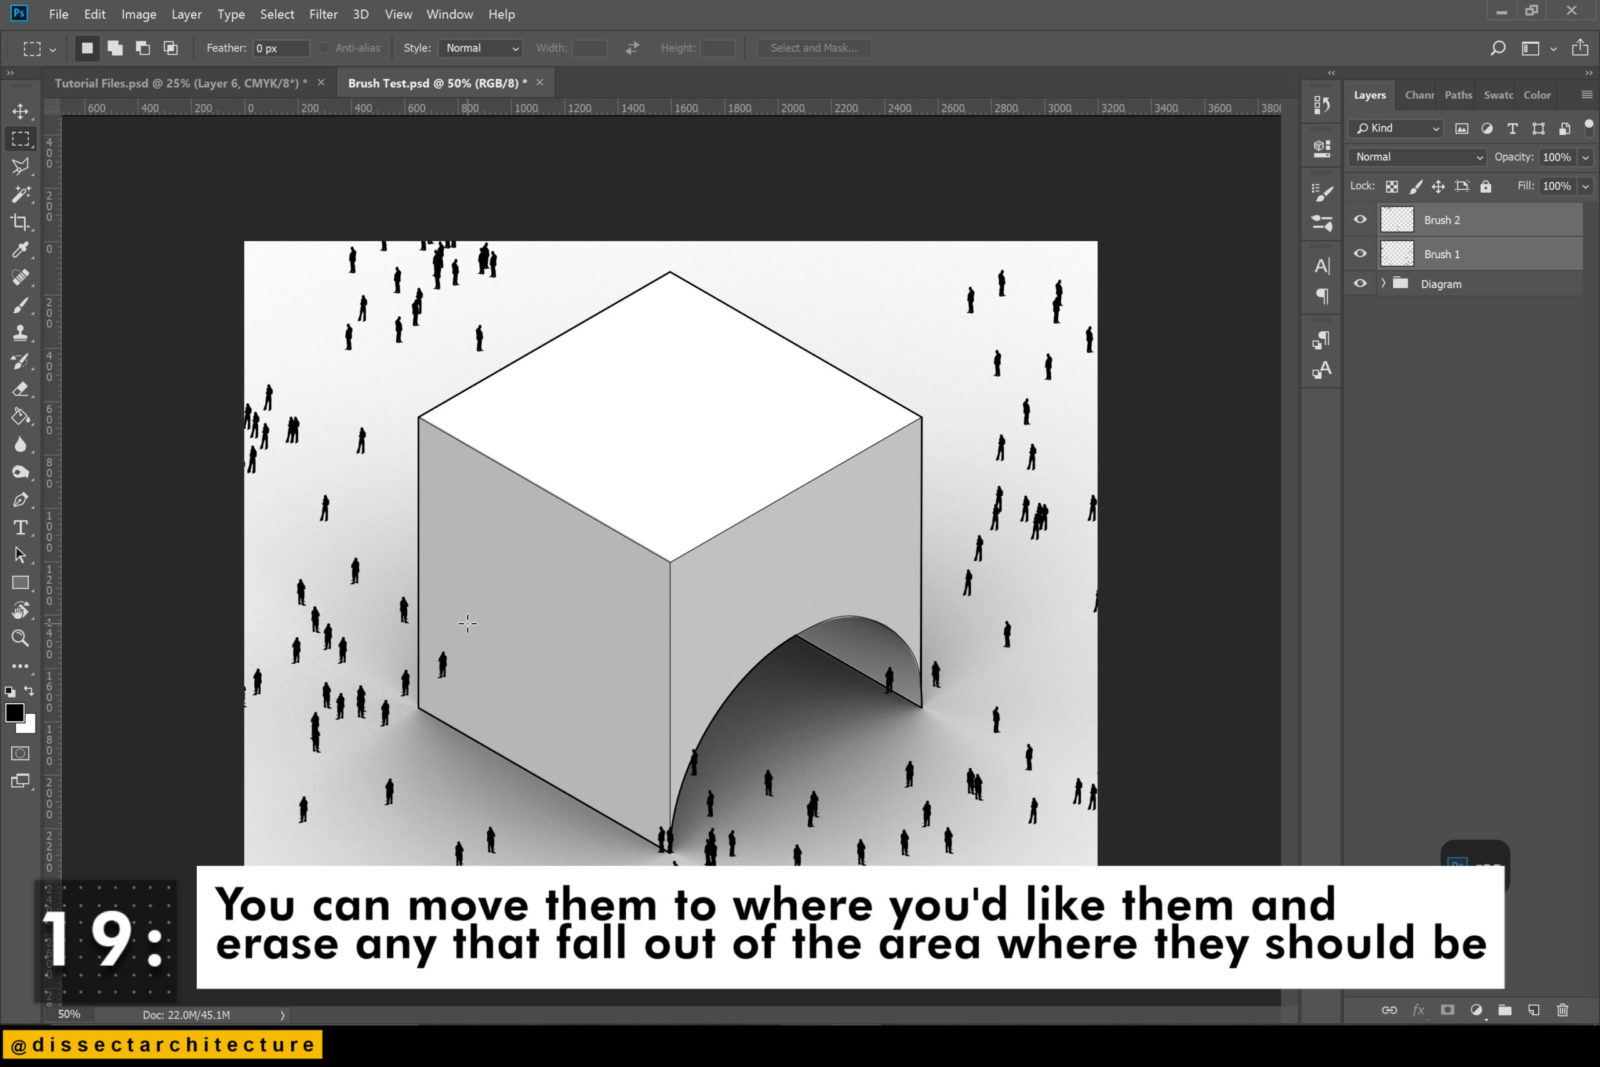
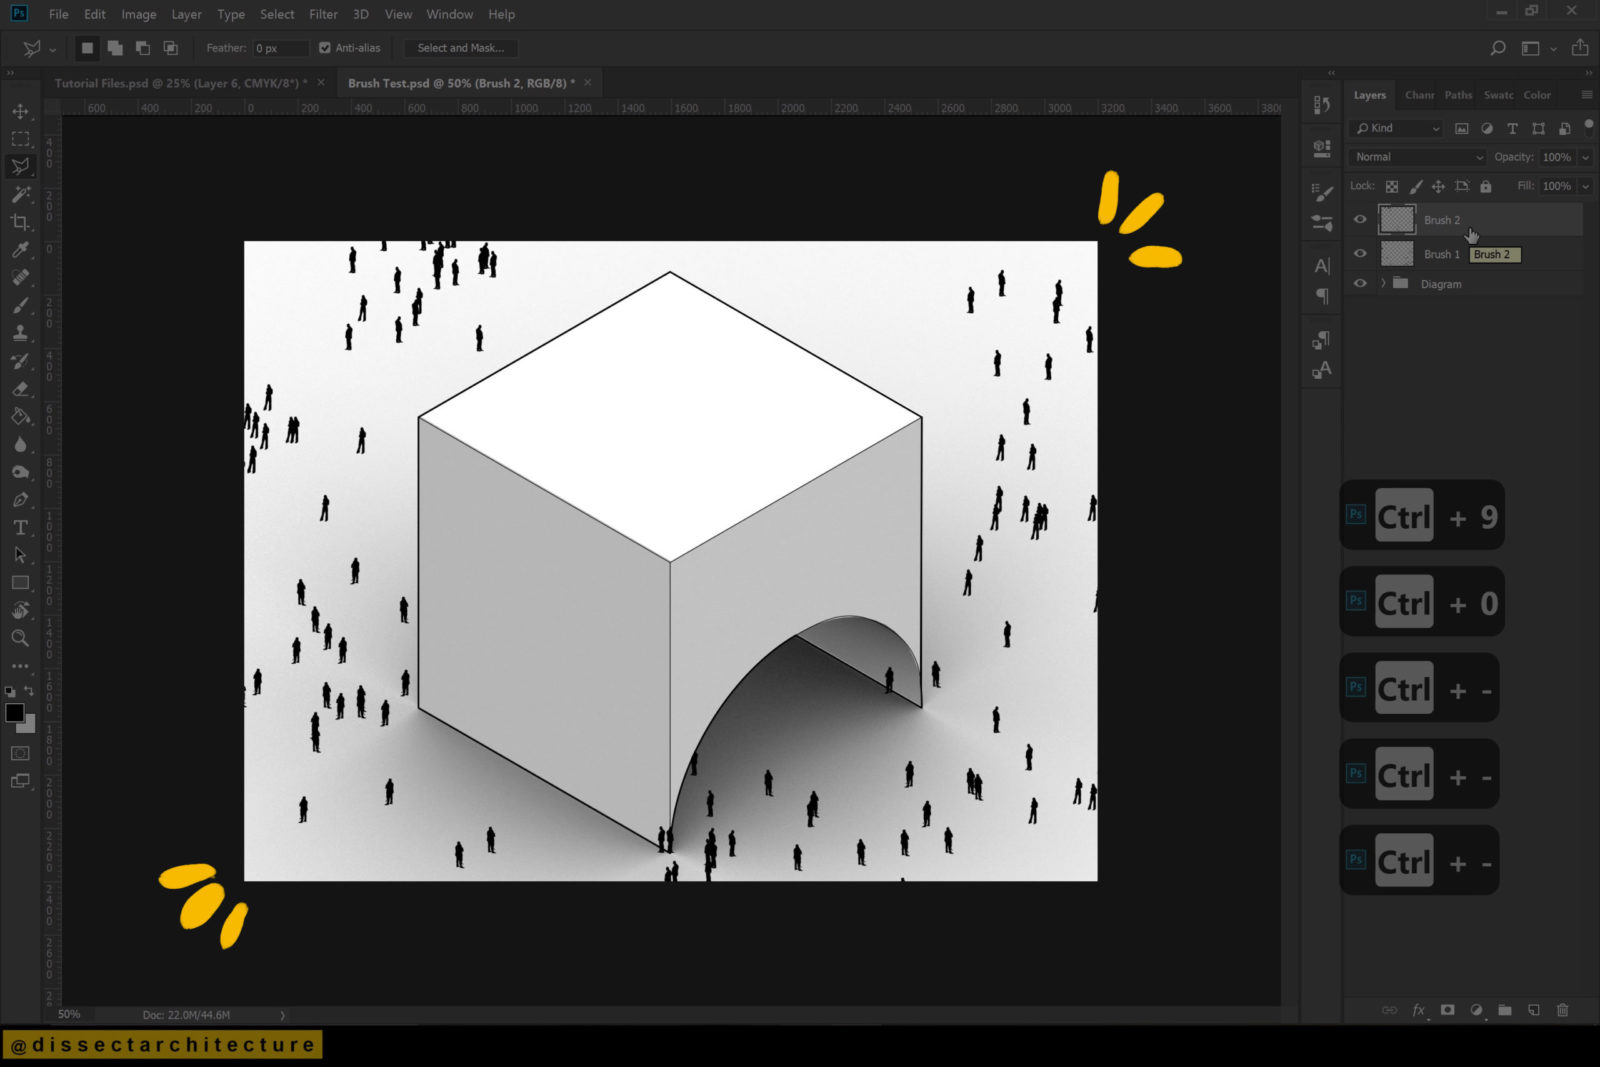
Step 19
After you have used your brushes you can make any movement adjustments – Erase any cutouts that fall out of the area where they should be.