5 Photoshop Tips and Tricks for Architects

Objective:

Learn a couple of Photoshop Tips from techniques that I continuously use while working with Photoshop. This Photoshop for Architects tutorial explains how to use a gradient to create a shadow, different layer blending modes, layer clipping masks, why it is important to organize layers, and the different layer styles!

These photoshop tips for architecture can be applied to anything! From working on school assignments, quick renders, post-production, or professional settings.

Software Used:

Photoshop Tip #1

Add Shadows Using the Gradient Tool

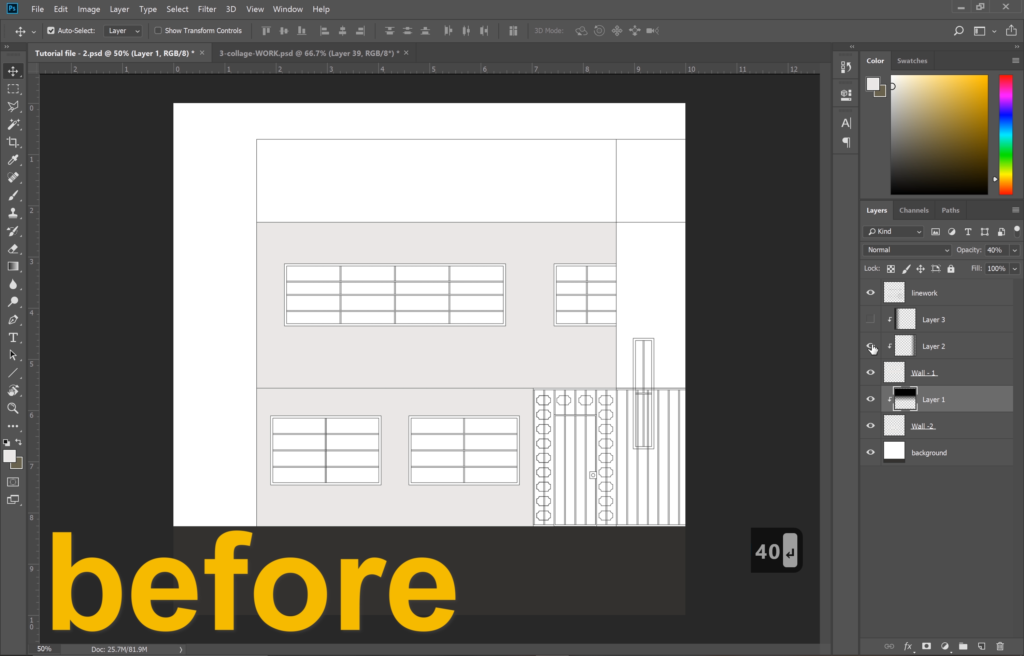
If you have a render open in Photoshop and need to add a shadow to a surface use the Gradient Tool.

First, add a color fill to the wall. Then, add a new layer and select the Gradient Tool. Within the Gradient Editor make sure to choose a black fill that goes from 100% to 0% opacity.

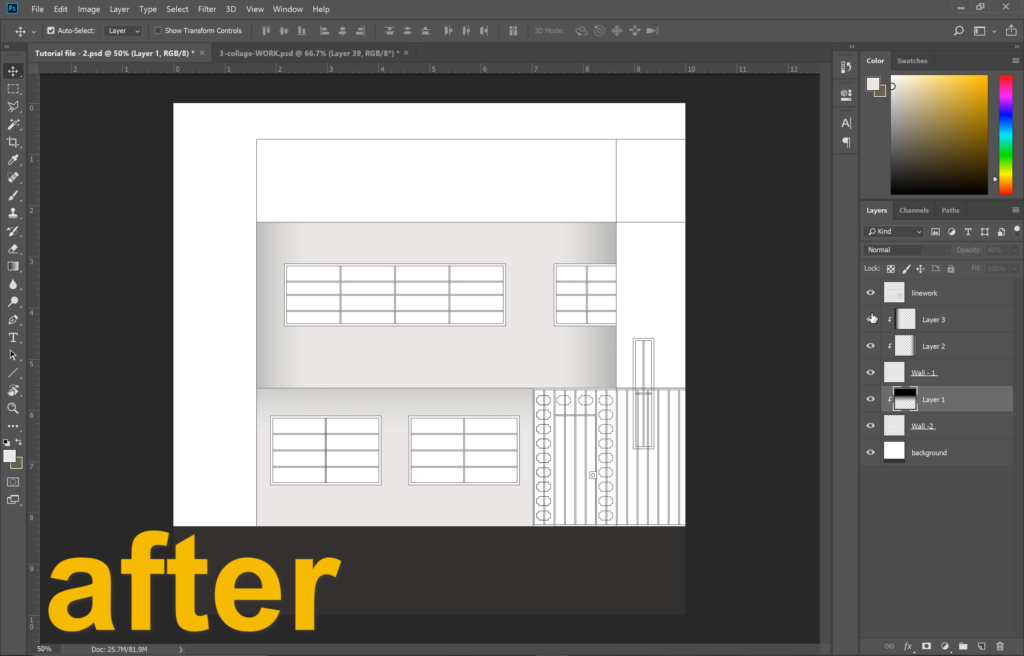
Then, add the gradient into a new layer over the layer that needs the shadow. Afterwards, hold the ALT key and click the layer with the gradient. Lower the opacity of the gradient as needed.

Repeat the process until you have added all the shadows needed.

Before adding shadows to the walls by using a gradient.

After adding shadows to the walls by using a gradient.

Photoshop Tip #2

Use Layer Masks when Adding Textures

If you are working with multiple textures in your file use layer masks to crop them.

Start by pasting in your texture, then holding the ALT key, drag to copy the texture to fill the surface area. When you are finished merge your texture layers. Use the Magic Wand Tool to select the area where you want you clip the texture into.

Then, click on the layer with the texture and click on the Layer Mask Tool to mask your texture.

Before creating a Clipping Mask the textures are over the linework of the drawing.

After creating a Clipping Mask the textures are contained within the linework.

Photoshop Tip #3

Explore Different Layer Blending Modes

Photoshop has so many layer blending modes and they all do something different.

Then by changing the blending mode of the layer gives you a different blending effect, but don’t be afraid to experiment with changing them.

The Layer Blending Modes are located at the top of the Layers Panel.

Before changing the Blending Modes of the render in Photoshop.

After changing the Blending Modes of the render in Photoshop.

Photoshop Tip #4

Organize your Layers!

While working with Photoshop, use the grouping option to group together similar layers.

Make sure to name these layers for later reference. Continue the process until you have gone through all your layers.

Organized layers allow you to work more efficiently and faster as you know where all the elements of your drawing are located.

Photoshop Tip #5

Explore Different Layer Styles!

The last Photoshop tip is to explore different layer styles, by double-clicking a layer to open the Layer Style Panel, the layer styles are located on the left side.

Experiment with the different layers styles to add a different effect to your image. Layer Styles can also be added to text.

There are more than 10 Layer Styles available.

Before adjusting the layer styles of the render.

After adjusting the layer styles of the render.

Share this tutorial with others:

Comment your Best Photoshop Tips below: