
Explore the 3 different techniques to add shadows in Photoshop that can be applied to any object or person in elevation. All 3 shadow techniques are easy to apply to any render.
Open Photoshop and open the file with the person cutout that needs a shadow. Make a new layer for your shadow and organize any layers that need renaming.
I am making a new group for this shadow.
Press the ‘B’ key to switch the Brush Tool and under the Brush menu make sure you are using a soft and diffused brush.
Then switch the shape of your brush from a circle to an ellipse and add a slight hardness to the brush. I am changing the hardness to 30%.
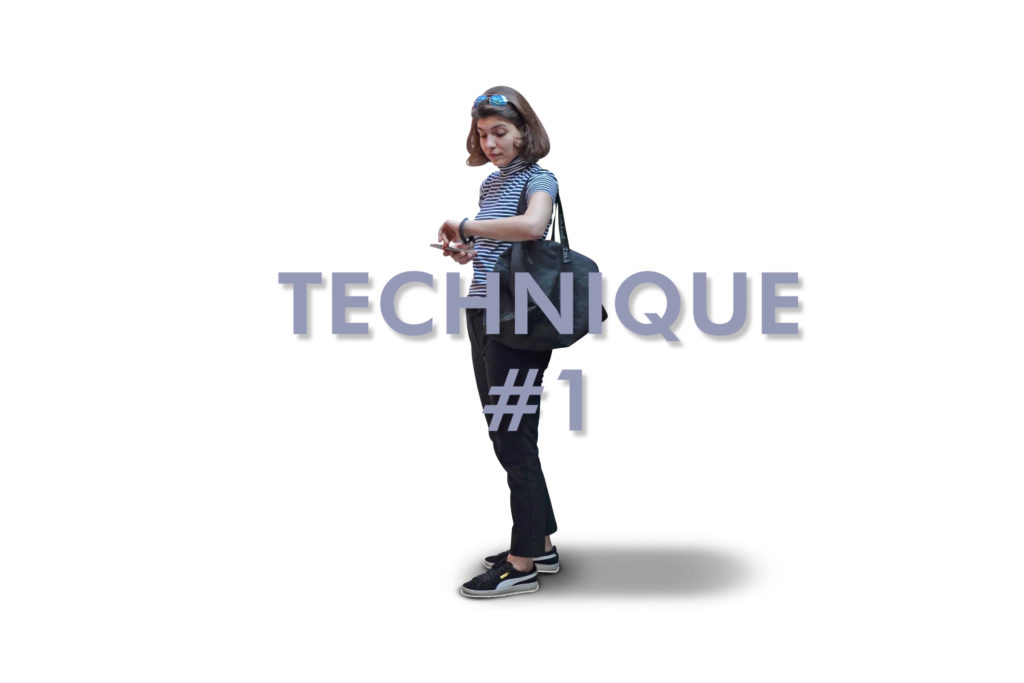
Take your brush and bring it to the bottom of your object or person, change the size of the brush to make it a bit bigger than the base of your object or person.
Then use the brush and create a straight line perpendicular and emerging from the base of your object or person towards it back.
Lower the opacity of the layer, I have changed mine to 47%.
Make a new layer. This layer will have darker shadows.
Make the size of your brush smaller and make sure you are on the new layer you have created. You do not want to add additional brush strokes to the last layer. This will create a layered shadow effect.
Zoom into the base of your object and add a smaller shadow to the base of your cutout.
Lower the opacity of the layer, but make sure it has a higher opacity than the previous shadow created.
Go to the Filter Menu > Blur > Gaussian Blur. Set the radius to 29 pixels then hit OK.
Make a new layer, this is the third shadow we are adding.
Zoom into your object or person’s base again. Now we will add a small dark shadow directly to the area that is touching the ground.
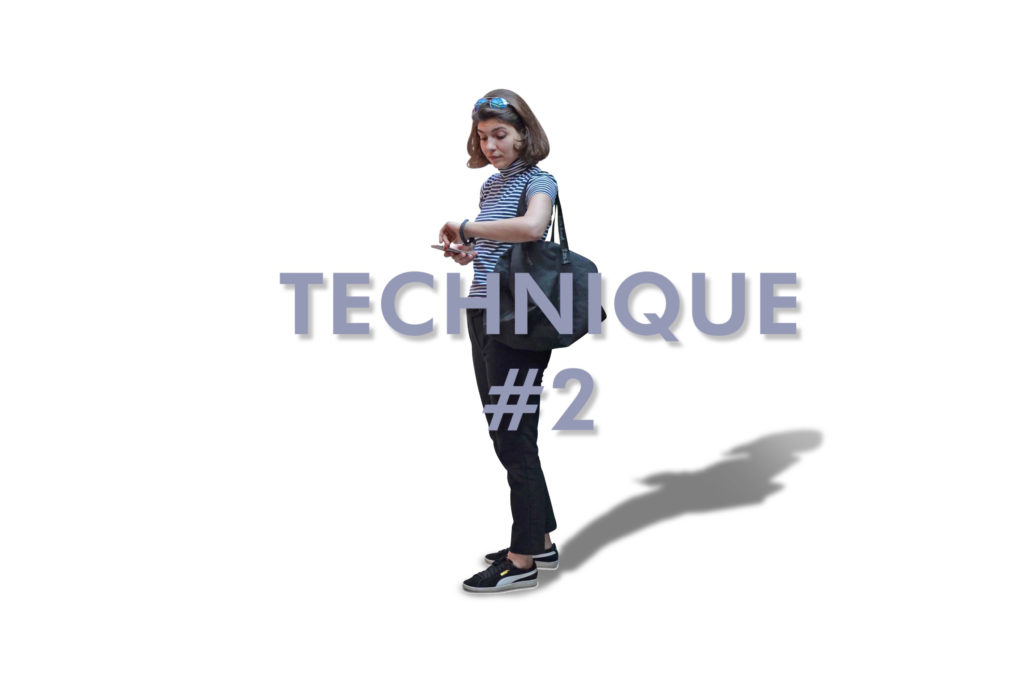
Make a new layer below the cutout of the person.
Click on the layer you have your cutout placed on then use the Magic Wand Tool to select the background and invert it so that the interior of the cutout is selected.
Go to the Edit Menu and choose the Distortion option under Transform and then drag the shadow towards the ground at an angle
Afterwards shift the placement of the shadow so it is directly under the object or person.
Erase any parts of your shadow that you do not like or that do not fit with the Eraser Tool.
Use the Brush Tool to add extra shadow to the base of your cutout.
Go to the Filter Menu > Blur > Gaussian Blur and adjust the radius of the 10 pixels.
Then lower the opacity of the shadow. Increase the size of your eraser and erase the end part of your shadow to create a slight gradient.
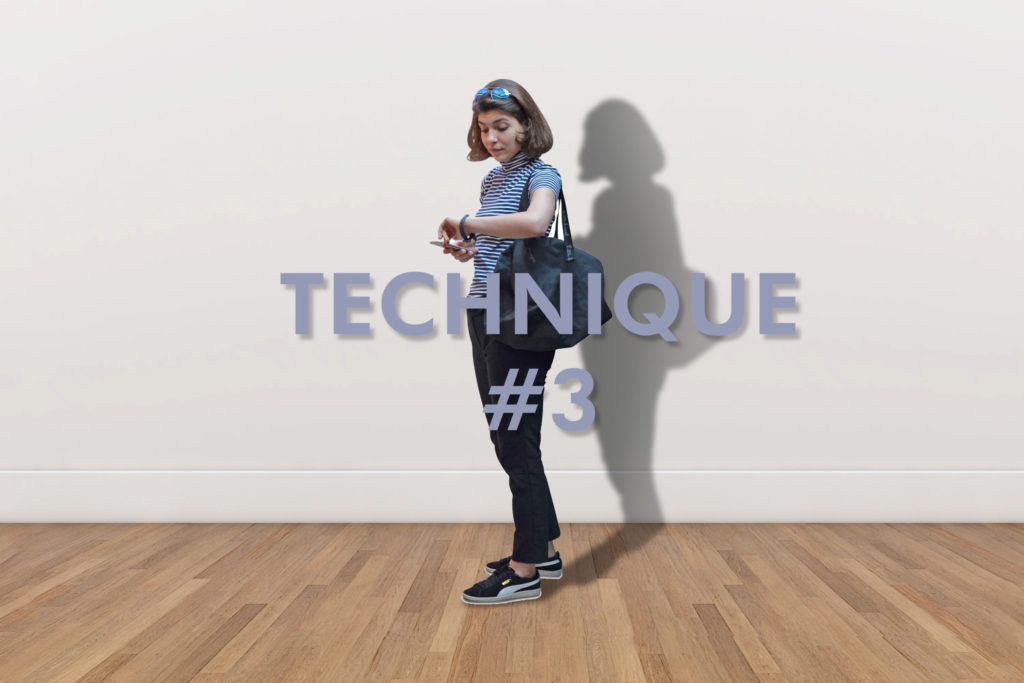
Click on the layer with the object or person, then use the Magic Wand Tool to select the background and invert it to select the interior of the person cutout.
Make a new layer and use the Paint Bucket Tool with a dark color to fill it with your selection still active.
Use the shortcut of the Move Tool, V, and move your shadow slightly to the side and down to move it an angle.
Use the Rectangular Marquee Tool to select the part of the shadow that is over the floor.
Use the Distort Tool to distort the shadow towards the base of the object.
The Distort Tool is located in the Edit Menu > Transform > Distort.
Add a Gaussian Blur by going to Filter > Blur > Gaussian Blur and set the radius to 10 pixels.
Lower the opacity of the shadow to 50% and use the Eraser Tool to erase the part of the shadow that is at the furthest side away from your object to slightly create a gradient.